
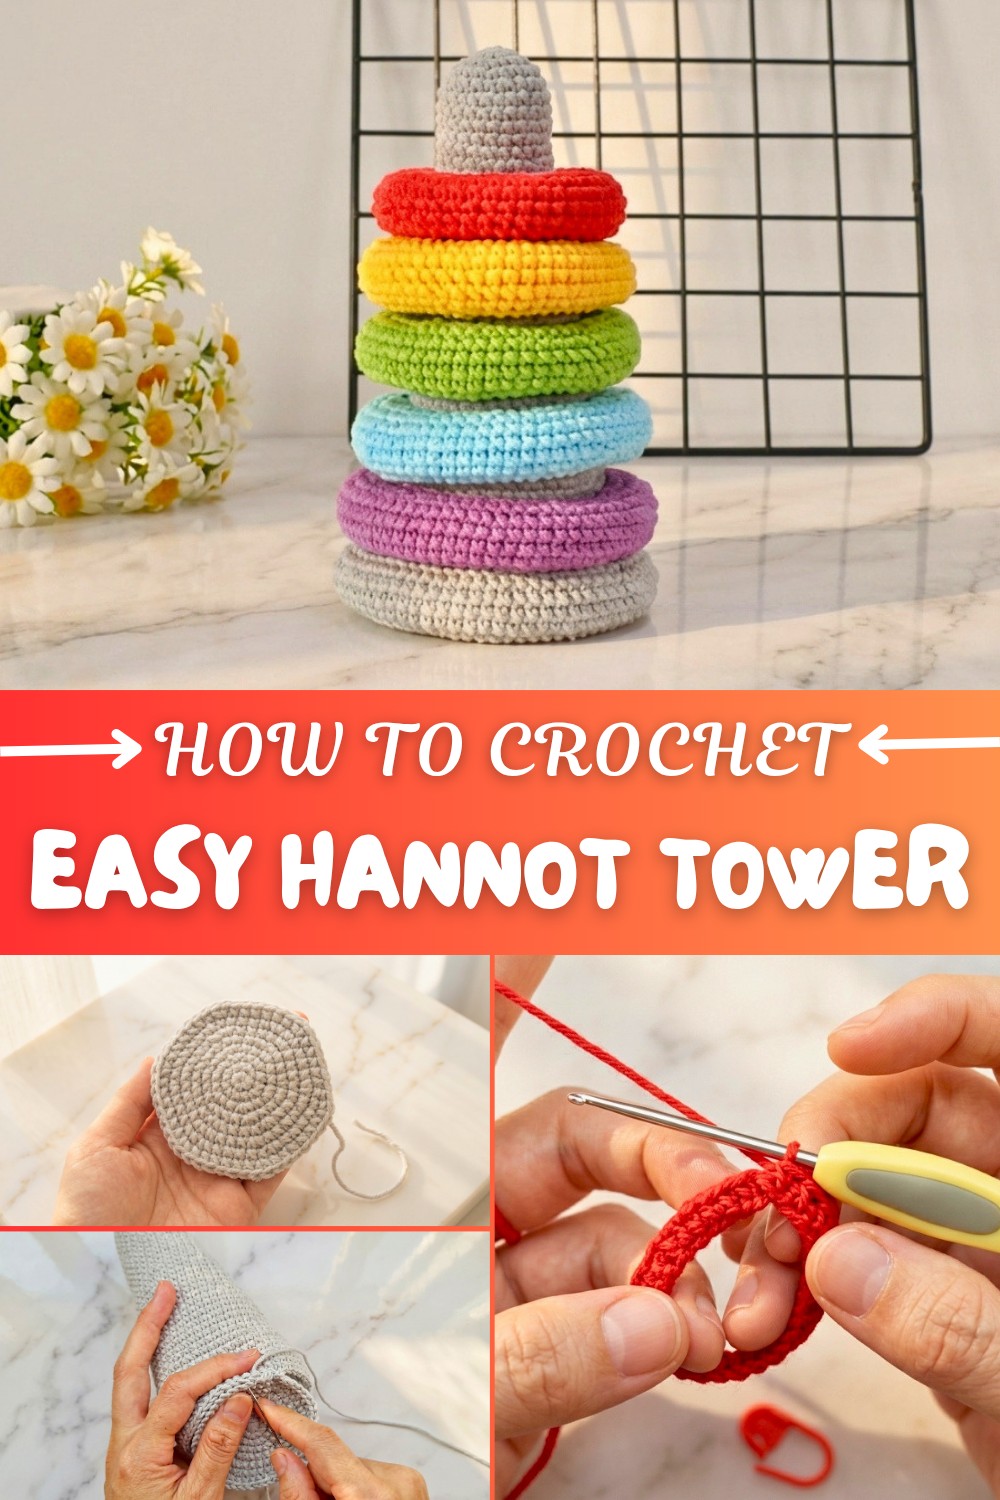
Free Hannot Tower Crochet Pattern for Kids
Little hands stay busy with this Free Crochet Hannot Tower Pattern offering a unique colorful stacking rings for playful learning and fun.
If you’re searching for a delightful and meaningful crochet project, the Free Crochet Hannot Tower pattern is definitely worth trying. This project recreates the classic Hannot Tower toy — a set of colorful stacking rings that bring both fun and learning to little ones. The style is simple and charming, featuring smooth, rounded rings crocheted in soft yarn that’s gentle on tiny hands. The texture is pleasantly tactile, thanks to the stitches worked in neat rounds, giving the rings a sturdy but cuddly feel. The shape is classic: a central post with graduated rings stacking perfectly on top of each other, encouraging fine motor skills and creativity.
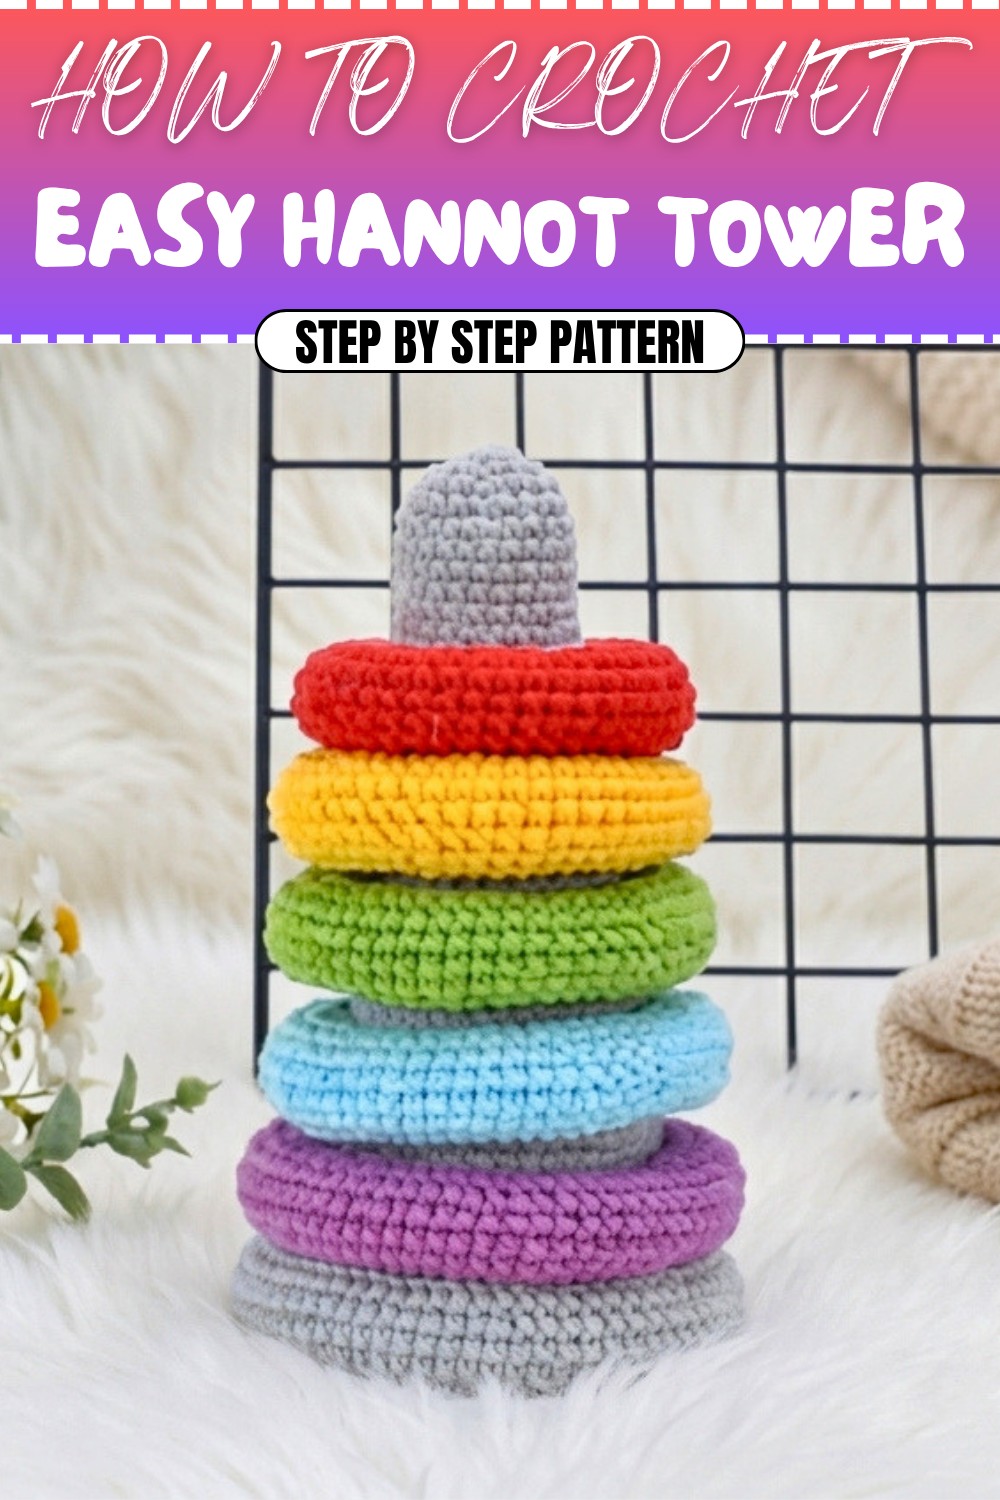
Free Hannot Tower Crochet Pattern with Stacking Rings
This pattern is great for those comfortable with basic crochet stitches like single crochet, increases, and working in rounds. You can customize the size easily by adjusting the number of rings or changing their diameter, making it suitable for all ages and preferences. The construction involves simple rounds worked seamlessly without visible joins, giving the tower a polished look. Using a cotton blend yarn is ideal because it keeps the shape well and highlights the stitch texture, while also being durable and soft for everyday play.

The design reflects a desire to bring a beloved childhood toy into the handmade world, combining educational charm with cozy craftsmanship. It’s perfect as a thoughtful gift for baby showers, birthdays, or as a unique decorative piece in a nursery. Feel free to experiment with colors and sizes to create your own special twist on this classic toy. Whether for your little one or to gift someone special, this crochet Hannot Tower pattern makes a joyful and creative project.
Educational Toy: Crocheted Hanoi Tower (Stacking Rings) Pattern
This delightful crocheted Hanoi Tower educational toy features a stable pillar with five colorful stacking rings of varying sizes. This toy encourages baby development by improving focus and hand-eye coordination. It is handmade with simple stitches and an easy-to-follow pattern, making it suitable for beginners. The set consists of a sturdy base “pillar,” and rings crocheted in rounds, then assembled for play.
Skill Level & Terminology
- Skill Level: Beginner to Early Intermediate
- Terminology: This pattern uses US crochet terms throughout. Familiarity with working in rounds, increases, and slip stitches is helpful but not required.
Materials & Tools
- Worsted weight yarn in multiple colors (e.g., red, yellow, green, blue, gray, purple) – cotton recommended for durability.
- Crochet hook size 3.5 mm (E) or suitable to your yarn.
- Fiberfill stuffing (PP cotton) for filling the pillar and rings.
- Tapestry needle for sewing parts together and weaving in ends.
- Scissors.
Gauge
- Gauge is approximate and not critical for this project.
- Aim for firm, tight stitches to maintain toy firmness and shape.
- Test by crocheting a 10x10 cm swatch in single crochet and adjust hook size accordingly.
Abbreviations List
- ch = chain
- sc = single crochet
- inc = increase (2 sc in 1 stitch)
- sl st = slip stitch
- st/sts = stitch/stitches
- MR = magic ring or magic circle
Special Stitch Instructions
- Magic Ring (MR): Create a loop to start crocheting in the round with adjustable tightness, ideal for amigurumi shapes like the pillar top.
- Increase (inc): Work 2 single crochets in the same stitch to expand your round.
- Slip Stitch (sl st): Used to join rounds or form rings in this project.
Finished Size
- The finished Hanoi tower stands approximately 20–25 cm tall depending on yarn and tension.
- Rings vary in size, smallest with 30 stitches circumference and largest with 48 stitches.
The Pattern
Pillar (Base Column)
- Start with a magic ring (MR) and crochet:
- Round 1: 6 sc in MR (6 sts). Pull ring tight.
- Round 2: 6 inc (12 sts).
- Round 3: (1 sc, 1 inc) repeat 6 times (18 sts).
- Round 4: (2 sc, 1 inc) repeat 6 times (24 sts).
- Round 5: (3 sc, 1 inc) repeat 6 times (30 sts).
- Round 6: (4 sc, 1 inc) repeat 6 times (36 sts).
- Continue increasing as per diagram until reaching 48 sts around (usually after round 8).
- Stuff pillar firmly with fiberfill as you proceed.
- Fasten off, leaving a long tail for sewing base.


Summary: The pillar forms the stable central support for stacking the rings. The increasing rounds expand its diameter evenly.
Rings (Make 5, Various Sizes)
Smallest Ring (30 stitches):
- Chain 30 stitches to start.
- Join into a ring with a slip stitch.
- Round 1: Sc in each chain around (30 sts). Mark first stitch.
- Round 2: (1 sc, 1 inc) repeat 15 times (45 sts).
- Rounds 3–10: Sc 45 sts per round.
- Round 11: (1 sc, 1 dec) repeat 15 times (30 sts).
- Round 12: Sc 30 sts.
- Fasten off, stuff lightly.
Summary: The smallest ring is a simple round band worked in the round with increases then decreases to shape.
Medium Rings (40–48 stitches):
- Similar method as the smallest ring:
- Start with a magic ring or chain stitches with counts based on final stitch numbers: 36, 40, 44, 48.
- Work increases evenly to expand to the desired circumference.
- Work several rounds maintaining stitch count.
- Optionally, decrease to create smooth edges.
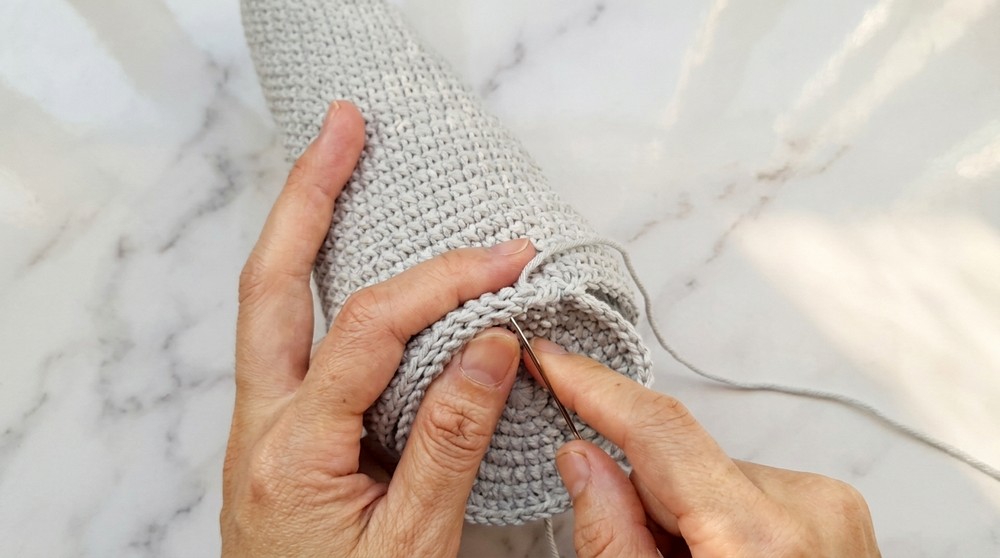
Joining the Pillar and Rings
- Use a tapestry needle and yarn tail to sew the bottom ring securely onto the pillar base.
- Make sure seam tension is firm but not distorting the shape.
- Place the stacked rings onto the pillar in order of size for play.
Summary: Sewing rings in place at the base and along the pillar ensures stability and safe play.
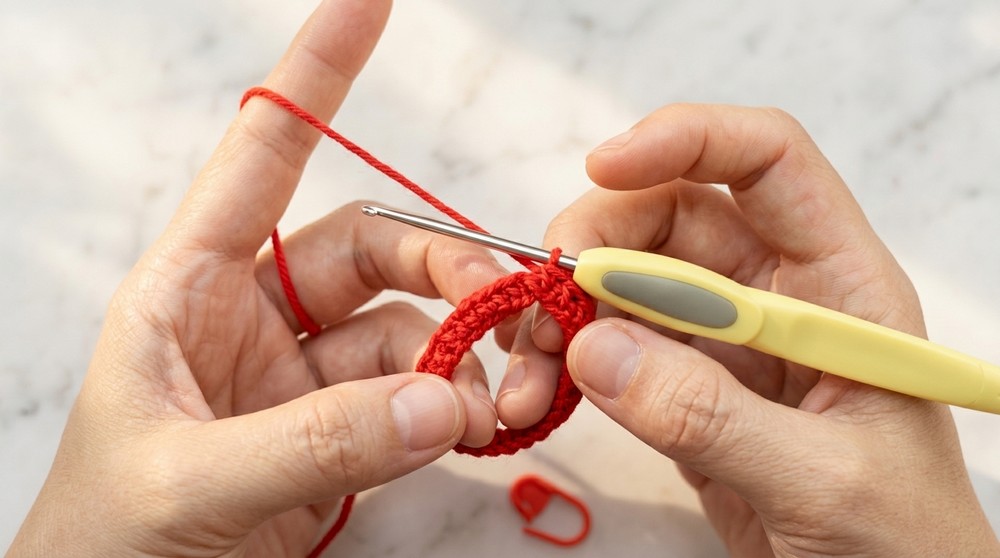
Ring Assembly and Finishing Touches
- Fold chain loops to form perfect rings, joining with a slip stitch to close the ring.
- Maintain even stitches to prevent gaps.
- Weave and hide all yarn tails inside the rings and pillar.
- Adjust stuffing as needed for firmness.
Assembly & Finishing
- Once all rings and pillar base are complete, stack rings to test fit on the pillar.
- Securely sew the largest ring to the pillar base (bottom) to keep the tower stable.
- Ensure all yarn ends are woven in discreetly.
- Check for any loose stitches or holes that might catch on child’s fingers.
Additional Notes
- You can customize colors and stitch counts to create varied sizes of rings.
- Use cotton yarn for durability and easier cleaning.
- Consider adding a felt or fabric base to stabilize the pillar if desired.
Conclusion
- This crocheted Hanoi Tower toy is a delightful way to combine fun and learning through handmade craft.
- The project uses simple stitches: single crochet (sc), increases (inc), and slip stitches (sl st), perfect for beginners.
- Color changes and ring sizing create visual interest and functional stacking.
- Assembly involves basic sewing skills to attach rings and secure ends.
- Enjoy gifting or using this educational toy to foster developmental skills in little ones!