
Free Crochet Wall Hanging Pattern To Keep You Organized
Turn your extra yarn scraps into a stunning modern art piece to display proudly using this fast and completely free crochet wall hanging pattern.
Creating something beautiful for your home doesn’t always require expensive tools or advanced skills. With a bit of yarn, a crochet hook, and some creativity, you can crochet a lovely wall hanging that’s both decorative and functional. This delightful project is perfect for adding charm to a child’s room, organizing toys or small items, or even using it as a unique plant holder. What stands out most is its versatility. You can adjust the size, depth, and design to fit your needs, making it an ideal accessory for any corner of the house.
The wall hanging is made using simple crochet stitches like double crochet (DC), slip stitches (SL ST), and a mesh pattern for added texture. The sturdy base provides structure, while the front showcases a beautiful filet design that’s light and airy, giving it a stylish yet practical look. Whether you prefer a smaller child friendly version or a larger one for adult use, you have complete flexibility to adjust the stitch counts and chain lengths to suit your preferences.
Free Crochet Wall Hanging Pattern for Storage and Style
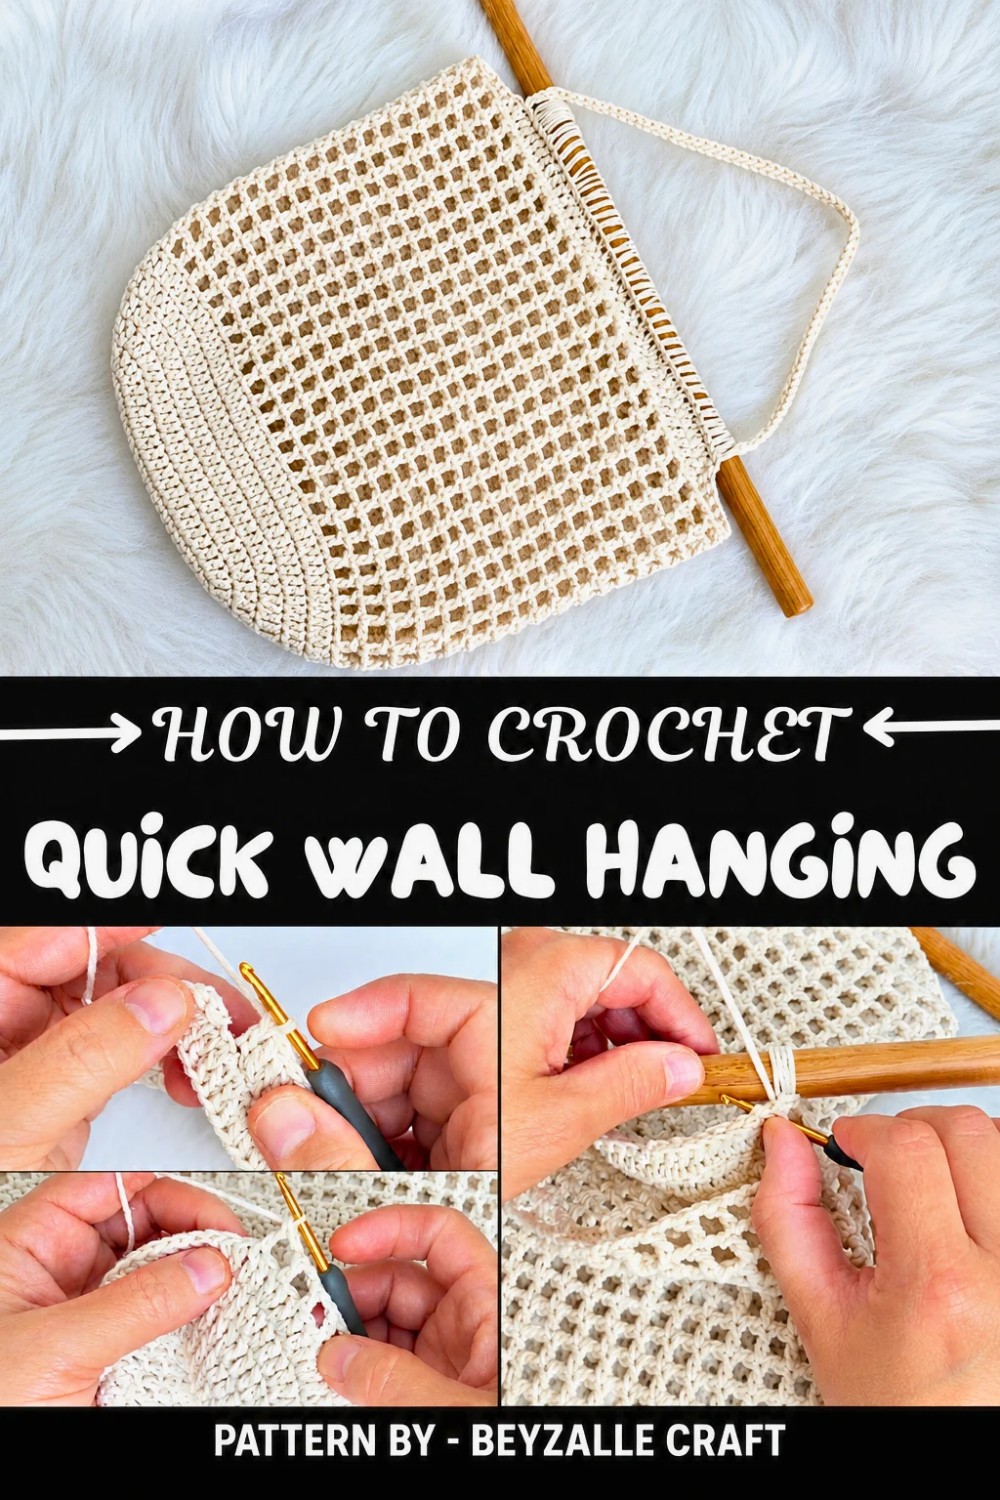
One of the most creative aspects of this project is its wooden top bar, which can be crocheted inexpensively at home by cutting an old rolling pin, a wooden dowel, or even repurposing a durable plastic rod. It’s a simple, yet genius idea.
Beyzalle CRAFT, an incredible channel dedicated to beginner friendly crocheters, showcases this fun project in an easy and approachable way. It’s fun, relaxing, and offers endless possibilities for personalization, try adding colorful yarns or decorations. Whether new to crochet or looking for a quick and rewarding project, this is a fantastic craft to try.
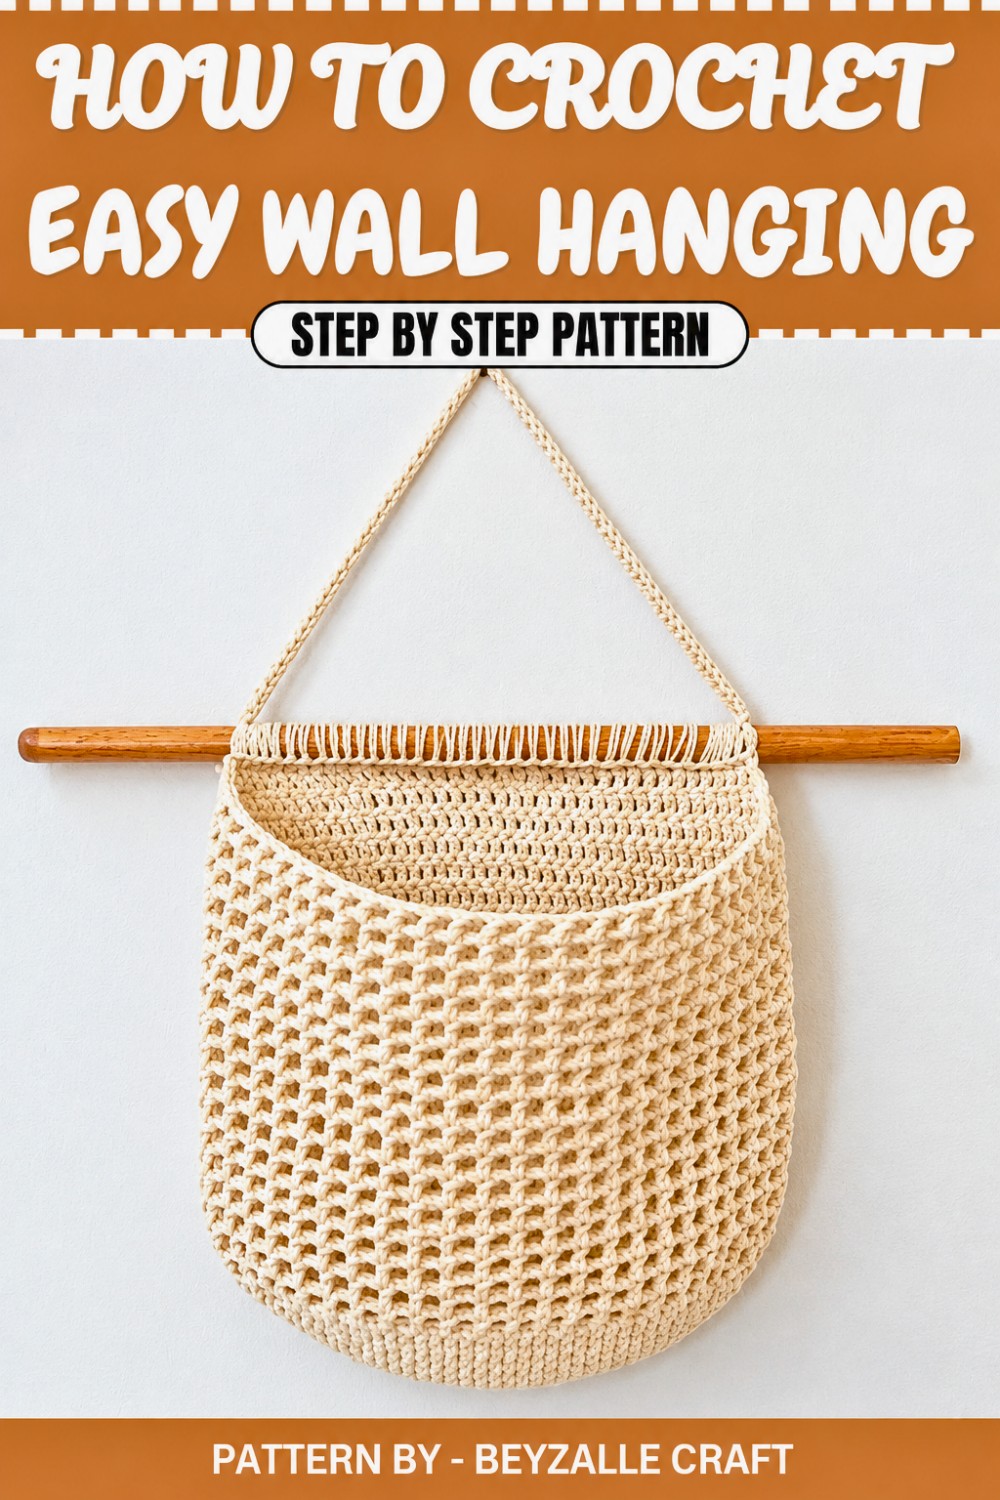
Fun Crochet Hanging Wall Organizer Pattern
This wall piece is perfect for kids' rooms or any space that could use a fun storage solution. You can hang it on the wall and store toys or other small belongings in it. It’s super easy to crochet, even though it might look a bit complicated at first. I saw this design on Pinterest and loved it so much that I completed it in just 2.5 hours. The best thing is that you can customize the size and use this for multiple purposes—be it for holding small plants, toys, or even kitchen accessories.
Quick Overview Of Pattern
- Project: Wall Hanging Organizer
- Key Highlights:
- Two layer design, flat back panel and textured filet front panel for storage.
- Adjustable size to fit different room décor and storage needs.
- Uses: Store toys, small plants, kitchen items, or other essentials.
- Time Required: Approximately 2–3 hours depending on size.
Notes
- The organizer consists of two main parts: the flat back panel and the filet mesh section. Both are crocheted directly in continuity, minimizing assembly.
- You can make the hanging loop and horizontal bar insert using leftover household items, such as a rolling pin or plastic piece. This makes it functional and budget friendly.
- Adjust stitch counts to customize the size.
Skill Level
Beginner to Intermediate: Easy stitches such as chains, double crochet, increases, and filet mesh.
Materials
- Yarn: Use strong yarn, such as cotton or blended yarn (double stranded or triple stranded for added durability).
- Crochet Hook: 3.00–3.50mm for most yarns.
- Support Rod: Wooden dowel, rolling pin, or other sturdy household material.
- Scissors
Measurements / Sizing
- Finished example size: Organizer panel measures approximately 30cm x 15cm for the smaller version.
- Suggested Depth for hanging pocket: 5cm.
- Length of hanging loop: Adjustable based on preference (try 60–65 chains).
Gauge
Not crucial for this project; however, ensure stitches are consistent for clean edges.
Stitch Abbreviations
| Abbreviation | Meaning |
|---|---|
| CH | Chain |
| DC | Double Crochet |
| INC | Increase (2 DC in the same stitch) |
| SL ST | Slip Stitch |
| SC | Single Crochet |
Special Stitches
Filet Mesh:
A repeating pattern of 2 CH followed by a DC, skipping one stitch underneath to create an airy, net like texture.
The Crochet Pattern
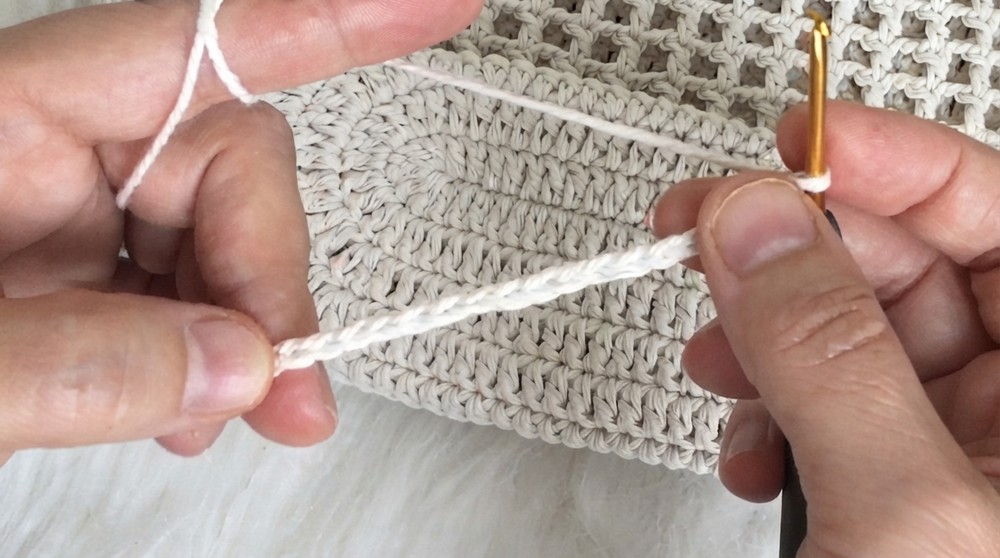
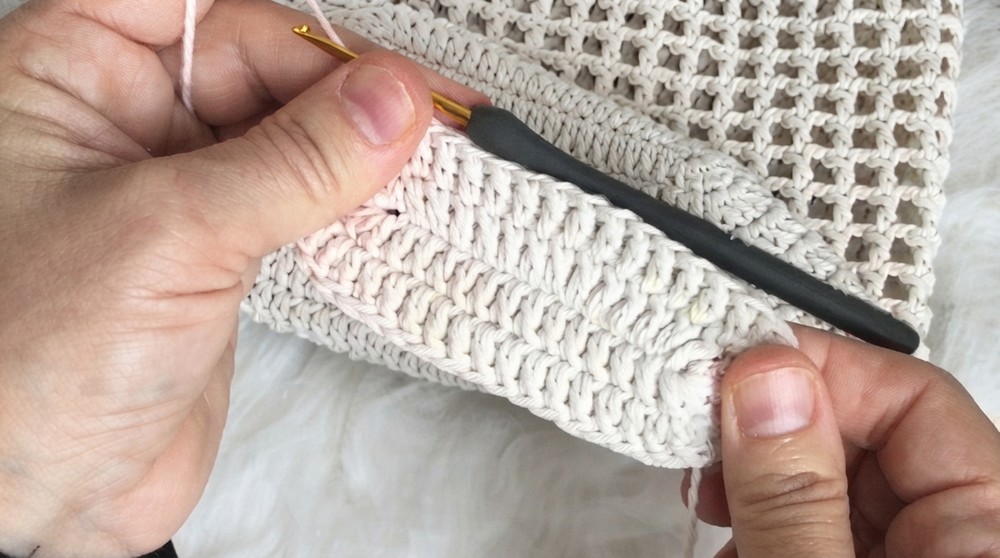
Step 1: Starting the Base Panel
- Foundation Chains:
- For a smaller size, CH 18.
- For larger sizes, CH 24 or more (e.g., 30 for a wider panel).
- Row 1:
- In the 3rd CH from the hook, work 5 DC into the same stitch.
- Work 12 DC evenly across the foundation chains for the smaller size (or 18 DC for larger sizes).
- At the last CH, work 5 DC to round out the corner.
- Rotate work and add 12 DC evenly along the opposite side of the foundation chain to create the panel’s base.
- Closing Round:
- Use a SL ST to join into the first DC at the beginning of the row.
Step 2: Building the Panel
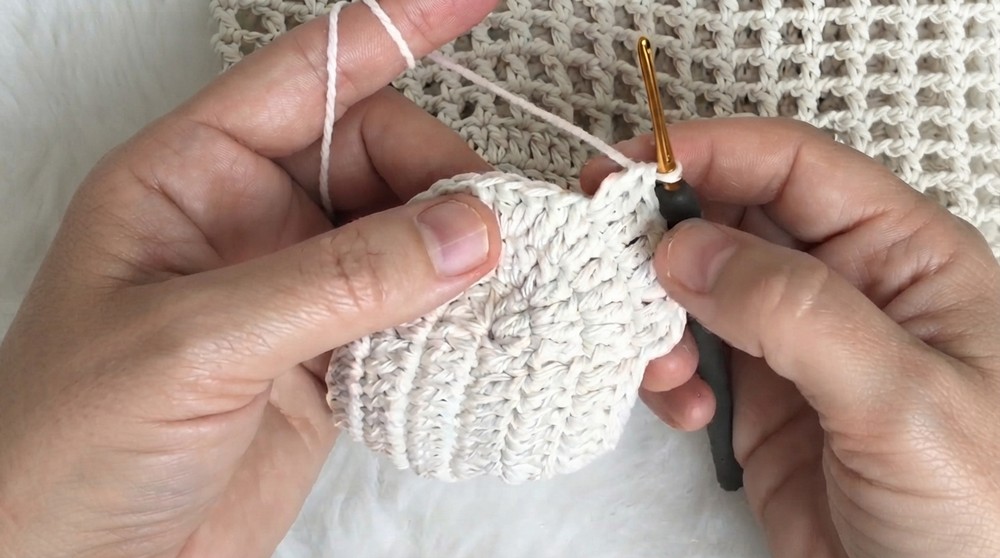
- Row 2:
- CH 2 to start the row.
- Work 1 DC + INC (2 DC into one stitch) alternately along the curved edges.
- Maintain straight DC stitches along the flat areas.
- Repeat this increase principle along each curved corner in every row to create clean rounding.
- Continue repeating this structure, increasing only at curved edges, until the size reaches 6 rows (or your desired depth).
Step 3: Filet Mesh Section
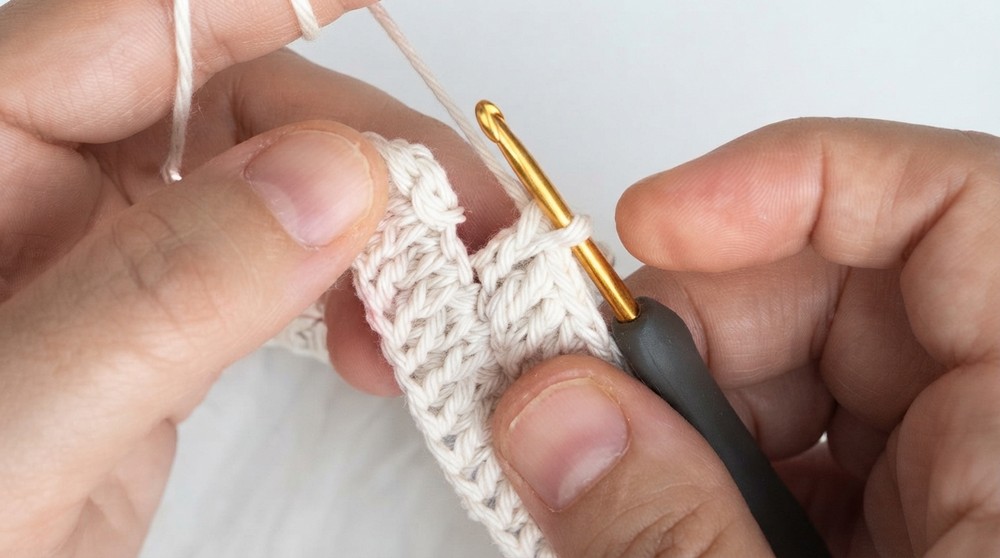
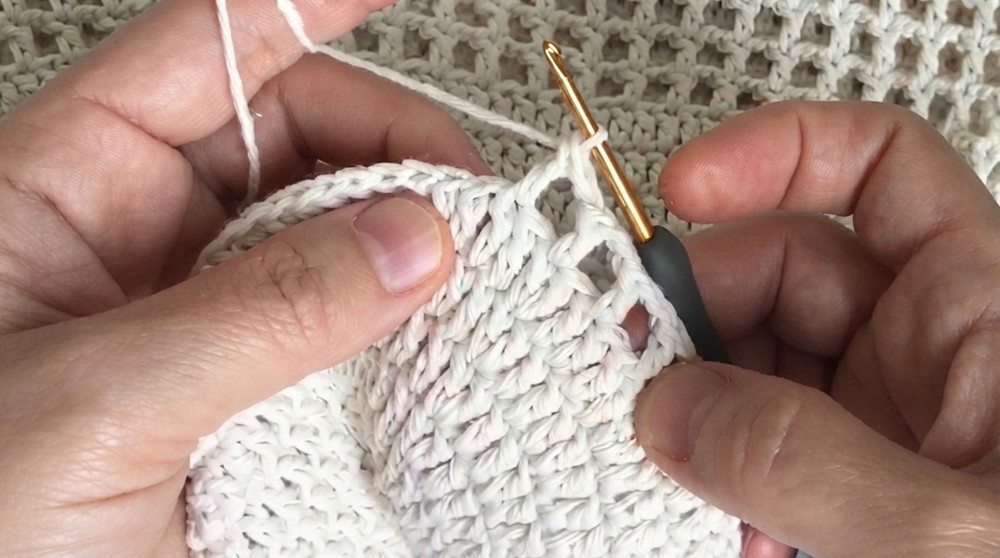
- Start Filet Mesh Transition:
- After achieving 6 rows of solid DC stitching, transition into filet mesh:
- CH 2 to begin.
- Skip 1 stitch and DC into the next.
- CH 2, skip 1 stitch, and repeat this structure across the first few stitches to create an open mesh effect.
- After achieving 6 rows of solid DC stitching, transition into filet mesh:
- Maintain filet mesh consistency across the panel’s “front pocket” section. Adjust width by skipping stitches evenly.
- Work filet mesh for 24 spaces for the smaller organizer, or 26 spaces for larger sizes.
- Once at the desired filet height (approximately 12 rows for smaller size), work one final row of solid DC stitching at the top for stability.
Step 4: Hanging Bar and Loop
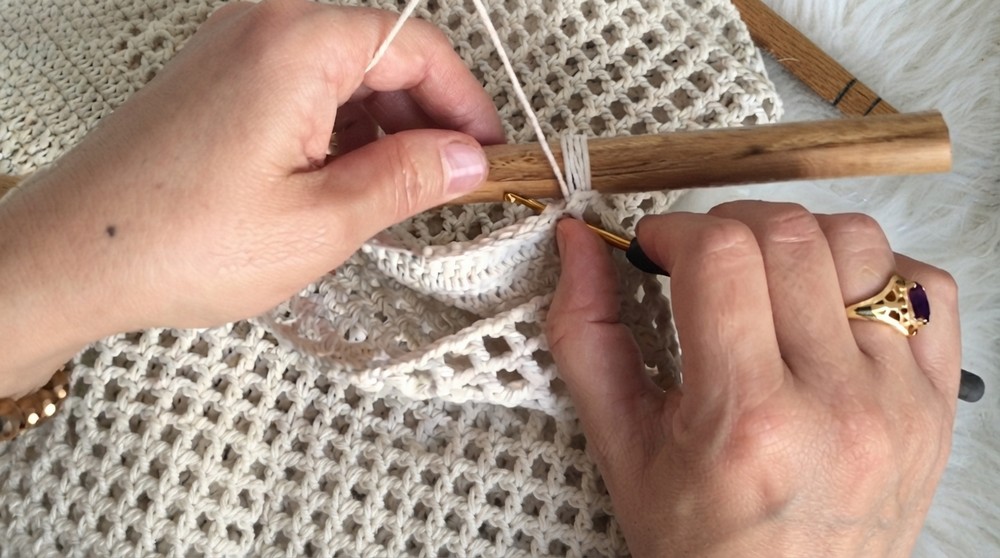
- Adding Horizontal Bar:
- Insert wooden/plastic bar through the pocket made by filet mesh edge and foundation stitches. Adjust position to align evenly.
- Hanging Loop Section:
- CH 60 or more for the loop.
- Add SC stitches directly on the foundation to secure the loop's ends.
- Complete edge work with SL ST for added neatness.
Assembly & Finished Size
- Connect the loop to the horizontal bar securely with SC stitches and test its stability.
- For a deeper pocket, opt for additional filet mesh rows. Ensure symmetry between pocket sides.
- Estimated final dimensions: 30cm x 15cm for small version; adjust panel width/height for customized size.
Conclusion
Congratulations! Your crochet wall organizer is now complete. This quick and versatile pattern is great for teaching children organizing habits in a fun way. Whether used for toys, plants, or kitchenware, it brings both function and charm to your space.