
Free Crochet Velvet Bunny Pattern Fluffy and Adorable Fun
Turn your yarn into a lovable fluffy bunny with this free crochet guide that helps you create a cozy and adorable bunny everyone will love.
If you're looking to create the ultimate cuddly companion, this crochet project is a must try. The fluffy texture, whimsical design, and charming personality of this handmade bunny make it nearly irresistible. With its floppy ears, round body, and playful carrot accessory, it's perfect as a heartfelt gift for a child, a festive decoration, or even a delightful collectible for your crochet collection.
The soft, luxurious finish of velvet yarn gives this bunny its cozy and plush appearance. Its medium size makes it easy to hold and hug—ideal for little hands or as a statement piece for a nursery shelf or Easter centerpiece. Crafted with simple shapes and rounded details, the design is both classic and timeless while leaving room for personalization.
Free Crochet Pattern Fluffy Velvet Bunny You’ll Adore
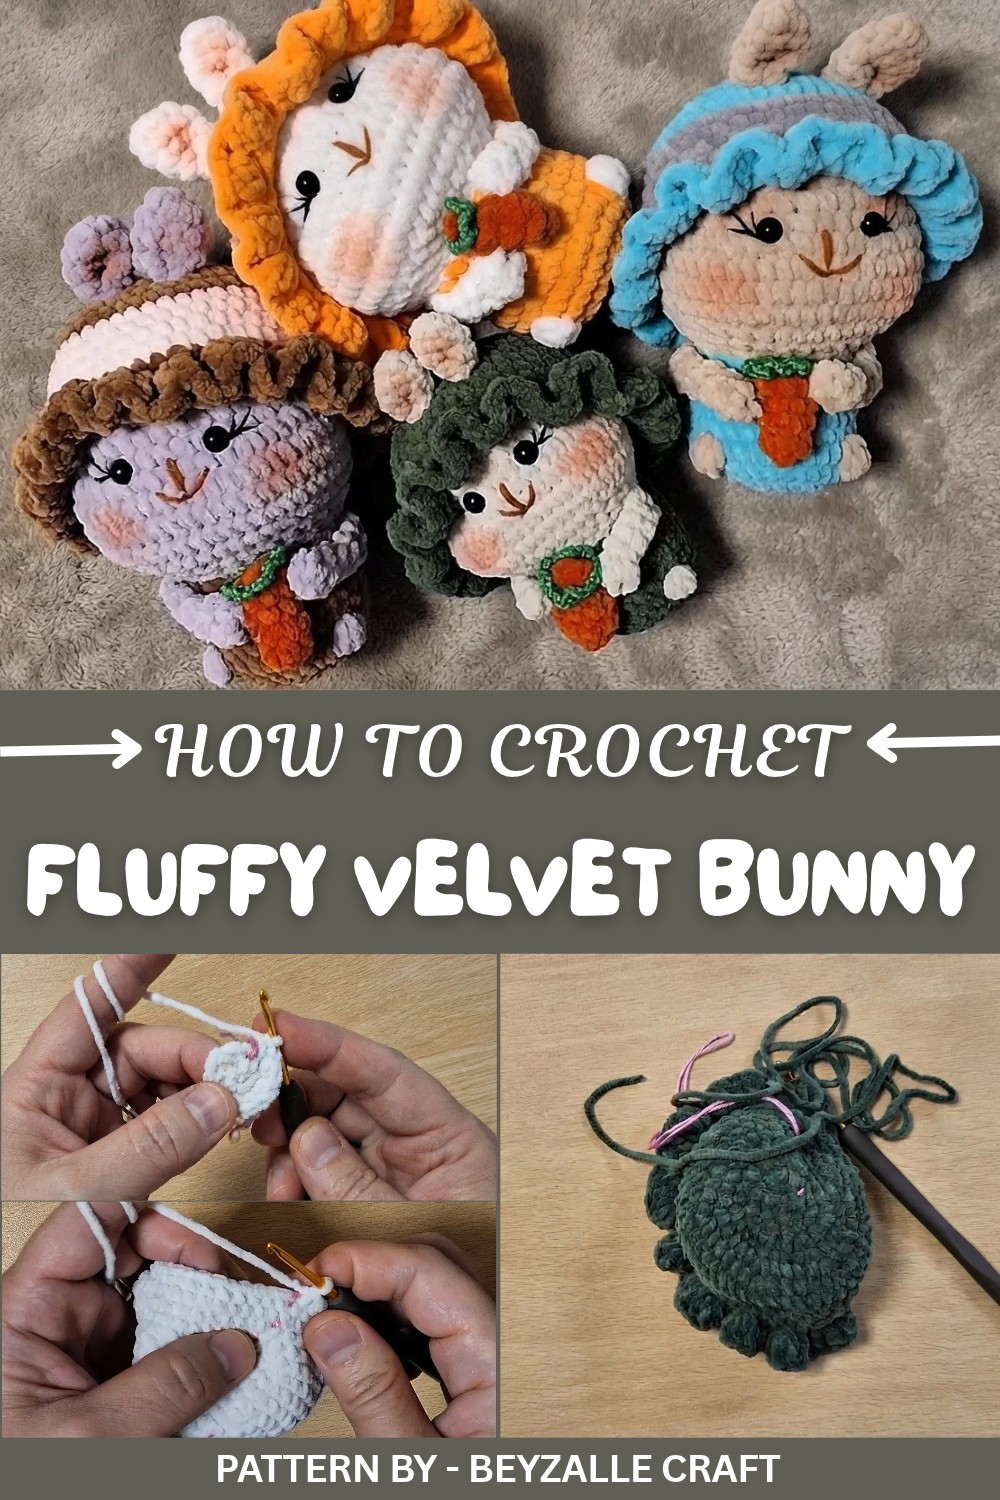
Pattern By Beyzalle CRAFT
This pattern is perfect for beginners or those with intermediate crochet skills. Key techniques like single crochet (SC), increases, and decreases are used throughout, making it a fun and manageable project even for those just starting their crochet journey. The use of velvet yarn adds a special touch, but the bunny can also be made with other yarn types for a different look.
Start creating your very own Free Crochet Velvet Bunny Pattern Fluffy and Adorable Fun masterpiece. Its versatility, charm, and soft, luxurious feel make it a project you'll love to create and share. Unleash your creativity and enjoy the process of bringing this fluffy little friend to life.
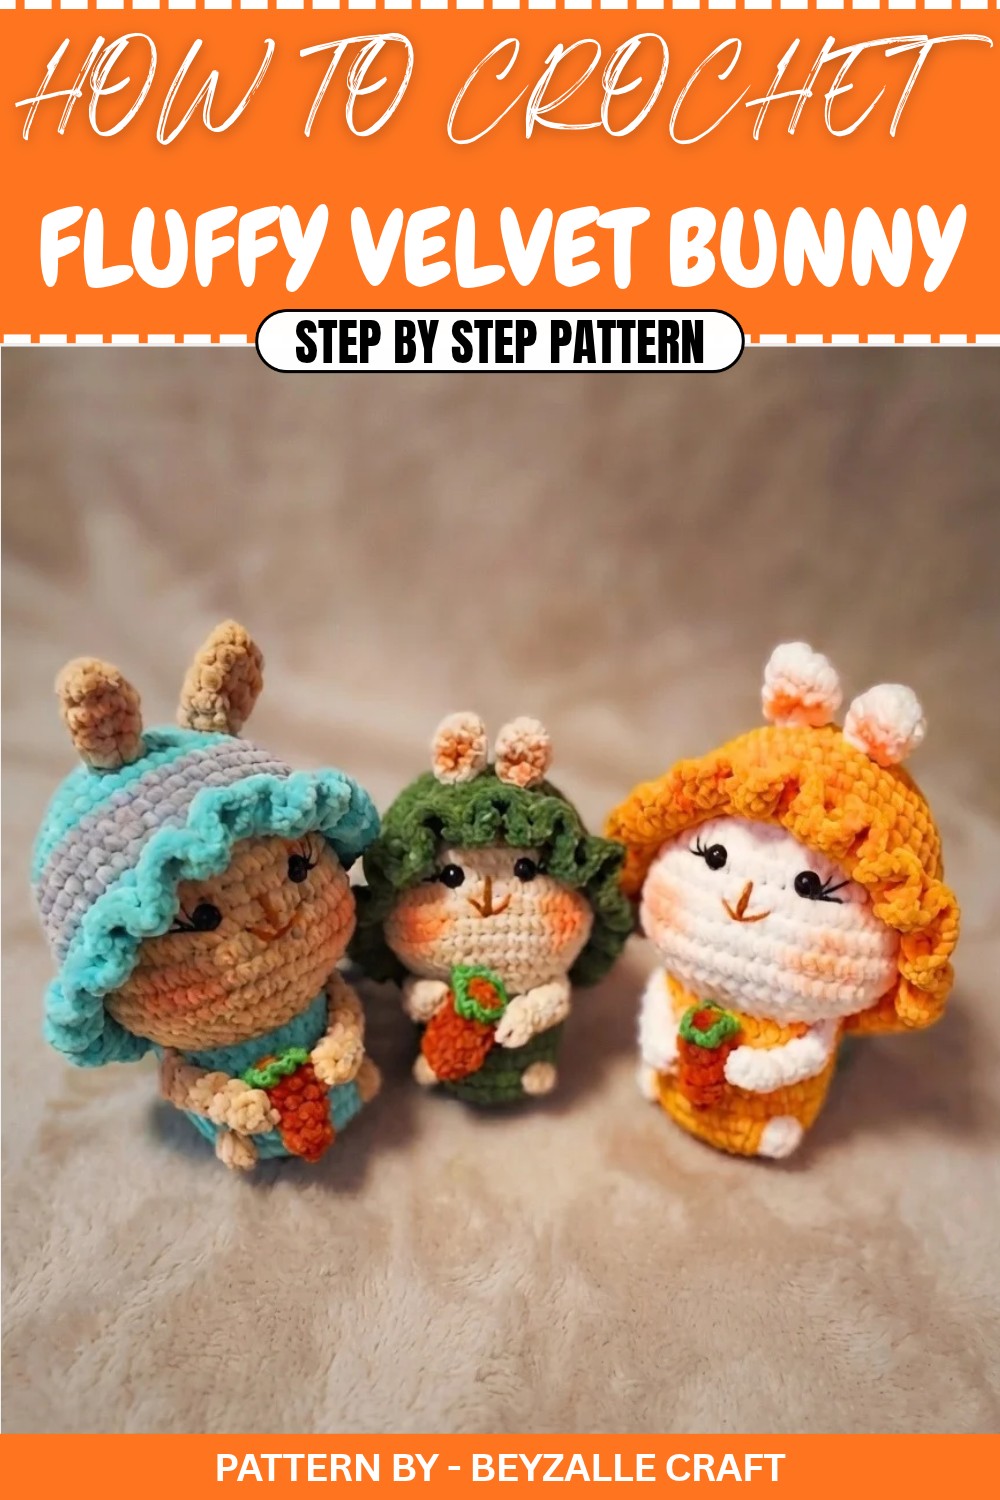
Velvet Bunny Crochet Pattern
This guide will help you create a charming plush velvet bunny with a cute hat and carrot. Perfect for beginners and experienced crafters alike, this pattern uses basic crochet techniques to bring your bunny to life. Follow the instructions carefully for accurate and complete construction.
Materials
- Yarn: Medium weight velvet yarn (Main bunny color + green for carrot leaves + any color for hat)
- Hook: 2.5 mm crochet hook
- Safety Eyes: 10mm safety eyes with locking backs
- Stuffing: Fiberfill for plush fullness
- Needle: Tapestry needle for sewing parts
- Scissors: Sharp scissors for trimming yarn
Head and Body
Using the main color (for the bunny):
Round 1: Chain 2, work 8 single crochet (sc) into the 2nd chain from the hook. (8 stitches)
Round 2: Work 2 sc in each stitch around. (16 stitches)
Round 3: (1 sc, 1 inc) repeat 8 times. (24 stitches)
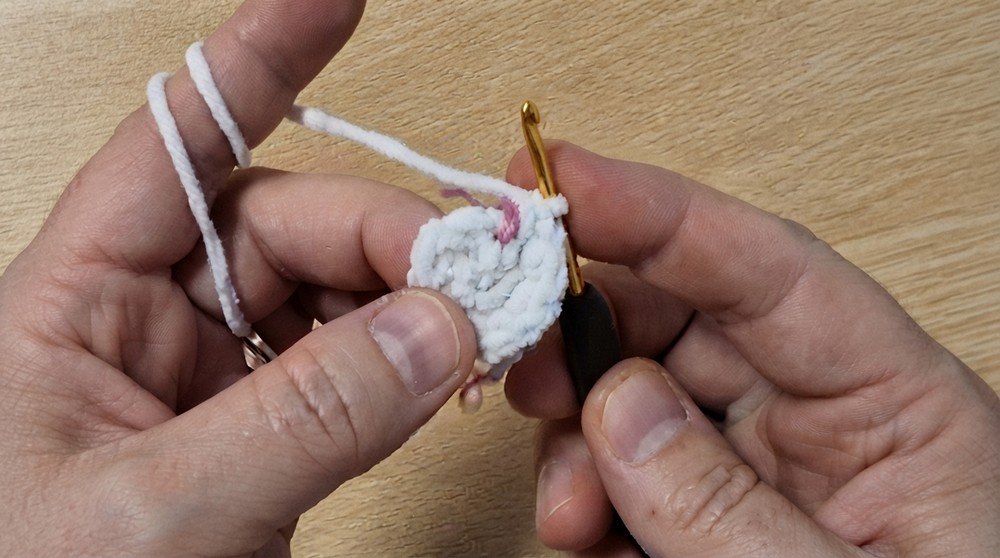
Round 4: (2 sc, 1 inc) repeat 8 times. (32 stitches)
Round 5: (3 sc, 1 inc) repeat 8 times. (40 stitches)
Rounds 6–9: Work sc in each stitch around. (40 stitches per round)
Forming Cheeks:
Round 10: Work 12 sc, then 5 inc (doubling each stitch), 6 sc, 5 inc, finish with 12 sc. (50 stitches)
Rounds 11–13: Work sc in each stitch around to maintain the shape. (50 stitches per round)
Shaping Cheeks:
Round 14: Work 12 sc, then 5 dec, 6 sc, 5 dec, finish with 12 sc. (40 stitches)
Round 15: (2 sc, 1 dec) repeat 10 times. (30 stitches)
Round 16: (1 sc, 1 dec) repeat 10 times. (20 stitches)
Body Transition and Formation:
Round 17: Switch to new color. Work Back Loop Only (BLO) for the entire round. (1 sc, 1 inc) repeat 10 times. (30 stitches)
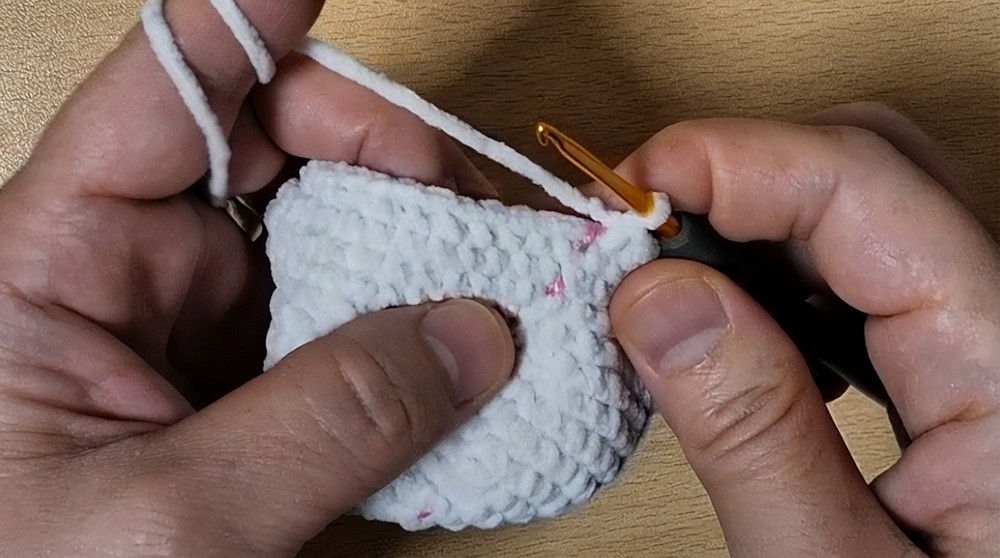
Rounds 18–21: Work sc in each stitch around. (30 stitches per round)
Legs (Popcorn Stitch):
In Round 22, work 11 sc, then make a popcorn with 4 double crochet (dc) in the next stitch. Continue with 8 sc, make another popcorn, and finish with 9 sc. (30 stitches)
Round 23: Work sc in each stitch. (30 stitches)
Shaping the Body:
Round 24: (3 sc, 1 dec) repeat 6 times. (24 stitches)
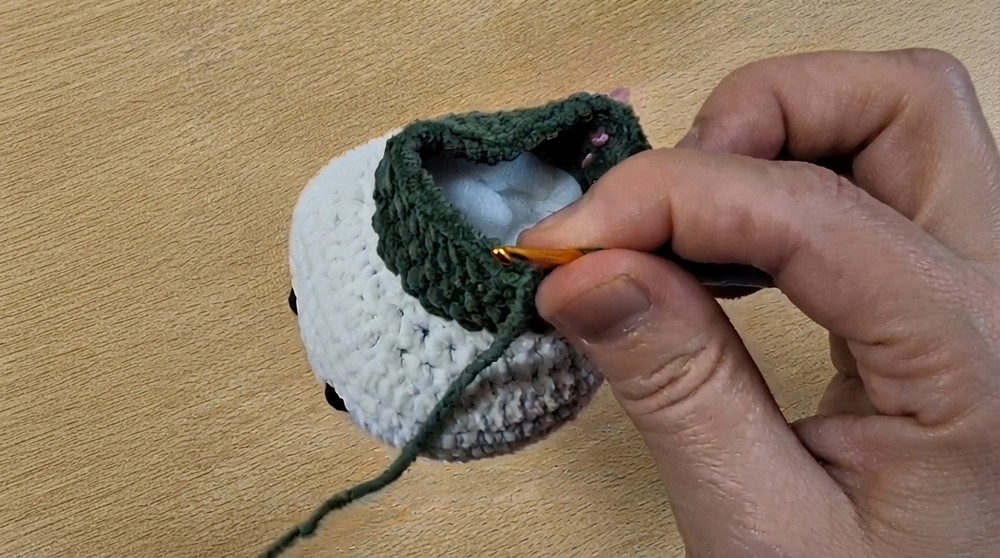
Round 25: Work 12 dec (reducing continuously without sc). (12 stitches)
Round 26: Work 6 dec. (6 stitches)
Fasten off and sew the remaining hole closed. Use fiberfill stuffing to add fullness before closing the final round.
Arms (Make 2)
For each arm, use the main color.
Round 1: Chain 2, work 5 sc into the 2nd chain from hook. (5 stitches)
Rounds 2–6: Work sc in each stitch around. (5 stitches per round)
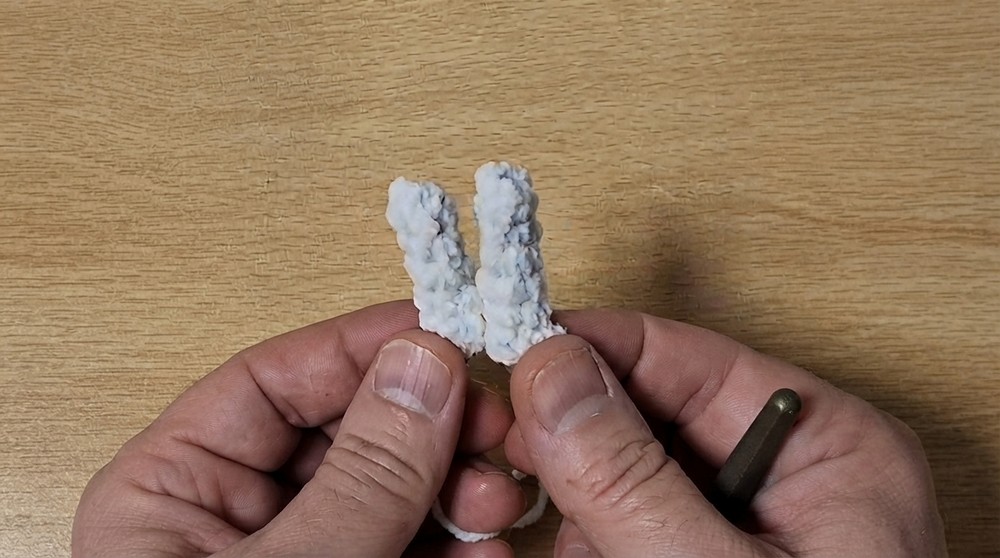
Closing: Flatten the open end and crochet across both sides with 2 sc to close. Leave a long tail for sewing onto the body later.
Ears (Make 2)
For each ear, use the main bunny color.
Round 1: Chain 2, work 6 sc into the 2nd chain from hook. (6 stitches)
Round 2: (1 sc, 1 inc) repeat 3 times. (9 stitches)
Rounds 3–5: Work sc in each stitch around. (9 stitches per round)
Fasten off and leave a long tail for sewing.
Carrot
Use orange velvet yarn or any preferred carrot color.
Round 1: Chain 2, work 6 sc into the 2nd chain from hook. (6 stitches)
Round 2: Work 1 inc, then 5 sc. (7 stitches)
Rounds 3–5: Work sc each stitch around. (7 stitches per round)
Fasten off and sew the opening closed.
Carrot Top (Leaves):
Using green yarn:
- Tie a knot, attach yarn to the top of the carrot.
- From this point, make 4 chains.
- Work 1 sc to anchor the chain back onto the carrot stem (use any stitch cluster at the top).
- Repeat chain segments (4 ch each) 4–6 times around the carrot top until enough "leaves" are formed. Secure and hide ends.
Hat
Use contrasting yarn for the bunny’s hat.
Round 1: Chain 2, work 6 sc into the 2nd chain from hook. (6 stitches)
Round 2: Work 6 inc (2 sc in each stitch). (12 stitches)
Round 3: Work 6 inc. (24 stitches)
Round 4: (3 sc, 1 inc) repeat 6 times. (30 stitches)
Round 5: (4 sc, 1 inc) repeat 6 times. (36 stitches)
Round 6: (5 sc, 1 inc) repeat 6 times. (42 stitches)
Round 7: (6 sc, 1 inc) repeat 6 times. (48 stitches)
Rounds 8–14: Work sc in each stitch around. (48 stitches per round)
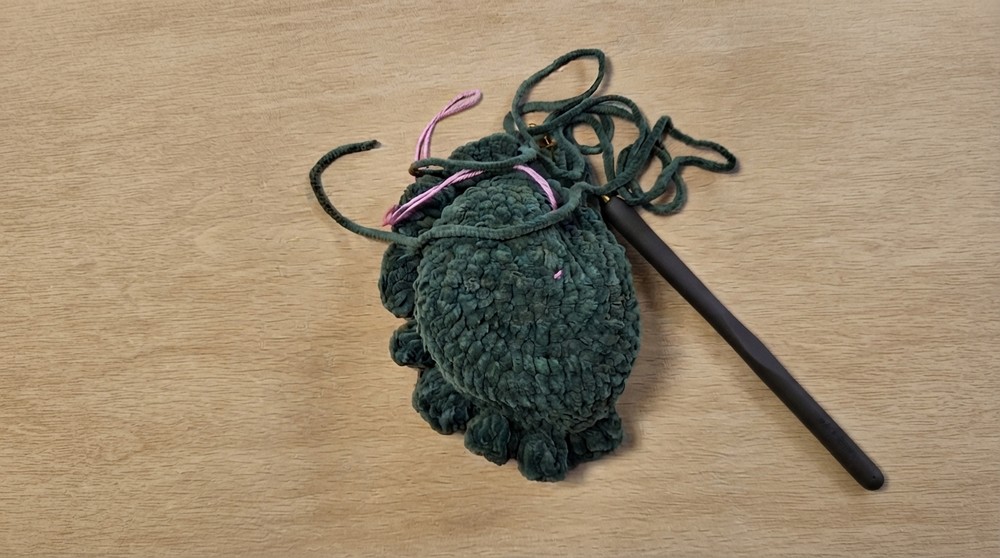
Round 15: Work (3 dc into one stitch, 2 dc into the next stitch) around. This creates the ruffled edge of the hat. Fasten off and leave a long tail for sewing.
Assembly
- Head to Body Attachment: Sew the head securely onto the body.
- Eyes: Insert safety eyes between Rounds 10–13 on the head, leaving 4 stitches between them. Lock them into place.
- Arms: Attach each arm to the sides of the body at approximately Round 18 or where the body shape feels appropriate.
- Ears: Flatten and lightly stitch each ear to form a fold. Attach symmetrically on either side of the head, just above the eyes.
- Carrot: Attach the carrot to one of the bunny’s arms or place it in front of the bunny for decoration.
- Hat Placement: Place the hat snugly on the bunny’s head and adjust the positioning so the back seam aligns with the bunny’s center. Sew the hat securely.
Finished Size
The completed velvet bunny measures approximately 25cm (10 inches), depending on yarn and stitch tension.
Conclusion
Congratulations, Your handmade velvet bunny is now complete. This plush and adorable creation makes an excellent gift or a delightful addition to your amigurumi collection. Feel free to experiment with different colors or embellishments to customize your bunny and its accessories.