
Free Crochet T Shirt Yarn Backpack Pattern With a Fun Twist
Spark your creativity with this free crochet T shirt yarn backpack pattern and turn simple yarn into a cute and useful bag for trips, gifts, and everyday use.
Pattern By MOP Crochet
A few months ago I was sorting through some old clothes and ended up with a big ball of t shirt yarn. It felt strong, soft, and colorful, and I wanted something useful that I could carry every day. That is how this free crochet t shirt yarn backpack pattern began. The backpack uses simple stitches like single crochet and chain stitch, along with an easy “back loop only” method that adds a nice textured look.
By working into the back loop, the fabric of the bag becomes firm enough for books, toys, snacks, or anything you want to take with you. Even someone very new to crochet can follow along, because the steps repeat and the thick yarn makes progress easy to see.
Free Crochet T Shirt Yarn Backpack Pattern That Looks Cute
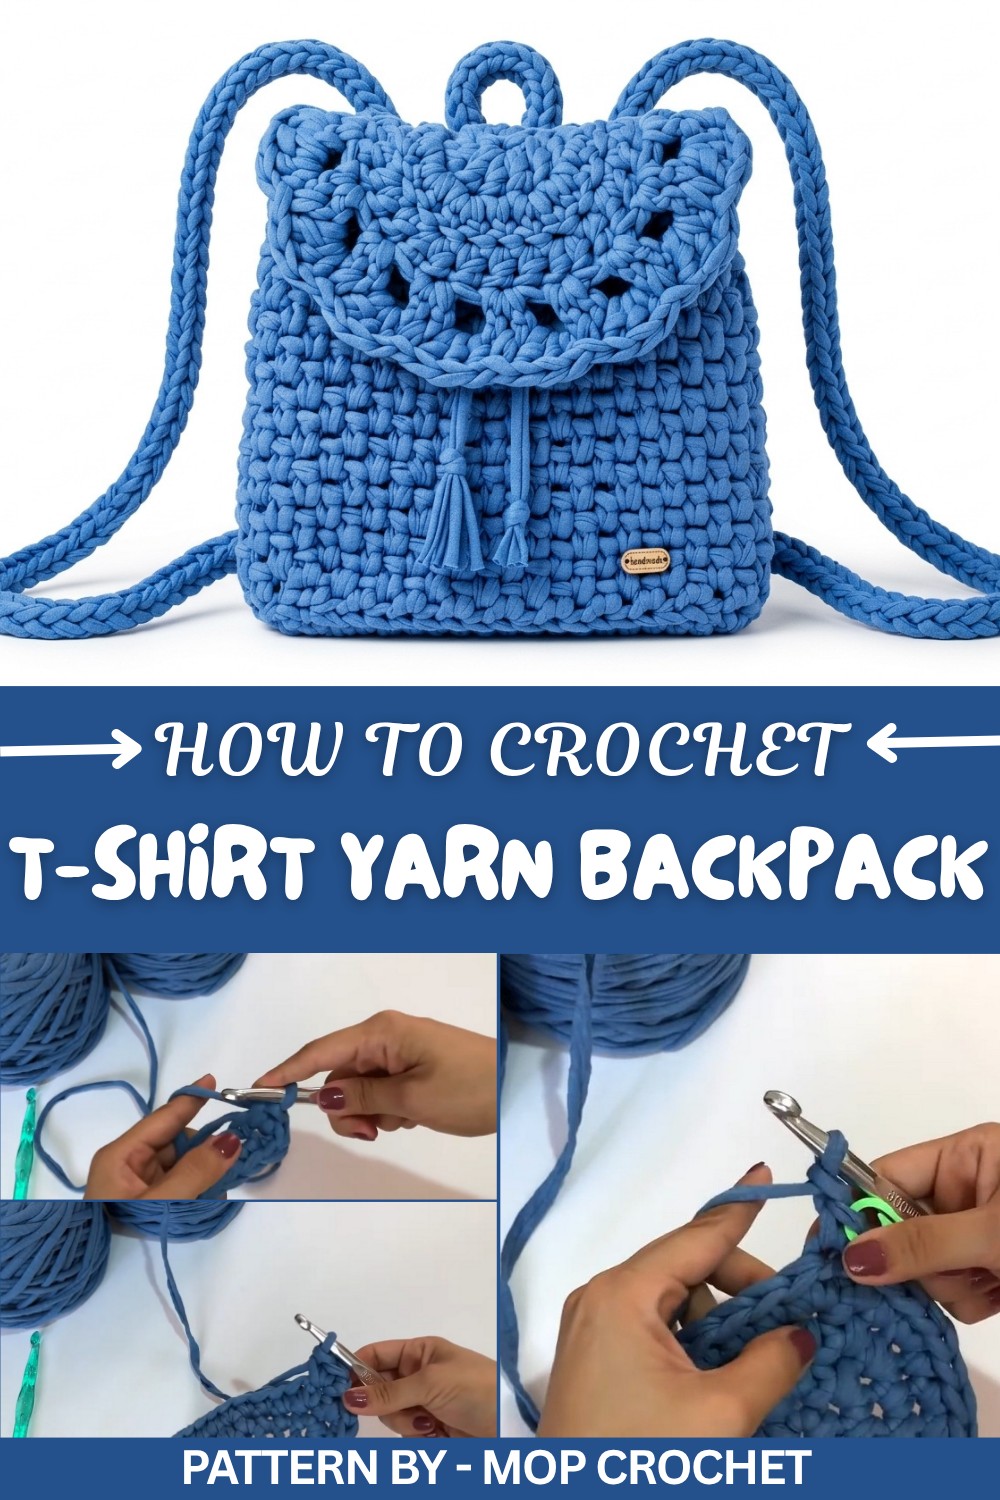
This backpack suits school days, short trips, or just walking around town. T shirt yarn makes it strong and comfy on the shoulders, and the shape holds up well without needing extra lining. The special back loop technique that gives the backpack its texture can also be used for other projects like tote bags, phone pouches, or small organizers. The pattern shows how to build a flat base, a tall body, a flap, and straps, so you learn several useful skills in one project, all with clear and gentle steps.
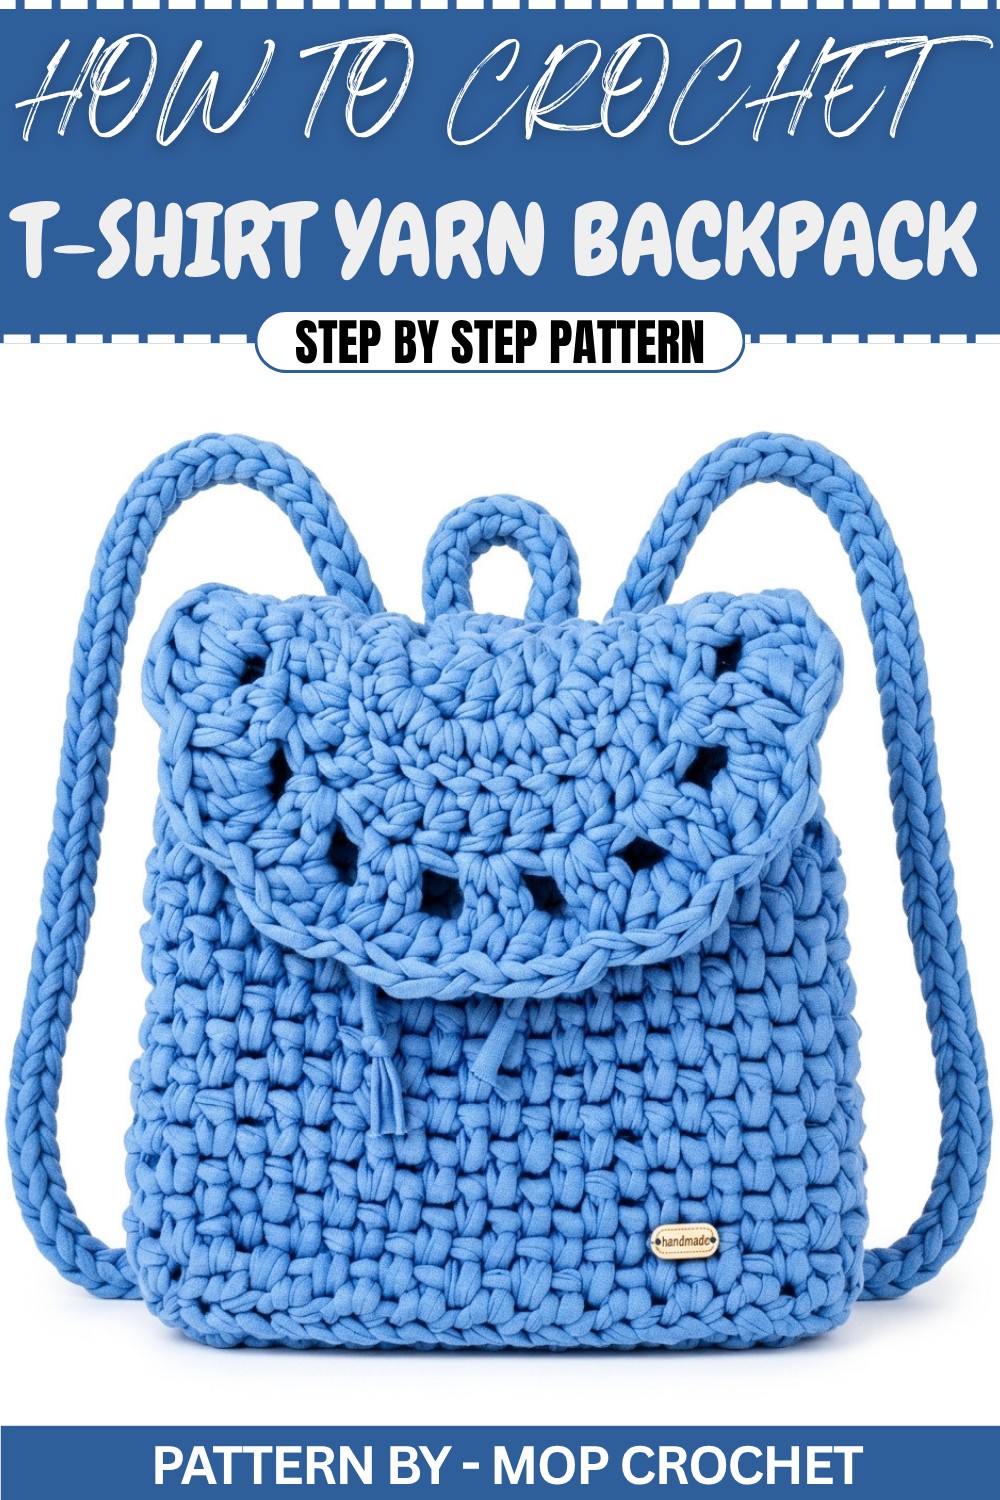
Once you feel confident with this backpack pattern, you can use the same ideas for many other items. The oval base can turn into a basket for toys or yarn storage. The textured sides work well for a sturdy market bag. The strap method can be reused for handles on other bags, keychains, or even a simple belt. By changing the height or width, you can make lunch bags, tablet sleeves, or small crossbody bags. One set of instructions opens the door to many helpful everyday pieces, all using t shirt yarn and the same friendly stitches.
Crochet T Shirt Yarn Backpack Pattern
This step by step crochet backpack pattern will help you create a structured and stylish backpack using t shirt yarn (trapillo) and a 9 mm hook. Follow the instructions carefully to achieve a professional looking finished product.
Quick Overview of Pattern
- Project: Crochet backpack
- Main Technique: Working in rounds and spirals
- Construction: Base, body, flap, and straps
- Size: Approx. 25 cm tall; strap length customizable
Notes
- Work tightly to ensure the backpack holds its shape.
- Use stitch markers to track the beginning/end of each round.
- Adjust increases to change the base size or shape.
Skill Level
Intermediate – Requires knowledge of basic crochet stitches and techniques such as increases, chain spacing, and working in back loops.
Materials
- Yarn: 1 kg of t shirt yarn (trapillo)
- Hook: 9 mm crochet hook
- Tapestry needle for sewing and weaving in ends
- Scissors
Gauge
10 sc = approx. 5 cm when worked in trapillo yarn with 9 mm hook.
Stitch Abbreviations
- ch: Chain
- sc: Single crochet
- hdc: Half double crochet
- dc: Double crochet
- sl st: Slip stitch
- inc: Increase (2 stitches in the same stitch)
Special Stitches
- Working into back loops: Insert your hook into the back loop only (not through both loops) to create texture.
- Chain spaces: Skipping stitches and working into chain spaces will form gaps for design.
The Crochet Pattern
Base (Rounds 1–4)
Start with the base of the backpack, which is oval shaped.
Round 1:
- Make a slip knot.
- Chain 13 (ch 13).
- Starting in the second chain from the hook, work:
- 10 sc across the chain (10 sc).
- In the last chain, work 3 sc to round the edge.
- Turn to work along the other side of the foundation chain.
- Work 10 sc into the other side.
- In the final chain, work 1 increase (2 sc in last chain).
- Join with a slip stitch (sl st) at the end of the round.
- Total stitches: 26.
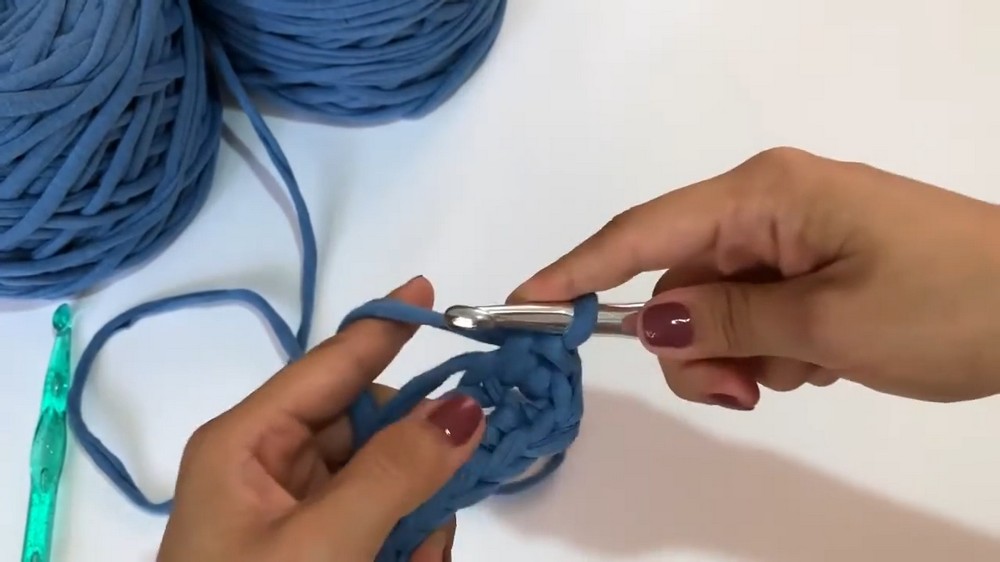
Round 2:
- Ch 1 to begin.
- Work into each stitch as follows:
- 1 inc in the 1st stitch (2 sc in the same stitch).
- 10 sc in the next stitches.
- 3 increases in the next 3 stitches (3 x 2 sc in 3 consecutive stitches).
- 11 sc in the next stitches.
- 2 inc in the final 2 stitches.
- Join with a sl st.
- Total stitches: 33.
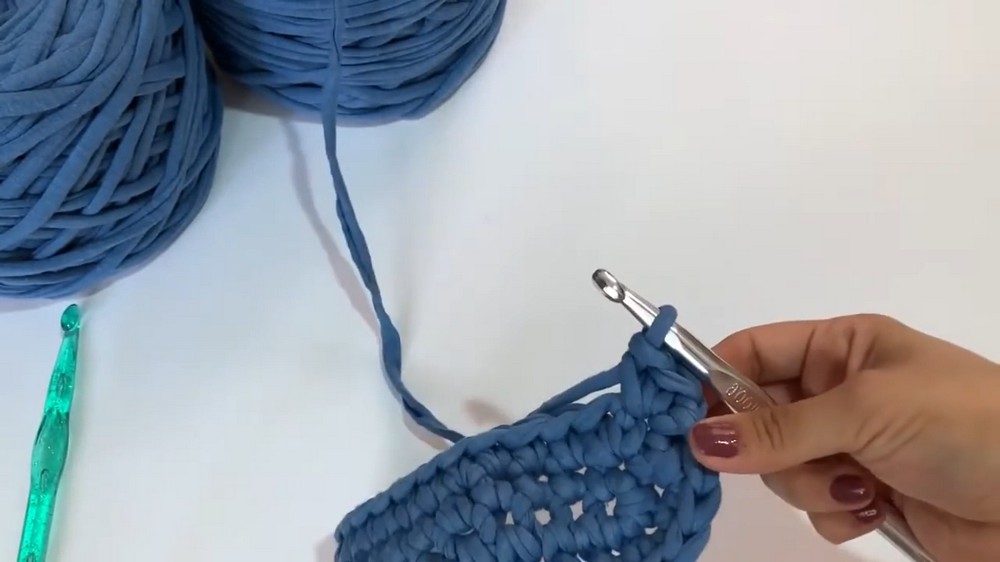
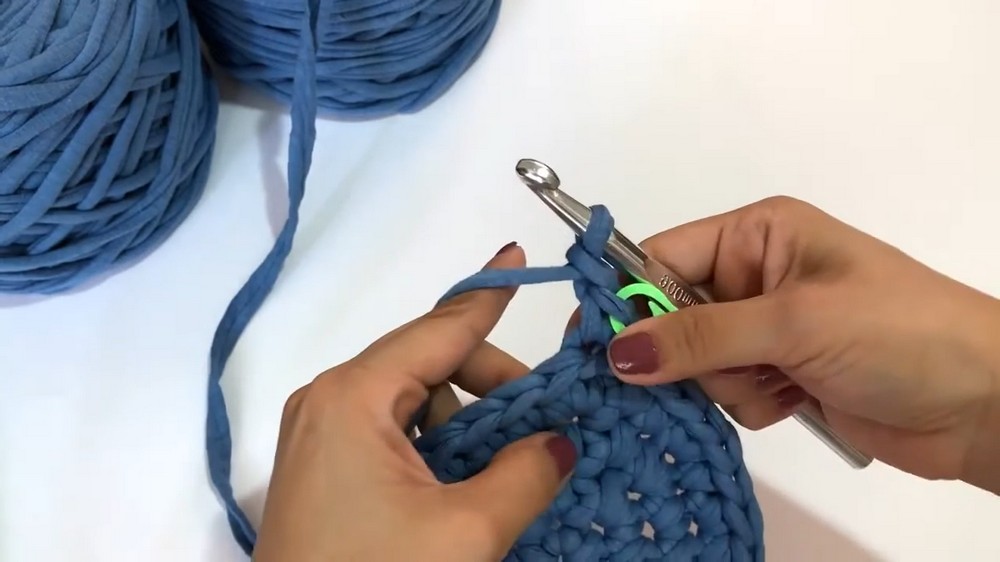
Round 3:
- Ch 1 to begin.
- Stitch pattern:
- 1 inc in the 1st stitch.
- 12 sc.
- Repeat (1 inc, 1 sc) for 3 times.
- 11 sc.
- Repeat (1 inc, 1 sc) for 2 times.
- Join with a sl st.
- Total stitches: 40.
Round 4:
- Ch 1 to begin.
- Stitch pattern:
- 1 inc in the 1st stitch.
- 13 sc.
- Repeat (1 inc, 2 sc) for 3 times.
- 12 sc.
- Repeat (1 inc, 2 sc) for 2 times.
- Join with a sl st.
- Total stitches: 47.
Body
The body is worked in spirals, using single crochet and chain spaces to form a neat texture.
Body rounds:
- Work the first round in the BACK LOOPS ONLY.
- Ch 1 to begin each round.
- Pattern for the body:
- (sc 1, ch 1, skip 1 stitch) — repeat this pattern all the way around.
- Continue working in spirals for the desired height (approx. 25 cm for this backpack).
Flap
The flap is worked onto the back of the backpack base. Locate the center of the back to begin.
Starting the flap:
- Attach yarn 2 stitches before the 9th center stitch on the back of the bag base.
- Row 1:
- Work 3 dc into the center stitch.
- Close with a sl st into the next stitch.
- Row 2:
- Ch 1, turn your work.
- Work:
- 1 inc in the first stitch.
- 1 dc across all stitches.
- Finish with 1 inc in the last stitch.
- Continue building the flap by alternating rows of increases and regular stitches, creating a slight increase in width with each row.
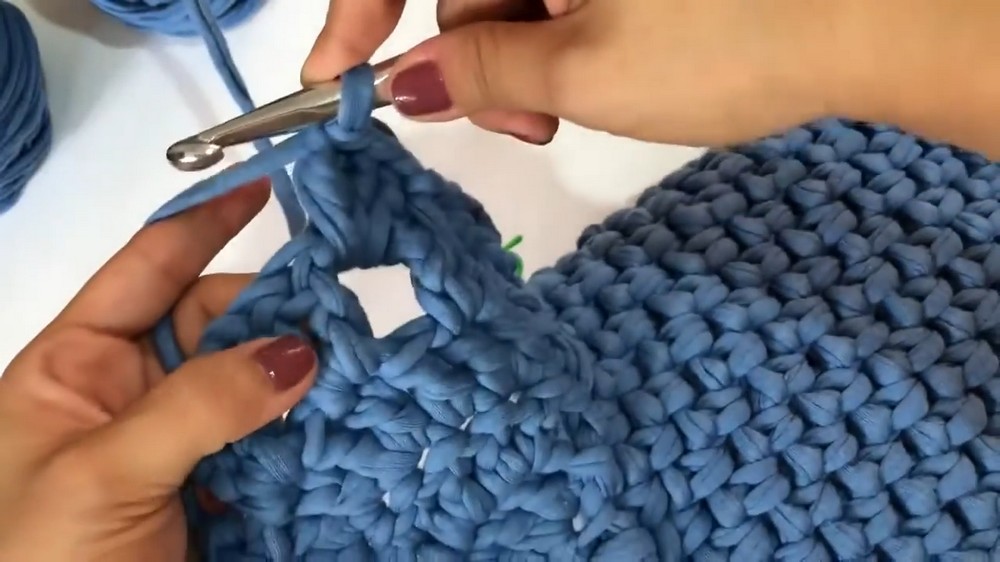
Edging the flap:
- At the final row, work 2 chains in each skipped stitch to create holes as decorative spaces.
Straps
The straps are worked separately and then sewn onto the backpack.
Strap pattern:
- Attach yarn with a sl st.
- Ch 3, then:
- Insert the hook into the 2nd chain and pull up a loop (keep the loop on the hook).
- Repeat for the 3rd chain so you now have 3 loops on your hook.
- Continue pulling up loops one by one and keeping all loops on the hook.
- Release the hooks from the loops from the last row, then secure each loop with a slip-through.
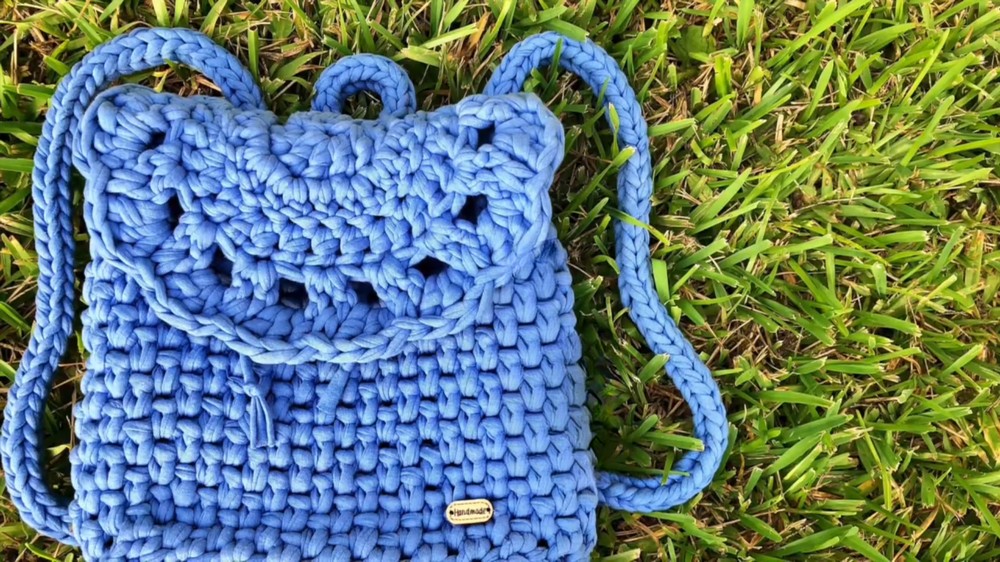
Strap lengths:
- Work until straps reach your desired length:
- 15 cm for the small carry handle.
- 55 cm each for the two long straps.
Assembly
Attaching straps:
- Sew the carry handle (short strap) to the top of the backpack.
- Attach the two long straps securely to the bottom and top sides to create adjustable backpack handles.
Flap:
- Sew the finished flap onto the back panel for a clean, polished look.
Finished Size
- Backpack Height: Approx. 25 cm
- Straps: Customizable (default sizes: 15 cm and 55 cm).
Conclusion
Congratulations on completing your crochet backpack. This versatile accessory combines functionality and style. It’s perfect as a gift or as your go to bag.