
Cute Crochet Ice Cream Cone Earrings Pattern for Joyful Style
Simply spice up your jewelry box with the Free Crochet Ice Cream Cone Earrings Pattern and enjoy a scoop of creative style.
Bright colors and playful shapes bring a fun vibe to accessories that can instantly lift your mood. These crochet ice cream cone earrings have that delightful charm, combining sweetness with a handmade touch that’s perfect for kids and adults alike. Using low (single) crochet, double crochet, and chain stitches, the pattern builds a textured fan shape that looks just like a little ice cream cone. The lightweight pattern makes them comfortable to wear, while the cheerful colors add a splash of happiness to any outfit.
Free Crochet Ice Cream Cone Earrings Pattern for Treat Lovers
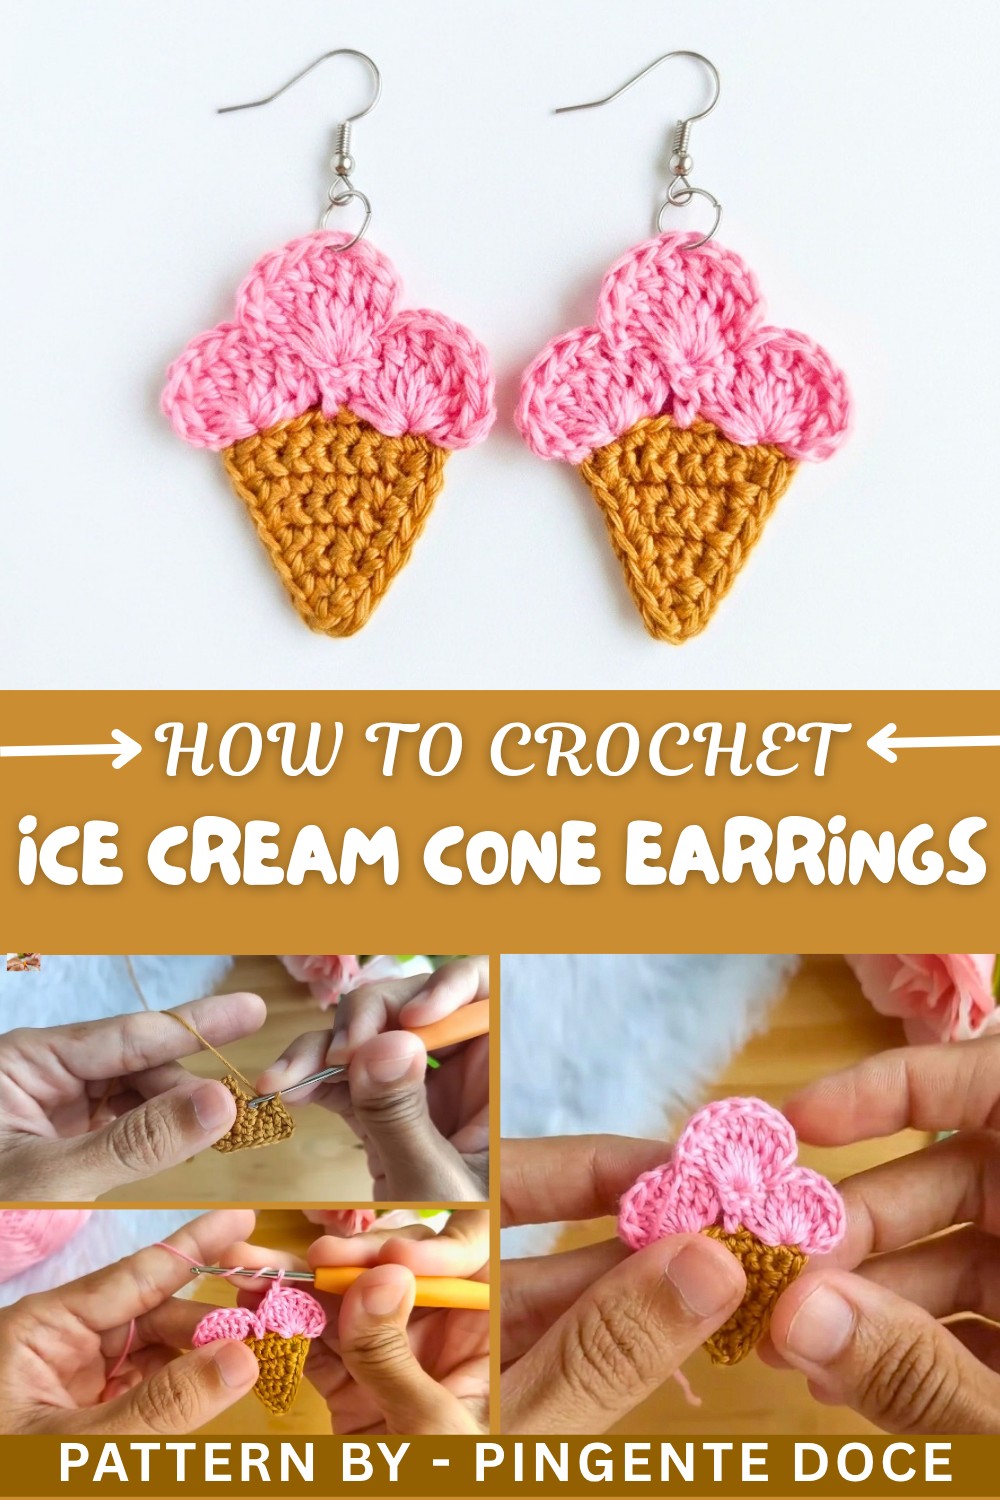
The project begins by working small rows of single crochet stitches to form the cone’s base, followed by neat increases to shape the fan. Then, double crochet stitches and chains create the ice cream scoop’s fluffy texture. The pattern is simple enough for beginners, including children who want to try their hand at crochet, but still offers enough detail to keep it interesting. Once finished, a layer of fabric glue or crochet resin helps keep the earrings firm and durable. Adding hooks and jump rings turns your crochet piece into a ready-to-wear accessory that’s perfect for gifting or selling at craft fairs.
Other Sweet Possibilities from This Pattern
By adjusting the size or colors, you can turn this pattern into cute appliqués for hats, bags, or even as fun decorations on blankets. Smaller versions could become keychains or zipper pulls, while larger ones might work as playful brooches. Adding beads or embroidery details can also personalize each piece. This versatile pattern offers a joyful way to experiment with stitches and colors while making charming accessories that bring smiles.
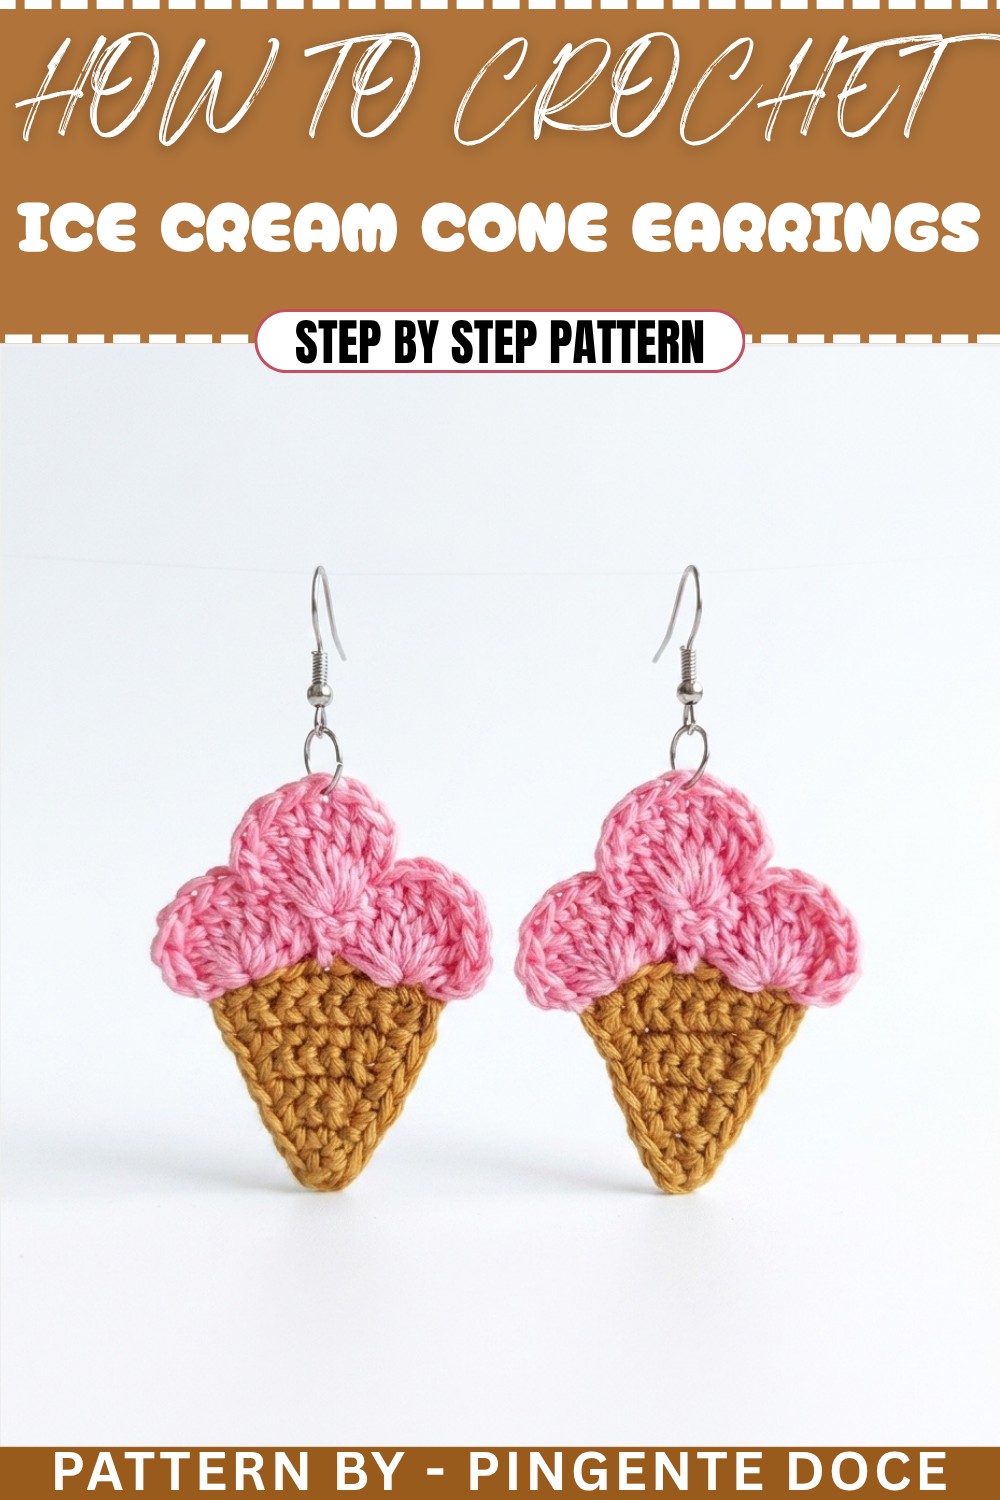
Crochet Pattern: Adorable Ice Cream Earrings
Create a whimsical and stylish pair of ice cream-shaped earrings with this fun crochet pattern! These earrings are perfect for children or adults who work in child-centric professions such as teachers, pediatricians, or dentists. Not only are they a quick and rewarding project, but they’re also ideal for sellable items or thoughtful gifts. Designed with pops of color and lightweight embroidery floss yarn, these earrings are sure to be a sweet statement piece.
Uses of This Pattern
- Accessories for Kids/Adults: Great for playful outfits or themed events.
- Gift Idea: An adorable handmade gift that’s perfect for children or people who work with kids.
- Profitable Crochet: Quick and attractive earrings to sell at crochet fairs or online.
Skill Level & Terminology
- Skill Level: Beginner/Confident Beginner
- Terminology: US crochet terms are used throughout.
Materials & Tools
- Yarn:
- Embroidery floss or lightweight cotton yarn in two colors (e.g., brown for the cone and pink for the ice cream).
- Crochet Hook: 1.75mm hook or size appropriate to your yarn.
- Scissors: For cutting excess threads.
- Tapestry/Sewing Needle: To weave in loose ends.
- Glue: Fabric glue or resin for stiffening.
- Paintbrush: Medium-sized, for applying glue.
- Earring Hooks and Hoops: 2 small hoop earrings and 2 earring hooks.
Gauge
Gauge is not essential for this project; simply ensure uniform tension. Tight, neat stitches help your earrings maintain their structure and shape.
Abbreviations
- sl st – Slip Stitch
- ch – Chain
- sc – Single Crochet
- hdc – Half Double Crochet
- dc – Double Crochet
- yo – Yarn Over
Special Stitch Instructions
Double Treble Crochet (dtr):
- Yarn over (yo) twice before inserting the hook into the stitch.
- Yo and pull up a loop (4 loops on hook).
- Yo, pull through the first 2 loops (3 loops remain).
- Yo, pull through the next 2 loops (2 loops remain).
- Yo, pull through the last 2 loops to finish the stitch.
Finished Size
Each earring is approximately 2.5 inches in length, excluding the earring hooks.
What You’ll Learn From This Pattern
- How to shape a triangle (cone) using increases.
- Creating double treble crochet (dtr) clusters for a decorative fan shape.
- Joining fan elements to form three-dimensional details.
- Techniques for stiffening crochet pieces to maintain their shape.
- Attaching jewelry hardware to crochet pieces to create wearable art.
The Pattern
Part 1: The Cone (Brown Yarn)
- Foundation Start:
- Make a slip knot and then 2 ch.
- Row 1:
- Insert the hook into the first chain and make 1 sc. (1 sc)
- Row 2:
- ch 1, turn.
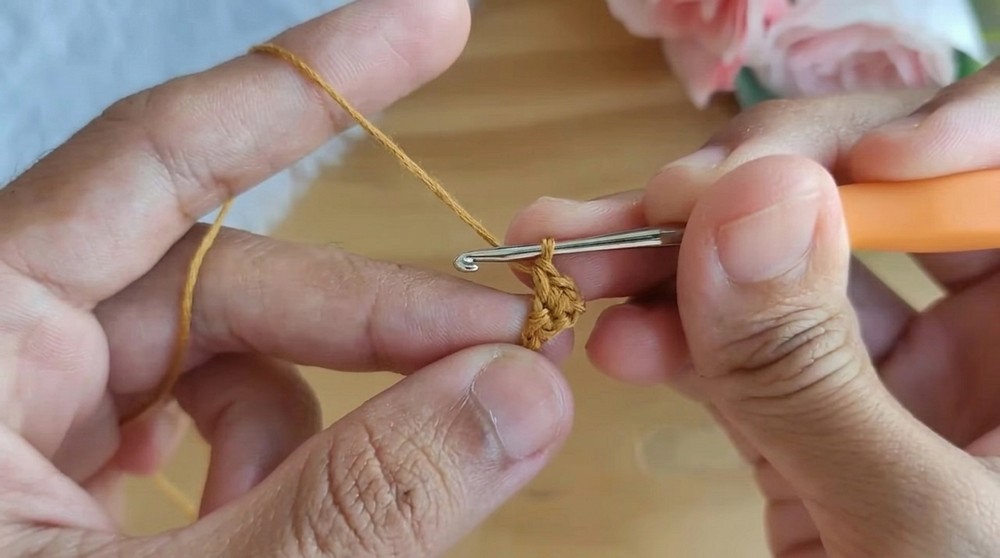
- Work 3 sc into the sc from the previous row. (3 sc)
This creates the tip of the cone. The increase makes the base slightly wider as we work upward.
- Row 3:
- ch 1, turn.
- Work 3 sc, placing 1 sc in each stitch. (3 sc)
This row maintains the width of the cone and adds structure.
- Row 4:
- ch 1, turn.
- Work an increase in the first stitch (2 sc in the same stitch), then 1 sc in the next stitch, and finish with another increase in the last stitch. (5 sc)
- Row 5:
- ch 1, turn.
- Work 1 sc into each stitch across (5 sc).
- Row 6:
- ch 1, turn.
- Work an increase in the first stitch, then 3 sc (1 sc in each stitch), and finish with another increase in the last stitch. (7 sc)
- Row 7:
- ch 1, turn.
- Work an increase in the first stitch, then 5 sc (1 sc in each stitch), and finish with another increase in the last stitch. (9 sc)
- Edging Around the Cone:
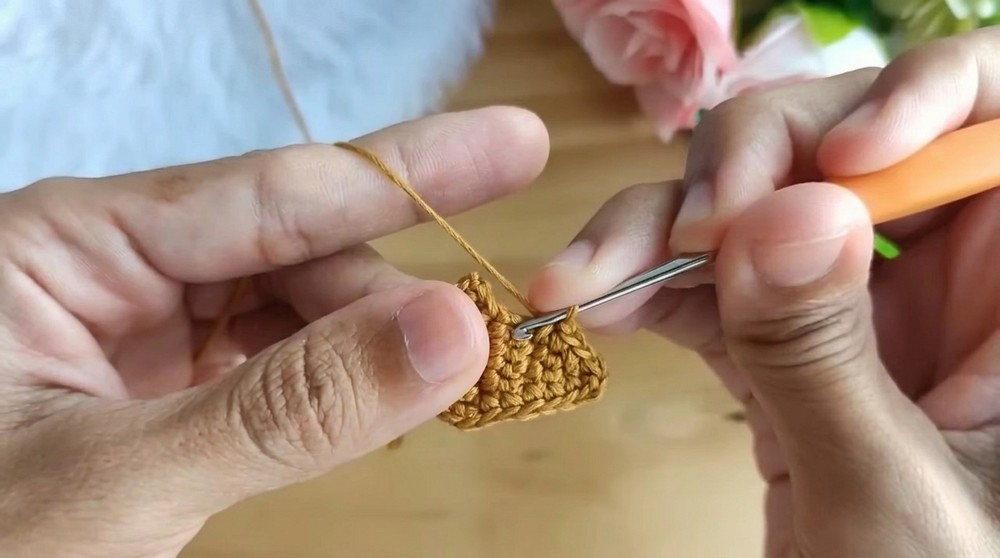
- Do Not Fasten Off. Instead, start working sc evenly along the edges of the triangle-shaped cone. Work extra sc at the tip of the cone to emphasize the point.
- Once you have worked around, sl st into the first sc to join, and then cut the yarn, leaving a tail for sewing or weaving in.
The low stitch edging will clean up the edge and give the cone a polished look.
Part 2: Ice Cream Scoop (Pink Yarn)
- Attach Pink Yarn:
- Insert the pink yarn into the first sc of the last round (brown cone). ch 1.
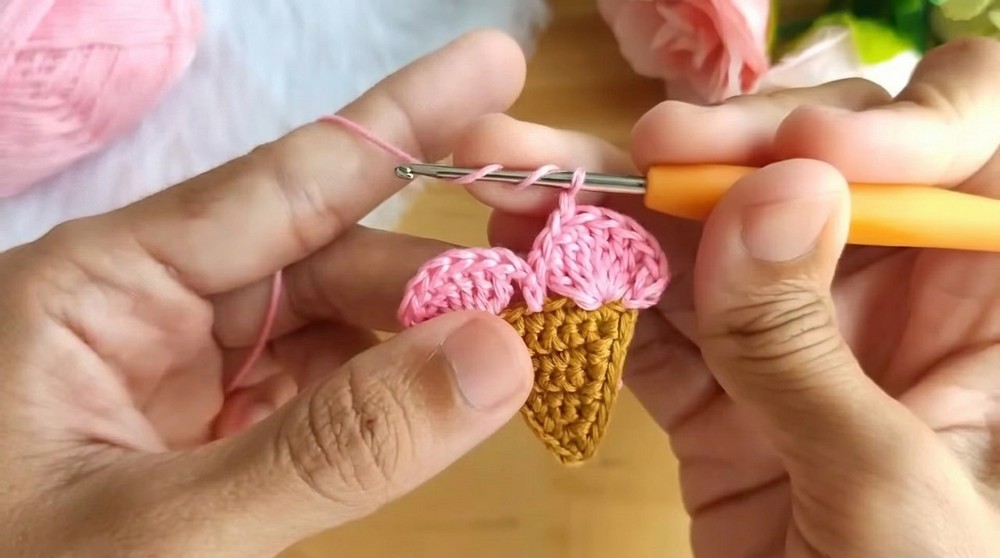
- Create a Double Treble Fan:
- yo twice, insert hook into first stitch, work 1 dtr.
- In the same stitch, work 7 more dtr for a total of 8 double treble crochet stitches in the same base stitch.
- Anchor the Fan:
- ch 1, skip 2 sc at the base, and work 1 sc into the third stitch to secure the fan.
- Repeat for Additional Fans:
- Repeat the process to create 3 total fans across the top of the cone.
These fans create a whimsical, layered "ice cream" scoop effect.
Part 3: Connecting Fans
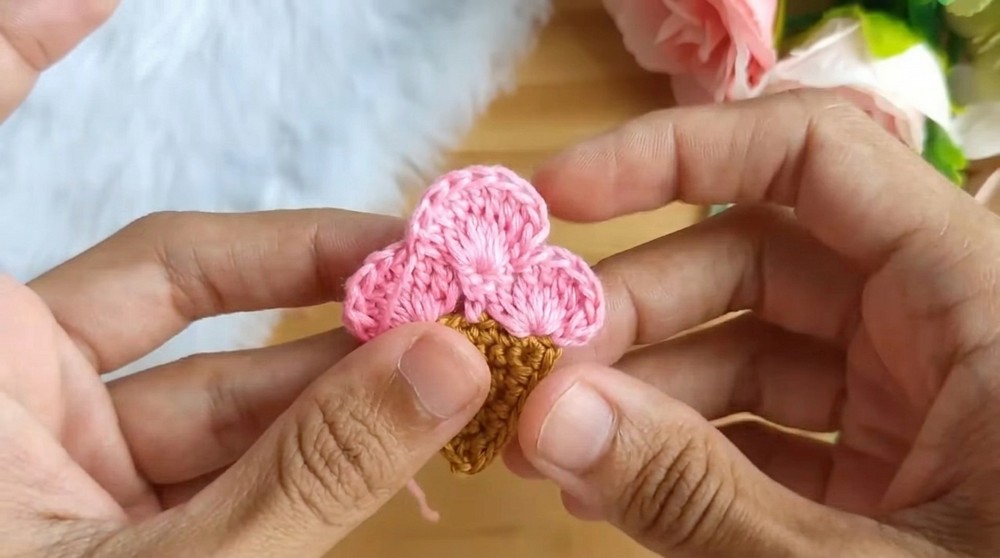
- Bridge Between Fans:
- Attach pink yarn between the first and last stitches of adjacent fans.
- Work 8 dtr into this joining point to create a continuous scoop look.
This step ensures that the fans look connected seamlessly, forming a uniform ice cream scoop.
Assembly & Finishing
- Weave in Ends:
- Use a tapestry needle to secure and hide all loose yarn ends by weaving them through the back of the work.
- Stiffen and Shape:
- Apply fabric glue (or a watered-down glue mixture) to the back of the piece using a medium paintbrush. Ensure the glue penetrates the stitches without overflowing onto the front. Allow the piece to dry completely.
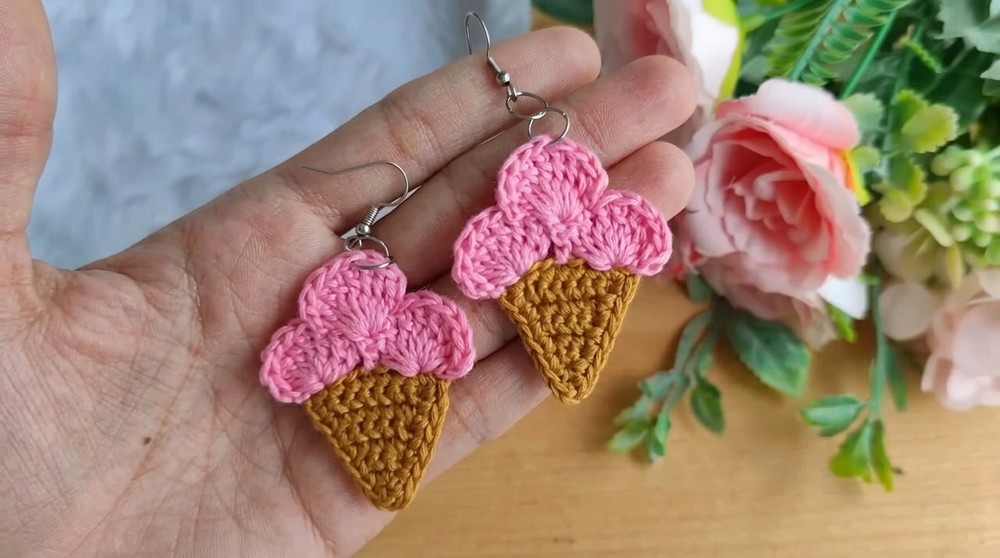
- Attach Jewelry Findings:
- Use a small jump ring to attach the hoop earring at the top center of the ice cream scoop.
- Finishing Touches:
- Add one more jump ring to connect the earring hook to the hoop.
Difficulties & Solutions
Difficulty: Working Double Treble Crochet (dtr)
Double treble crochet stitches can be tricky to manage as they involve multiple yarn-overs.
- Solution: Practice yarn control and tension with the dtr stitch before making the fans. Use a slightly larger hook for looser stitches if needed.
Difficulty: Maintaining Shape
Without stiffening, the earrings may lose their charm and structure.
- Solution: Apply fabric glue mixed with water evenly to stiffen the piece. Use a paintbrush for precise application.
Why You’ll Love This Pattern
This ice cream-shaped earring pattern is fun, imaginative, and customizable. You’ll love how quickly the project comes together, especially with its playful pattern and vibrant colors. It’s a perfect gift item or addition to your crochet business. Add your own twist with different ice cream "flavors" or yarn textures to make it truly unique.
Sprinkle your creativity into this project, and enjoy the sweet satisfaction of creating your own wearable art.