
Free Crochet Sunflower Pattern for Gorgeous Table Decor
Add a pop of yellow to your yarn crochets with this Free Crochet Sunflower Pattern that’s perfect for bringing a warm and happy touch to your creative projects.
Sunflowers are a timeless symbol of happiness and warmth, often reminding us of sunny days and nature’s beauty. Inspired by their vibrant petals and cheerful personality, crochet designer Tejiendo Con Criss, shares an easy and creative tutorial to make a sunflower in a pot. Known for blending practicality with artistry, Criss designs thoughtful and charming crochet projects.
This free crochet sunflower pattern is all about bringing a touch of nature indoors. The project is as functional as it is decorative, whether you’re looking for a centerpiece for your table, a thoughtful handmade gift for someone special, or simply a cheerful accent to brighten your day. The sunflower is detailed and lifelike, standing tall in its handmade pot, complete with a sturdy stem and textured petals. Its design makes it eye catching yet approachable and quick to make, making it ideal for home décor or as a gift for occasions like Mother’s Day or spring celebrations.
Free Crochet Sunflower Pattern for Stunning Wall Decor
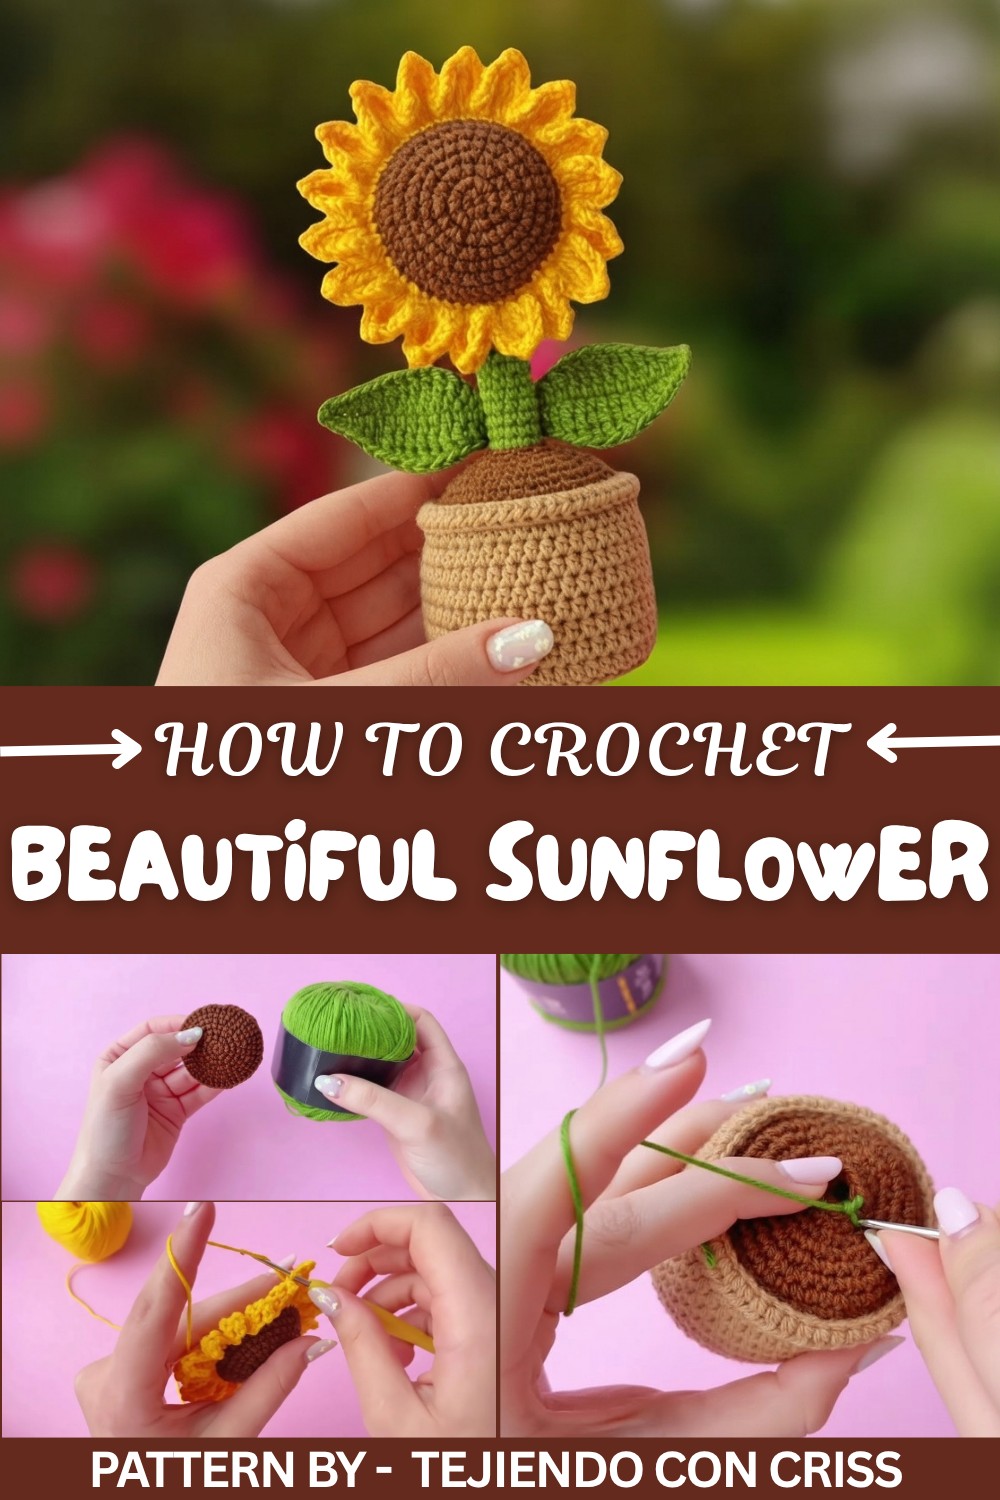
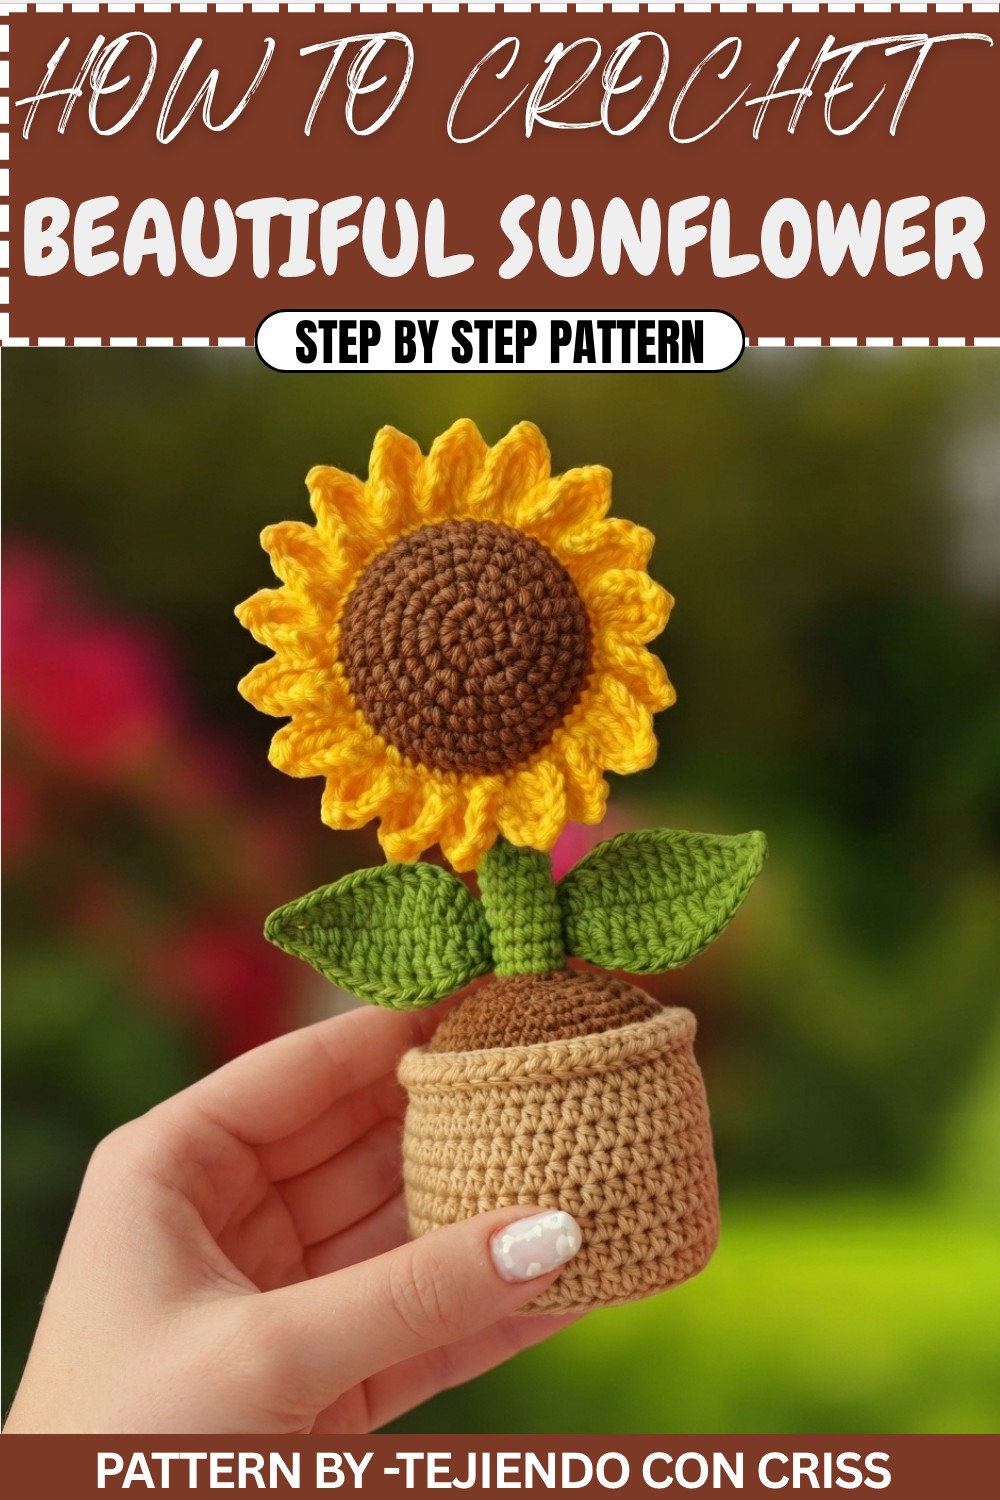
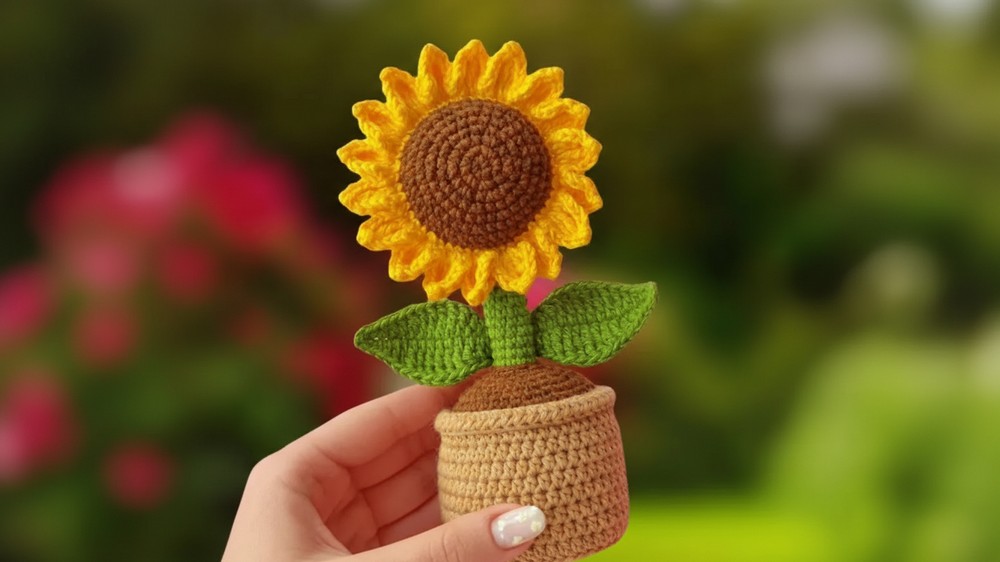
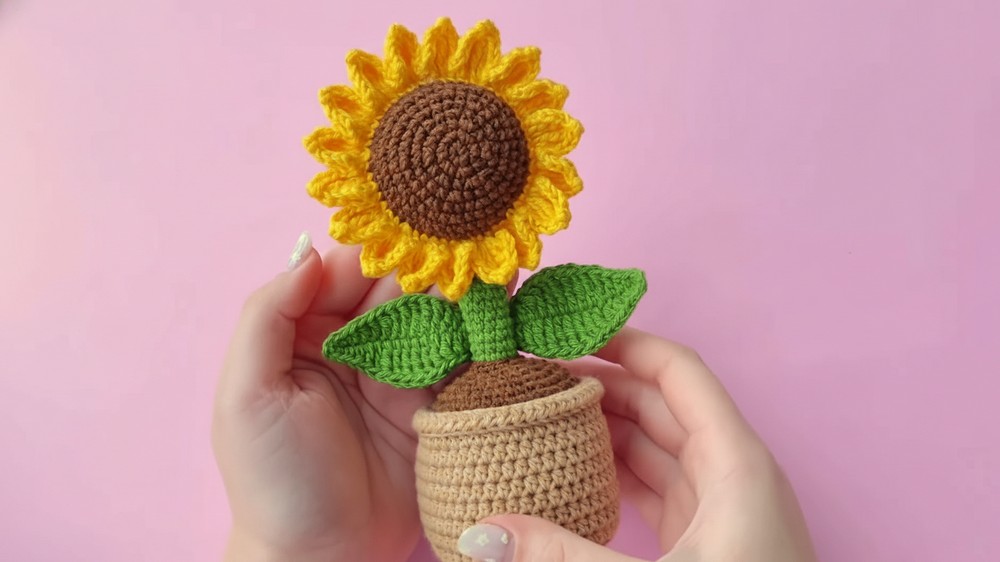
The sunflower’s shape is what stands out most, its striking yellow petals radiating outward, a textured brown seed center, a sleek green stem, and charming leaves. The pot adds an element of stability and structure, crocheted carefully to stand upright with a hidden plastic base, ensuring the sunflower stays sturdy.
This project is worked in pieces, including the sunflower, petals, stem, leaves, and pot, which are later assembled for a polished finish. With vibrant threads and thoughtful details, it allows you to unleash your creativity while working on something both beautiful and functional. Perfect for beginners and seasoned crocheters alike, this pattern combines joy and crochet into a single project.
Crochet Sunflower in Pot Pattern
This guide provides detailed instructions to create a stunning crochet sunflower in a pot with petals, a stem, leaves, and soil, perfect for gifting or decorating your space. Follow each step closely to ensure accurate construction.
Quick Overview
- Sunflower Center: Brown and green disks.
- Petals: Yellow petals attached to the flower center.
- Pot: Light brown with a folded edge.
- Soil: Brown section with decreases.
- Stem: Green structure with wire for support.
- Leaves: Two green leaves crocheted symmetrically.
Notes
- Work stitches in continuous rounds unless noted otherwise.
- Use yellow yarn for petals, brown for soil and flower center, green for leaves, and light brown for the pot.
- Adjust stuffing quantity for desired firmness.
- Use a stitch marker to track rounds or pause after specific steps for assembly if necessary.
Skill Level
Intermediate: Requires knowledge of basic stitches, increases, decreases, crocheting in continuous rounds, and working into different loops.
Materials
- Yarn:
- Brown (sunflower center and soil)
- Green (stem and leaves)
- Yellow (petals)
- Light brown (pot)
- Hook: Crochet hook (2 mm)
- Wire: Sturdy, flexible wire (for stem support)
- Plastic Sheet: For the stable pot base
- Stuffing: Polyester fiberfill/cotton stuffing
- Hot glue gun or silicone glue
- Tapestry needle
- Scissors
Stitch Abbreviations
- ch: Chain
- sc: Single crochet
- hdc: Half double crochet
- dc: Double crochet
- tr: Treble crochet
- dtr: Double treble crochet
- inc: Increase (2 stitches worked in the same stitch)
- dec: Decrease (combine 2 stitches into 1)
- slst: Slip stitch
- BLO: Back loops only
- FLO: Front loops only
The Crochet Pattern
Flower Center
(Make 2: one in Brown for the front, and one in Green for the back.)
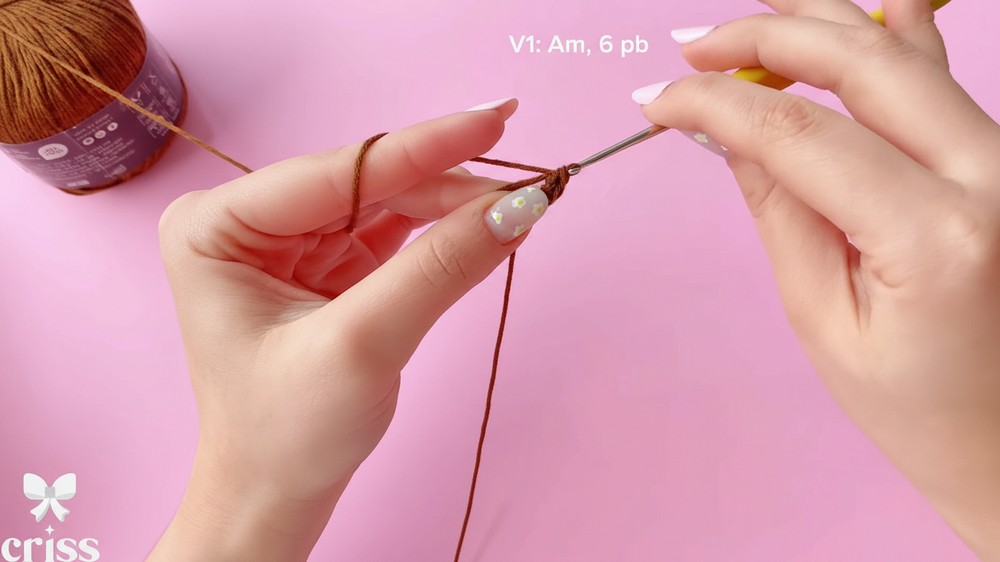
- Round 1: Make a magic ring. Work 6 sc into the ring. Pull the tail to tighten.
(6 sts) - Round 2: Work 6 increases (2 SC in each stitch).
(12 sts) - Round 3: Work (1 SC, 1 increase) six times.
(18 sts) - Round 4: Work (1 increase, 2 SC) six times.
(24 sts) - Round 5: Work (3 SC, 1 increase) six times.
(30 sts) - Round 6: Work 1 SC, 1 increase, (4 SC, 1 increase) repeated five times, then finish with 3 SC.
(36 sts) - Round 7: Work (5 SC, 1 increase) six times.
(42 sts) - Round 8: Work (2 SC, 1 increase, 6 SC, 1 increase) repeated five times, then finish with 4 SC.
(48 sts)

Repeat the instructions for the green center.
Set both completed parts aside.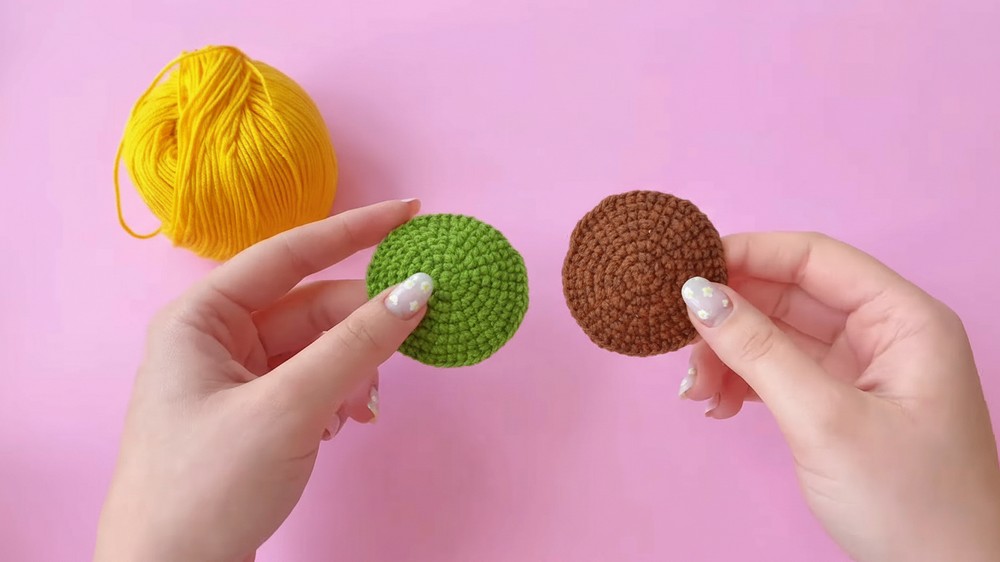
Assembling Petals
Step 1: Place the Brown Center (front piece) and Green Center (back piece) with their wrong sides facing each other. Insert your hook through the back loops of both pieces using yellow yarn.
- Round 1: Work (7 SC, 1 increase) six times, joining the centers together. Pause before completing the last repetition to stuff the center firmly. Once stuffed, complete the round.
(54 sts)
Petals
You will create 18 petals equally spaced around the sunflower.
Each petal (worked with yellow yarn) follows this sequence in one stitch:
- Chain 2.
- In the next stitch, work:
- 1 SC,
- 1 dc,
- 1 tr.
- Chain 2 and slst into the top of the tr (to form a picot).
- In the same stitch, work:
- 1 tr,
- 1 dc,
- 1 SC.
- Chain 2, slst into the next stitch of the round.
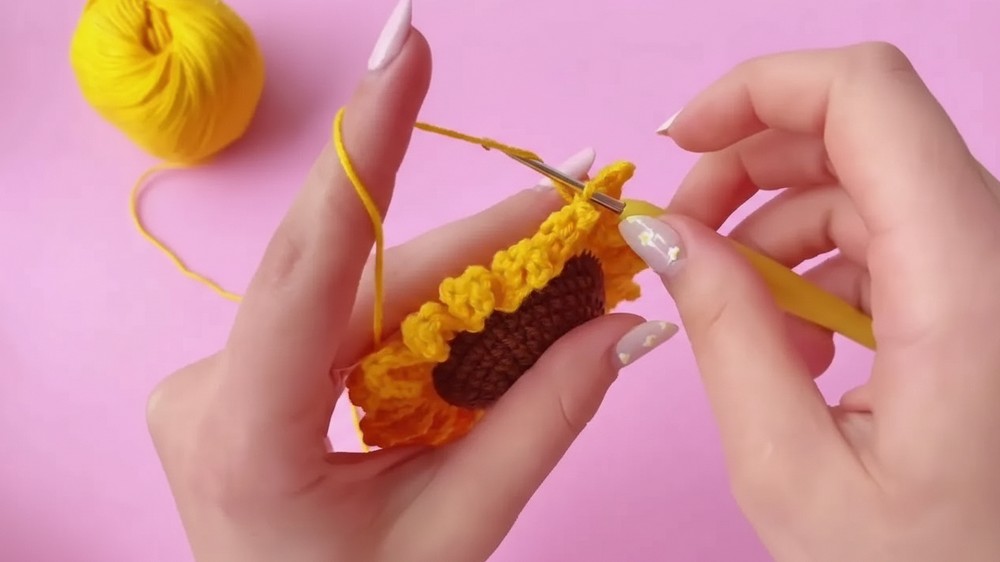
Repeat this sequence for all 18 petals around the sunflower center.
Pot Base
Base
Start with light brown yarn:
- Round 1: Magic ring, work 8 SC into the ring.
(8 sts) - Round 2: Work 8 increases (2 SC in each stitch).
(16 sts) - Round 3: Work (1 SC, 1 increase) repeated eight times.
(24 sts) - Round 4: Work (1 increase, 2 SC) repeated eight times.
(32 sts) - Round 5: Work (3 SC, 1 increase) repeated eight times.
(40 sts) - Round 6: Work 1 SC, 1 increase, (4 SC, 1 increase) repeated seven times, finish with 3 SC.
(48 sts)
Body
- Round 7: Work 48 HDC.
- Round 8: Work 48 HDC in back loops only.
(28:40) - Round 9–16: Work 48 HDC in regular stitches (not BLO or FLO).
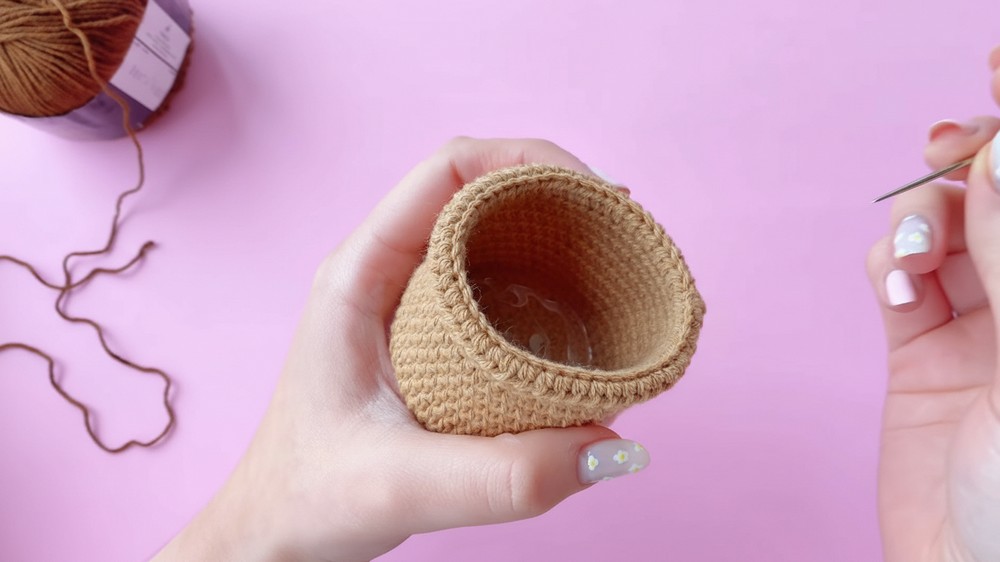
- Round 17: Work 48 HDC in front loops only (FLO). Fold the edge outward to create a clean rim.
Plastic Base
Use the pot as a stencil to trace the plastic sheet or acetate. Cut out the circular shape to fit the pot. Insert the base into the pot and attach it using hot glue or silicone glue.
Soil (Brown Yarn)
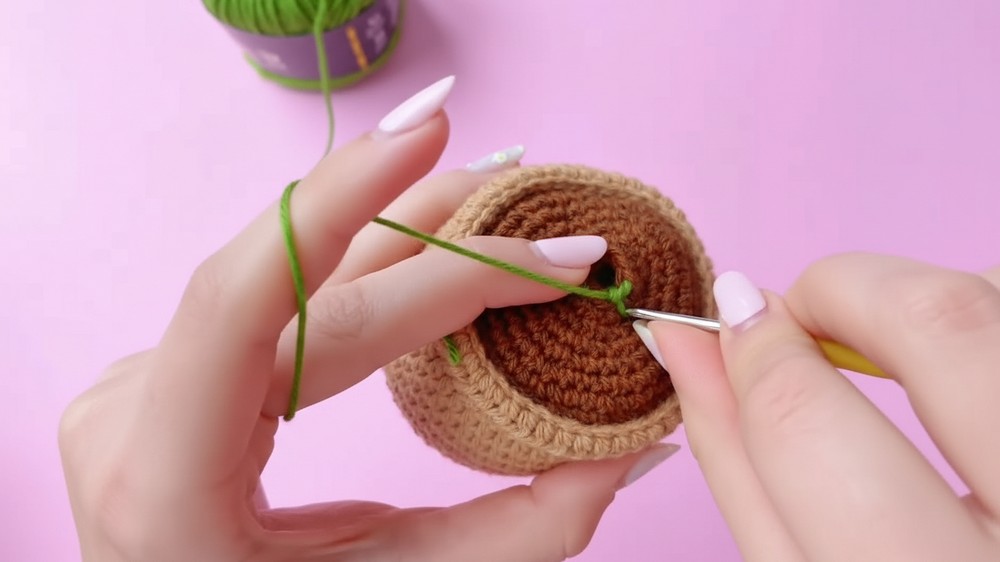
- Attach Brown Yarn to the exposed loops from Round 6 of the pot’s base.
- Round 1: Work 48 SC uniformly around the pot.
- Round 2: Work (6 SC, 1 dec) repeated six times.
(42 sts) - Round 3: Work (1 SC, 1 dec, 5 SC, 1 dec) repeated five times. Finish with 3 SC.
(36 sts) - Round 4: Work (4 SC, 1 dec) repeated six times.
(30 sts) - Round 5: Work (1 dec, 3 SC) repeated six times.
(24 sts) - Round 6: Work (2 SC, 1 dec) repeated six times.
(18 sts) - Round 7: Work (1 dec, 1 SC) repeated six times.
(12 sts)
Stem
Switch to green yarn in the final stitch of the Soil section:
- Round 1: Work 12 SC in back loops only (BLO).
(12 sts) - Round 2–12: Continue working 12 SC in regular stitches, forming the stem. Insert stuffing and wire into the stem as you go (39:35).
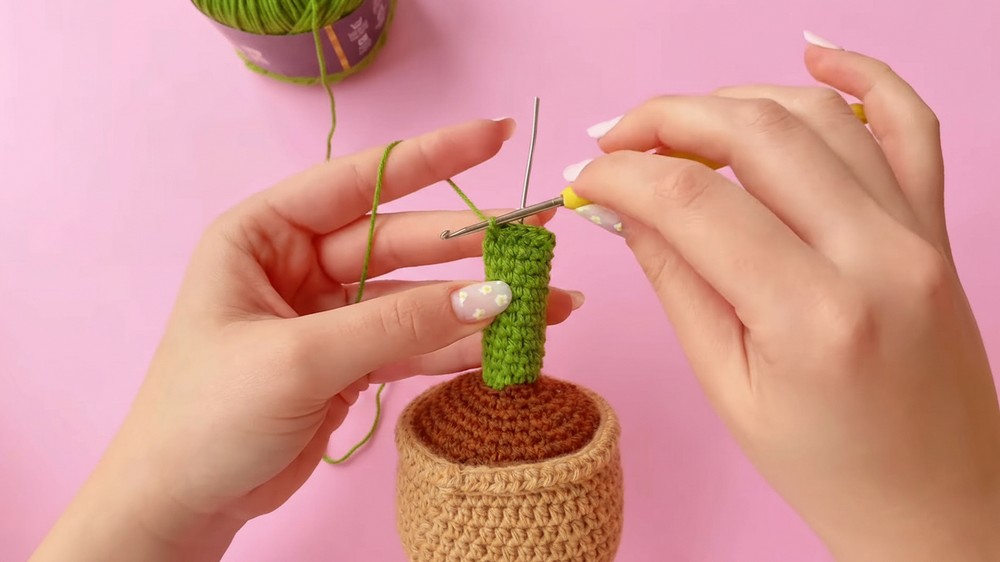
Closing:
Pinch the bottom and stitch together with 5 SC worked through both sides simultaneously (41:26).
Leaves
Make 2 leaves using green yarn:
- ch 17, starting from the 2nd chain from the hook:
- 1 SC,
- 1 hdc,
- 2 dc,
- 2 dtr (double-trebles),
- 3 tr,
- 2 dtr,
- 2 dc,
- 1 hdc,
- 2 SC.
- ch 2, then repeat the exact sequence down the other side in mirror image.

Assembly
- Insert the wire into the pot base and ensure it is tightly secured against the bottom.
- Slide the sunflower onto the wire, adjust the stem position, and sew or glue securely.
- Attach the leaves to the stem using glue or sewing.
- Adjust the rim of the pot outward for aesthetic appeal and ensure the sunflower stands upright.
Conclusion
Congratulations, You've created a beautiful sunflower in a pot. Perfect for gifts, decor, or simply brightening your space.