
Free Crochet Socks Slippers Pattern for Lazy Sunday Feet
Give your style a boost with this easy crochet socks slippers pattern, perfect for creating comfy and unique footwear for any occasion.
One evening, while searching for something quick and cozy to crochet, I stumbled upon the perfect idea, sock slippers. They are a delightful mix of comfort and practicality. These crochet sock slippers are soft, warm, and perfect to wear around the house. What makes them extra special is how simple they are to make, even for a complete beginner. If you’ve ever hesitated to try making socks, this pattern will ease you into it gently, step by step.
Pattern By Beyzalle CRAFT
These slippers are designed with beauty and ease in mind. They start from the toe, working all the way up to the heel and ankle, creating a seamless, snug fit. By using the double crochet (DC) stitch as the foundation, you’ll develop an understanding of how this versatile stitch works. With the same stitch, you can also make scarves, hats, and cozy blankets, making it a fantastic skill to practice. You’ll also get to use the half double crochet (HDC) for the heel, which is perfect for adding extra durability and comfort to your projects.
Free Crochet Socks Slippers Pattern for Winter House Guests
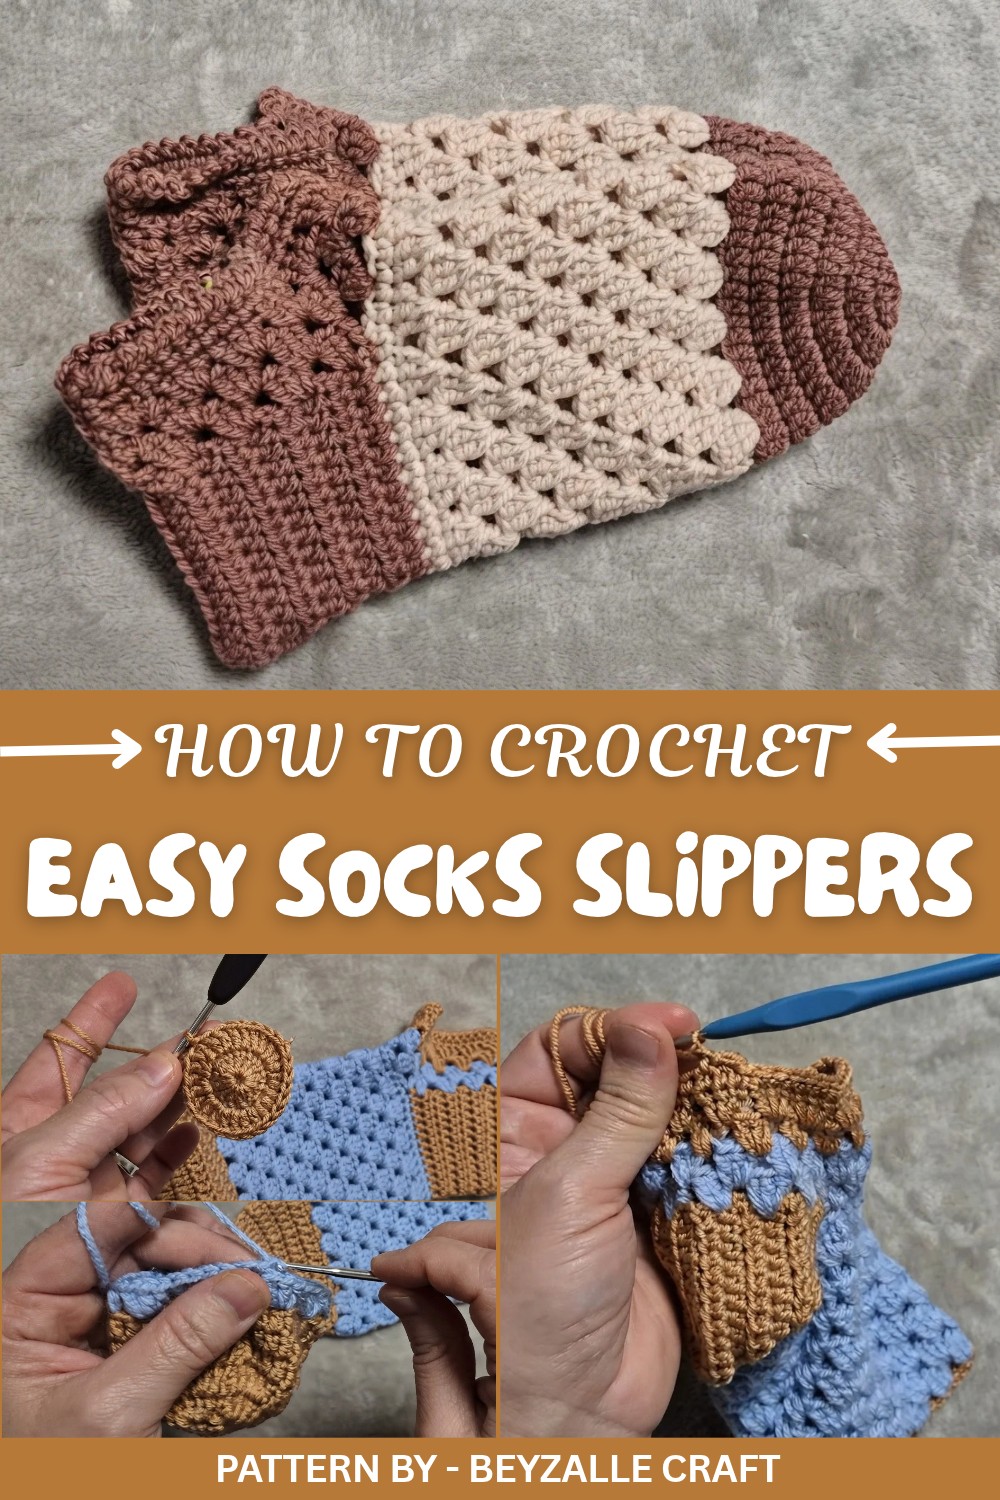
From this pattern, you’ll learn not only how to make these charming crochet slippers but also how to change yarn colors, shape the toe, and create a sturdy heel section. It’s an enjoyable process that will teach you how to combine basic techniques to create something functional, wearable, and cute. The instructions will guide you every step of the way.
Once you get the hang of these stitches and techniques, the possibilities are limitless. You can use your skills to create cozy home socks, baby booties, mittens, coasters, or even small decorative baskets. It’s amazing how learning to make one simple project can open doors to a world of creativity.
These crochet sock slippers are not just a cozy project, they’re also a gateway to many other crochet creations. Grab your yarn and hook, and let's bring some lively designs to life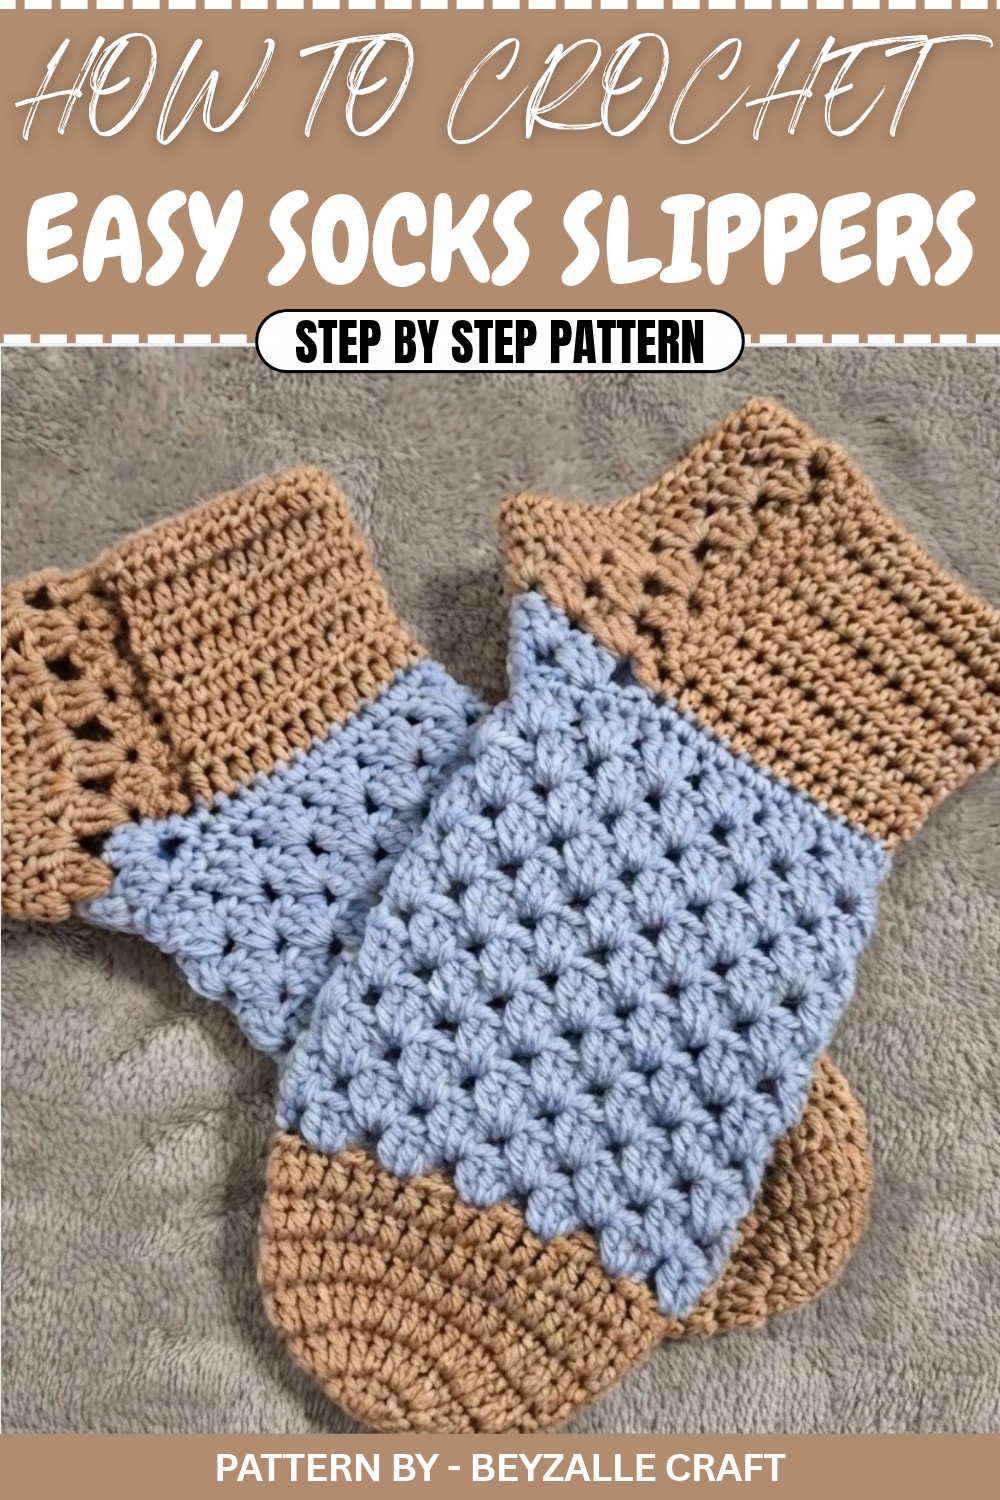
Crochet Pattern: Easy Short Sock Pattern
These socks can be made in one evening and are cozy to wear, making them a quick and rewarding project. We start with the toe section, work through the heel, and finish with the cuff section. Let’s get started!
Quick Overview of the Pattern
- Project Type: Crochet short socks (not slippers).
- Construction Process: Starts at the toe, progresses through the heel, and finishes at the cuff.
- Style: Great for an evening project and suitable for beginners.
- Customization: Easily adjustable for foot size.
Notes
- Use leftover yarn for this project—it works well with any yarn thickness.
- You can adjust the size of the sock simply by measuring while you crochet.
- Rely on your yarn thickness and tension to help decide the exact number of rows.
Skill Level
Beginner friendly with basic crochet techniques like chain stitch, double crochet, and slip stitch.
Materials
- Yarn: Leftover medium weight yarn (in two contrasting colors for an optional color transition).
- Hook Size: 2.5 mm crochet hook.
- Scissors: To trim yarn ends.
- Tapestry Needle: For weaving in ends during finishing.
Measurements / Sizing
Suggested sizing:
- Toe section: Suitable for shoe sizes 38–39 (European sizing); adjust rows for smaller or larger sizes.
- Heel section: Total of 9 rows provided (adjust as needed).
Gauge
- While gauge is not critical for this project, remember to measure as you go for best fit.
Stitch Abbreviations
- Ch: Chain
- Sl st: Slip Stitch
- DC: Double Crochet
- SC: Single Crochet
Special Stitches
- Yalancı Tırabzan (Half Double Crochet): Yarn over, insert hook, pull up a loop, yarn over again, and pull through all loops on hook.
Pattern: Step by Step Instructions
Toe Section
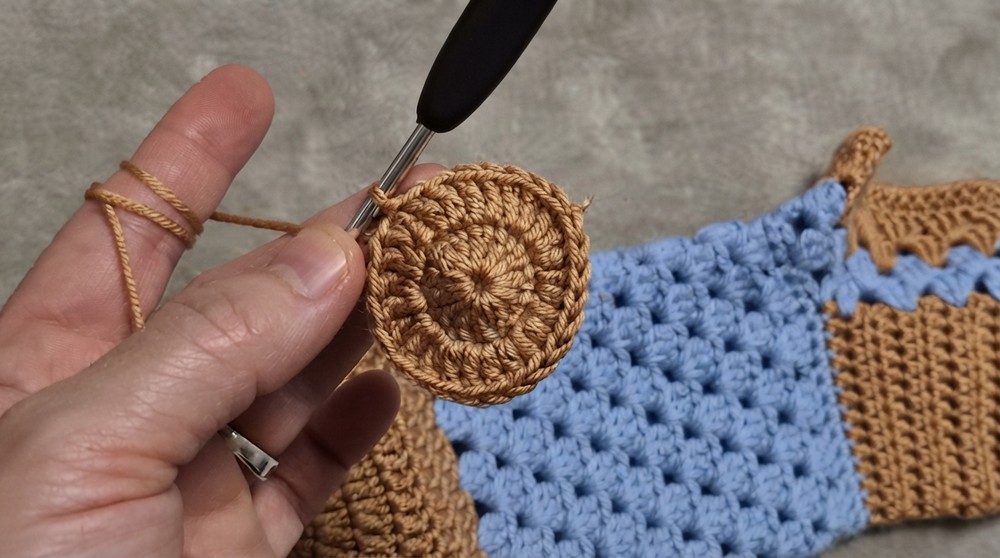
- Magic Ring: Start with a magic ring and secure it.
- Round 1: Ch 3 (counts as the first DC) and work 12 DC into the ring. Tighten the ring and close the round with a Sl st into the top of the Ch 3. (12 stitches total)
- Round 2: Ch 3, work 2 DC in each stitch around. You’ll end with 24 DC. Close the round with a Sl st into the top of the Ch 3.
- Round 3: Ch 3, alternate 1 DC into the first stitch and 2 DC into the next stitch. Repeat this pattern around. You’ll end with 36 DC. Close the round with a Sl st.
- Rounds 4–6: Ch 3 and work 1 DC into each stitch, without increasing or decreasing.
- Complete 3 rounds of 36 DC each.
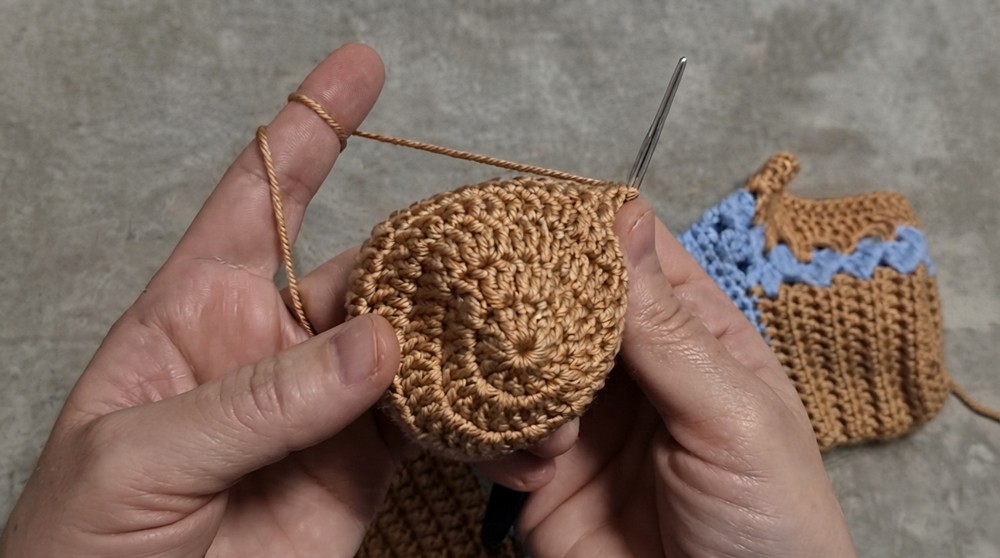
Color Transition (Optional)
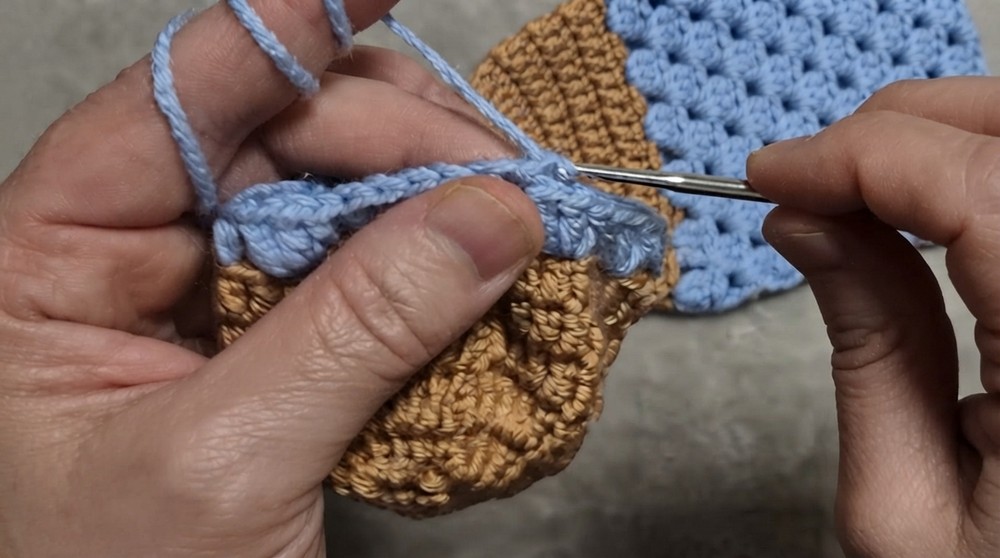
- Attach the new color yarn with a Sl st at the end of the 6th round. Pull the new yarn tightly to secure.
- ch 3 and work 3 DC into the same stitch. Skip 2 stitches, and into the next stitch, work another cluster of 3 DC.
- Repeat this pattern to create 12 clusters of 3 DC in total.
Foot Section
- Continue crocheting in the established stitch for 12 more rounds to create the foot section. Keep the pattern consistent and measure against your foot as you go. Adjust length based on the intended size.
Heel Section
- Heel Foundation: Change to the heel color. Sl st to join the yarn at the base of the last round and Ch 1.
- Work 24 half double crochet (yalancı tırabzan) stitches evenly across the heel section. Fasten off and turn your work.
- Rows 2–9: Ch 2, turn, and work 24 HD crochet stitches across each row. This will form the heel tab.
Heel Assembly
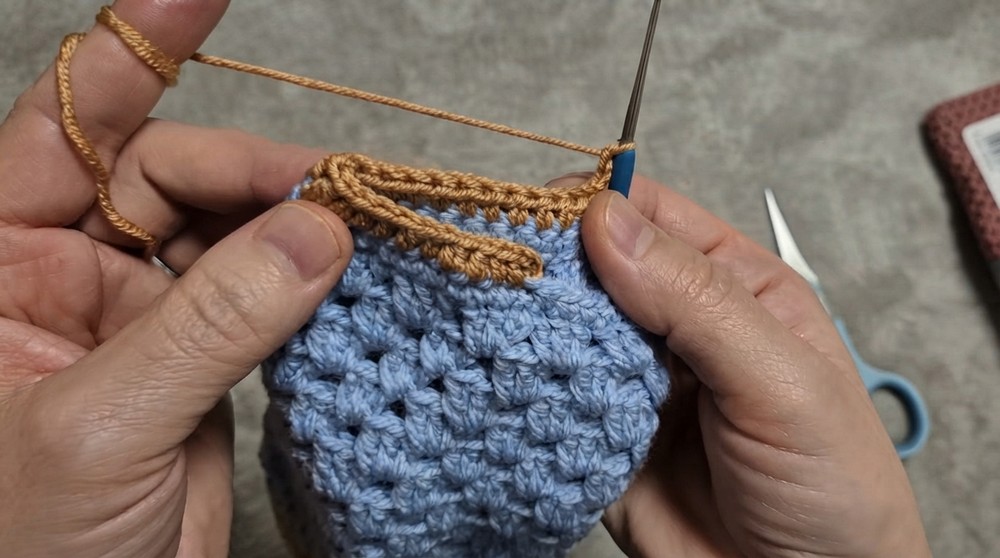
- Fold the heel tab in half lengthwise.
- Join the edges together using Sl st through the back loops only. Work gently so as not to stretch or over tighten the seam. Fasten off and weave in the heel section’s ends.
Sock Cuff Section
- Rejoin the yarn at the back (heel area). Work 1 SC to secure and Ch 2.
- Work 3 DC into the same space. Skip 1 row, and in the next space, work another cluster of 3 DC.
- Repeat this pattern to develop the cuff’s texture, ensuring there are exactly 12 such clusters around the cuff.
Optional Color Change in the Cuff
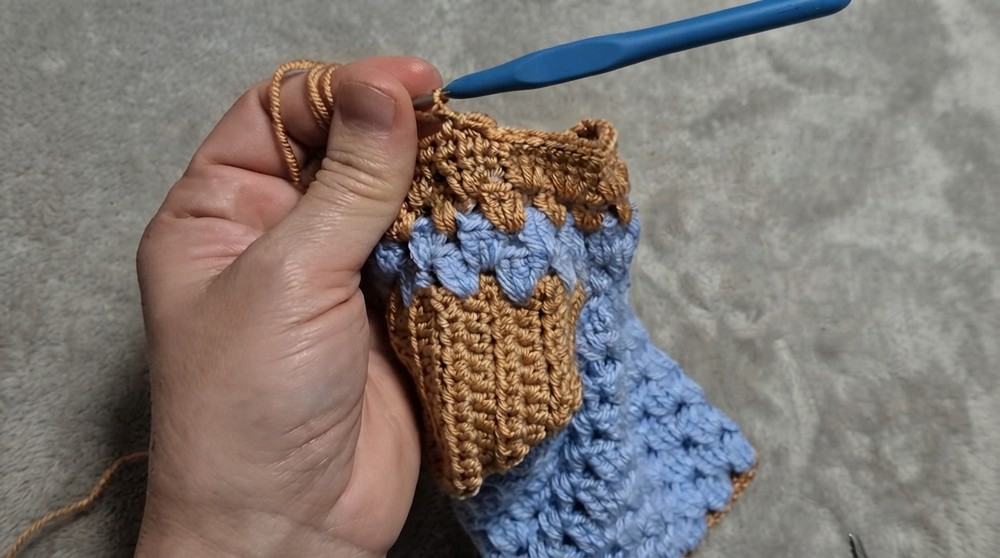
- After completing two rows, switch to a contrasting color using the same method described earlier.
- Repeat the pattern for two more rows.
Final Round: Single Crochet Edging
- After finishing the cuff section, work 1 round of SC evenly around for a polished edge. End the round by joining the first SC with a Sl st.
- Fasten off, weave in the yarn ends, and trim any excess yarn.
Assembly & Finished Size
- After weaving in all ends, turn the sock inside out to inspect the seams.
- Repeat the pattern to create a second sock.
Conclusion and Final Words
Congratulations, your homemade crochet socks are complete! These socks are cozy, stylish, and perfect for chilly evenings. Remember, you can customize them easily to fit different sizes, color preferences, or styles.