
Free Crochet Pretty Bow Pattern to Make Your Outfits Pop
Give your projects a lovely handmade touch with this free crochet pretty bow pattern that is super easy and perfect for crocheting something beautiful and unique.
A cozy afternoon, a cup of tea by your side, and that familiar feeling of yarn running through your fingers, it’s the perfect setup for making something both charming and practical. This crochet bow is a wonderful way to add a personal touch to your accessories, clothing, or gifts. Its soft loops and balanced shape bring just the right amount of flair, while the process of stitching it together is simple yet satisfying.
Free Crochet Pretty Bow Pattern for Cute Hair Clips
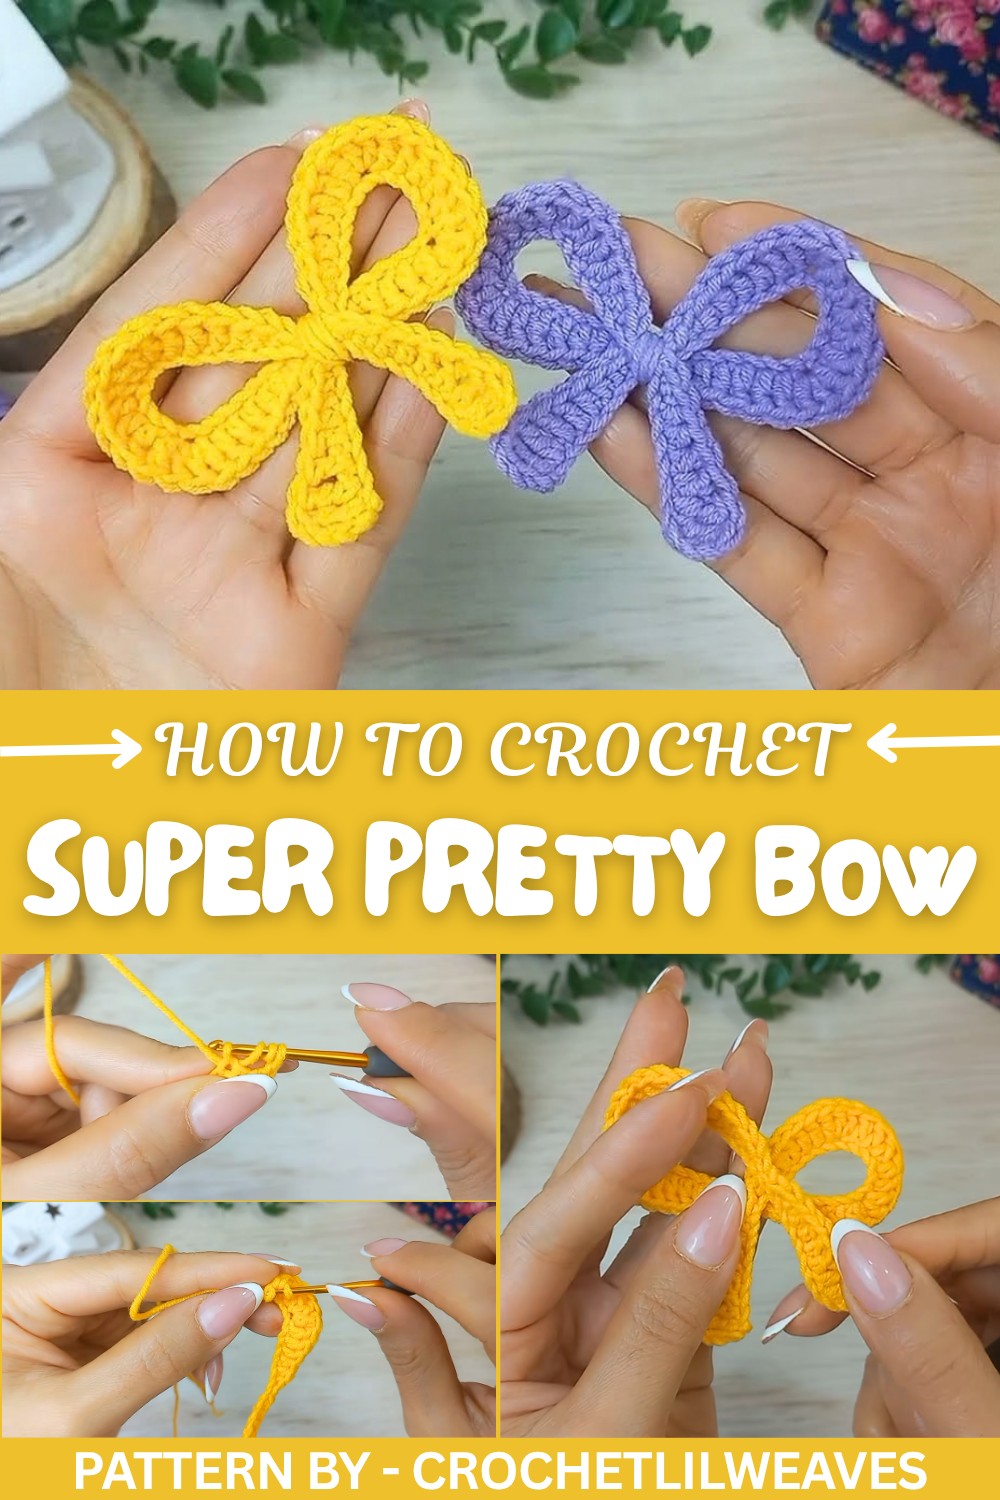
With just a few basic techniques like slip knots, chains, double crochets, and treble crochets, the bow comes to life. What makes it special is the way the pieces are wrapped at the center, bringing everything together in a classic bow form that's equal parts polished and playful. The outcome pairs style with versatility, and it’s easy to imagine attaching it to a hair clip, keychain, or even decorating the edge of a tote bag.
For anyone interested in stitching this lovely accessory, the CrochetLilWeaves tutorial on YouTube provides easy instructions to follow along. This guide has everything needed to turn a few simple loops into a charming bow that’s ready to brighten any project.
Crochet Bow Pattern
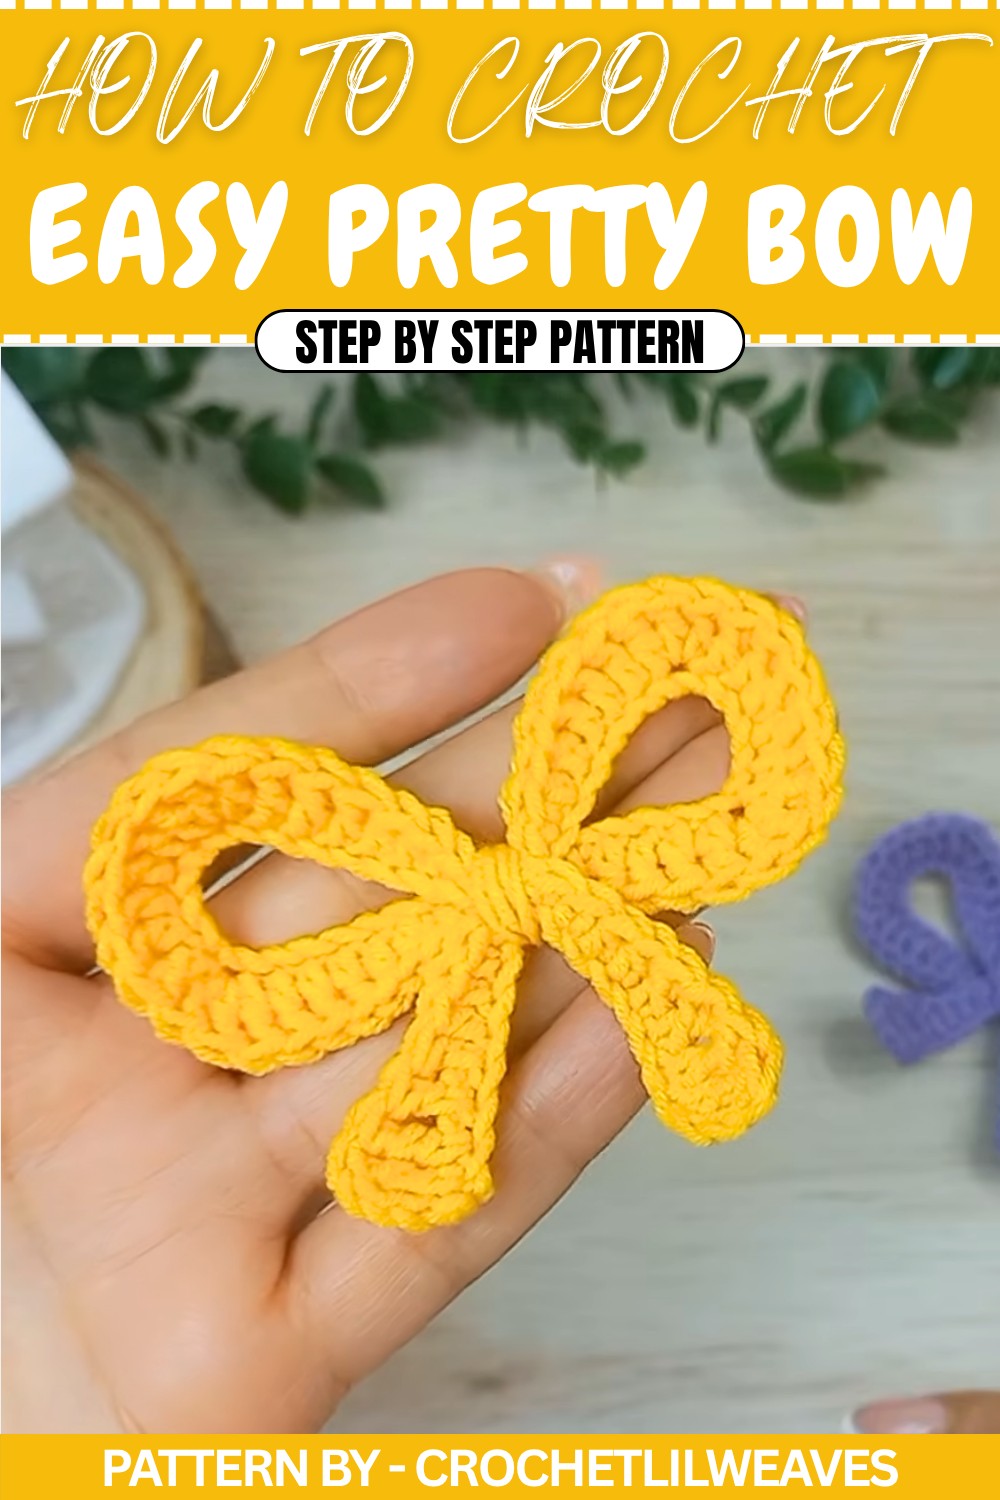
In this pattern, I will share how to make a beautiful, very cute, and easy crochet bow. You can use this bow as a keychain, a hair clip, or for decorating your crochet projects. Follow the pattern step by step, and let’s crochet this lovely bow together.
Quick Overview of Pattern
- Begin by creating a long foundation chain.
- Work various stitches (slip stitches, single crochets, double crochets, treble, and triple treble crochets) to form the bow’s unique curves and symmetry.
- Assemble and secure the bow into its final shape.
Notes
- The pattern starts with chaining 63 stitches.
- Ensure a consistent tension to achieve a neat final product.
- The bow has symmetry—one side mirrors the other.
Skill Level
Beginner Friendly – Requires basic knowledge of crochet stitches such as slip stitches, single, half double, double, treble, and triple treble crochets.
Materials
- Yarn: Category 2 lightweight yarn.
- Hook: 2.5 mm crochet hook.
- Additional Tools: Yarn needle and scissors.
Measurements / Sizing
- The completed bow size may vary depending on your yarn and tension. The approximate width is 5 inches and height is 3 inches.
Gauge
Gauge is not critical for this project, but consistent tension is necessary for an even and smooth bow.
Stitch Abbreviations
- ch - Chain
- sc - Single Crochet
- hdc - Half Double Crochet
- dc - Double Crochet
- tr - Treble Crochet
- trtr - Triple Treble Crochet
- sl st - Slip Stitch
Special Stitches
- Triple Treble Crochet (trtr): Yarn over twice, insert the hook into the specified chain, pull up a loop (4 loops remain on the hook). Yarn over, pull through first 2 loops, yarn over, pull through next 2 loops, and yarn over again, pull through the last 2 loops.
The Crochet Pattern
Step 1: Starting the Bow
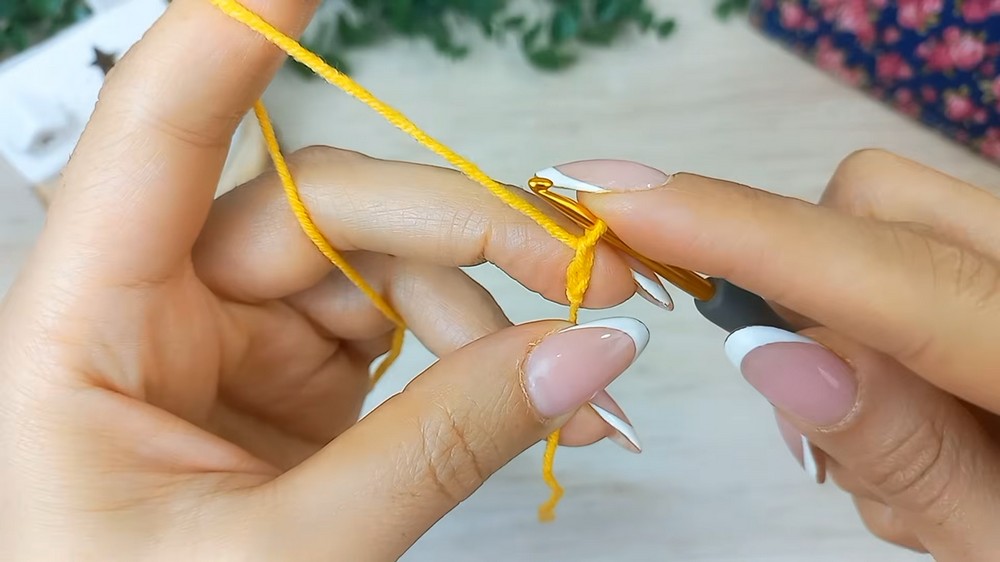
- Make a slip knot with your yarn by wrapping it around your fingers, creating a loop, and inserting your hook into it. Pull tight with the working yarn to secure the knot.
- Create a foundation chain: Work 63 chains using the yarn. Yarn over, pull through the loop on the hook, and repeat until 63 chains are completed.
Step 2: First Side of the Bow
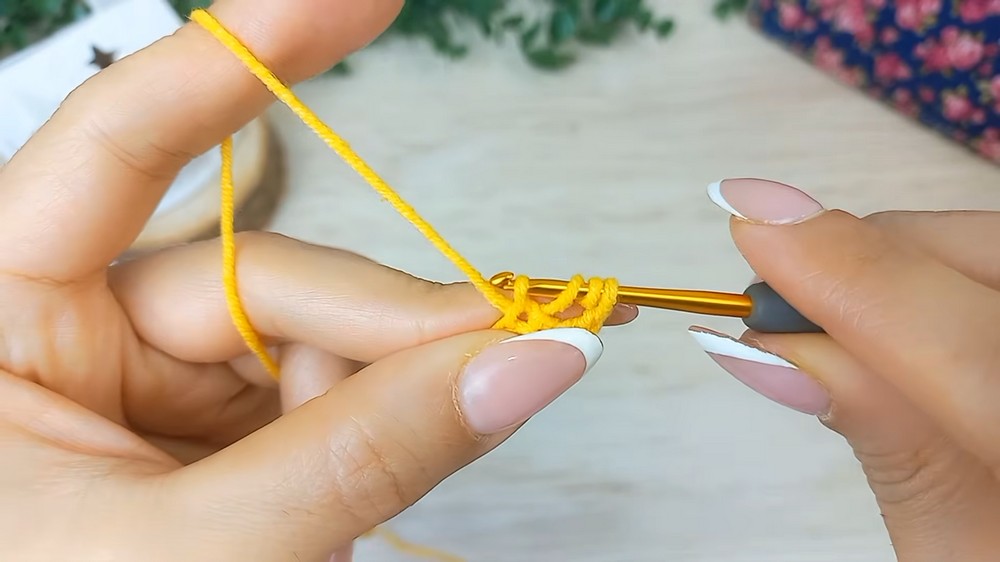
- Work into the fourth chain from the hook:
- Yarn over twice, insert the hook into the fourth chain, and create a trtr (triple treble crochet).
- Make another trtr into the next chain.
- Create Double Crochets:
- Work 2 dc into the next two chains (1 dc per chain).
- Create Half Double Crochets:
- Work 2 hdc into the next two chains (1 hdc per chain).
- Create Single Crochets:
- Work 2 sc into the next two chains (1 sc per chain).
- Create Slip Stitches:
- Work 2 sl st into the next two chains (1 sl st per chain).
- Reverse Stitch Height:
- Work 1 sc into the next chain.
- Work 2 hdc into the next two chains.
- Work 1 dc into the next three chains.
- Create Rounded Edges:
- Work 3 dc into the next chain.
- Forming the Curve:
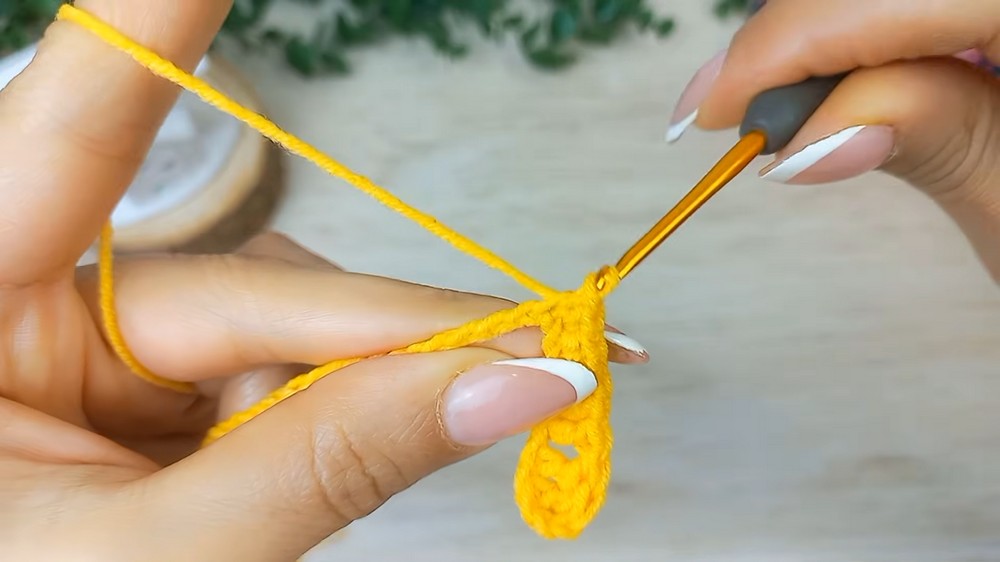
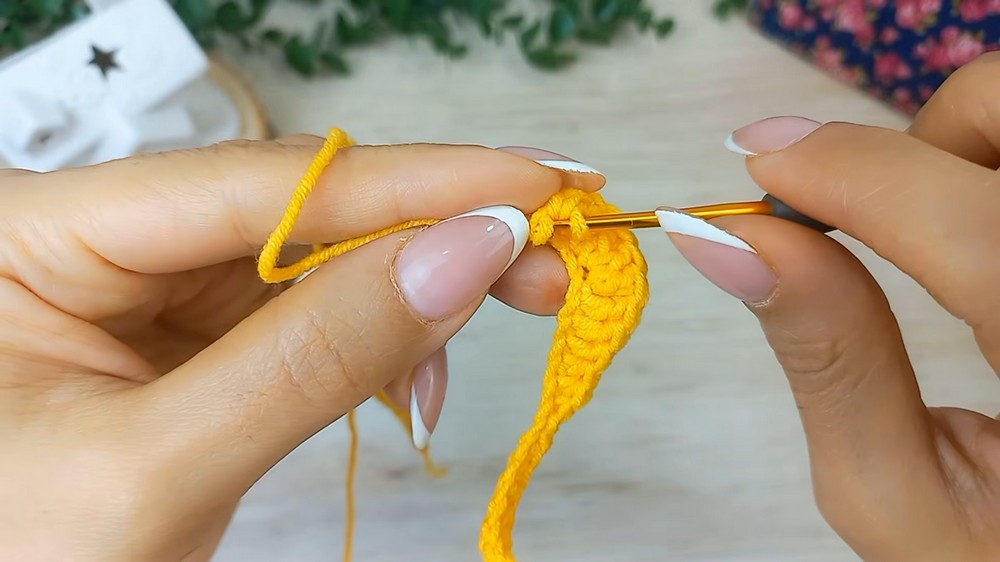
- Work 1 dc into each of the next five chains.
- Repeat Rounding:
- Work 3 dc into the next chain.
- Complete the First Side:
- Work 1 dc into each of the next three chains.
- Work 2 hdc into the next two chains.
- Work 1 sc into the next chain.
- Work 2 sl st into the next two chains.
Step 3: Second Side (Mirror Work)
- Work the second side symmetrically:
- Start with sl st into the next chain.
- Work 1 sc into the next chain.
- Work 2 hdc into the next two chains.
- Work 3 dc into the next three chains.
- Work 3 dc into the next chain.
- Work 1 dc into the next five chains.
- Work 3 dc into the next chain.
- Work 1 dc into next three chains.
- Work 2 hdc into the next two chains.
- Work 1 sc into the next chain.
- Work 2 sl st into the next two chains.
Step 4: Complete the Bow Ends
- Finishing the chain:
- Work 1 sc into the next two chains.
- Work 2 hdc into the next two chains.
- Work 1 dc into the next two chains.
- Work 2 trtr into the last two chains.
- Finish with 3 chains, followed by 1 sl st into the final chain where the last trtr was made.
- Fasten Off:
- Create a final chain, cut the yarn, and pull the tail through to secure it.
Step 5: Assembly
- Weave and Assemble:
- Using a yarn needle, weave in the ends and hide them through the back side of the work.
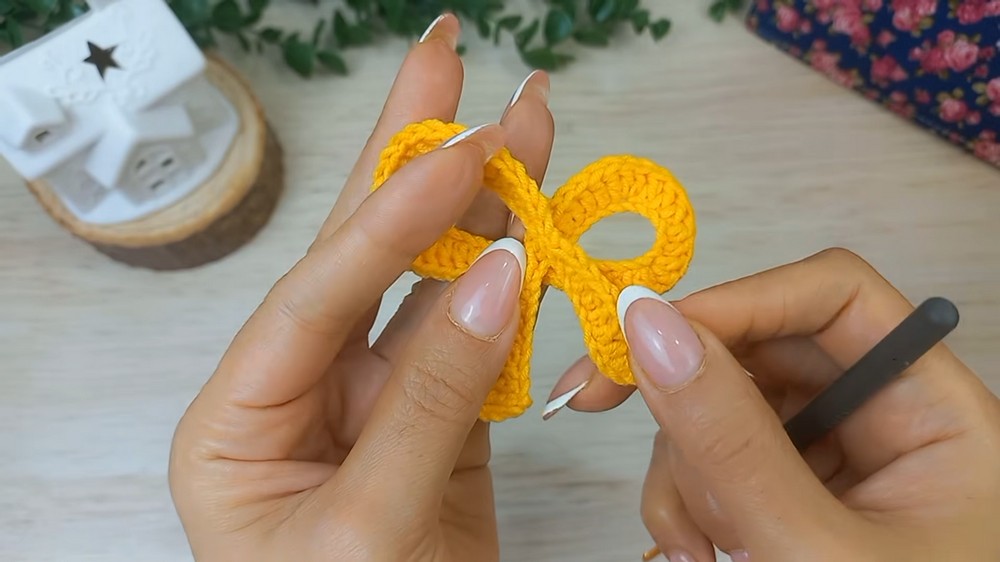
- Fold and Secure:
- Identify three points created by the slip stitches (left, center, and right).
- Fold the two side points over the middle point and adjust the bow shape.
- Wrap the Center:
- Take a piece of yarn and wrap it tightly around the middle section several times.
- Secure the Wrap:
- Turn the bow to the back side and tie two knots to secure the wrapped center.
- Weave the yarn tails into the bow to hide them neatly.
Assembly & Finished Size
The finished bow should measure approximately 5 inches wide and 3 inches high. You can use this bow for various purposes, such as a hair clip, keychain, or project decoration.
Conclusion
Congratulations, Your beautiful and very cute crochet bow is ready. Feel free to experiment with different yarn colors and thicknesses to create unique variations for other projects. Please subscribe for more crochet tutorials, like this pattern, and leave a comment with your thoughts.