
Crochet Pizza Keychain Pattern for Cheesy Handmade Accessories
Make your keys stand out and avoid boring keychains with a Free Crochet Pizza Keychain Pattern that’s fun, cute, and totally easy to follow.
Small, fun accessories can add a lot of personality to everyday items, and this adorable pizza slice keychain is just the right touch of whimsy and charm. With its bright colors and cute, detailed design, it’s perfect for decorating your keys, backpack, or even as a small gift for friends. The pattern mainly uses single crochet stitches and simple increases to create the perfect triangular slice shape, making it a friendly project for anyone new to crochet.
Guidance for Trendy Crochet Pizza Keychain Pattern for Gift Giving
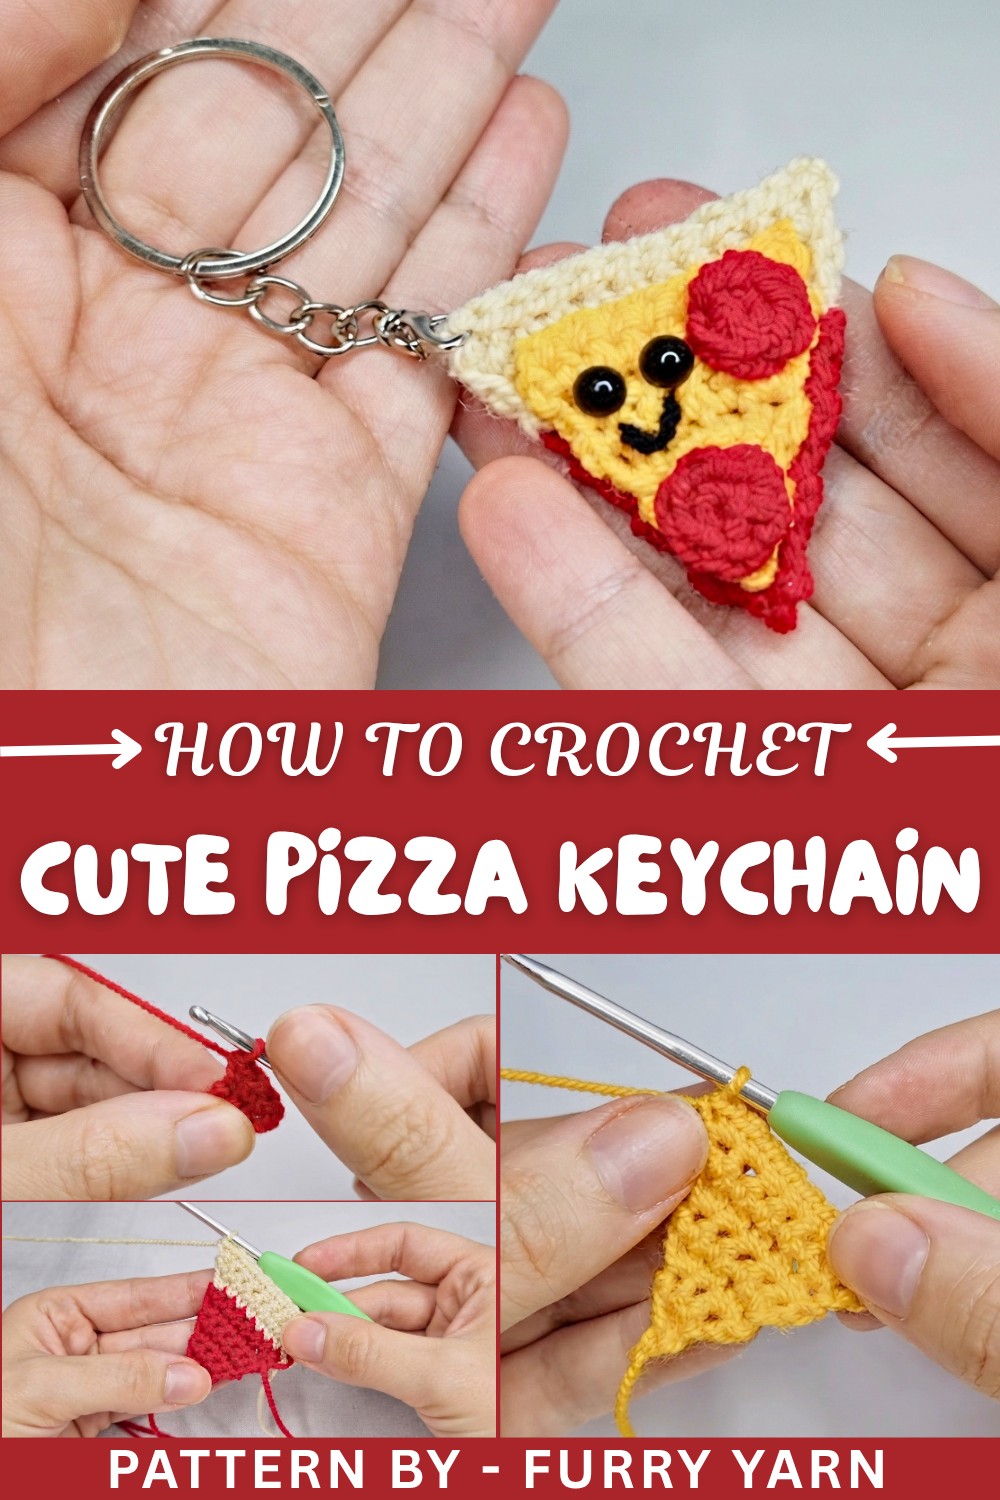
Starting with a slip knot and working rows of single crochet, you gradually shape the slice by increasing stitches at the ends of each row. The color changes add the classic pizza look, from the crust to the cheesy center. Working with straightforward stitches like single crochet and slip stitches keeps the process manageable while still creating a neat, sturdy keychain. After crocheting the main parts, simple details like eyes, pepperoni dots, and a smiling mouth can be added with yarn and glue or embroidery. Finishing the piece with fastened-off threads and assembling the parts makes this project satisfying and complete.
Other Fun Projects Using This Pattern
You can easily use these same crochet techniques to make a variety of playful accessories. Try making fruit slices, other food-themed keychains, or small charms for bags and zippers. This pattern’s basic shape and stitches give you a great starting point to experiment with colors and decorations, turning simple shapes into delightful handmade creations.
Crochet Pizza Slice Pattern
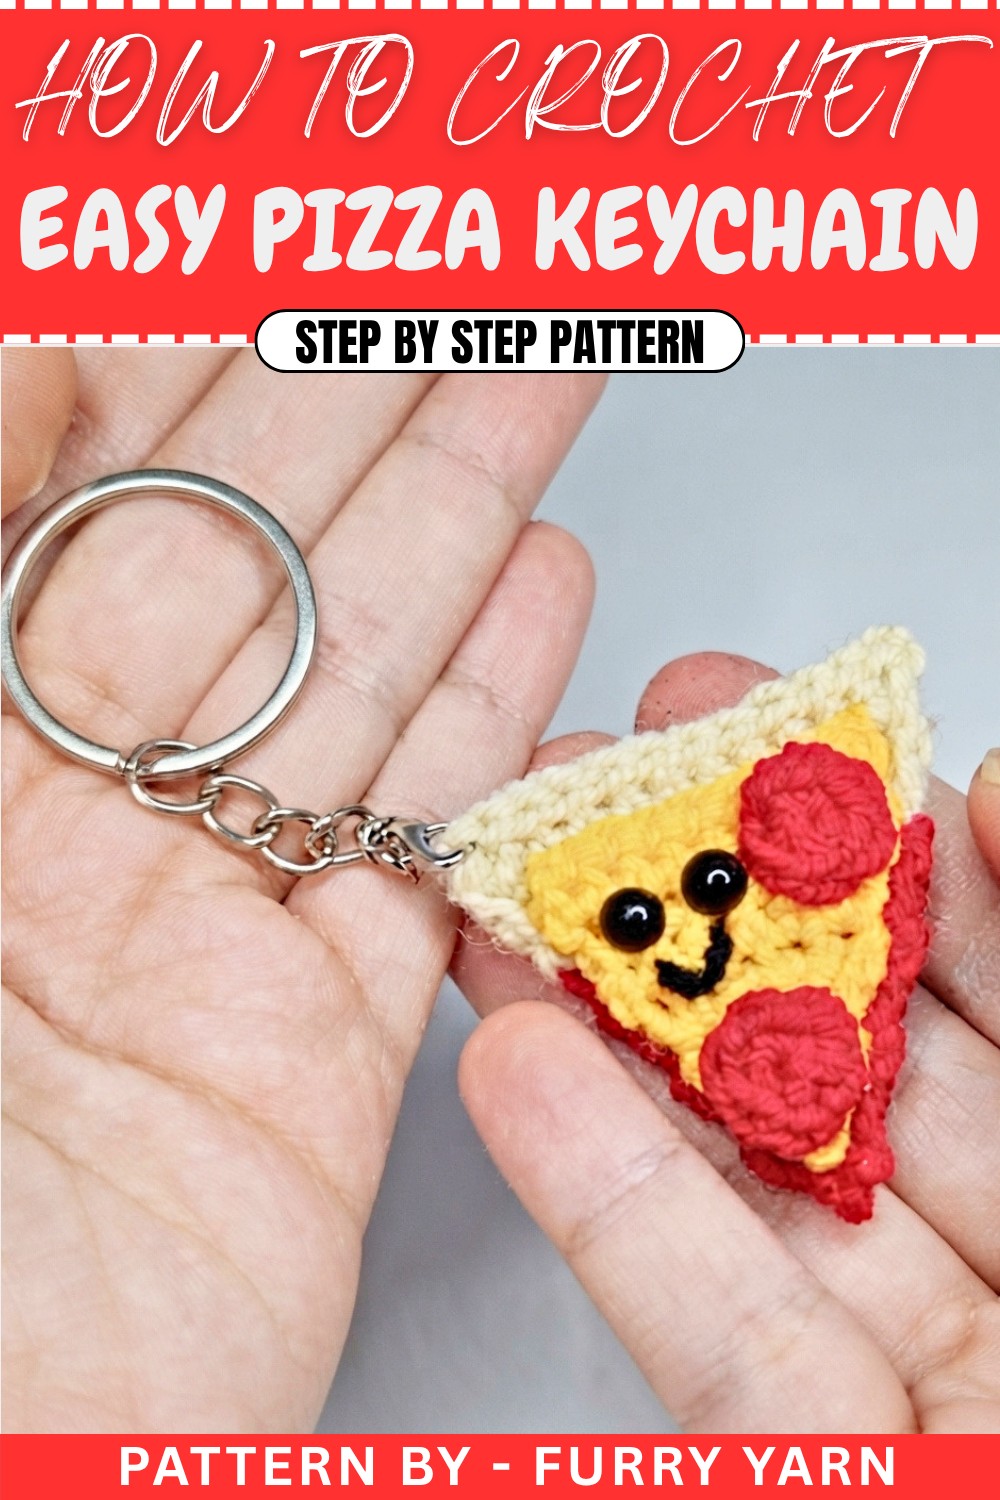
Welcome to this deliciously adorable Crochet Pizza Slice Pattern! This beginner-friendly pattern will guide you through creating a cute and customizable pizza slice that's perfect as a decorative keychain, a fun fridge magnet, or just a delightful addition to your crochets. Featuring layers of toppings and ultimate flexibility in colors and design, this project is sure to bring a smile to your face.
Uses of This Pattern
- Keychain or Decoration: Turn your pizza slice into a keychain, fridge magnet, or a pincushion.
- Personalized Gifts: Add initials or toppings and gift it to a friend for a fun, handmade present.
- Creative Classroom Toy: A great way to introduce kids to the art of crochet with its vibrant and appealing design.
Skill Level & Terminology
- Skill Level: Beginner-Friendly
- Terminology: U.S. Crochet Terms
Materials & Tools
To bring your crochet pizza slice to life, you will need the following:
- Yarn:
- Yellow yarn: For the cheese layer.
- White yarn: For the pizza crust.
- Red yarn: For pepperoni, pizza base.
- Black yarn: For stitching the smile.
- Tools:
- 3 mm crochet hook for a neat and compact design.
- Yarn needle for sewing parts and adding details.
- Scissors for cutting yarn.
- Craft glue (optional for attaching parts).
Gauge
Gauge is not critical for this pattern. However, maintaining consistent tension will ensure your pieces are uniform, especially when working on small details like the toppings.
Abbreviations List
- sl st: Slip Stitch
- sc: Single Crochet
- ch: Chain stitch
- MR: Magic Ring
- inc: Increase (2 sc in the same stitch)
Special Stitch Instructions
- Magic Ring (MR):
- Wrap the yarn around your fingers to create a loop.
- Insert the hook into the loop, yarn over, and pull through.
- Chain 1 to secure the loop, then work the required number of stitches into the ring. Finally, pull the tail to tighten the loop.
- Increase (inc):
- Work 2 sc into the same stitch to expand your work.
Finished Size
The pizza slice measures approximately 5 inches in length and 2.5 inches wide at the widest part. Toppings can be adjusted based on your preferences.
The Pattern
Part 1: Pizza Base
Step 1: Foundation
- Create a slip knot with red yarn.
- Chain 2 (ch).
- Insert your hook into the second chain stitch from the hook and work 2 single crochet (sc) in that stitch.

Step 2: Increasing the Triangle (Rows 2-6)
- For each row, follow this pattern:
- Chain 1 (ch), turn your work.
- Crochet 1 sc into each stitch.
- In the last stitch of every row, make an increase (2 sc into the last stitch).
- Repeat this for 6 rows.
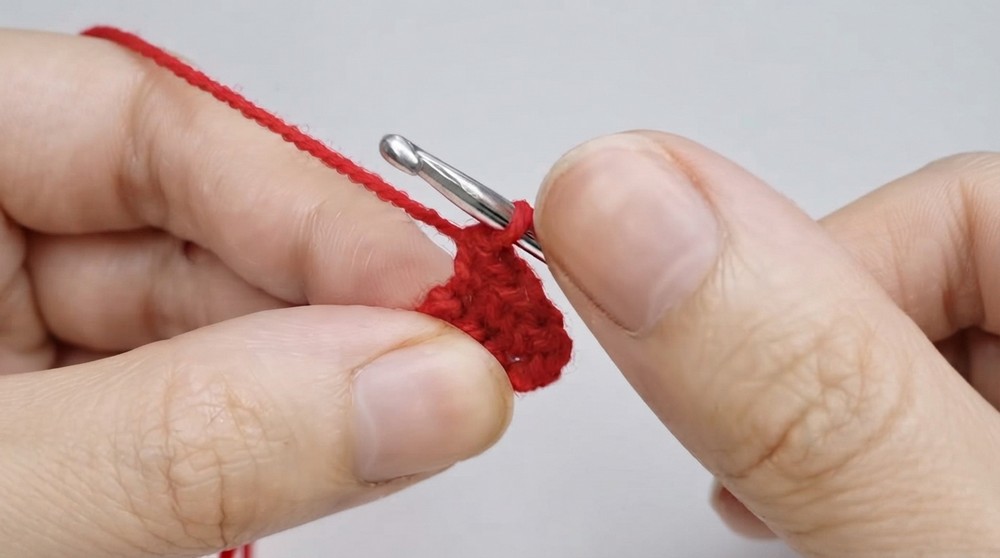
For non-pattern readers: This step forms the pizza slice’s triangular base. By increasing stitches at the end of every row, you’ll create a gradual triangle shape resembling a slice of pizza.
Part 2: Adding the Crust
Step 1: Adding White Yarn
- Attach white yarn to the project in the last stitch of Row 6 by pulling yellow yarn through, then switching to white.
Step 2: Rows 7-9
- Crochet as before:
- Chain 1 (ch), turn your work.
- Crochet 1 sc into each stitch, making 2 sc into the last stitch of every row (increase) to continue shaping the triangle.
- Work 3 rows in white yarn.

Step 3: Slip Stitch Finish
- After completing Row 9, chain 1 (ch) and turn your project.
- Slip stitch (sl st) into every stitch of the row for a finished edge.
- Secure the yarn with a final slip stitch, fasten off, and weave in the tail.
For non-pattern readers: The white rows create the pizza’s crust. By finishing with slip stitches, the edges look smooth and tidy while forming the base for the cheese layer.
Part 3: Cheese Layer
- Step 1: Make the Cheese Shape
- Begin with yellow yarn and create a slip knot, then chain 2 (ch).
- Skip 1 chain and work 1 sc into the second stitch.
- Step 2: Rows 2-6 (Increasing Cheese Topping)
- Follow the same increase pattern as the pizza base:
- Chain 1 (ch), turn your work.
- Work 1 sc into each stitch.
- In the last stitch of each row, make 2 sc (increase).
- Continue for 6 rows.
- Follow the same increase pattern as the pizza base:
- Step 3: Slip Stitch Edge
- After the 6th row, chain 1 (ch) and turn your work.
- Make 1 slip stitch (sl st) into every stitch of the row. Fasten off and cut the yarn.
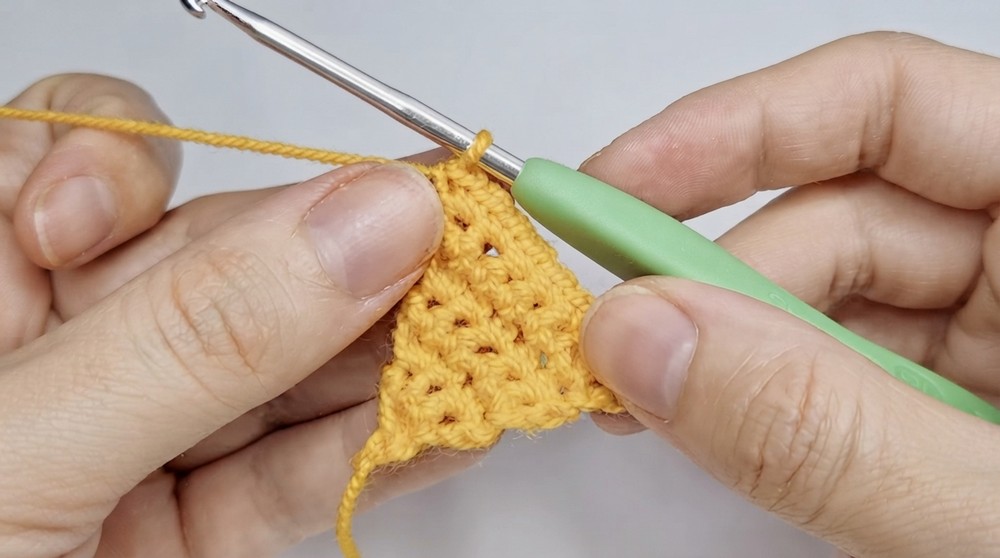
For non-pattern readers: This makes the luscious cheesy top of the pizza slice, which should sit comfortably on the triangular base. The slip stitch edge adds a clean, polished look.
Part 4: Pepperoni Toppings
- Step 1: Magic Ring
- Using red yarn, create a magic ring (MR).
- Crochet 6 single crochet (sc) into the magic ring and pull the yarn tightly to close.
- Step 2: Securing the Topping
- Slip stitch into the first stitch and fasten off.
- You will need two pepperoni circles for this pattern.
- Step 3: Sewing Toppings
- Use crochet glue or a yarn needle to attach the pepperoni pieces onto the cheese layer.
For non-pattern readers: This step creates adorable pepperoni slices. By repeating the same magic ring technique, you can add multiple toppings to your pizza slice.
Part 5: Facial Features
- Eyes:
- Glue small black buttons or crochet mini circles as eyes.
- Mouth:
- Using black yarn, thread a yarn needle to embroider a simple smile between the eyes.

Part 6: Assembly
- Place the cheese layer on top of the pizza base. Use glue or sew it in place.
- Attach the pepperoni toppings and facial features.
- Finally, trim any extra yarn tails and weave them into the back of the work for a clean finish.
Your pizza slice is now complete! All the parts — base, cheese, pepperoni, and face — come together to form a cute and wholesome design.
What You’ll Learn
By following this Crochet Pizza Slice Pattern, you’ll learn to:
- Use foundational stitches like the slip knot, chain stitch, and single crochet.
- Create defined shapes (triangles for the base, circles for toppings).
- Attach different sections of a crochet project seamlessly for a polished look.
- Personalize projects with embroidery and decorative elements like a face or added details.
This fun pizza slice project is perfect for practicing increases, magic rings, and customizing designs.
Difficulties & Their Solutions
Common Challenges
- Uneven Triangle Shape:
- Uneven increases can cause the triangle to lean or warp.
- Solution: Use a stitch marker to highlight the first and last stitches of each row to avoid confusion when increasing.
- Loose Magic Ring:
- If the magic ring isn’t tight enough, it might leave an unwanted hole in the center.
- Solution: Pull the tail tightly and secure the first stitch to keep the circle compact.
- Pepperoni Pieces Won’t Stay in Place:
- Glue or poorly secured pepperoni can fall off.
- Solution: Use a yarn needle to sew the pepperoni securely instead of relying solely on glue.
Why You’ll Love This Pattern
This Crochet Pizza Slice Pattern is as fun to create as it is to admire. It’s quick to complete, highly customizable, and a delightful project for all ages. The simple pattern makes it beginner-friendly while offering creative freedom for experienced crocheters to add their flair. Whether it’s a cute gift or a personal project, this pattern will satisfy your crochet cravings and leave you hungry for more projects!