
Free Crochet Pouch Pattern for Perfect Handmade Gifts
Scoop up a Free Beautiful Crochet Pouch Pattern so that you can make a neat travel organizer that holds your daily lip glosses and essential oils.
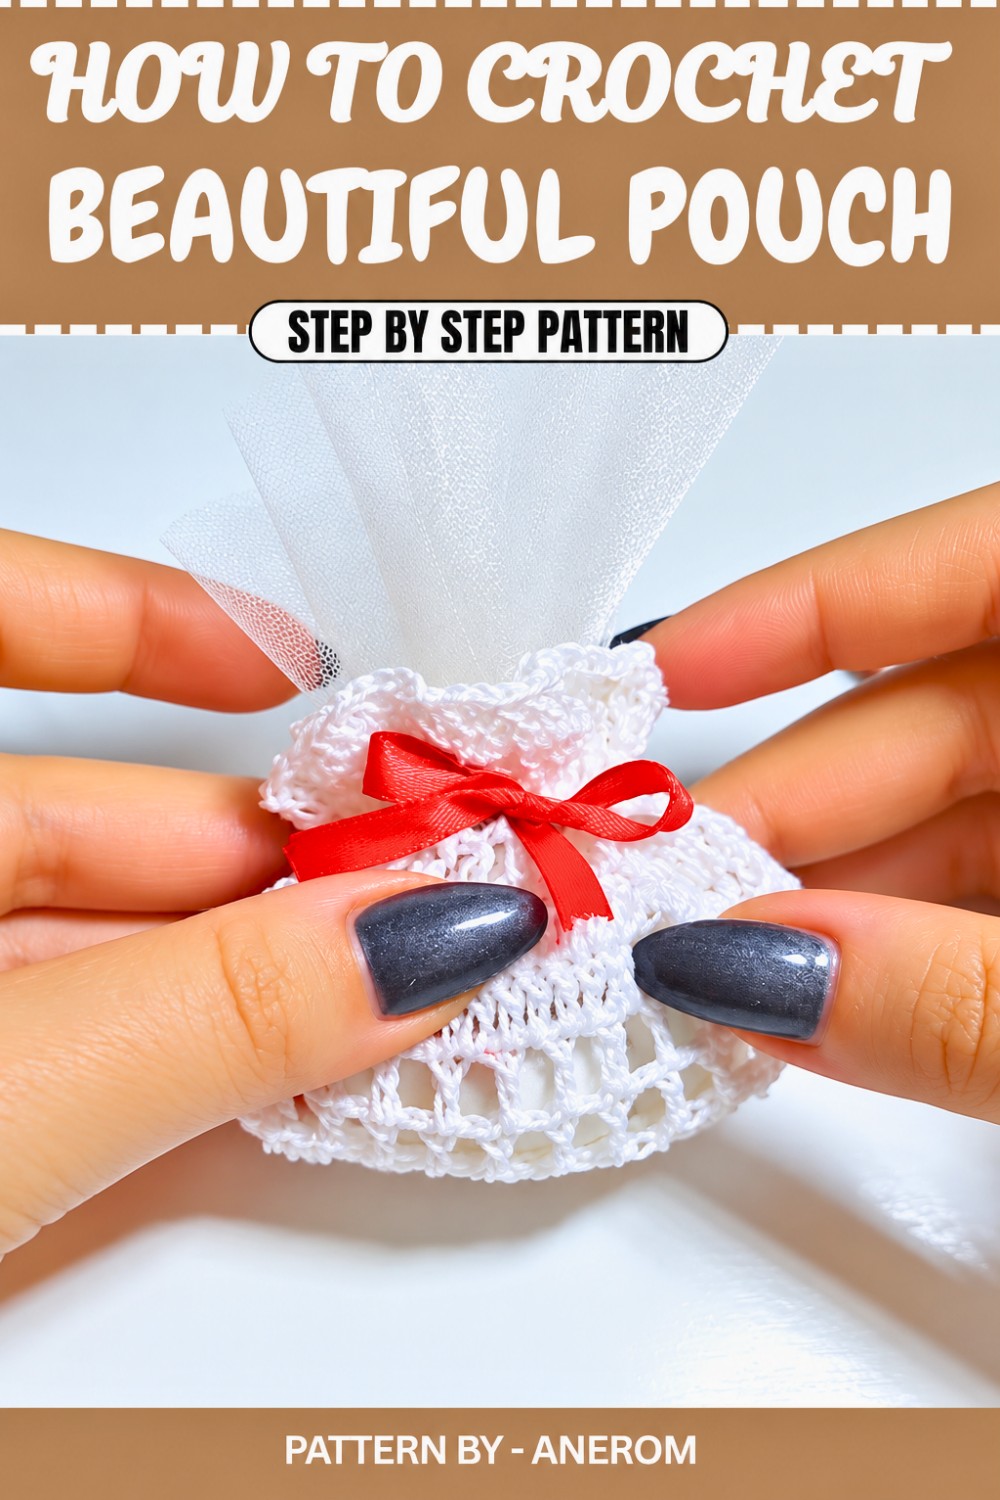
Making cute little crochet pouches can be incredibly satisfying, especially when they're as versatile and charming as this little project. Perfect for a variety of occasions, it’s great for storing party favors like sugared almonds, small trinkets, or even jewelry. These pouches are not just practical but also make for a thoughtful handmade gift or a delightful addition to event décor. One of the most striking features is its detailed texture created by alternating solid and mesh stitch patterns, giving it an elegant yet airy look. This unique design adds an element of intrigue while allowing you to peek at what’s inside.
Easy and Lovely Crochet Pouch Pattern You Must Try
It is worked in seamless rounds, starting with double crochet stitches to form a sturdy base, followed by rounds of mesh stitching to add both style and structure. A delicate ribbon threaded through the mesh stitch openings at the top not only secures the pouch but also adds a decorative finish. You can easily adjust the colors, add embellishments like rhinestones, or pick organza liners to suit your personal style or match the theme of an event.
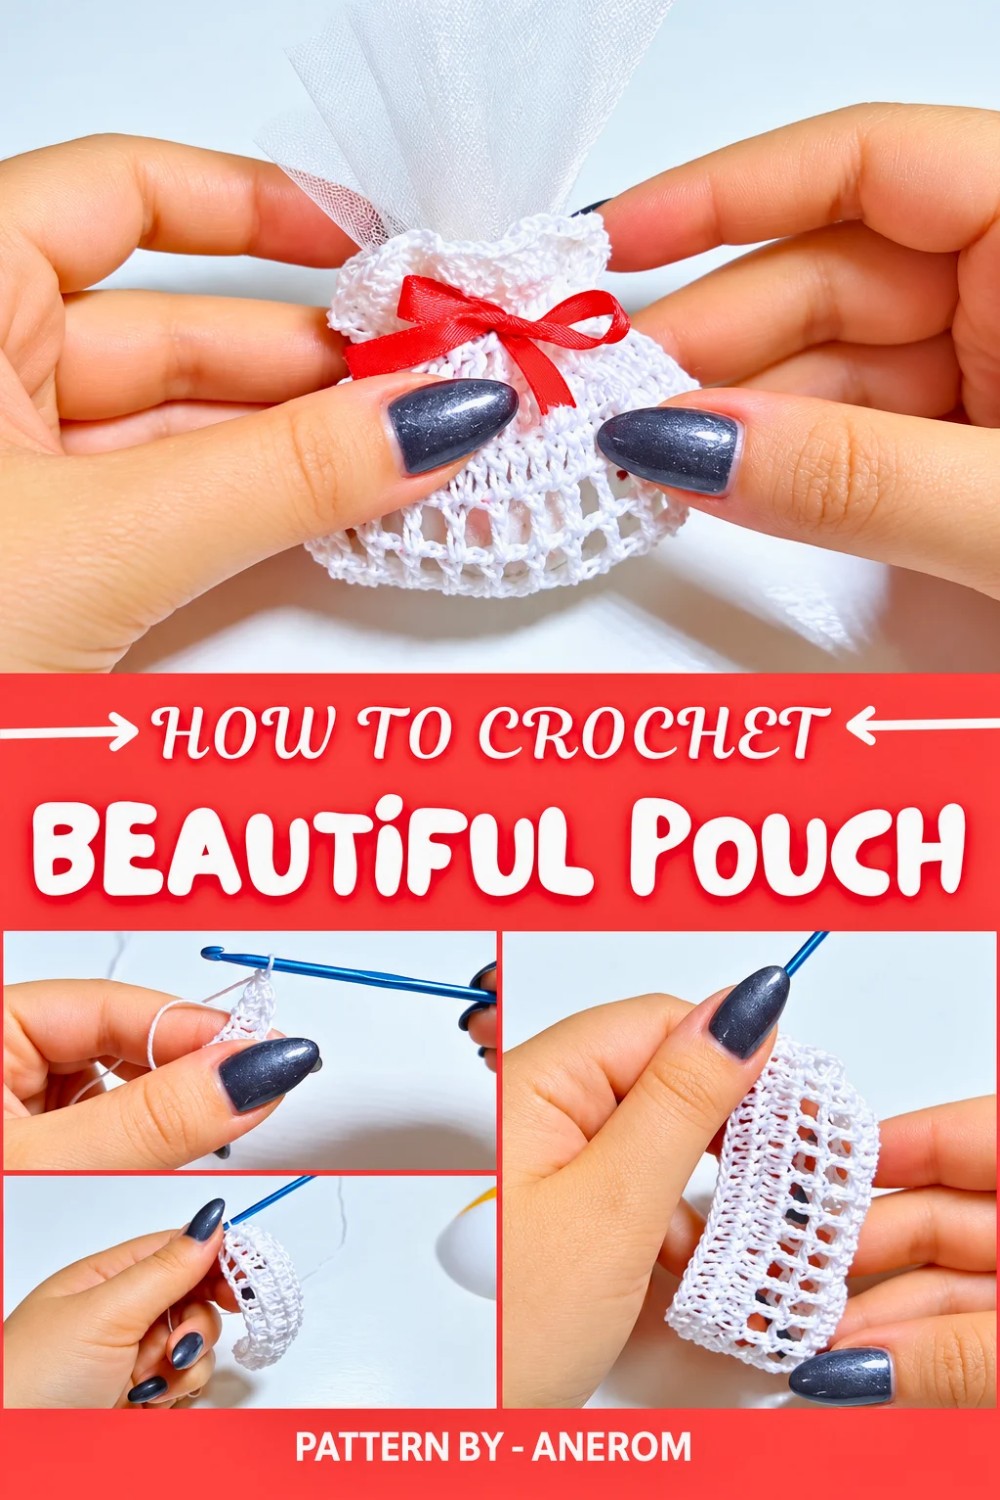
One of the most appealing aspects of this project is how beginner friendly it is, making it achievable for even those with just a basic knowledge of crochet. Using a 2.5mm crochet hook and simple white cotton yarn, the process is simple to follow, and the end result looks far more intricate than it is to make. The tutorial by Anerom explains every step clearly, ensuring you won’t get lost even if you’re new to crochet.
Whether you’re crocheting for a wedding, birthday, or just for fun, this pouch is fun, functional, and a lovely way to showcase your crochet skills. With a combination of solid and mesh stitches, it’s not only easy to recreate but also inspires ideas for similar projects, like coin purses, sachets, or mini gift bags.
Crochet Pattern: Confetti Gift Bag
An Easy and Elegant Crochet Project
Introduction
In this tutorial, you will learn how to create a beautiful confetti gift bag that is versatile, visually striking, and surprisingly simple to make. This charming bag has a unique stitch pattern that alternates between solid and mesh sections, making it perfect for displaying the delicate contents within—a great choice for weddings, parties, or special occasions. The bag is worked in cotton yarn and can be easily customized in the color of your choice. Add a personal touch by decorating the bag with ribbons, embellishments, or glitter appliqués. Whether you’re a beginner or an experienced crocheter, this pattern is sure to delight.
Quick Overview Of Pattern
- Project Type: Crochet gift bag for confetti or small items.
- Uses: Party favors, wedding decorations, candy bags, or small gift packaging.
- Features: Solid sections alternate with mesh style stitch patterns for an elegant and versatile look.
- Customizations: Add decorative details like stars, ribbons, or beads to match the theme.
Notes
- This pattern alternates solid double crochet rows and mesh stitch rows to create the design.
- The bag is worked in rounds so that the solid and mesh patterns naturally stack.
- Cotton yarn is recommended for better structure, but other yarn types can be used.
- A ribbon is woven into the mesh section for closure and added decoration.
- The bag can be finished with optional embellishments, providing room for creativity.
Skill Level
Beginner-Friendly
This pattern primarily uses double crochet stitches and chain stitches, with simple increases for shaping. It’s perfect for those learning to work in rounds and creates satisfying results in minimal time.
Materials
- Yarn:
- White cotton yarn (DK/light worsted, size 2.5–3).
- Hook:
- 2.5 mm crochet hook.
- Notions:
- Needle for sewing ends.
- Scissors.
- Ribbon or decorative string for closure.
- Optional embellishments: adhesive decorations, glitter appliqués, small beads, or stars.
Measurements/Sizing
The finished bag measures approximately:
- Height: 12–15 cm.
- Width: 7–10 cm.
Sizes may vary depending on yarn type and your tension.
Gauge
Gauge isn't critical for this project. However, for reference:
- 20 double crochet stitches x 25 rows = 10 x 10 cm with 2.5 mm hook and cotton yarn.
Stitch Abbreviations (US Terms)
- ch – Chain
- dc – Double Crochet
- dc inc – Double Crochet Increase (2 dc in the same stitch)
- sl st – Slip Stitch
Special Stitches
- Mesh Stitch (Pointo Rete): 1 dc, ch 1, skip 1 stitch, 1 dc in next stitch. This pattern creates a mesh effect of small “windows.”
The Crochet Pattern
Step 1: Base of the Bag
Round 1:
- Start with a slip knot, then make 25 chains (ch).
- Skip the first 2 chains and work dc into the third chain from the hook.
- Continue working 1 dc into each chain across the row until you reach the last chain. [24 dc]
Round 2 (Turning the Base):
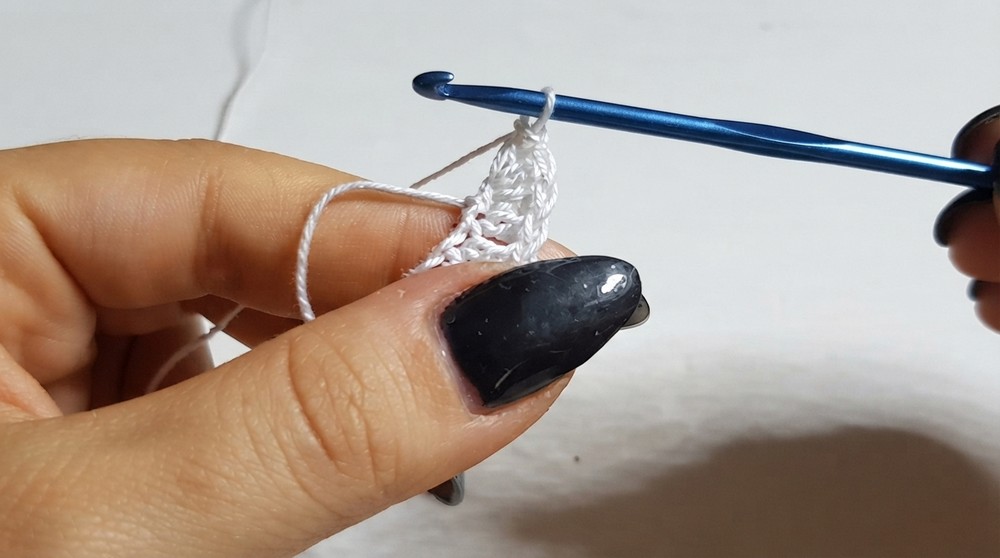
- At the last chain, work 4 dc into the same stitch. This creates the rounded corner to allow you to work along the underside of the row.
- Turn and work 1 dc into each chain along the underside, finishing at the second to last chain. Leave the final chain unworked.
Round 3:
- At the second to last chain, work 4 dc into the stitch to create another rounded corner.
- Join with sl st into the second chain of your starting round to close.
Step 2: Mesh Stitch Section (Pointo Rete)
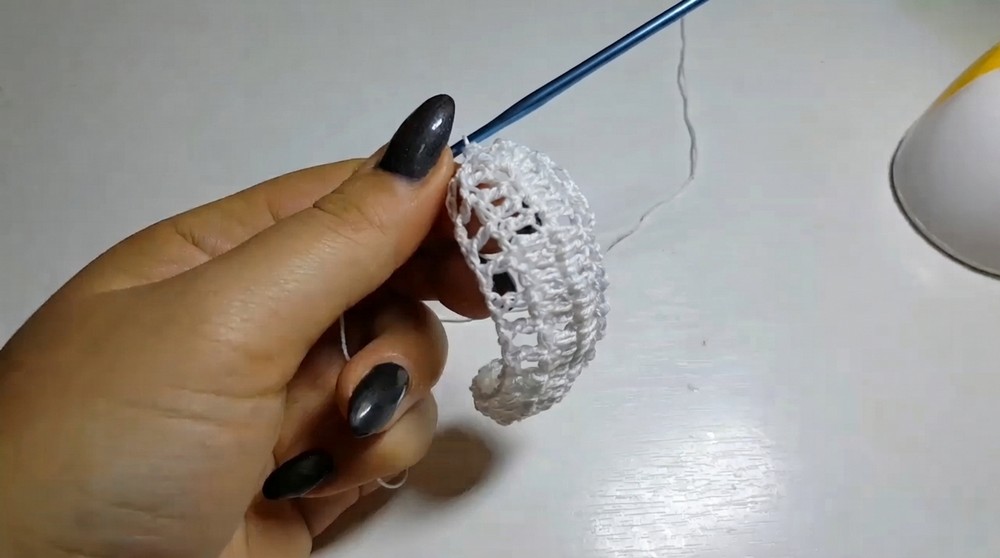
Round 4:
- Chain 4 (3 chains count as the first dc, 1 chain is the separation).
- Skip 1 stitch and work 1 dc into the next stitch.
- Chain 1, skip 1 stitch, 1 dc in next stitch—continue this mesh stitch pattern around the entire round.
- At the end of the round, join with sl st into the third chain from your starting chain 4.
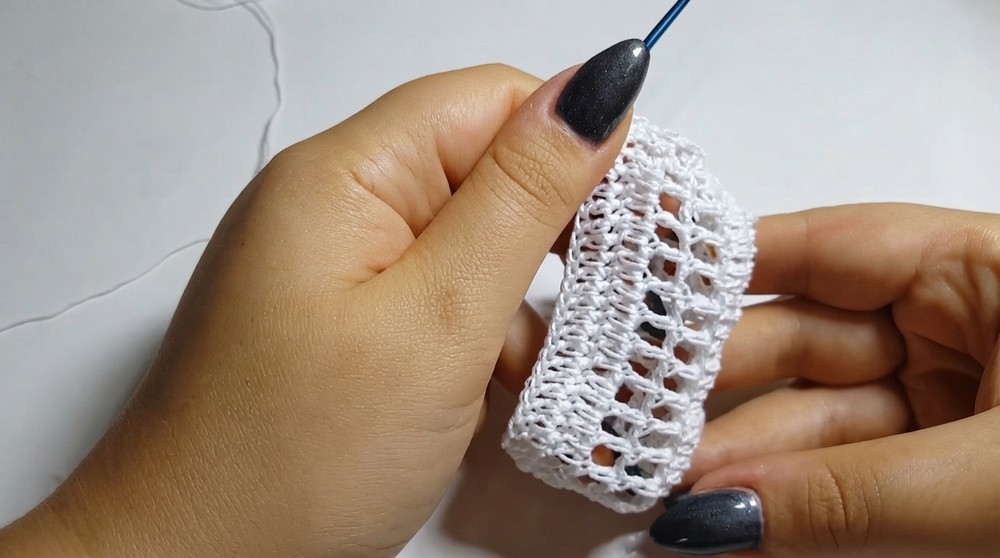
Round 5:
- Chain 4 again (3 chains for the first dc, 1 chain for separation).
- Work dc into the top of the dc from the previous round, creating a mesh stitch on top of the previous row.
- Continue 1 dc, ch 1, skip one stitch around.
- Join with sl st into the third chain from your starting chain 4.
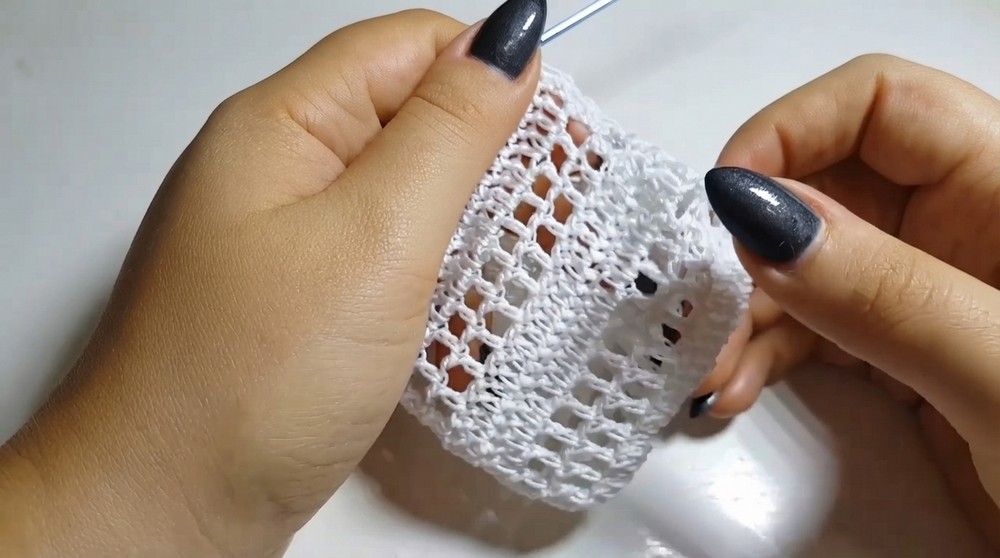
Step 3: Solid Double Crochet Section
Round 6:
- Chain 3 to count as your first double crochet.
- Work dc into each stitch and chain space around the entire round, filling in the mesh section.
- Join with sl st into the third chain from your starting chain 3.
Round 7:
- Chain 3 again (counts as your first dc).
- Work dc into each stitch around.
- Join with sl st at the end of the round.
Step 4: Alternate Mesh and Solid Sections
Repeat the mesh stitch and solid double crochet sections:
- Mesh Section:
- Follow the same instructions for Round 4–5.
- Solid Section:
- Repeat the steps for Round 6–7, alternating solid rows with mesh rows.
Step 5: Final Rows and Border
- End the bag with 2 rows of solid double crochet (dc) to create a sturdy edge.
- Fasten off and weave in all ends using a tapestry needle.
Assembly & Finished Size
- Add Ribbon/Closure:
- Use a long decorative ribbon or cord.
- Thread it through a mesh section (Round 4 or 5), alternating over and under each dc/ch section.
- Tie neatly into a bow in the front center.
- Optional Decorations:
- Add adhesive embellishments like glitter stars, or beads to the bow or ribbon.
- You can finish the bag with a small felt appliqué at the center for a pop of color.
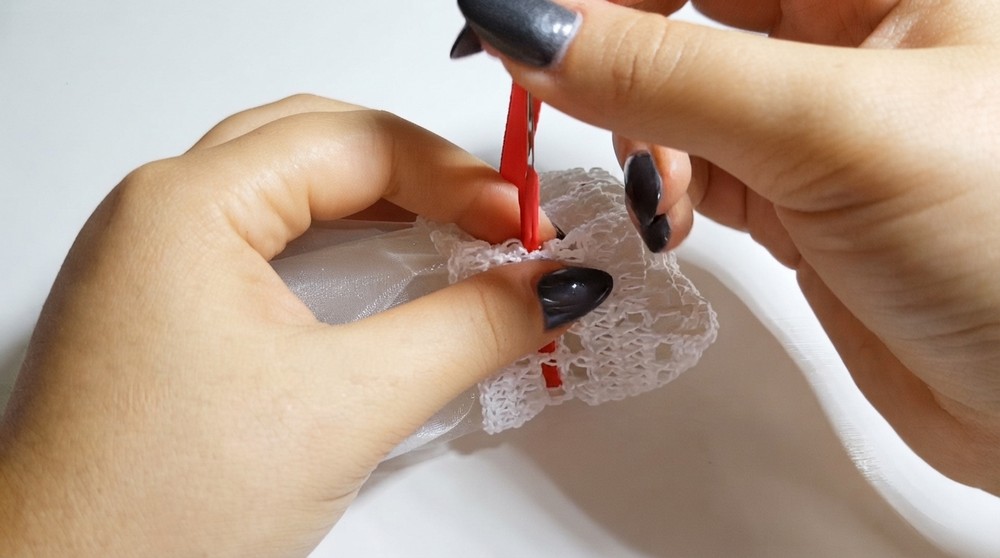
The finished confetti bag stands approximately 12–15 cm tall and 7–10 cm wide, depending on yarn type.
Conclusion and Ending Words
This crochet confetti gift bag is a quick and satisfying project that combines simple stitches with beautiful design elements. Whether you need something for a wedding, birthday, or party favor, this bag strikes the perfect balance between elegance and practicality. The ability to alternate mesh and solid sections adds visual interest and variety, while the final ribbon detail lets you personalize each creation. Explore different colors and embellishments to make these bags uniquely yours.