
Fun Crochet Penguin Pattern to Warm Up Your Xmas Decor
Turn quiet winter evenings into cherished memories with a Free Crochet Christmas Penguin Pattern and make a charming festive bird for your holiday tree.
Inspiration From Anerom
Do you know penguins have an incredible charm that makes them a popular favorite among kids and adults alike? They waddle adorably, give off a cozy vibe, and remind us of snowy adventures and winter magic. Now, you’ve got the chance to bring that same charm into your home, without the chilly temperatures, in the form of the cutest little penguin you’ll ever hold. With tiny wings, a playful hat, and a soft rounded belly, this penguin is here to be your cheerful companion for the season, or anytime you need a smile.
Free Crochet Penguin Pattern for Winter Wonderland Fun
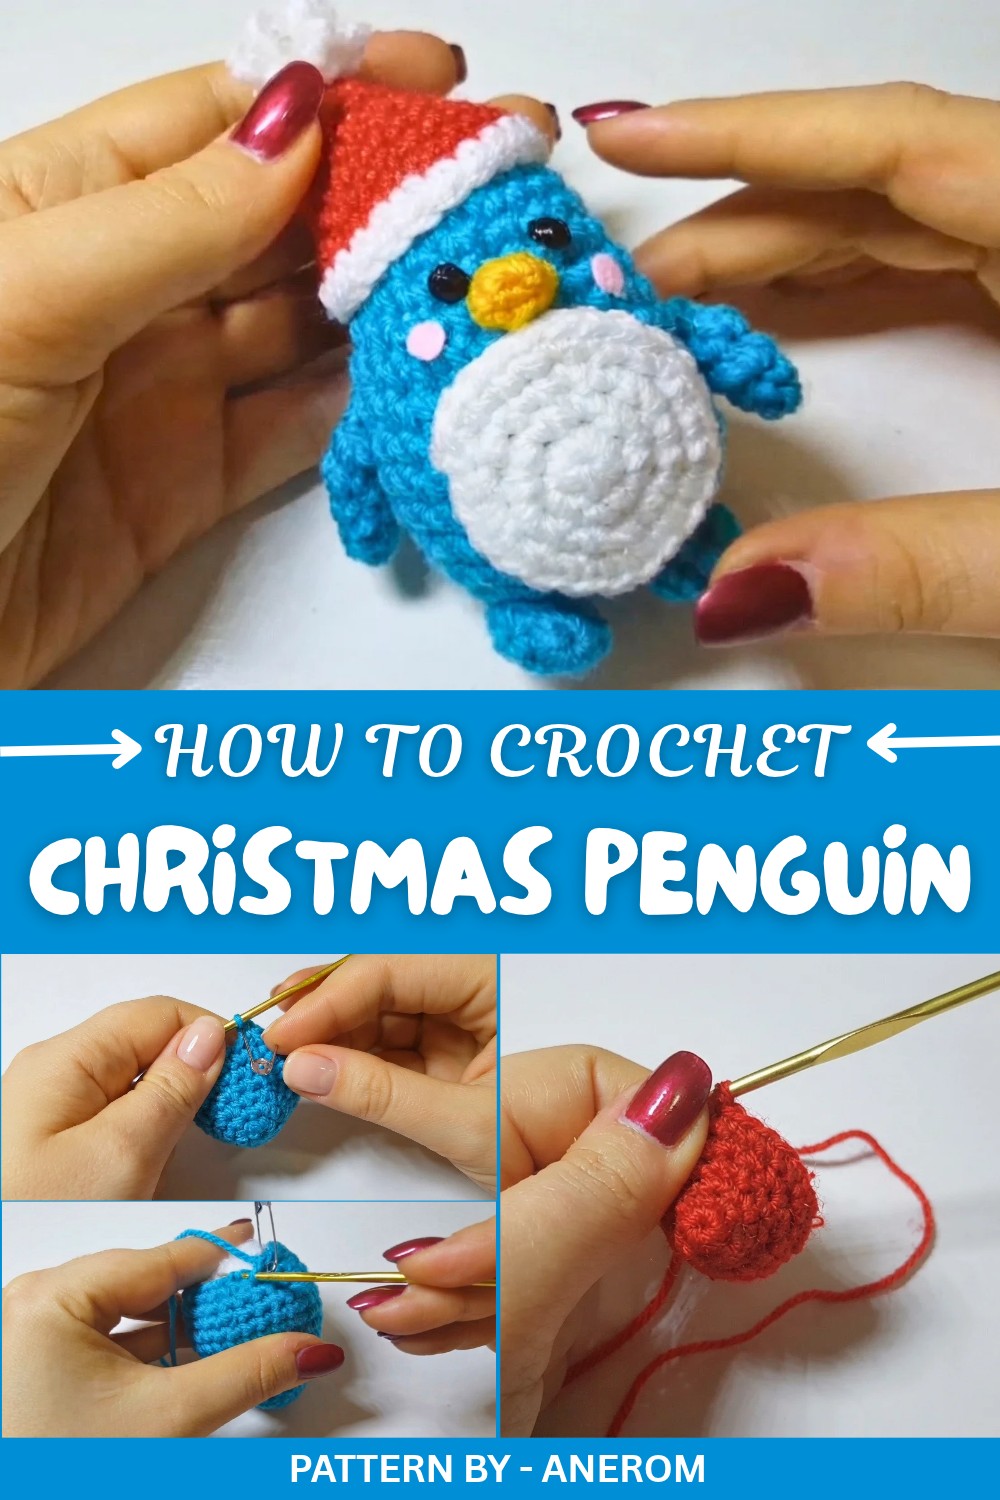
Throughout this project, you’ll get to learn some fantastic crochet skills. You’ll practice simple single stitches that form the penguin’s body, work in rounds, and pick up handy tips for increasing, decreasing, and shaping tiny limbs like arms and feet. It’s an approachable project but full of delightful details. You’ll love seeing your penguin come to life with every little addition, from its fluffy pom pom to its little beak.
Once you’ve got the hang of making one penguin, you can take these techniques and turn them into so many other mini pals. Ducks in yellow for spring, bears in brown for a woodland theme, or even polar bears in white for winter, they’re all possible with only slight tweaks to this method. Let your creativity wander and think of all the mini creatures waiting to be stitched up.
By the end of this fun endeavor, you’ll have a little penguin friend to proudly display or gift to someone special. Every step brings you closer to a handmade treasure, brimming with personality and warmth, who could resist that?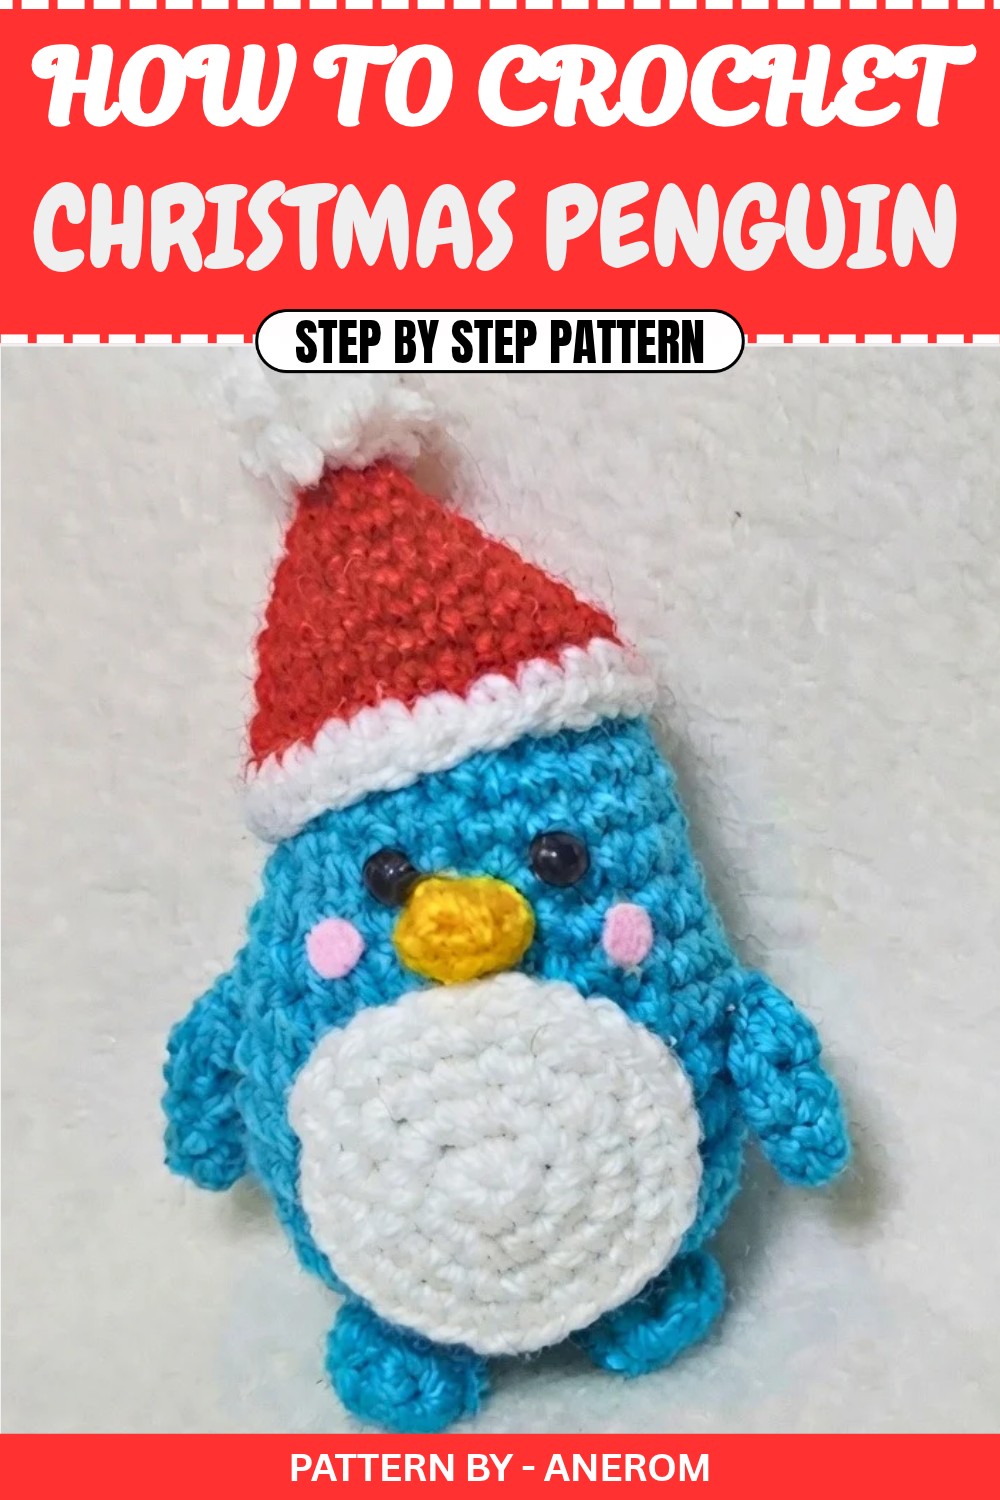
Crochet Pattern for a Christmas Penguin
Quick Overview Of Pattern
- Project Type: Christmas penguin with a festive hat.
- Style: Whimsical and wintry holiday themed design.
- Duration: Approximately 2–3 hours.
- Skill Level: Beginner friendly.
- Key Features: A cheerful penguin adorned with a red hat, white belly, and rosy cheeks made of felt.
Notes
- This project uses minimal assembly, which can be done with hot glue or sewing, depending on your preference.
- If working with thick acrylic yarn or tight spots during assembly, use a smaller hook for ease.
- Gauge isn’t critical, as exact size doesn’t matter for the final project.
- For the face details, consider felt, embroidery, or small beads.
Skill Level
Beginner – Includes basic stitches (single crochets, increases, and decreases) with simple shaping.
Materials
- Yarn:
- Penguin Body: Blue acrylic yarn.
- Belly: White acrylic yarn.
- Beak: Yellow acrylic yarn.
- Hat: Red and white acrylic yarn.
- Crochet Hook: 3mm crochet hook.
- Stuffing: Polyester filling for the body and components.
- Felt: Pink felt for cheeks.
- Glue Gun: For assembling parts and securing.
- Small Beads or Buttons: Optional for penguin’s eyes.
- Yarn Needle: For weaving in ends and optional sewing.
- Scissors: For trimming yarn and felt.
Measurements / Sizing
The finished penguin is approximately:
- Height: 5 inches, including hat.
- Width: 3 inches across the belly.
Gauge
Gauge isn’t critical for this project. As a reference:
- 10 single crochet stitches = 2 inches.
Stitch Abbreviations
- ch: Chain
- sc: Single Crochet
- sl st: Slip Stitch
- inc: Increase (2 sc in the same stitch)
- dec: Decrease (use invisible decrease technique).
Special Stitches
- Magical Ring: A technique to start in the round.
The Crochet Pattern
Part 1: The Penguin’s Body
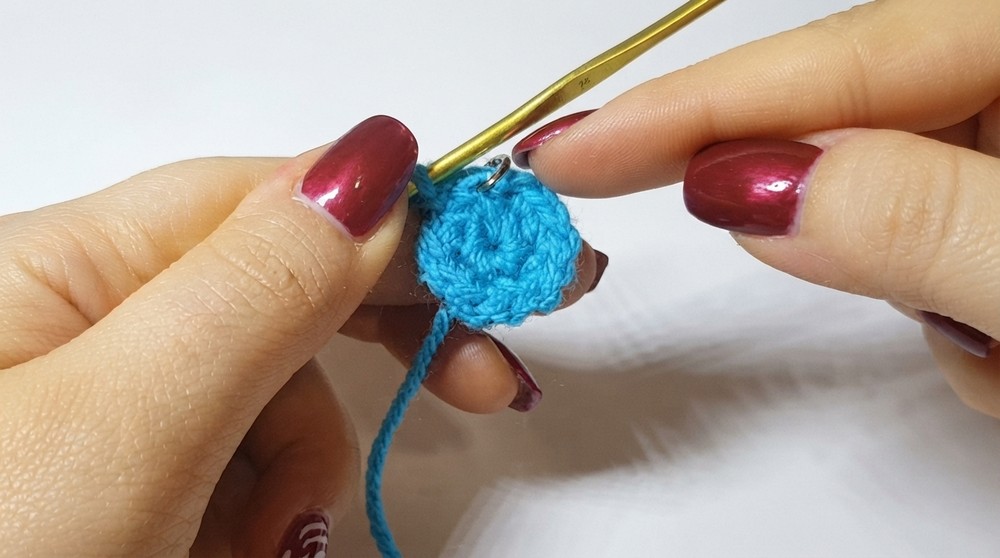
- Use blue yarn to make a magic ring.
- Work 6 sc into the ring. Pull the tail tight to close.
- Round 2: Work 6 increases (2 sc in each stitch around) (12 sts).
- Round 3: Work 1 sc, inc—repeat from * for the round (18 sts).
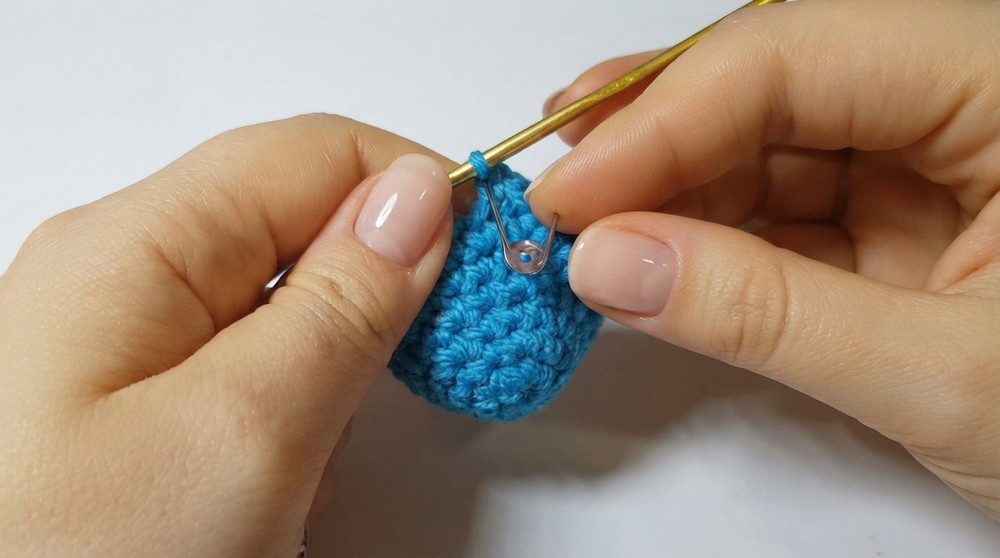
- Rounds 4-5: Work 1 sc in each stitch around without increases (18 sts per round).
- Round 6: 2 sc, inc—repeat from * for the round (24 sts).
- Round 7: Work 1 sc in each stitch around without increases (24 sts).
- Round 8: 3 sc, inc—repeat from * for the round (30 sts).
- Rounds 9-11: Work 1 sc in each stitch around (30 sts per round).
- Stuff the penguin as you go to avoid a tight stuffing process later.
- Round 12: 3 sc, dec—repeat from * for the round (24 sts).
- Round 13: Work 1 sc in each stitch around without decreases (24 sts).
- Round 14: 2 sc, dec—repeat from * for the round (18 sts).
- Round 15: 1 sc, dec—repeat from * for the round (12 sts).
- Round 16 (Final): Work 6 consecutive decreases (6 sts).
- Fasten off, leaving a long tail. Close the hole by threading the tail through and sewing shut. Weave in loose ends.
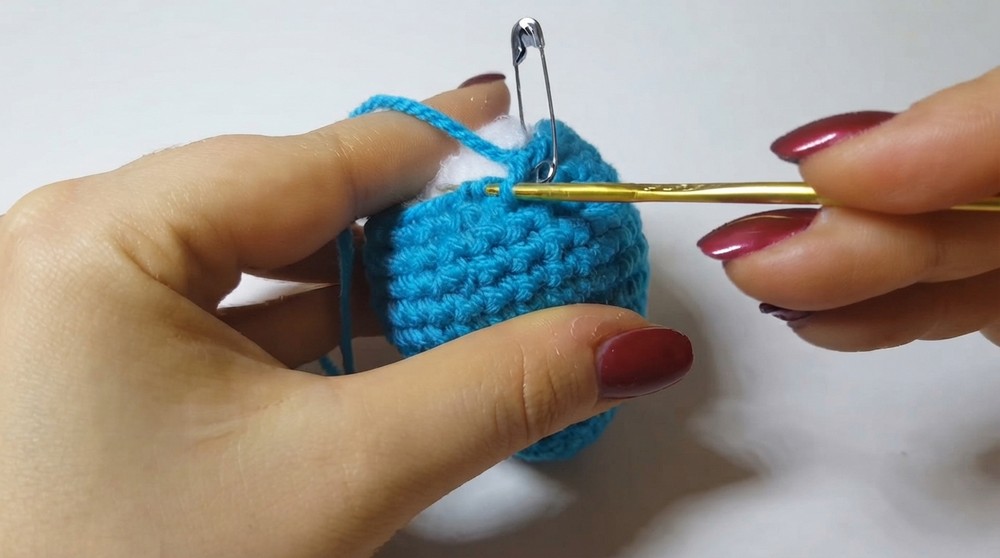
Part 2: The Penguin’s Belly
- Use white yarn to make a magic circle.
- Work 6 sc into the ring. Close tightly.
- Round 2: Work 6 increases (12 sts).
- Round 3: 1 sc, inc—repeat from * for the round (18 sts).
- Round 4: 2 sc, inc—repeat from * for the round (24 sts).
- Fasten off and weave in the loose ends.
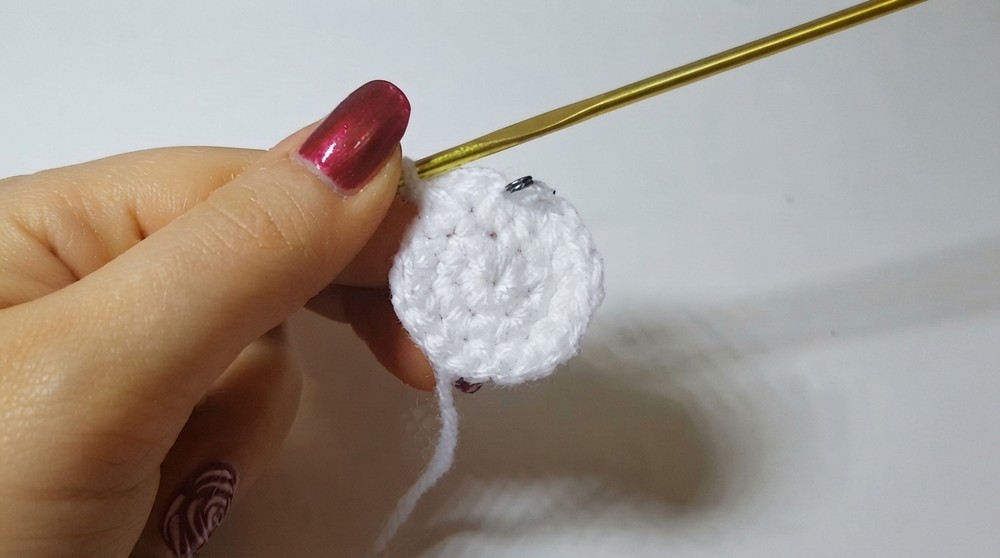
Part 3: The Feet and Hands
Feet:
- With blue yarn, make a magic circle and work 6 sc.
- Continue stitching 3 rounds of 6 sc each (18 sts in total).
- Fasten off and leave a tail. Make two feet.
Hands:
- With blue yarn, make a magic circle and work 4 sc.
- Continue stitching 3 rounds of 4 sc each (12 sts in total).
- Fasten off. Make two hands.
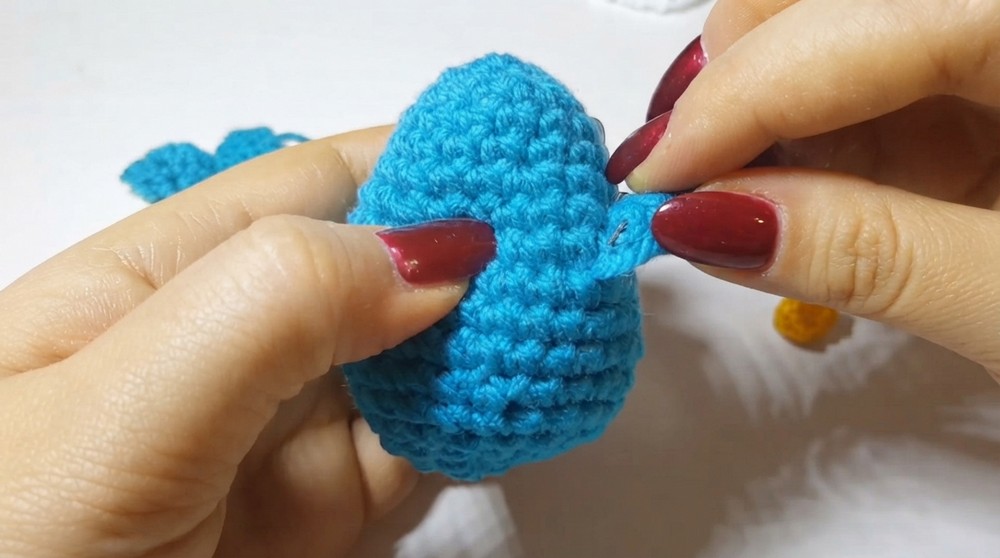
Part 4: The Penguin’s Hat
- Use red yarn to make a magic circle.
- Work 6 sc into the ring.
- Round 2: Work 6 increases (12 sts).
- Round 3: Work 1 sc in each stitch around (12 sts).
- Round 4: 1 sc, inc—repeat from * for the round (18 sts).
- Round 5: Work 1 sc in each stitch around (18 sts).
- Round 6: 2 sc, inc—repeat from * for the round (24 sts).
- Round 7: Work 1 sc in each stitch around (24 sts).
- Switch to white yarn. Work a single round of 24 sc.
- Fasten off and weave in loose ends.
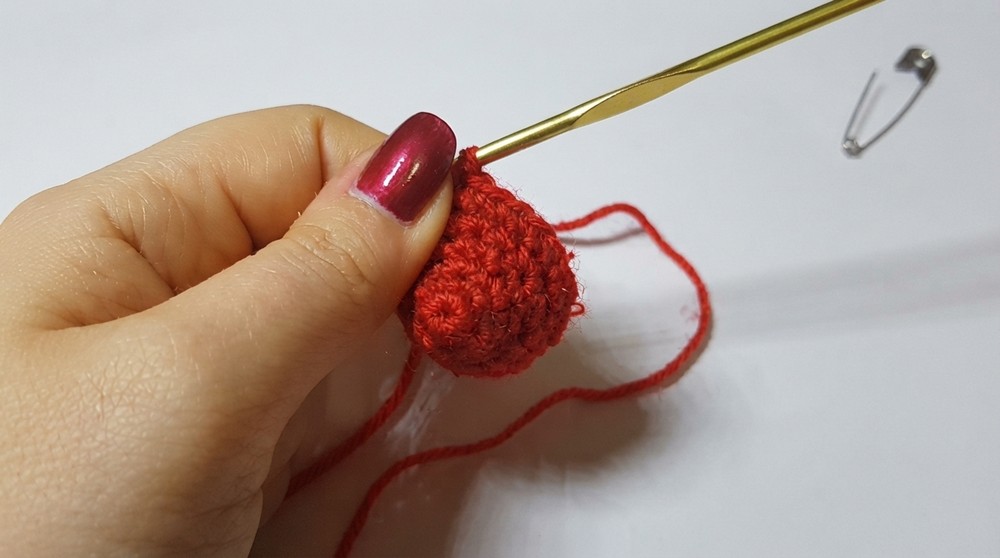
Pom-Pom:
- Wrap white yarn around your fingers several times.
- Slide the loops off your fingers and tie the center tightly with another strand.
- Cut open the loops to create the pom-pom shape. Trim evenly.
Part 5: The Beak
- Use yellow yarn to make a magic circle.
- Work 4 sc into the circle.
- Continue stitching 2 rounds of 4 sc each (8 sts in total).
- Fasten off.
Assembly
- Glue or sew: Attach the belly to the middle of the penguin's body.
- Position and attach the feet at the base of the body and the hands along the sides.
- Attach the beak centered on the face.
- Secure the hat with glue or stitches on the penguin’s head. Add the pom-pom to the top of the hat.
- Attach felt cheeks to the sides of the face and glue on small beads for the eyes.
Conclusion
This delightful penguin is festive, charming, and beginner-friendly to crochet. The clever use of hot glue for assembly adds speed to the process without compromising the results. Whether displayed as a centerpiece, gifted to friends, or added to your holiday collection, this little penguin is sure to spread smiles and festive cheer.