
Free Crochet Penguin Pattern You’ll Want to Keep Forever
Make your own cuddly penguin with a free crochet pattern that’s simple to follow and perfect for crocheting soft and cheerful toys.
When winter hit last year, I found myself thinking about cozy crochets that brought a little cheer to the colder months. That’s when the idea for this adorable crochet penguin popped into my mind. Penguins are such lovable creatures, and with their round bellies and sweet faces, they seem to belong in every handmade winter collection. This free crochet penguin pattern is perfect for creating a cute and squishy friend that kids and adults alike will love.
Free Crochet Penguin Pattern for Your Collection
It uses basic stitches like single crochet, increases, and decreases, making it super beginner friendly. The magic happens with the amigurumi technique, which allows you to create smooth, stuffed shapes like the penguin’s round body and tiny flippers. Once you get the hang of the stitches, you’ll see how versatile they can be, you can use the same techniques to make other adorable animals or toys, like bears, seals, or even a puppy.
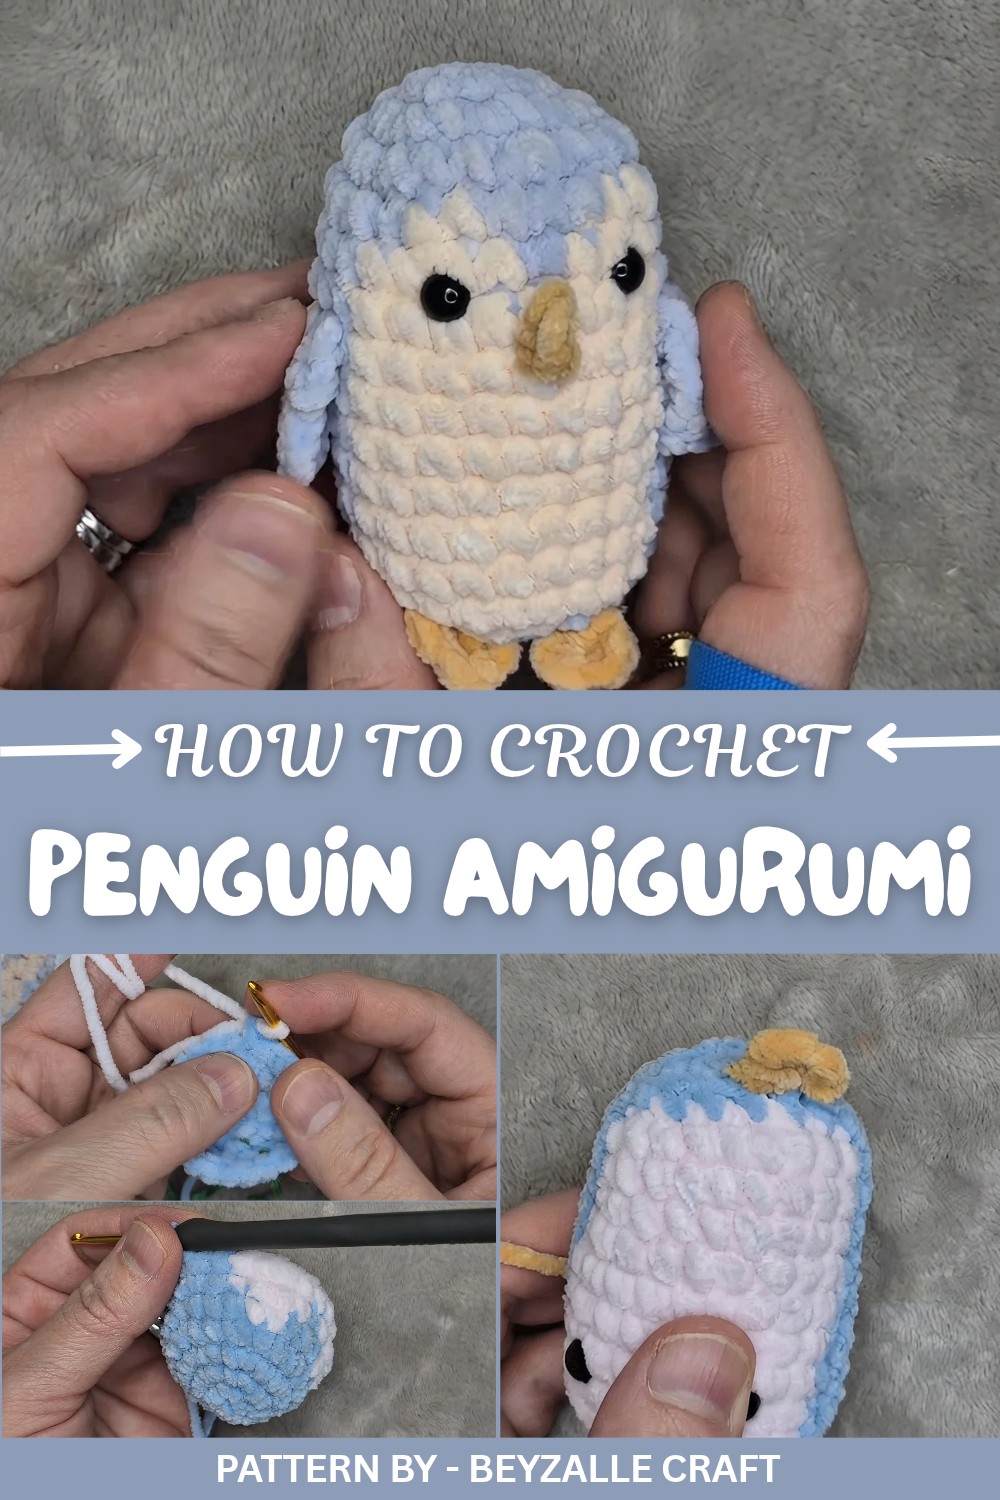
With this pattern, you’ll learn how to work in rounds, create neat shaping, and assemble different parts with ease. You’ll also pick up tips for evenly spacing stitches and stuffing your penguin to give it that perfectly huggable look. It’s a fantastic stepping stone for anyone wanting to explore more crochet projects in the world of amigurumi.
Pattern By Beyzalle CRAFT
This pattern doesn’t just stop with penguins. You can adapt the stitches and techniques to make other plushies, keychains, ornaments, or festive decorations. Add a bow, a scarf, or use different colors to give your project a personal twist. Whether you gift it to a friend, use it as a winter decoration, or keep it as a desk buddy, this penguin is guaranteed to warm your heart even on the chilliest days.
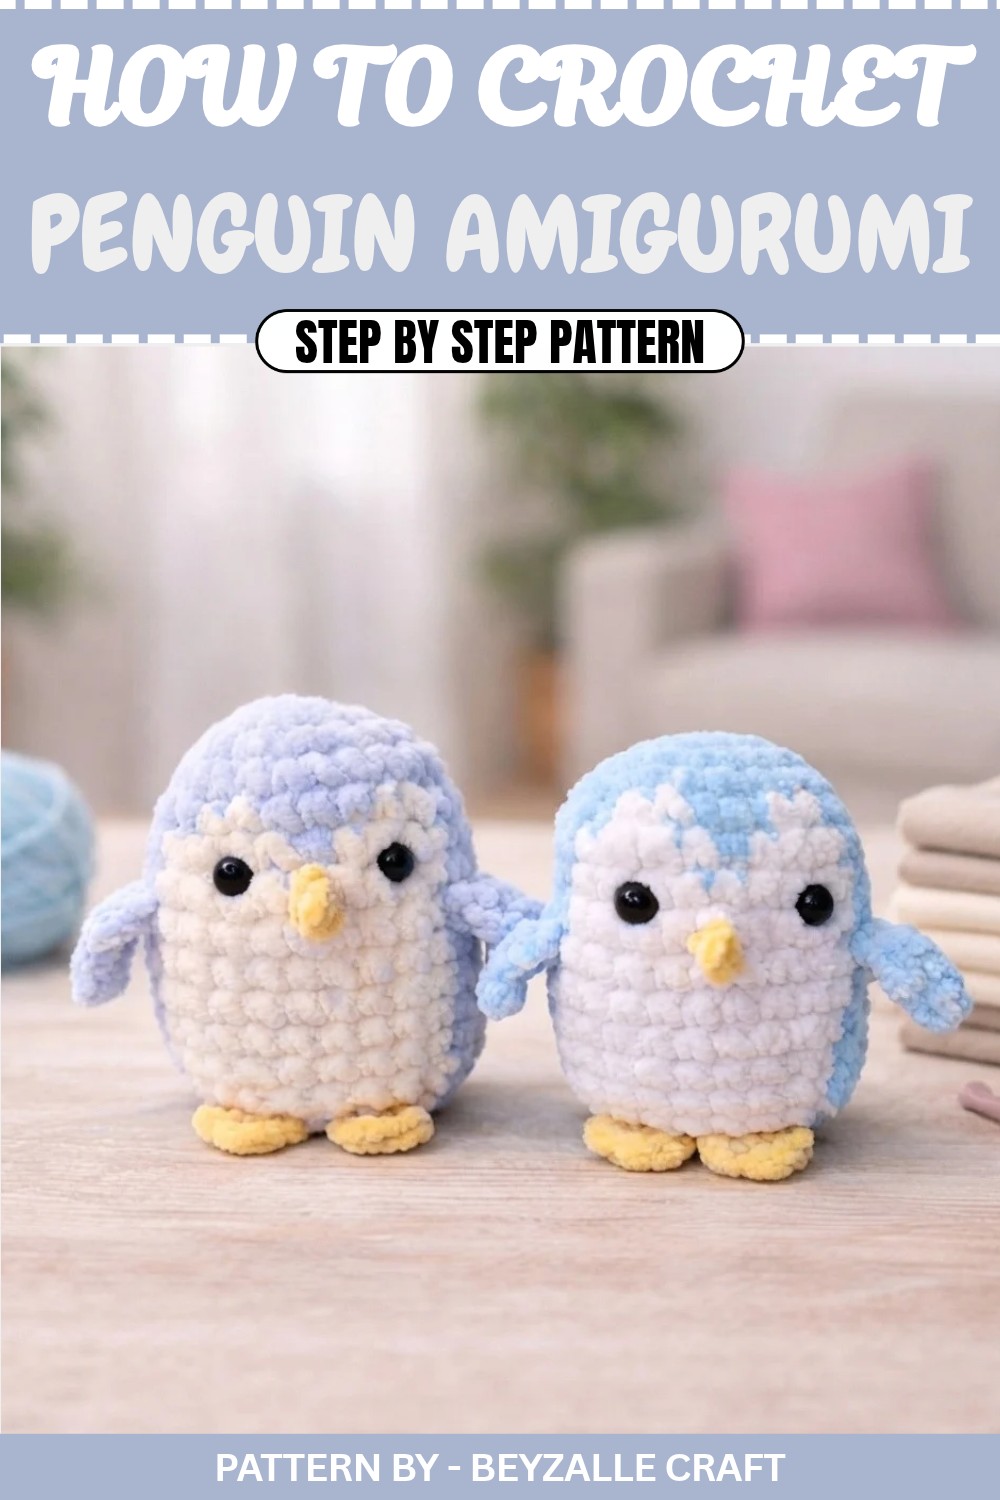
No Sew Amigurumi Penguin Crochet Pattern
This pattern produces a seamless penguin crafted with velvet yarn, perfect for beginners and intermediate crocheters who want to avoid sewing. The penguin has a plush texture and uses simple color changes to create a striped design. Working in continuous rounds eliminates joining seams, ensuring your project has a polished and smooth finish. The feet, wings, and nose are crocheted directly onto the body, adding convenience and reducing assembly time.
Pattern Overview
- Type: Amigurumi Penguin (Seamless, No Sew)
- Skill Level: Beginner to Intermediate
- Main Technique: Continuous rounds with simple color changes
- Time Estimate: Approx. 3–4 hours
Notes
- Work in continuous rounds unless instructed otherwise. Use a stitch marker to track the beginning of each round.
- When switching colors, do not tie knots—just pull the new color through smoothly to avoid tension issues.
Materials
- Yarn: Medium weight velvet yarn in three colors:
- Main color for body
- Accent color for stripes
- Beak color for nose
- Crochet Hook: 3.5 mm or 3 mm (depending on tension)
- Safety Eyes: 6–8 mm diameter
- Stitch Marker: For tracking rounds
- Scissors: For yarn ends
- Tapestry Needle: For weaving in ends
Measurements
- Approximate size: 10–12 cm tall (depending on hook and yarn size).
Gauge
Gauge is not critical, but ensure stitches are tight enough to avoid gaps where stuffing might show.
Stitch Abbreviations
- CH: Chain
- SC: Single Crochet
- INC: Increase (2 SC in the same stitch)
- DEC: Decrease (Single crochet two together)
- BLO: Back Loop Only
Special Stitches
- Invisible Decrease: Insert hook into the front loops of the next two stitches, yarn over, pull through, yarn over again, and pull through remaining two loops.
Step-by-Step Crochet Pattern
Body Pattern
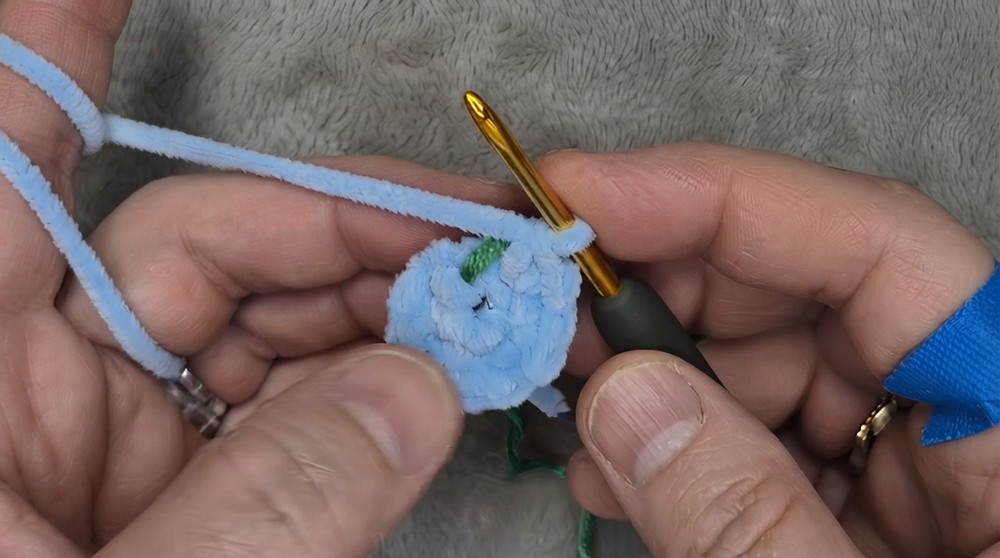
Round 1: Chain 2, work 6 SC into the first chain (6).
Round 2: Work an INC in every stitch (12 SC total).
Round 3: 1 SC, INC repeat 6 times (18 SC total).
Round 5: Begin stripes: Work 8 SC (main color), change to contrast color, work 2 SC, switch back to main color, work 3 SC, switch to contrast color, work 2 SC, switch back, work 9 SC (24 SC total).
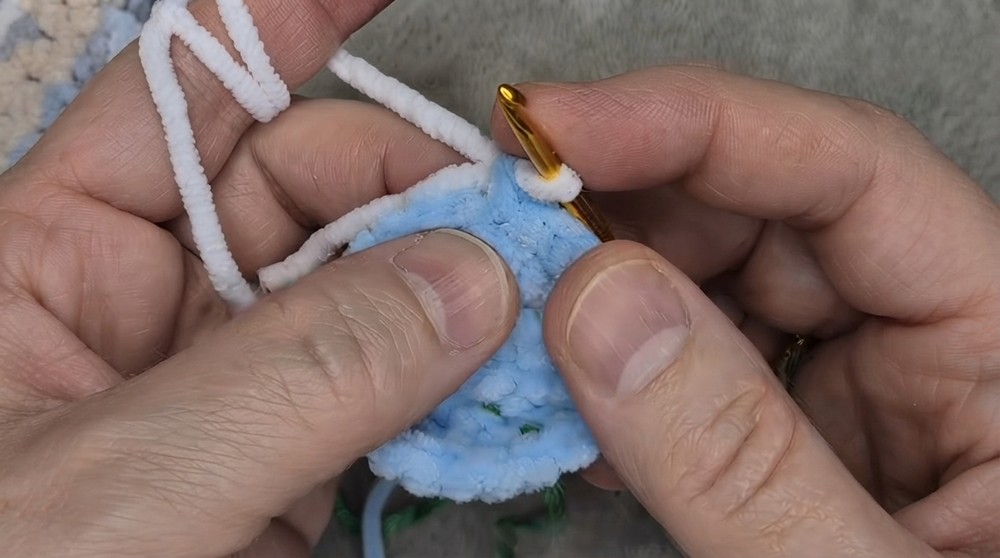
Round 6: Work 7 SC (main color), change to contrast color: Work 4 SC, switch back to main color: Work 1 SC. Switch back to contrast color: Work 4 SC, switch back and finish with 8 SC (24 SC total).
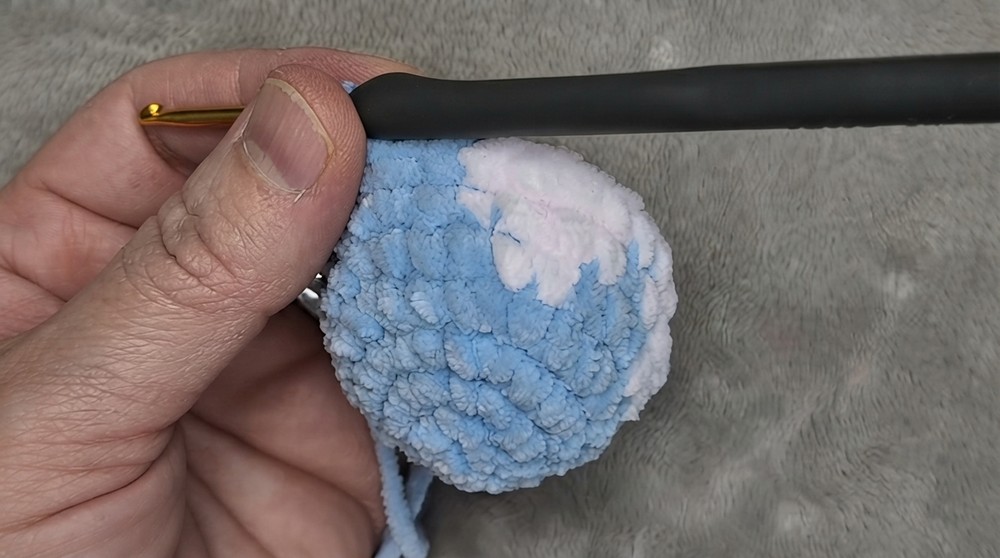
Stripe Repetition
Rounds 7–14: Repeat the stripe sequence established above. Work 7 SC (main color), 9 SC (contrast color), and 8 SC (main color) in each round (24 SC total).
Decrease Rounds
Round 15: 2 SC, DEC repeat 6 times (18 SC total).
- Place safety eyes between rows 11 and 12, spaced 2 stitches apart. Secure with washers and seal safety backs for permanence.
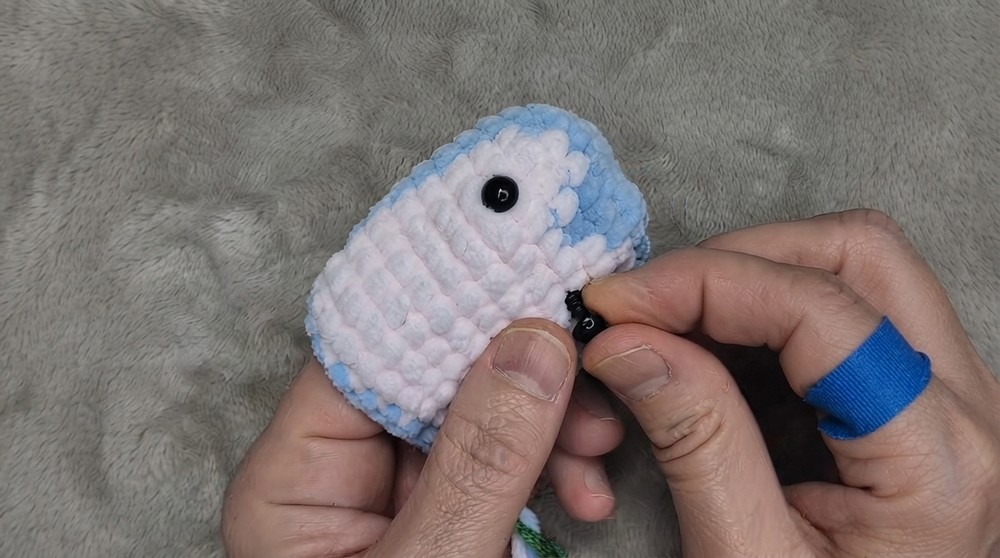
Round 16: Work in BLO: 1 SC, DEC repeat 6 times (12 SC total).
Round 17: DEC repeat 6 times (6 SC total). Fasten off and leave a long tail for closing.
Feet (No-Sew)
Step 1: Locate the BLO ridge created in Round 16.
Step 2: Join yarn into one BLO stitch and chain 1.
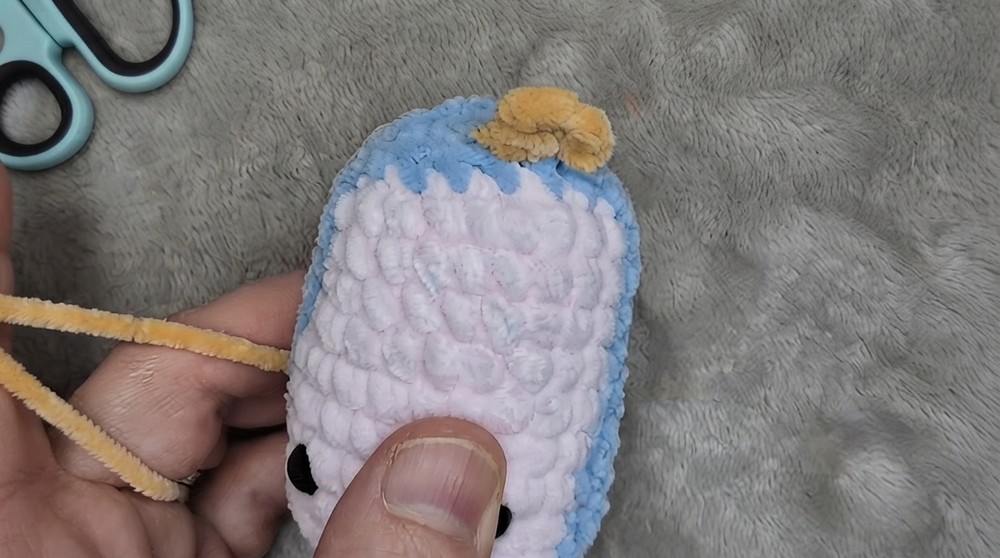
Step 3: In the same stitch: Work 1 HDC, 1 DC, 1 HDC. Finish with a slip stitch to secure.
Step 4: Skip one stitch and repeat the process for the second foot.
Wings
Step 1: Locate the side of the penguin underneath the eyes. Join yarn at a visible spot.
Step 2: Chain 1. Work 1 SC into the same stitch. Work 2 SC into the next stitch. Turn (3 stitches).
Step 3: For rows 2 and 3, work 3 SC evenly.
Step 4: On the final row, decrease all 3 stitches together into one stitch (pull through all loops). Finish with a chain to lock, fasten off.
Step 5: Replicate the same process symmetrically on the opposite side for the second wing.
Nose
Step 1: Join yarn one row below the safety eyes. Chain 1.
Step 2: Work 2 SC into the same stitch. Join and fasten off.
Step 3: Use the tapestry needle to secure the nose tail inside the penguin body.
Assembly
- Close the Base: Use the long tail left from Round 17. Thread a tapestry needle and weave through the front loops of the remaining 6 SC. Pull gently to close the hole. Secure with a knot and weave the tail inside.
- Adjust the Feet: Ensure the feet are symmetrical and align correctly underneath the body. Weave in foot tails securely.
- Wings and Nose: Double-check placement for uniformity on both sides. The wings should be evenly spaced and aligned with the eyes.
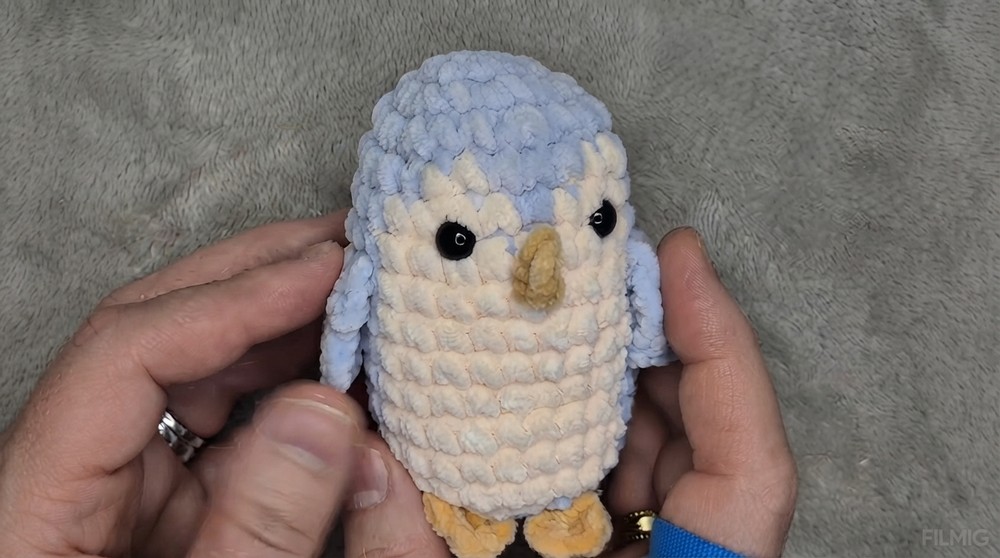
Finished Size
- Height: Approximately 10–12 cm
- Width: Approximately 7–8 cm, including the wings
Conclusion
Your no sew velvet penguin is now complete. Whether you want it as a standalone toy, keychain charm, or thoughtful gift, this project will surely bring joy to your spaces and loved ones.