
Free Crochet Openwork Top Pattern You’ll Keep Wearing All Summer
Beat the summer heat in handmade style by stitching a breezy crochet openwork top that feels super light on your skin and pairs well with denim shorts.
A light, breathable top is the perfect wear for sunny days and outdoor adventures, and this openwork top offers just that, with an added elegance that fits a variety of occasions. Featuring an exquisite mesh like texture, it’s both stylish and practical, making it a wonderful addition to any wardrobe. Whether paired with casual jeans, shorts, or worn as a layered statement piece, this top strikes the perfect balance between grace and versatility.
Handmade Free Crochet Openwork Top Pattern That’s Trendy
Building the top is made simple by its straightforward stitch technique, which uses just one type of stitch throughout. This isn’t just a project to make your hands busy, it’s a chance to enjoy the relaxing rhythm and experiment with customization. The base is worked to fit the bust measurement, ensuring a perfectly tailored garment. Straps follow seamlessly, adding the finishing touches for a comfortable yet secure fit.
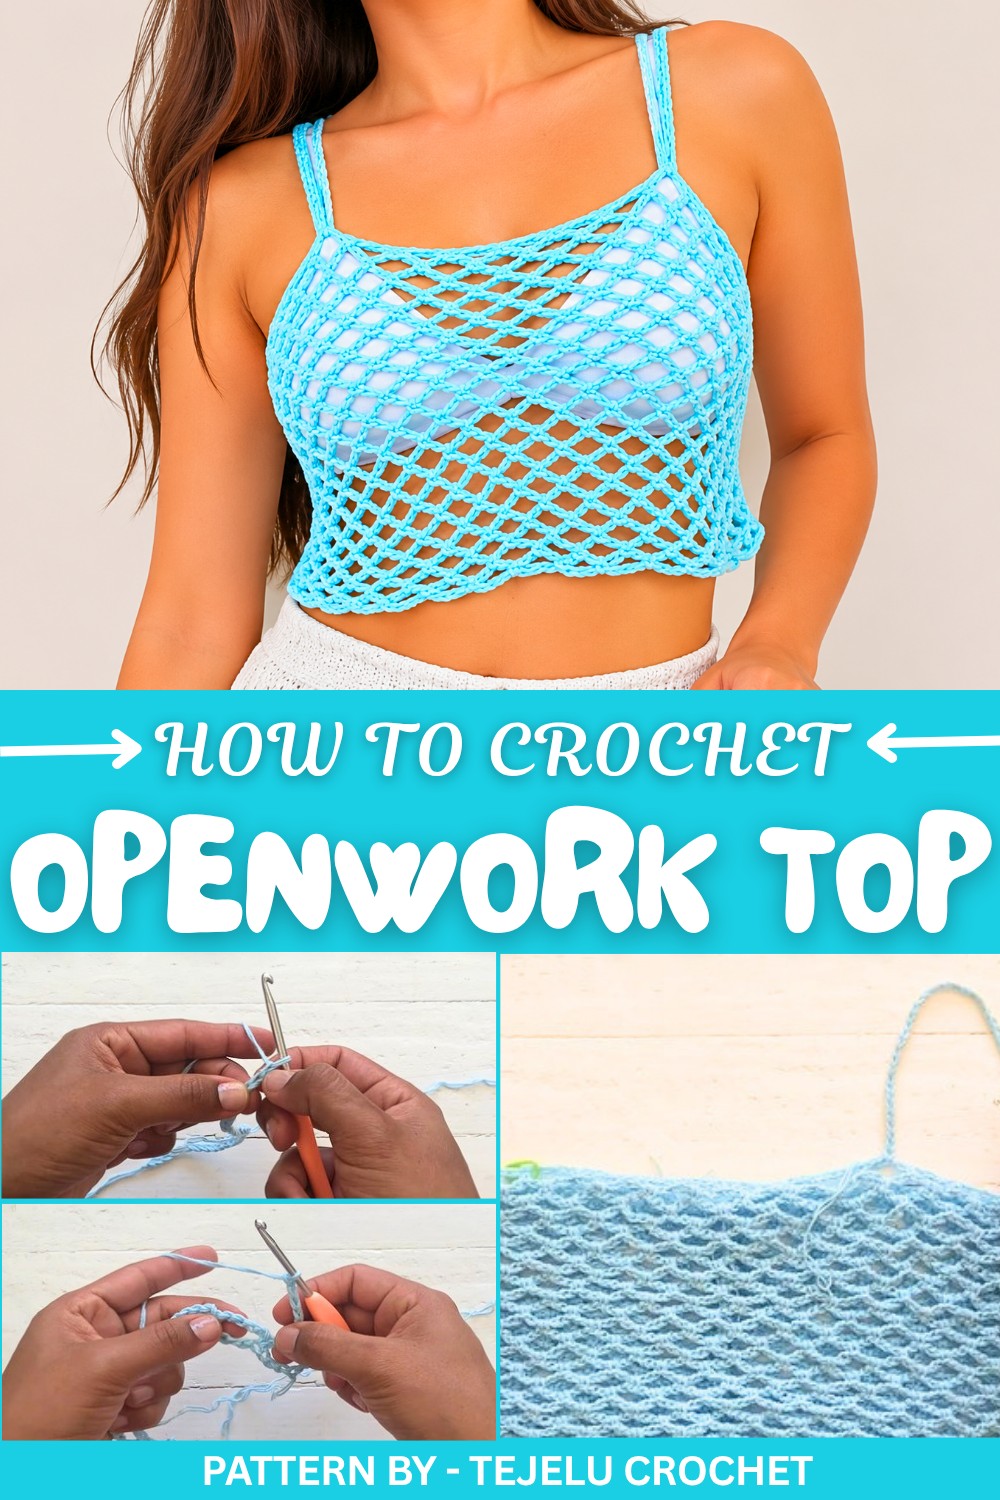
Lu, from Tejelu Crochet, shares clear instructions in her tutorial that make every step easy to follow, whether you’re a seasoned crocheter or just starting out. She combines thoughtful tips and techniques, like switching hooks for detail work, to ensure your finished garment feels refined and polished. With her approachable guidance, you’ll be excited to see the openwork take shape row by row.
This top isn’t just functional, it radiates charm and originality, making sure it stands out wherever you go. Once completed, you’ll have a stunning handmade top to wear with pride, along with the satisfaction of having made it yourself.
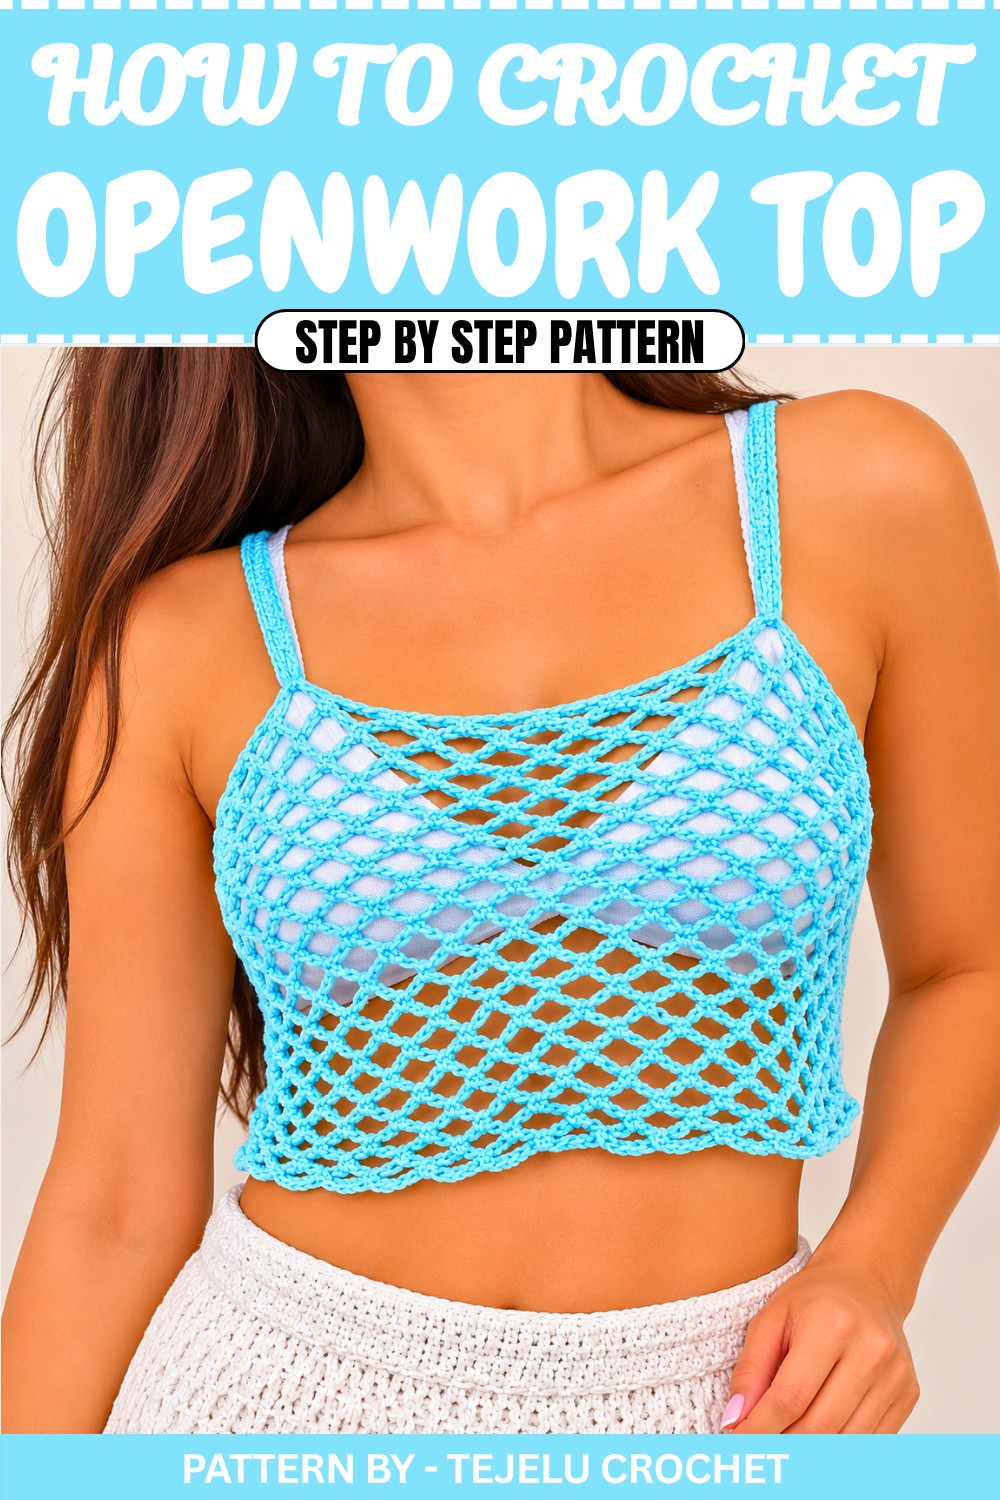
Crochet Openwork Top – Step by Step Pattern
Quick Overview of Pattern
- Project Type: Crochet Openwork Top
- Design: A cropped, sleeveless, openwork lace top with thin straps
- Occasion: Stylish summer outfit, casual wear, or beachwear
- Special Feature: Customizable to your size and preferred length
Notes
- The number of initial foundation chains should equal the bust circumference of the wearer, and the pattern is worked in rows.
- Repeat rows until you reach the desired length of the top.
- Use a smaller hook size for joining and sewing the garment for a cleaner finish.
- You can adjust the number of rows and chain stitches to adapt the fit based on your body measurements.
Skill Level
Beginner to Intermediate
You should be comfortable with:
- Chain stitch (cadeneta)
- Single crochet (punto bajo)
- Half double crochet (punto medio alto)
- Reading a simple repeat pattern for rows
Materials
- Yarn: Cotton or lightweight yarn (1.5 to 2 mm thickness recommended; can double thinner yarn like in this tutorial).
- Crochet hooks:
- 4 mm hook (for the body)
- 3 mm hook (for sewing and finer edges)
- Scissors
- Measuring Tape
- Stitch Markers (optional, for strap placement)
Measurements / Sizing
- Bust Circumference: Measure around the bust to determine the number of foundation chains (or measure for the person the top is being made for). In this tutorial, the bust measurement is 82 cm, which resulted in 130 foundation chains. Adjust the number of chains for your size.
- Length: The length is adjustable. This tutorial uses 20 rows to create a cropped fit, but you can add rows for a longer top.
Gauge
Gauge is not critical, but ensure a slightly loose, lacy finish for comfort and proper drape.
Stitch Abbreviations
- ch – Chain stitch (cadeneta)
- sc – Single crochet (punto bajo)
- hdc – Half double crochet (punto medio alto)
Special Stitches
Half Double Crochet (Punto Medio Alto)
- Yarn over the hook, insert the hook into the stitch/chain.
- Yarn over again and pull through (3 loops on the hook).
- Yarn over and pull through all 3 loops.
The Crochet Pattern
Step 1: Foundation Chains
- Begin with a slip knot and create the foundation chains. The total number of chains should match your bust circumference. (Example: For an 82 cm bust, chain 130.)
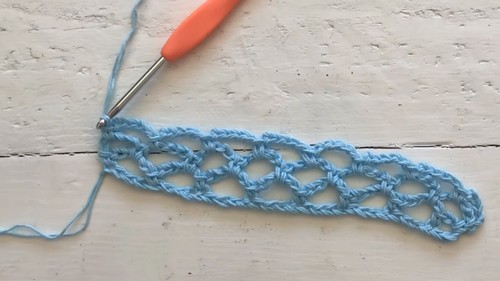
- Once the foundation chains are ready, count 5 chains from the hook. On the 6th chain, make a single crochet (sc).
- Chain 5, skip 3 base chains, and make a single crochet in the 4th chain.
- Repeat the sequence: Chain 5, skip 3 base chains, sc in the 4th chain until the end of the row.
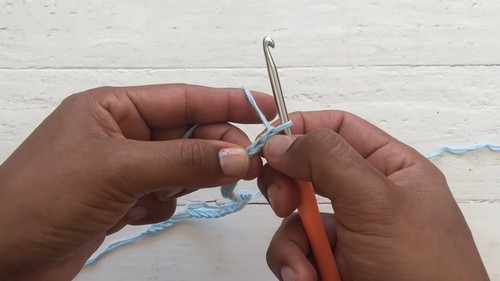
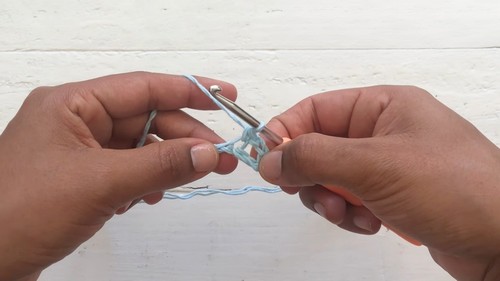
Step 2: Starting the Pattern
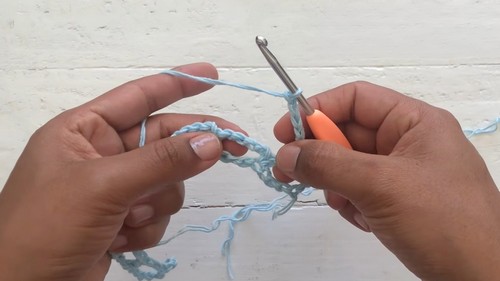
- At the end of the first row, chain 5 stitches, turn your work, and make a single crochet in the first chain space.
- Chain 5 again, then move to the next chain space, where you will make another single crochet.
- Repeat the sequence: ch 5, sc in the next ch space across the row.
- At the end of the row, repeat the sequence, ensuring your pattern aligns.
Step 3: Adding Rows to Achieve Desired Length
- Continue the same row pattern:
- Chain 5, turn the work, and sc into the next chain space.
- Repeat until you’ve crocheted as many rows as you need.
- For this project, Lu worked 20 rows for a shorter, cropped top. If you prefer a longer top, simply add rows to increase the length.
Part 4: Joining the Back Seam
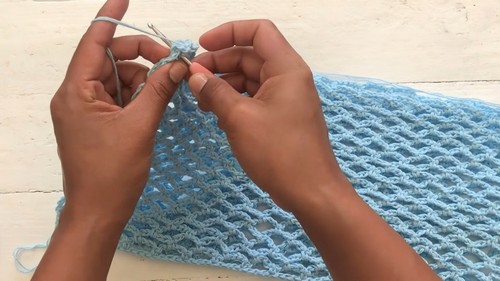
- When the desired length is reached, turn the fabric so that the reverse side (wrong side) of the top is visible. The right side of the fabric will face inward.
- Use a smaller 3 mm hook to sew the seam. This provides a more delicate finish, but you can use the same size hook or an alternate method as per your preference.
- Join the edges with slip stitches (puntos rasos):
- Insert the hook into the starting sc of both edges.
- Yarn over and pull through both loops to create a slip stitch.
- Ensure you are working point by point, aligning the stitches on both edges to create a clean, even seam.
- Close the seam with a final knot and weave in the ends. This seam can be positioned at the back or side of the top for a subtle finish.
Part 5: Adding Straps
- Try on the assembled top to determine where to attach the straps. Use a measuring tape or simply pin the straps with stitch markers to test their placement. Adjust as necessary.
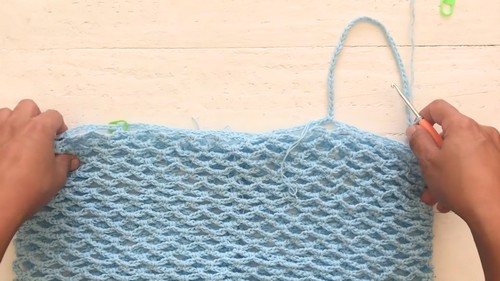
- Use a slipknot to attach the yarn to the marked position of the strap.
- Create the strap: Chain as many stitches as needed for the desired strap length. Lu made 50 chains, but you can adjust based on your preference for a tighter or looser fit.
- Secure the strap:
- Attach the other end of the chain at the back of the top with 2 single crochets in one spot to secure the strap.
- Strengthen the strap:
- Work half double crochets (hdc) across the entire length of the chain stitches.
- Repeat the process on the other side to create the second strap.
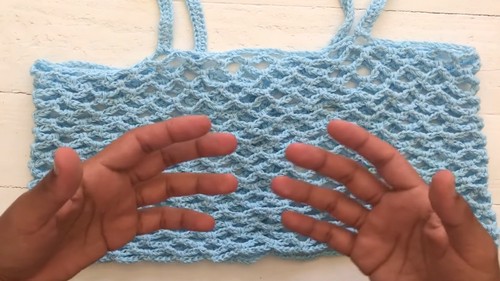
Assembly & Finished Size
Once both straps are complete, weave in all loose ends. Ensure all joins are secure. The final design is an openwork, breezy top that is perfectly fitted for summer or casual wear.
Conclusion and Ending Words
Congratulations on finishing your crochet openwork top! Whether you made it short and cropped or opted for a longer version, this lightweight design is perfect for hot days and creates a stylish yet practical piece for your wardrobe.