
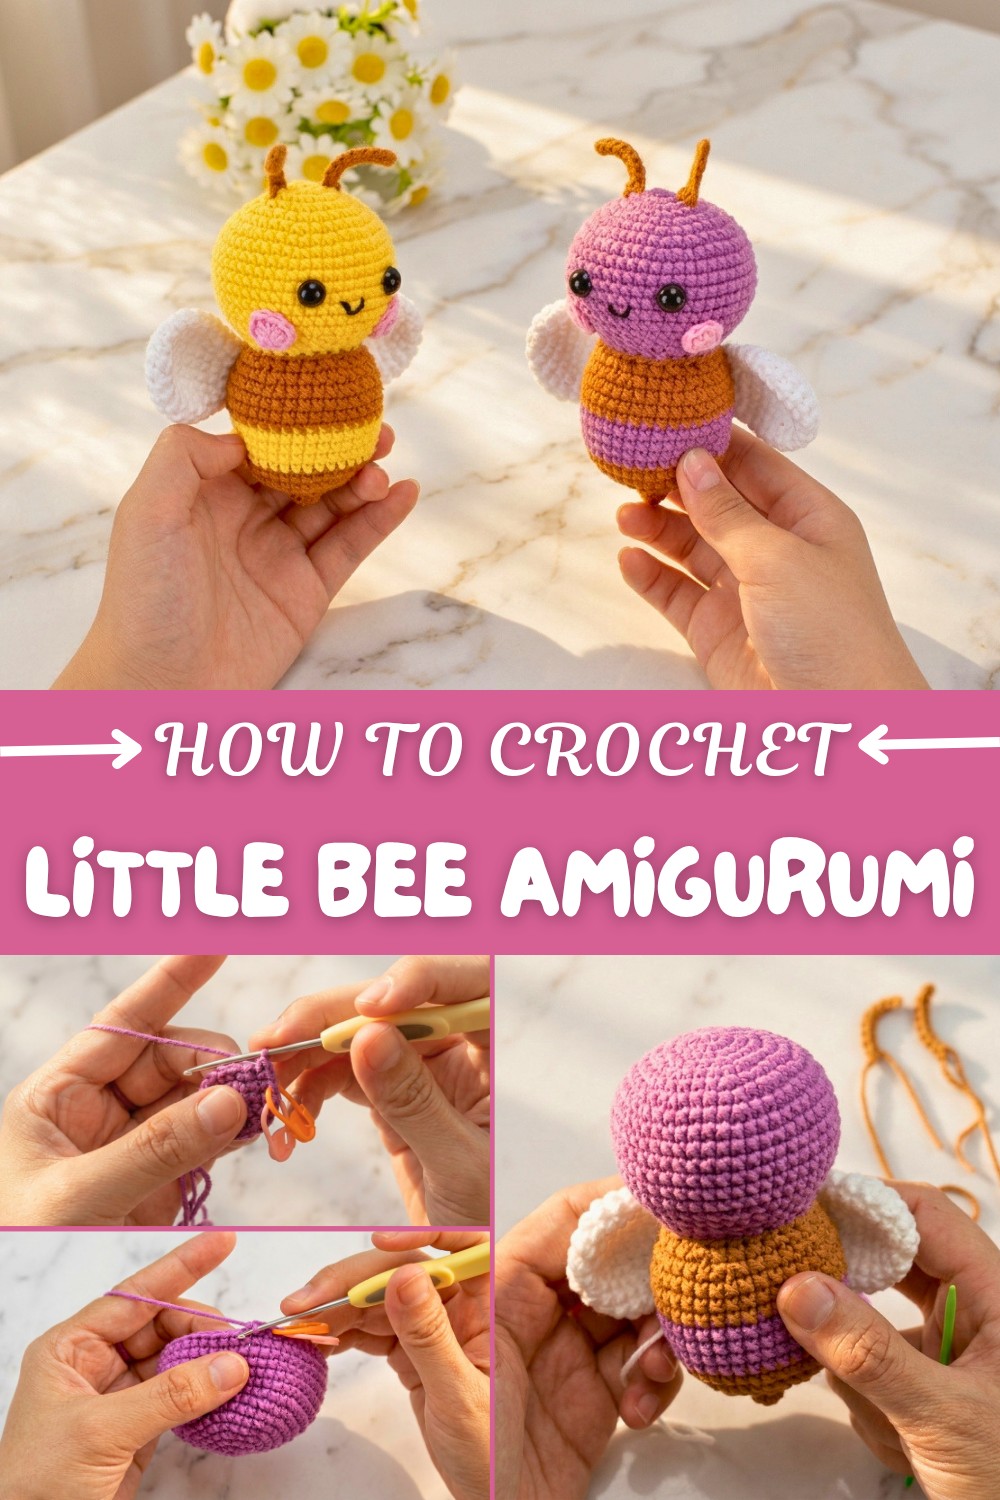
Free Crochet Little Bee Amigurumi Pattern for Whimsical Decor
Solve your need for a cute gift with this innovative free crochet little bee amigurumi pattern that's fresh and fun to stitch.
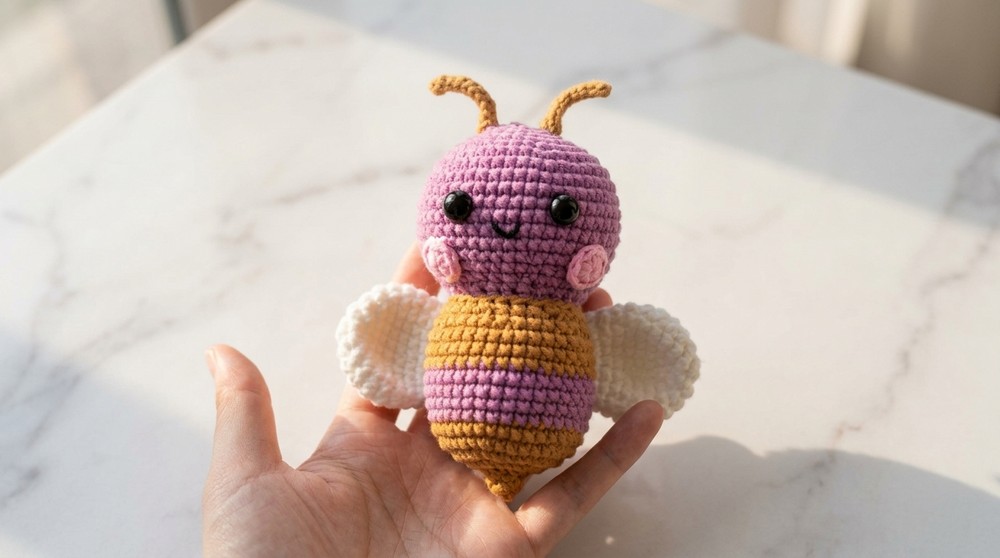
There’s something truly special about creating tiny toys that bring smiles to everyone who sees them. This crochet little bee amigurumi pattern is exactly that kind of project—small, adorable, and irresistibly charming. With its cheerful yellow and black stripes, delicate white wings, and a pair of cute antennae, this little bee is a perfect representation of nature’s wonderful pollinator. Whether you keep it as a desk decoration, gift it as a handmade treasure, or turn it into a keychain, it’s sure to bring joy.
Vibrant Free Crochet Bee Amigurumi Pattern for Creative Flower Vibes
This pattern uses basic crochet stitches, making it approachable even for beginners. You’ll work with magic rings, single crochets, increases, and decreases, which shape the head, body, and other details. The color changes in the striped body are easy to follow and add vibrant depth to the final piece. Not only is this bee adorable, but it’s also versatile! The same techniques used here can be applied to make smaller insects like butterflies or caterpillars, as well as other amigurumi creations like mini animals or fruits.
What Else Can You Create?
This bee’s structure opens up endless possibilities:
- Amigurumi insects like ladybugs or ants using the same stitches and techniques.
- Keychain charms in various themes, including animals and plants.
- Mini toys for kids such as caterpillars, soft vegetables, or tiny plush bugs.
- Custom decorations for gifts by altering colors and adding accessories like flowers or crowns.
What Will You Learn?
From this pattern, you will learn how to:
- Work seamlessly in the round using the magic ring technique for clean starts.
- Shape amigurumi pieces with strategic increases and decreases.
- Change yarn colors smoothly to create stripes for a polished look.
- Assemble multiple parts neatly by sewing them together.
Crochet Pattern: Little Bee Amigurumi
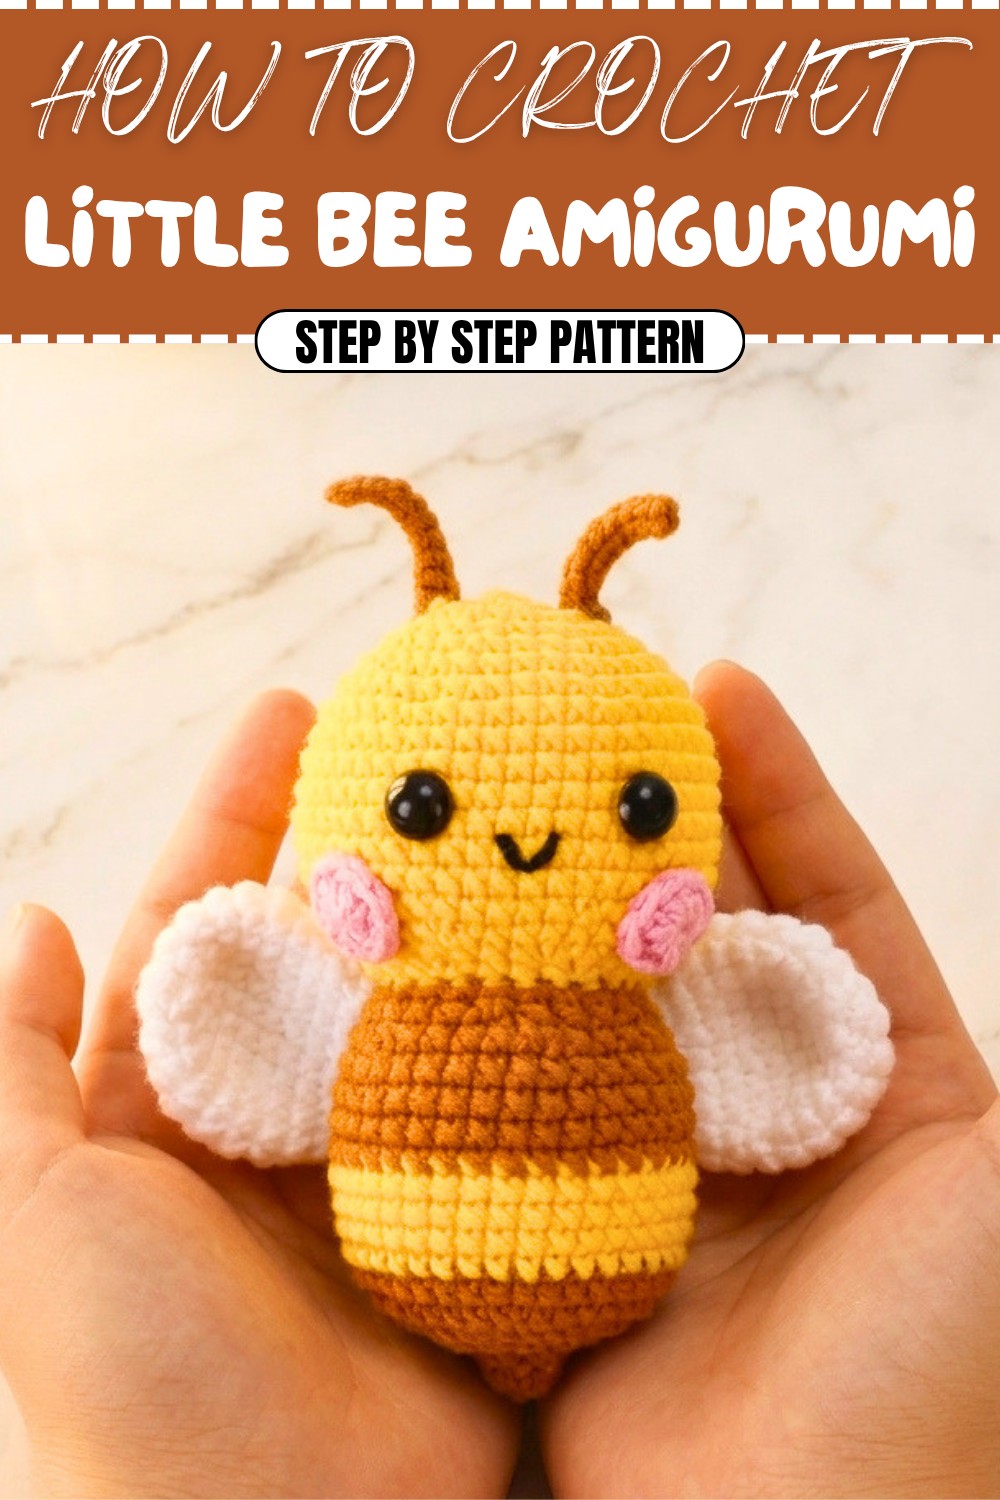
Create this adorable little bee amigurumi using simple crochet techniques. The project is perfect for both beginners and more advanced crocheters who want a cute and straightforward project. The bee is made up of separate components including the head, body, antennae, wings, and blush details that are assembled together.
Skill Level & Terminology
- Skill Level: Beginner
- Terms Used: US Crochet Terminology
Materials & Tools
- Yarn:
- Yellow yarn for the body.
- Brown yarn for stripes and body details.
- White yarn for the wings.
- Black yarn for the face and mouth outline.
- Hook: Size 2.5mm–3.0mm or appropriate size based on your yarn.
- Additional Tools:
- Stitch markers.
- Stuffing (polyfill).
- Sewing needle.
- Scissors.
- Blush (optional) for cheeks.
Gauge
Gauge is not critical for this project. Just ensure your stitches are tight enough to prevent the stuffing from peeking through.
Abbreviations List
| Abbreviation | Meaning |
|---|---|
| MR | Magic Ring |
| ch | Chain |
| sc | Single Crochet |
| inc | Increase (2 sc in one st) |
| dec | Decrease |
| sl st | Slip Stitch |
Special Stitch Instructions
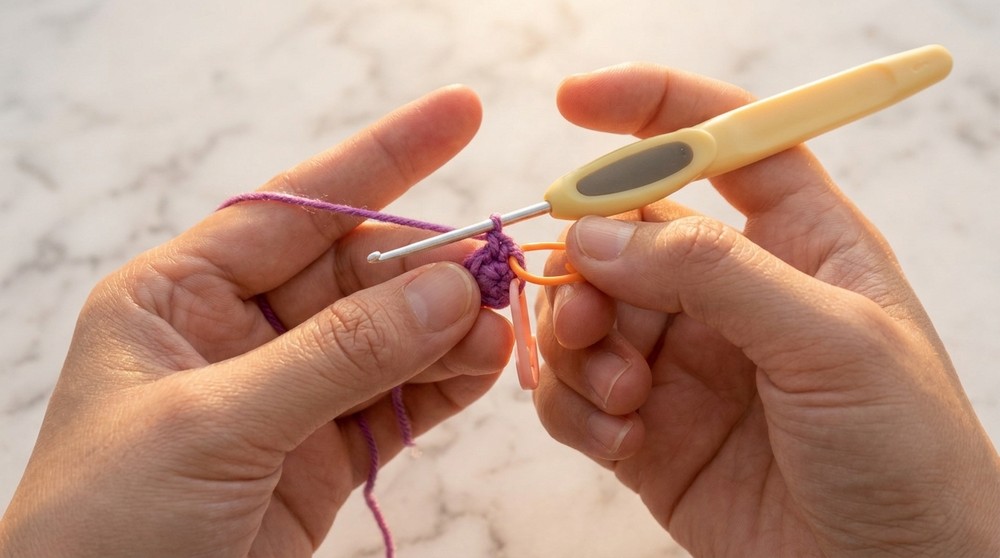
- Magic Ring (MR): Create a loop, insert your hook into the loop, pull up a loop, ch 1, and then work your crocheted stitches inside the loop.
- Increase (inc): Crochet 2 sc in the same stitch.
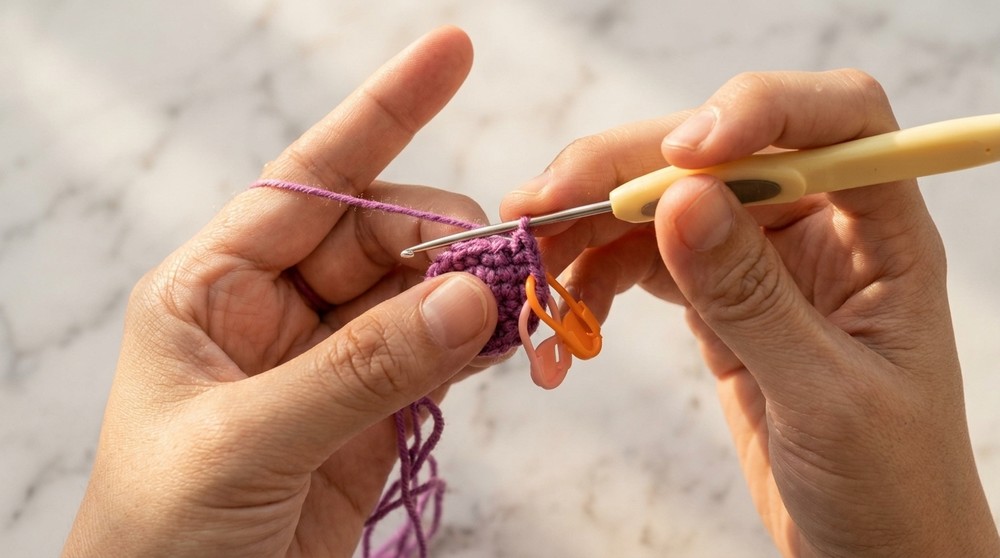
- Decrease (dec): Insert your hook into the front loop of the next two stitches, yarn over, pull through both loops, and finish as a single crochet.
Finished Size
Approximately 6-7 inches tall depending on your yarn and hook size.
The Pattern
Head
Round 1: Start with a MR. 6 sc in the ring. (6 sts)
- Pull the loop tight, and mark the first stitch with a stitch marker.
Round 2: 6 inc. Work 2 sc in each stitch from the previous round. (12 sts)
Round 3: (1 sc, 1 inc) repeat 6 times. (18 sts)
Round 4: (2 sc, 1 inc) repeat 6 times. (24 sts)
Round 5: (3 sc, 1 inc) repeat 6 times. (30 sts)
Rounds 6-14: sc in each stitch around. (30 sts per round)
Round 15: (3 sc, 1 dec) repeat 6 times. (24 sts)
Round 16-18: sc in each stitch around. (24 sts)
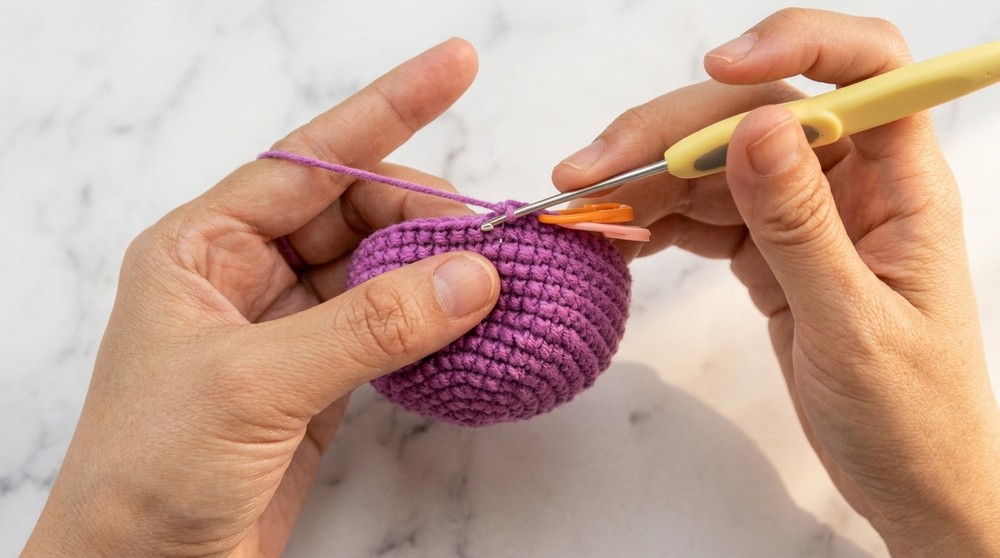
- Stuff the head firmly with polyfill as you go. Close the hole by reducing to 12 stitches, then leave a long yarn tail for sewing.
The head is now complete! Set it aside and move to the body.
Body
Round 1: Start with brown yarn and create a MR. Work 3 sc into the ring. (3 sts)
Round 2: (1 inc) repeat 3 times. (6 sts)
Round 3: (1 sc, 1 inc) repeat 3 times. (9 sts)
Round 4: (2 sc, 1 inc) repeat 3 times. (12 sts)
Round 5: (3 sc, 1 inc) repeat 3 times. (15 sts)
Rounds 6-8: sc in each stitch around. (15 sts per round)
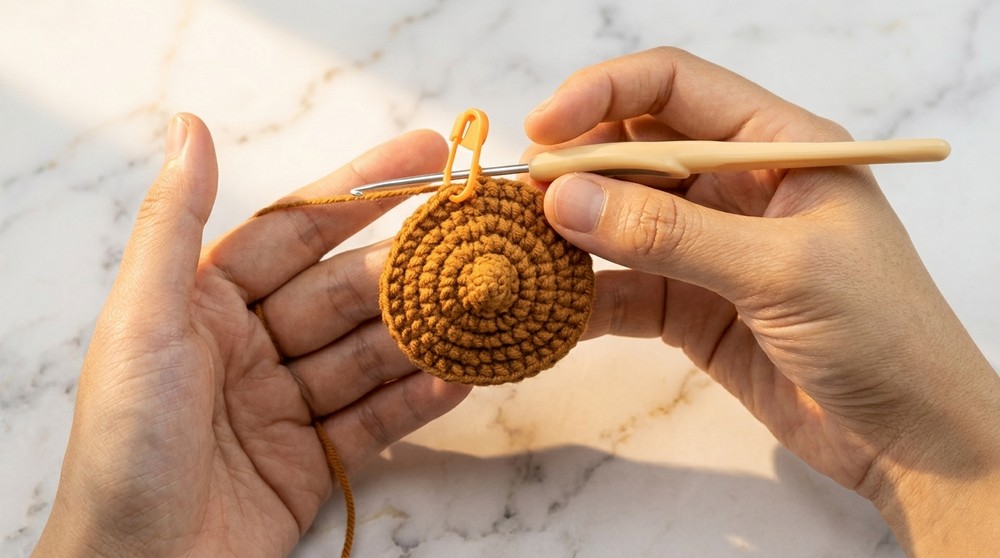
Round 9: Switch to yellow yarn. Continue working 15 sc while following the same method to change colors as explained in the video. Alternate yellow and brown stripes for each group of 3 rounds until round 38.
- Stuff the body before closing off. Leave a long tail for stitching.
The body is ready! Let’s move on to the antennae and details.
Antennae
- With black yarn, ch 9.
- Work sl st back through the chain stitches, starting in the second chain from the hook. (8 sl st)
- Fasten off and leave a long tail for attachment.
Repeat to make a second antenna.
Wings
- Use white yarn. Start with a MR. 6 sc in the ring. (6 sts)
- Round 2: 6 inc. (12 sts)
- Round 3: (1 sc, 1 inc) repeat 6 times. (18 sts)
- Round 4: (2 sc, 1 inc) repeat 6 times. (24 sts)
- Fasten off, leaving a tail for sewing.
Repeat to make the second wing.
Assembly & Finishing
Step 1: Attach the Head and Body
- Use the tail from the last row of the body and sew the body to the head, aligning stitch for stitch.
Step 2: Add the Antennae
- Attach each antenna to the top of the head using the tails left for sewing.
Step 3: Sew on the Wings
- Position the wings symmetrically on each side of the bee's body. Use the tails left to secure them.
Step 4: Embroider the Face and Mouth
- With black yarn, embroider the eyes and an upward-curving mouth just below the eyes.
Step 5: Add Blush
- With pink thread or blush product, apply light pink circles under the eyes for a cute, smiling look.
Summary
This little bee pattern uses basic stitches such as sc, inc, dec, and sl st while alternating colors to create stripes on the body. The individual parts are assembled at the end. The pattern includes some minor embroidery work for the face, making it a great project for crocheters to experiment with shaping and detailing.
You can personalize your bee by adjusting the colors or adding accessories like flowers, bows, or a tiny backpack. Enjoy crocheting your little bee, and share your finished masterpiece with loved ones!
Challenges You Might Face and their solutions
While creating the little bee amigurumi is a delightful project, beginners might face a few challenges along the way. Working the magic ring can be tricky to start with, as it requires getting the tension just right for a tight loop. Practicing this technique a few times with extra yarn can help you become more comfortable. Additionally, keeping track of stitch counts during rounds with increases and decreases can be daunting. Using a stitch marker to denote the beginning of your round is a simple trick that can save time and frustration. When it comes to the color changes for the stripes, ensure the yarn ends are tucked neatly inside to maintain a sleek appearance. With patience and a bit of practice, these hurdles will soon become second nature, turning challenges into achievable tasks!