
Free Crochet Fingerless Gloves Pattern You’ll Love Wearing Every Day
Find the easiest way to make fingerless gloves with this crochet pattern that’s great for relaxing as you make something warm and useful.
Fingerless gloves are a fashion forward accessory that pairs functionality with charm. These gloves are perfect for anyone who dislikes the restriction of full fingered gloves, allowing you to keep your wrists and hands warm while still offering the freedom to use your fingers. Whether typing, texting, or simply going about your daily tasks, these gloves make colder days not only cozy but stylish. With their snug fit and adorable design, they can easily elevate a laid back outfit or give you a sophisticated edge during chilly months.
Free Crochet Fingerless Gloves Pattern for Cold Weather Fun
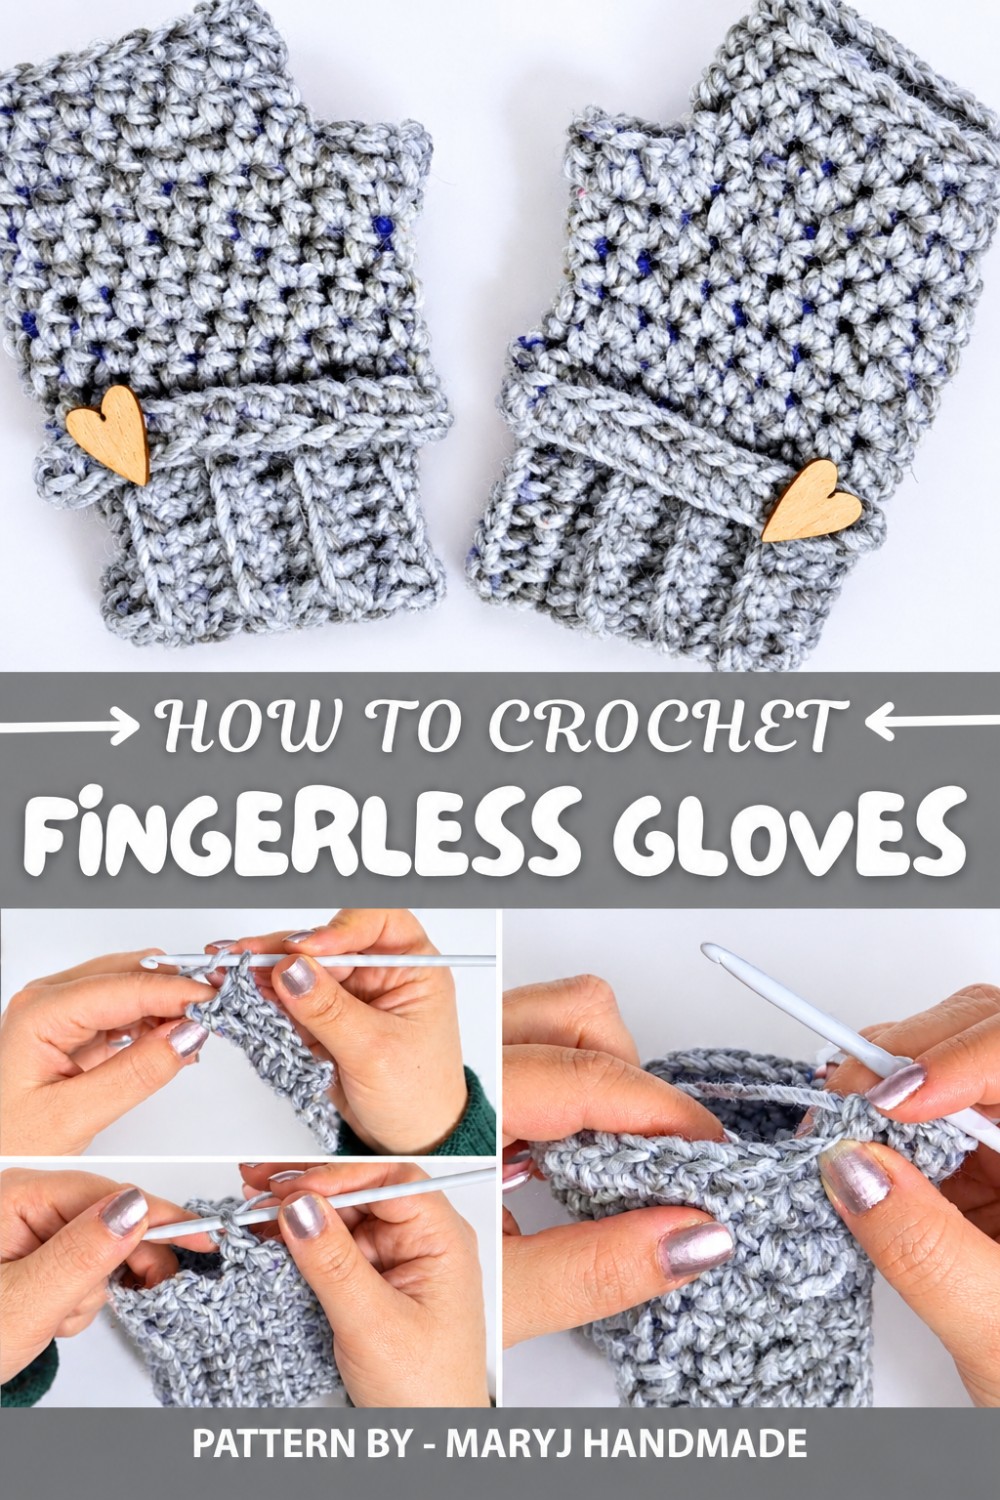
The Free Crochet Fingerless Gloves Pattern shared by MaryJ Handmade showcases a simple yet elegant approach to making gloves tailored to your style and fit. Using a textured cuff with back loop only stitching, the gloves feature a ribbed look that’s both soft and stretchy, ensuring a secure yet comfortable fit around your wrists. The standout feature of this design is its clever construction, which uses minimal yet thoughtful increases to fit perfectly around your hand and thumb.
Beyond keeping you cozy, they make fantastic handmade gifts for birthdays or festive occasions like Christmas, especially when paired with cute embellishments like heart shaped buttons. The Pattern highlights a practical tip: start tight, since the fabric naturally stretches with use, ensuring durability and the perfect fit over time.
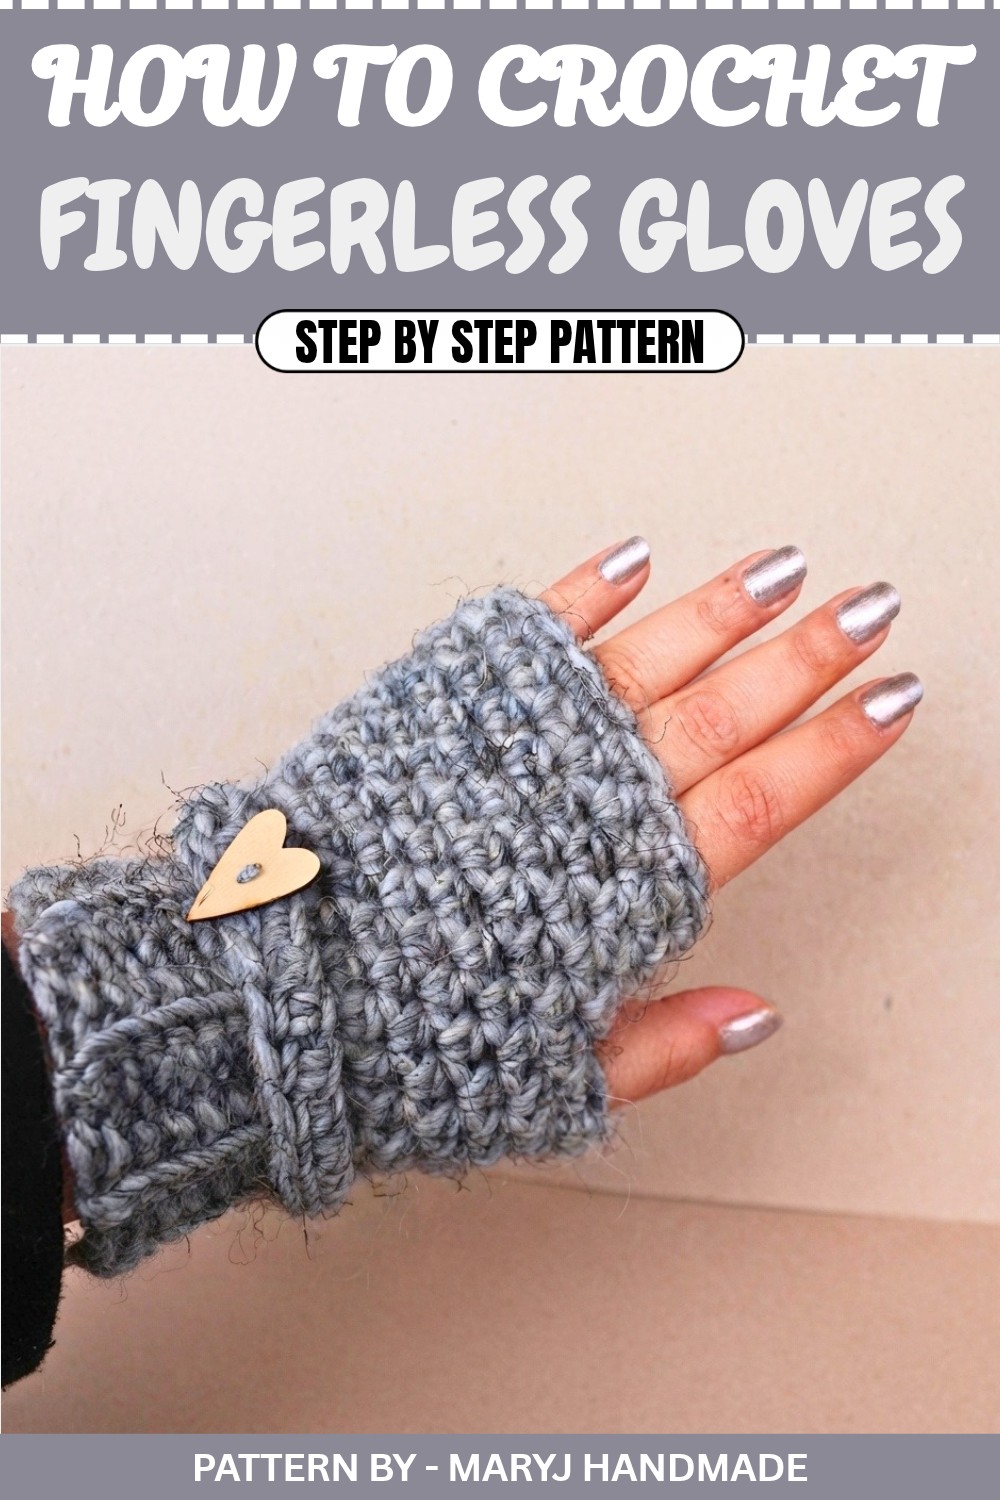
From the intricate ladder like ribbing effect on the cuff to the easy spiral technique for the hand, every part of the working process enhances the gloves’ beauty and function. Make a pair in an evening and enjoy how these gloves complement any winter outfit. Check out MaryJ Handmade's complete pattern tutorial for clear and practical tips to create your very own fingerless gloves.
Beautiful Crochet Fingerless Gloves Pattern
Quick Overview of the Pattern
- Project: Crochet Fingerless Gloves with Ribbed Cuff
- Skill Level: Easy
- Time to Complete: About 1.5 hours per glove
- Highlight: Ribbed texture from "back loop only" stitches
- Customizable Fit: Adjust the glove size to suit your hands or wrist
Notes
- Work all single crochet (sc) and half double crochet (hdc) stitches in back loop only (blo) to create the ribbing texture.
- The example uses 16 rows for the cuff, but you can add or subtract rows to fit your wrist size.
- Keep the gloves snug around the wrist — the crochet fabric will stretch over time.
Skill Level
Easy – Great for crocheters familiar with the basics like chaining, single crochet, half double crochet, and slip stitches.
Materials
- Yarn: 1 skein of worsted weight (#4) yarn (e.g., a wool blend like in the video)
- Hook: 5.0 mm crochet hook
- Tapestry needle: For seaming and weaving in ends
- Scissors
- Stitch marker (or a scrap piece of yarn)
- Optional: Small decorative buttons
Measurements/Sizing
- Ribbed cuff width: approx. 7 cm (unstretched) with 16 rows
- The glove size is adjustable by changing the number of rows in the cuff and the total number of stitches in the hand portion.
Gauge
- 7 single crochet rows (blo): 7 cm (height)
- Adjust hook size if needed to ensure a proper fit.
Stitch Abbreviations
- ch: Chain
- sc: Single Crochet
- hdc: Half Double Crochet
- sl st: Slip Stitch
- blo: Back Loop Only
Special Stitch
Back Loop Only (BLO):
Insert your hook into the back loop only of a stitch instead of through both loops. This creates a ribbed texture.
The Crochet Pattern
Step 1: Create the Ribbed Cuff
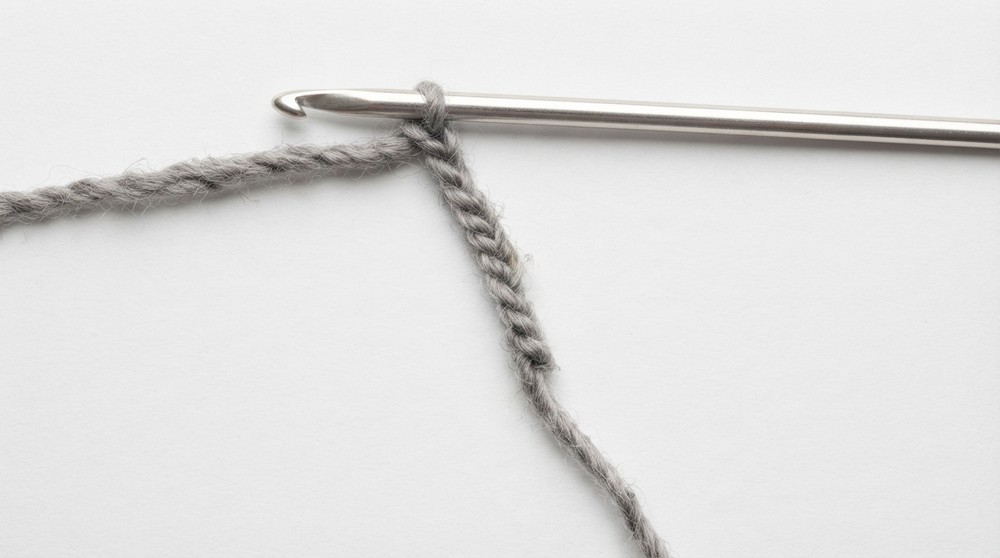
- Foundation Chain:
- Ch 9 (or adjust for your preferred length). For the example, 9 chains create a 7 cm cuff width.
- Row 1:
- Skip the 1st ch from the hook.
- Sc in the remaining 8 chains.
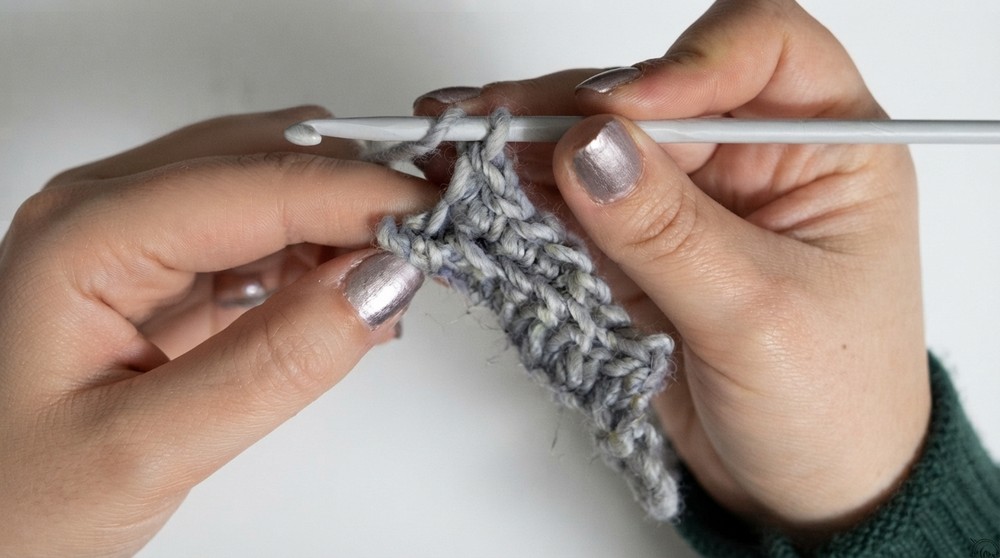
- Turn and Work in the Back Loop Only (BLO):
- Ch 1 (does not count as a st).
- Row 2: Sc blo across the first 7 sts.
- Hdc into the last st.
- Repeat Row 2 until you have created 16 rows (or enough to wrap snugly around your wrist).
Step 2: Form the Cuff Loop
- Fold the cuff in half lengthwise.
- Join the two short ends together, aligning the stitches.
- Use slip stitches or a tapestry needle to seam the edges together.
- Turn the cuff right side out so the seam is on the inside.
Step 3: Begin the Hand Portion
Attaching the Yarn:
- Join your yarn to the edge of the cuff with a slip stitch and mark this as your starting point.
Work Around the Edge of the Cuff:
- Crochet 1 sc into each row of ribbing around the edge of the cuff.
- Add 5 increases evenly to bring the total number of stitches to 21 (adjust as needed to fit your hands).
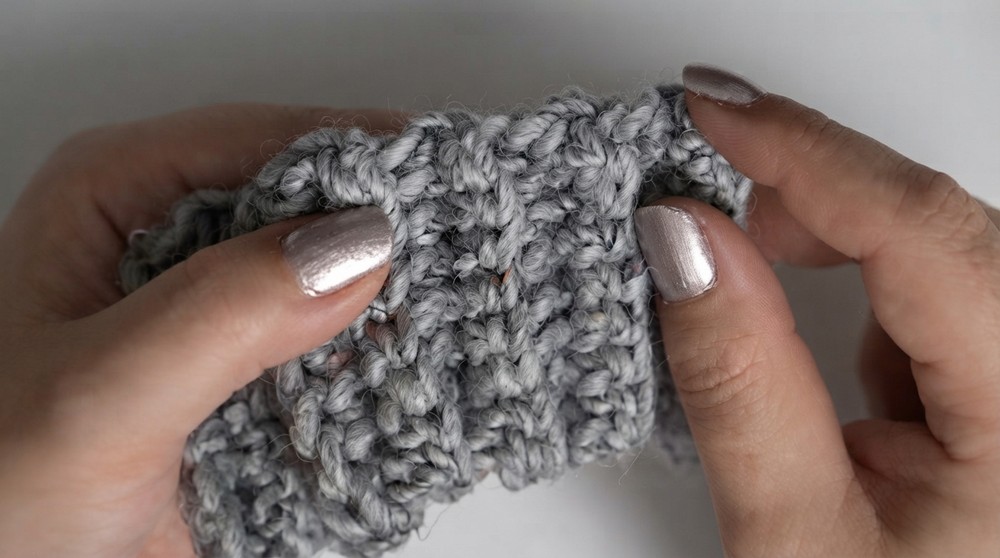
Step 4: Crochet the Wrist and Knuckle Area
Work Continuous Rounds:
- Round 1: Work 1 hdc in each stitch around (21 hdc).
- Use a stitch marker (or yarn) to mark the beginning of each round.
- Continue working:
- Round 2: 21 hdc around (1 hdc into each stitch).
- Round 3: 21 hdc around.
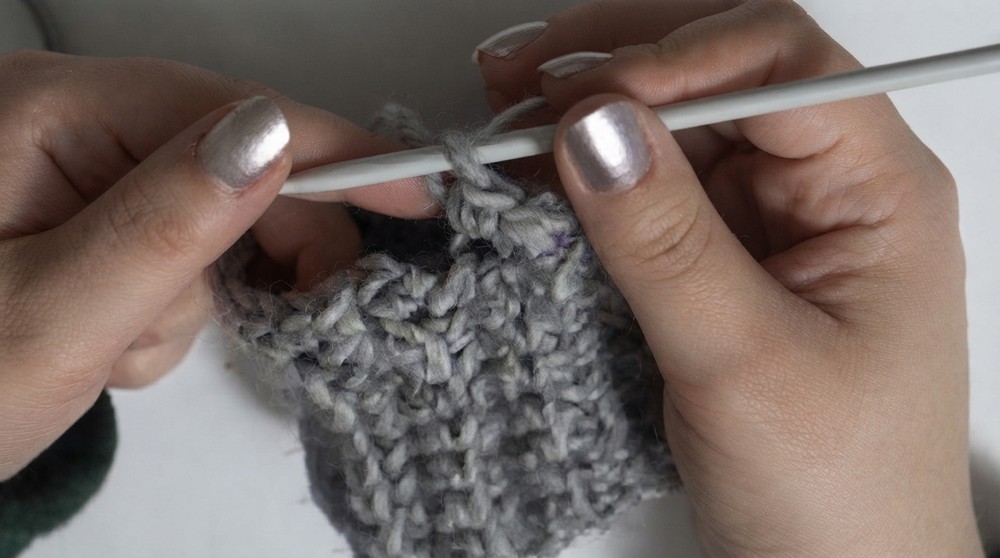
Step 5: Thumb Opening
- Place the glove on your hand and mark the starting point of your thumb. Count how many stitches need to be skipped. For example, leave 7 sts for the thumb opening in this case.
- Create the Opening:
- Crochet hdc sts until you reach the first marked stitch of the thumb area.
- Skip the marked stitches for the thumb, and sl st into the next available stitch after the thumb.
Step 6: Crochet the Hand Above the Thumb
- With continuous rounds, work hdc stitches above the thumb opening. In the tutorial, this required 3 more rounds of 21 hdc to reach the desired hand height.
- Sc Border: Add a clean finish by working 1 sc around the entire top edge of the glove.
- Sl St Border: After the sc border, work 1 sl st around for a neat, polished finish.
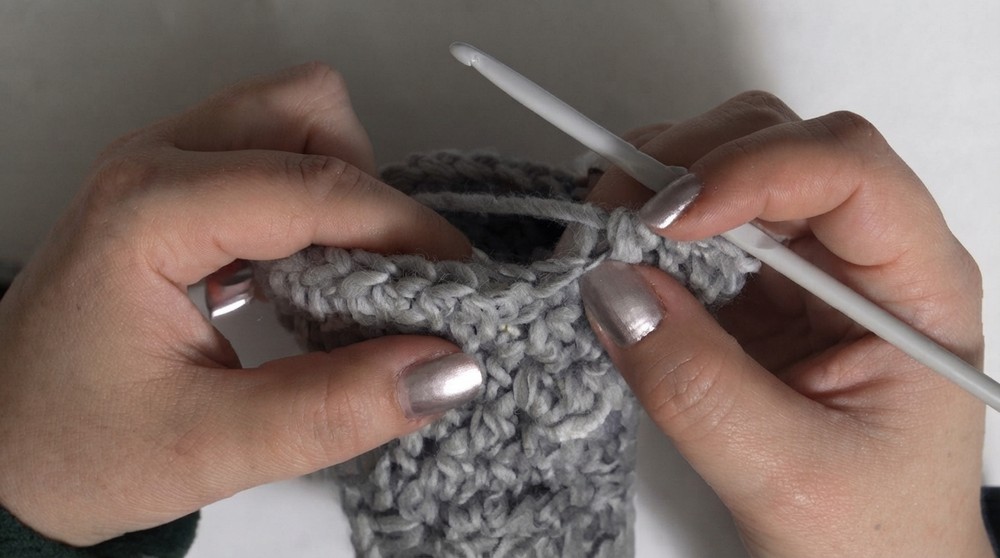
Step 7: Optional Thumb Finishing
- Join your yarn to the first skipped stitch for the thumb opening.
- Crochet sc evenly around the thumb opening (adjust the number of sts for your fit).
- Work continuous rounds of sc for the thumb section until you achieve the desired length.
Assembly & Finishing
- If desired, create a decorative strap by following this process:
- Ch a length to match the top of the glove (approximately 7–9 stitches).
- In the 3rd ch from the hook, work hdc across.
- Sew the strap onto the top of the glove and add a decorative button to finish.
- Secure and Weave in Ends: Make sure all tails are securely sewn into the work and trim any excess yarn.
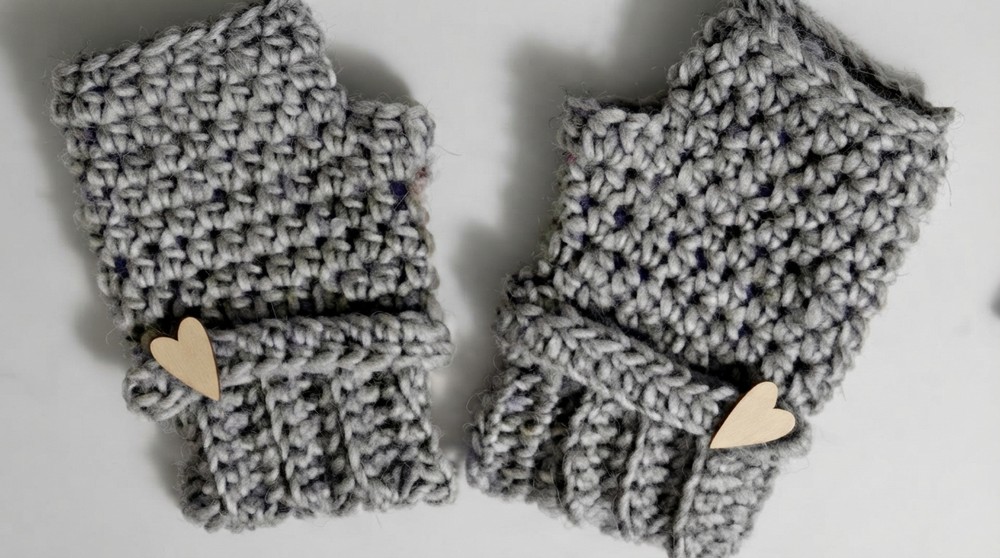
Conclusion & Final Thoughts:
Congratulations, You’ve made a gorgeous and practical pair of fingerless gloves. These gloves are not only stylish but also a warm and functional accessory for colder weather. Plus, with their customizable nature, they're great as personal projects or gifts for family and friends.
Feel free to experiment with different stitches, colors, and embellishments to make the gloves your own.