
Crochet a Charming Pumpkin Free Pattern to Celebrate Halloween
Refine your bedroom bookshelf display with a Crochet Pumpkin Amigurumi Pattern as a plush orange yarn piece that adds sweet warmth to quiet corners.
Crisp autumn mornings, the crunch of leaves underfoot, and a home that feels cozier than ever—fall has a magic all its own. And what better way to celebrate this season than by bringing a little of that magic inside? A charming little pumpkin, with a ribbed texture and vibrant colors, can instantly transform any corner of your home into a warm, festive space. Whether you need a centerpiece for a holiday dinner or a whimsical decoration for your mantel, this project is as fun to make as it is to display.
Inspiration From MaryJ Handmade
The secret to the pumpkin’s delightful texture lies in a simple technique called back loop single crochet. This stitch is gentle on beginners and creates a stretchy ribbed effect, giving the pumpkin a knit like appearance. Not only does it look great for the pumpkin’s body, but you can carry over this stitch into other cozy projects like scarves, hats, and blankets. Small details like a curly green vine and delicate leaves tie the whole piece together, adding depth and personality to your pumpkin.
Perfect Free Crochet Pumpkin Pattern for Seasonal Decor
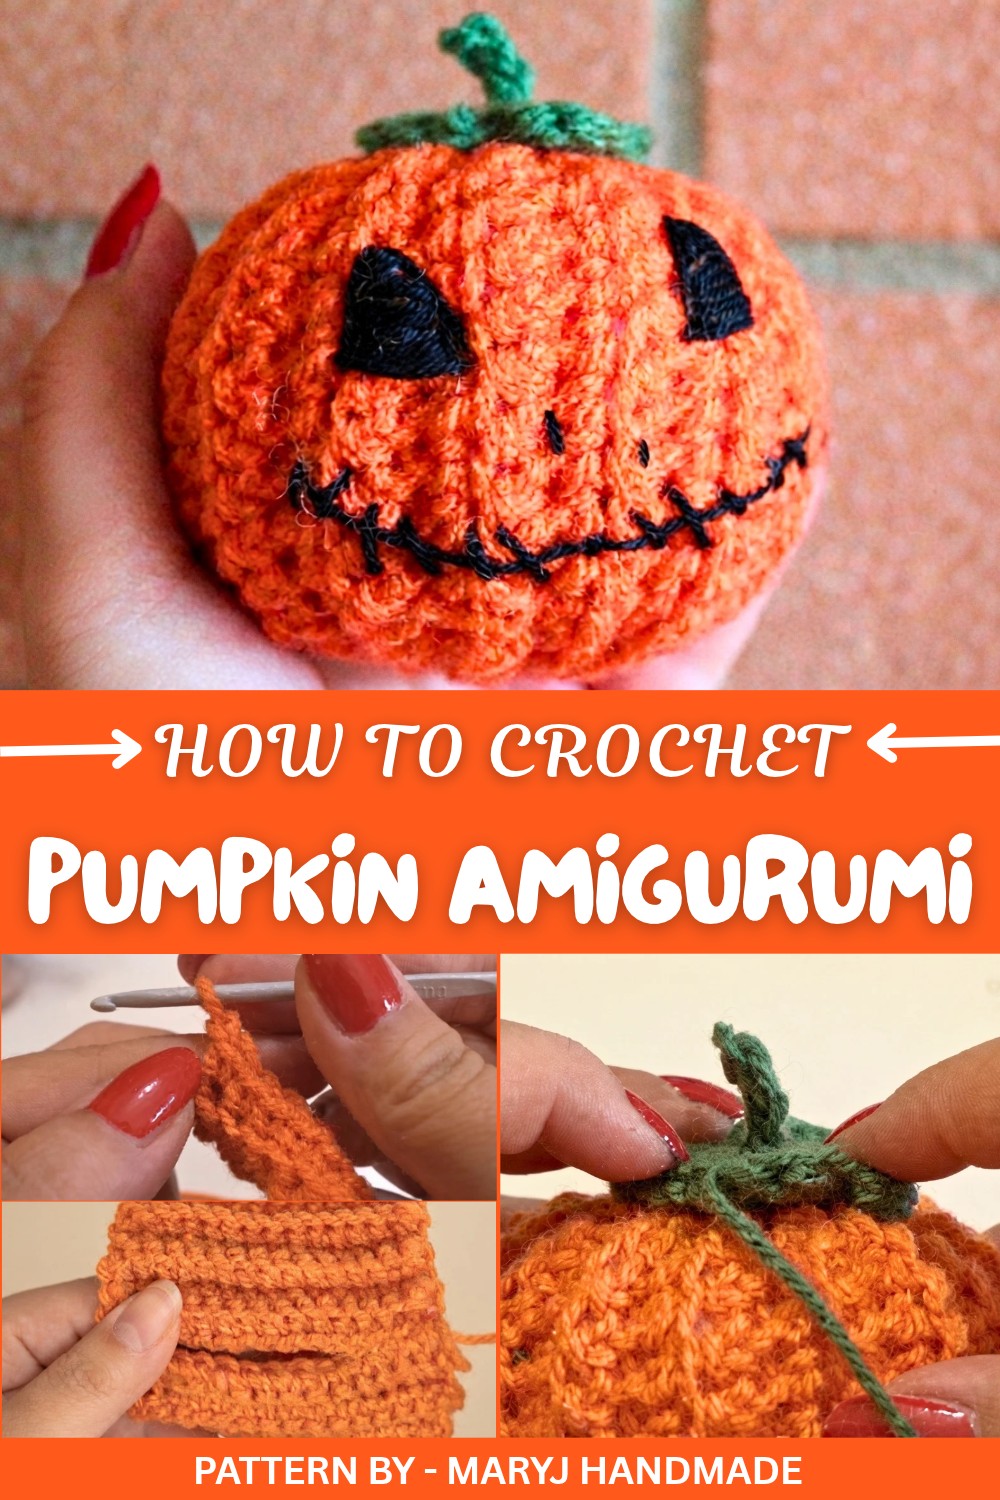
By working on this project, you’ll learn so much, from mastering the back loop stitch to sewing pieces together seamlessly. You’ll also discover how easy it is to work in rows, shape a 3D object, and stuff your creation to give it that perfect plush look. This project is perfect for boosting confidence in your skills, no matter your age.
What’s even more exciting is how many wonderful things can come from this same concept. Think about holiday ornaments, adorable sunflowers, or even small decorative apples. It’s a fantastic way to spark creativity and customize décor for different seasons. The back loop technique might feel strange at first, but don’t worry, it gets easier with practice. Keep your yarn tension steady, use a stitch marker if necessary, and enjoy every step of the process. After all, it’s the imperfections that make each pumpkin uniquely yours.
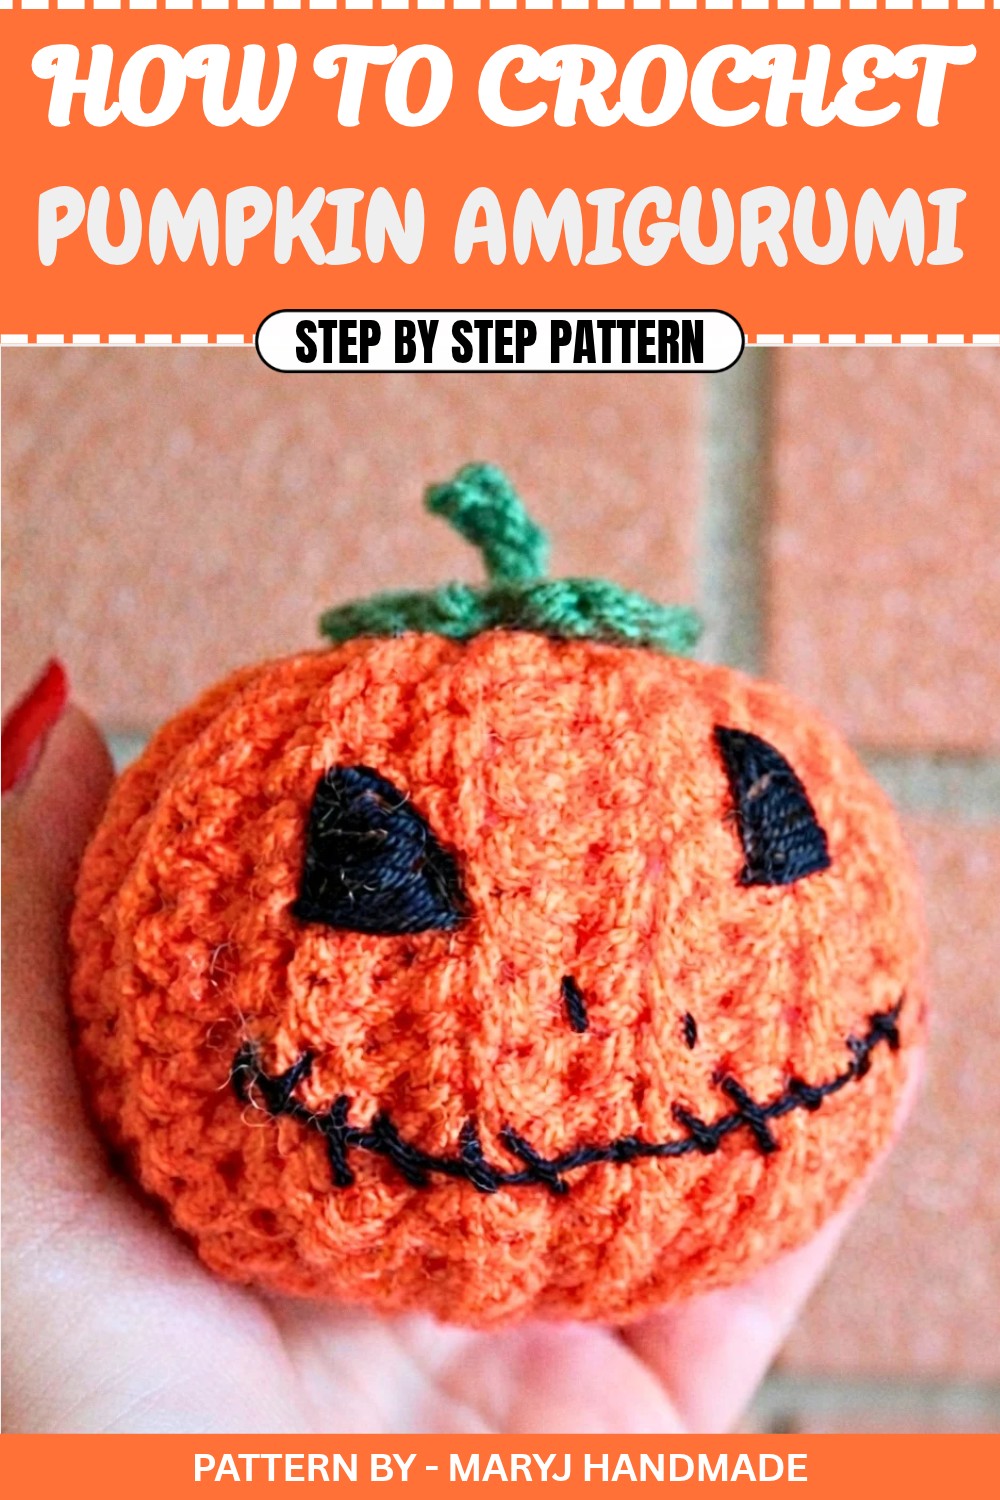
Crochet Pattern: Halloween Pumpkin Amigurumi
Quick Overview
- Make the pumpkin body using ribbed stitches.
- Create and assemble the pumpkin stem and leaves.
- Add stuffing to give the pumpkin its shape.
- Optional: Add a Halloween themed face to complete the design.
Notes
- This project uses basic crochet techniques like chains (ch), slip stitches (sl st), single crochet (sc), and the back loop stitch (blo).
- If you need extra help with the back loop stitch or magic ring, feel free to check related crochet tutorials.
Skill Level
Beginner to Intermediate. Familiarity with basic stitches is recommended.
Materials
- Orange yarn (Pumpkin body).
- Green yarn (Stem and leaves).
- Black yarn or felt (Optional, for facial details).
- Crochet Hook (Choose the size appropriate for your yarn).
- Polyester Fiberfill (For stuffing).
- Yarn Needle (For sewing).
- Scissors.
Measurements / Sizing
The pumpkin’s size depends on the yarn and hook used, but the approximate circumference is around 10–12 cm when worked with medium weight yarn.
Gauge
Exact gauge isn’t critical, but ensure your stitches are consistent for a clean finish.
Stitch Abbreviations
- ch: Chain
- sc: Single Crochet
- sl st: Slip Stitch
- blo: Back Loop Only
- dc: Double Crochet
- tr: Treble Crochet
Special Stitches
Back Loop Single Crochet (blo):
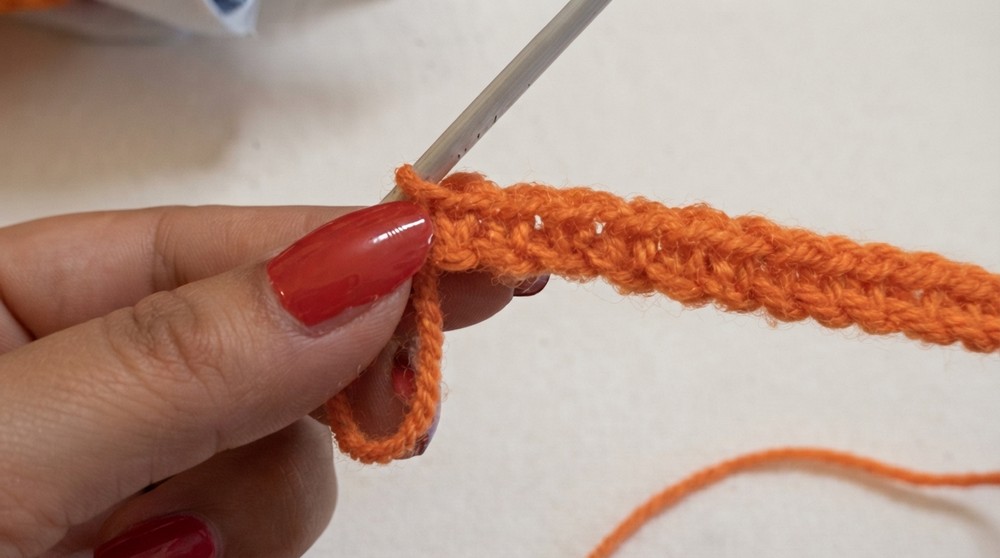
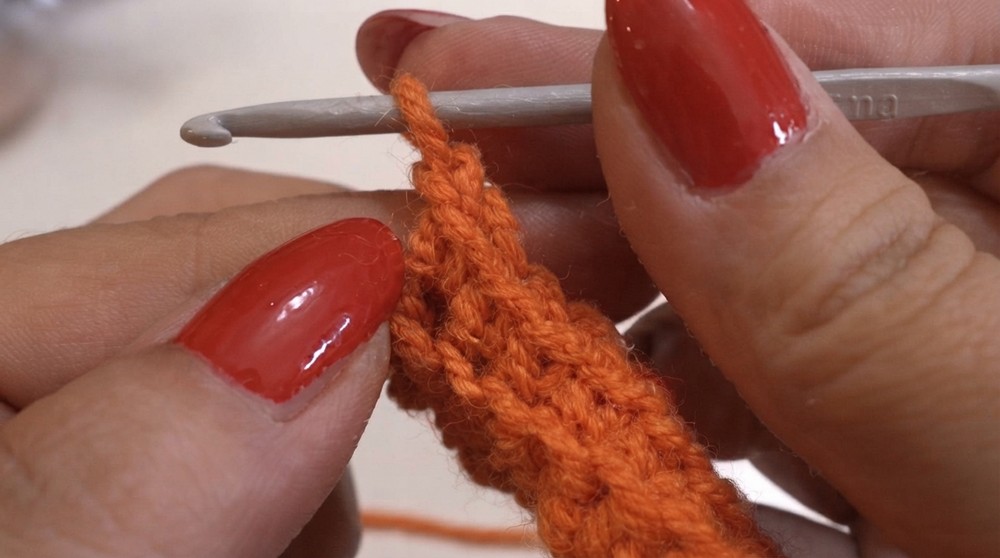
- Insert the hook into the back loop of the stitch and complete a single crochet. This creates a ribbed texture.
Magic Circle:
- A slipknot method used for working stitch rounds tightly.
The Crochet Pattern
Pumpkin Body
- Start with ch 16 using orange yarn.
- Skip the first chain. Work 15 sc into each of the next chains. (Total: 15 stitches).
- At the end of the row, ch 1, turn your work.
- Row 2: Work 15 sc in blo across the row. At the end of the row, ch 1, turn your work.
- Repeat 15 sc in blo for 32 rows total, chaining 1 and turning at the end of each row.
Cylinder Shape
- Once you complete 32 rows, leave a long yarn tail. Cut the thread and fasten off.
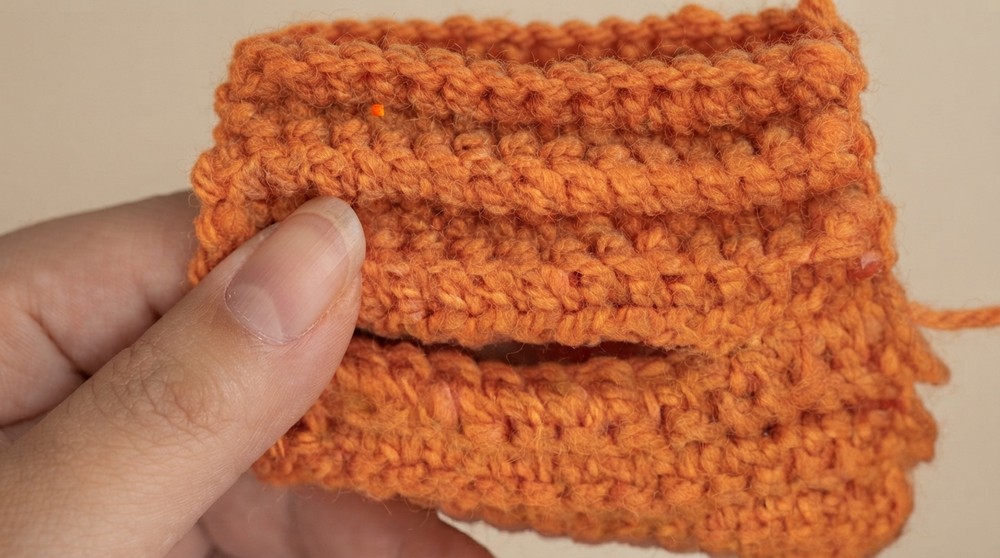
- Align the starting and ending rows (the shorter sides) evenly. Sew these edges with a yarn needle and whip stitch to create a tube like cylinder.
- Flip the cylinder inside out so the seam is hidden.
Closing the Bottom
- With orange yarn, weave the thread through the bottom edge stitches.
- Pull tight to gather the bottom opening. Secure it with a knot.
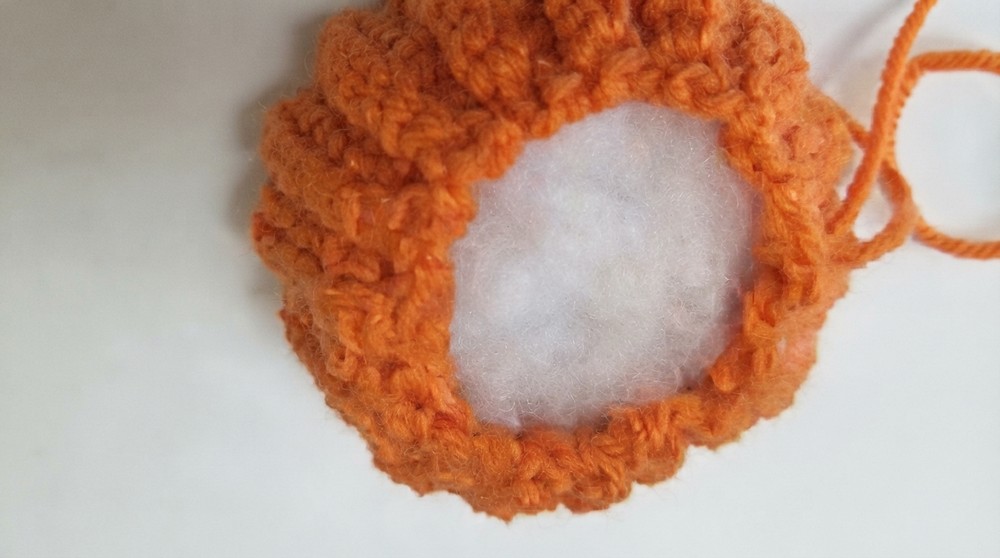
Stuffing the Pumpkin
- Flip the pumpkin right side out.
- Add fiberfill stuffing through the top opening, ensuring the pumpkin is evenly filled and firm.
Closing the Top
- Repeat the same process as closing the bottom: weave orange yarn through the top edge stitches.
- Pull tight to gather the top opening and secure it with a knot.
Pumpkin Stem
- With green yarn, ch 5.
- Starting in the second chain from the hook, work 4 sl st across.
- Fasten off, leaving a long tail for sewing.
Pumpkin Leaves
- Make a magic circle using green yarn.
- Inside the magic circle, repeat the following sequence five times:
- Work 1 sc,
- Work 1 dc,
- Work 1 tr,
- Work 1 dc,
- Close with 1 sl st.
- Once you finish all five repetitions, pull the tail tightly to close the magic circle slightly but not fully.
- Leave a long tail for sewing and fasten off.
Assembly
Attach the Stem
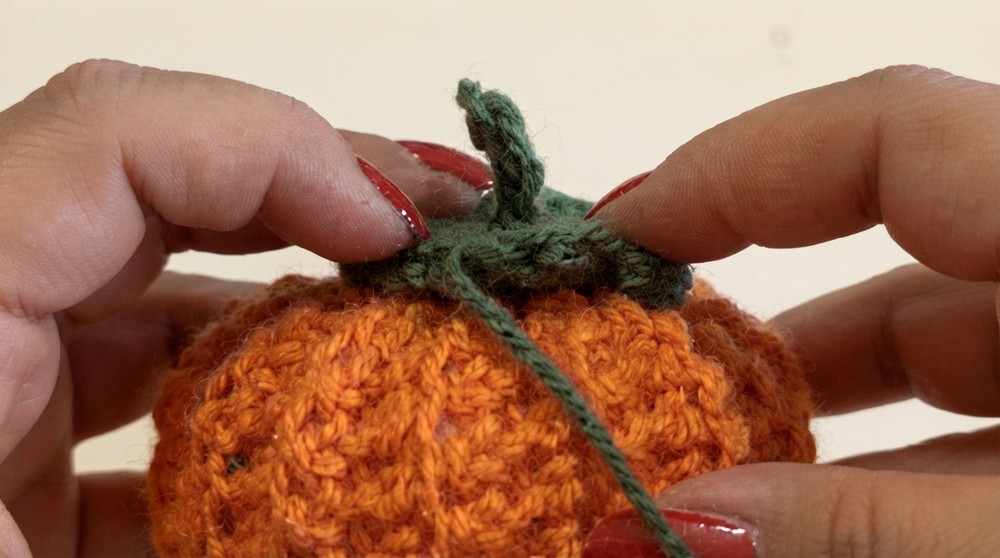
- Sew the green stem to the center of the pumpkin’s top using the long tail.
Attach the Leaves
- Arrange the leaves around the stem.
- Sew each leaf securely using the tail from the magic circle.
Optional: Add a Face
- Use black yarn or felt to make facial features such as eyes and a mouth.
- Sew or glue the features onto the pumpkin to complete the Halloween theme.
Finished Size
The final pumpkin should be roughly 10–12 cm in diameter and 7–8 cm tall, depending on the yarn and stuffing used.
Conclusion
Your Halloween pumpkin amigurumi is complete. This charming design is fun and versatile, perfect for decorating your home or gifting to friends. Feel free to customize the size, colors, or facial features to match your Halloween mood.