
Free Crochet Daisy Flower Coaster Pattern to Add Cheer
Create your own charming daisy flower coaster with this free crochet pattern, choose your favorite colors and transform basic yarn into a delightful addition to your kitchen or table.
A crochet daisy flower coaster is a charming addition to any home, offering both functionality and a touch of nature inspired beauty. Its round shape and detailed petal design make it an elegant solution for protecting surfaces from heat or water rings. With its bright and cheerful appearance, it’s perfect for bringing warmth to tables or coffee corners, making everyday moments feel a little more special.
The coaster's soft texture and distinct flower shape make it stand out. The petals radiate outward in gentle loops, framing a contrasting vibrant center. It holds its form beautifully while being just the right size for cups and glasses. Aside from its aesthetic appeal, it’s a practical solution to protect surfaces from heat or water rings, all while doubling as spring inspired decor.
Free Crochet Daisy Flower Coaster Pattern for Cozy Spaces
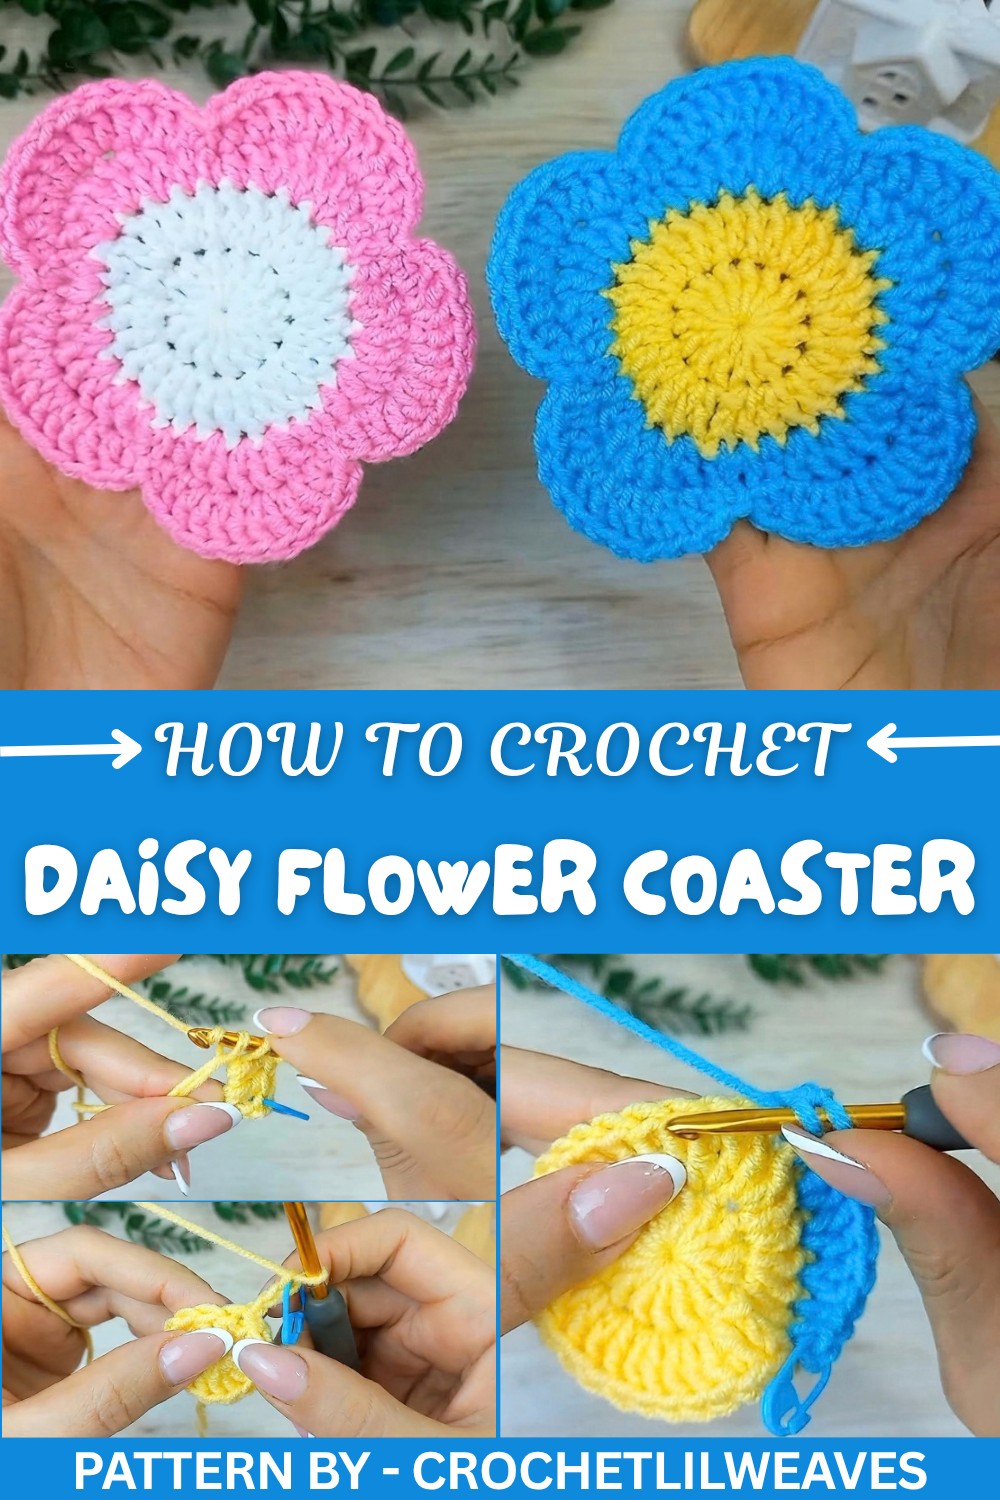
For guidance on stitching this lovely coaster, you can check out the detailed tutorial shared by CrochetLilWeaves. The step by step instructions in the video outline every part of the process, starting with the magic loop and working through carefully placed double crochets to form the petals.
This daisy flower coaster is more than just an item for your home; it’s a small, thoughtful project that radiates warmth and care. Whether used for your own daily cup of tea or given as a handmade gift, it brings a sense of joy and effort to any space.
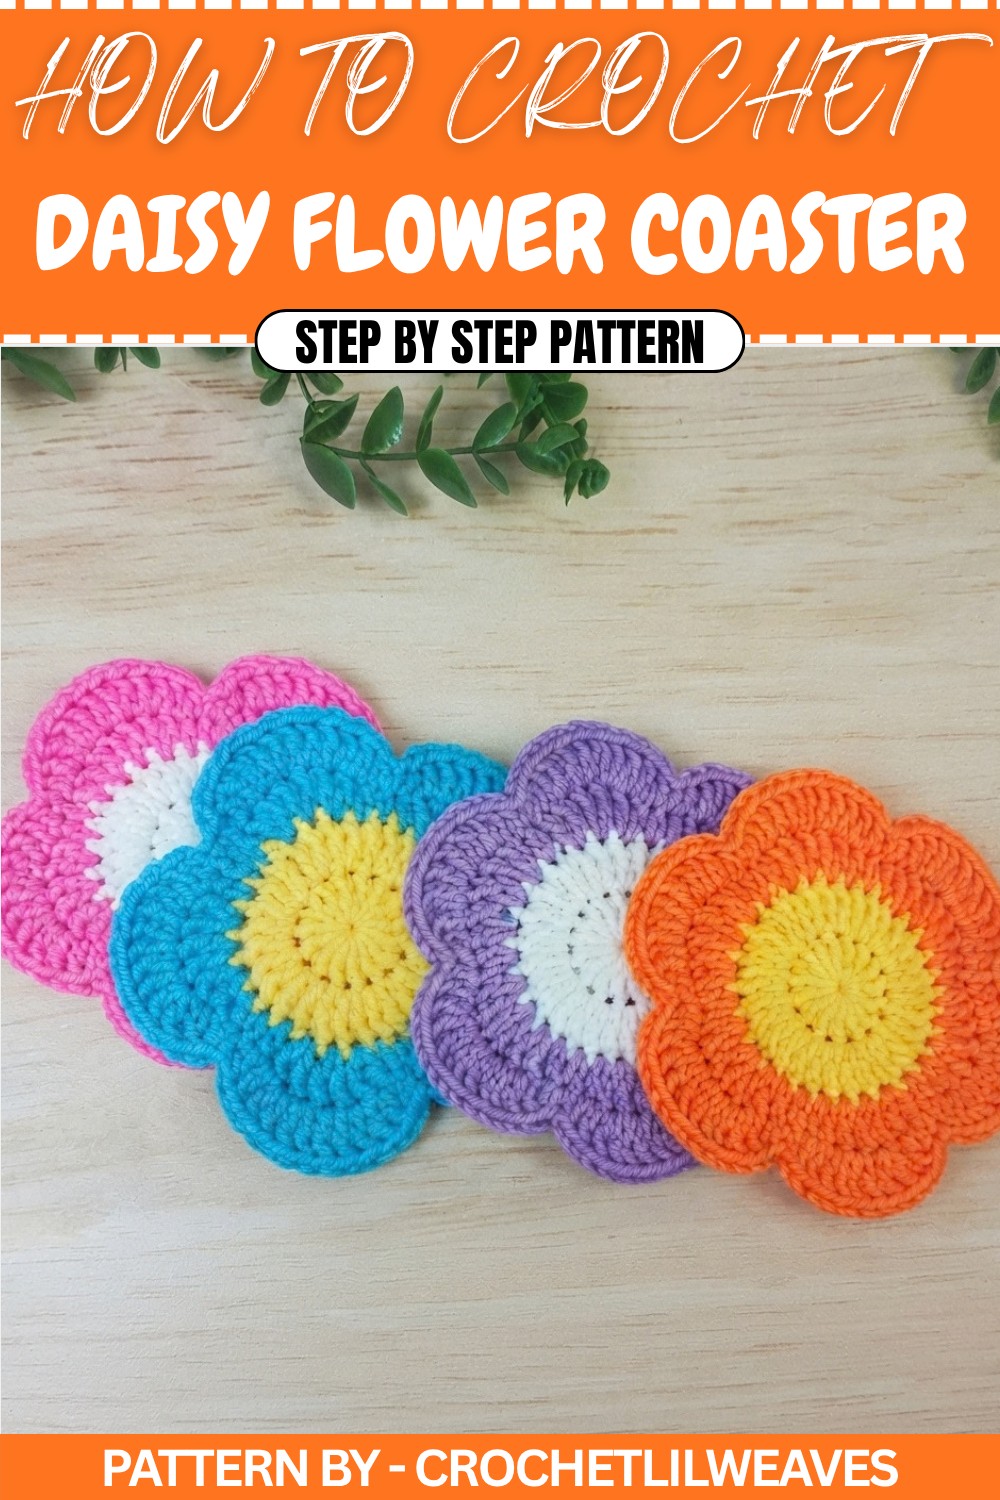
Crochet Daisy Coaster Pattern
This crochet daisy coaster is created using worsted weight yarn and a 4.5 mm crochet hook. It involves just four simple rounds to form a circular base and sculpt beautiful petals. Follow the step by step instructions to complete your daisy coaster.
Materials
- Yarn: Worsted weight yarn in two colors (center and petals).
- Crochet Hook: 4.5 mm.
- Scissors
- Yarn Needle
- Stitch Marker (optional).
Skill Level
Beginner
Stitch Abbreviations
| Abbreviation | Description |
|---|---|
| CH | Chain |
| SC | Single Crochet |
| HDC | Half Double Crochet |
| DC | Double Crochet |
| INC | Increase (2 stitches in one) |
| SL ST | Slip Stitch |
Special Techniques
- Magic Ring: Creates a tightly closed center for circular designs.
- Increase (INC): Two stitches worked into the same stitch to expand evenly.
Pattern Instructions
Round 1: Form the Base Circle
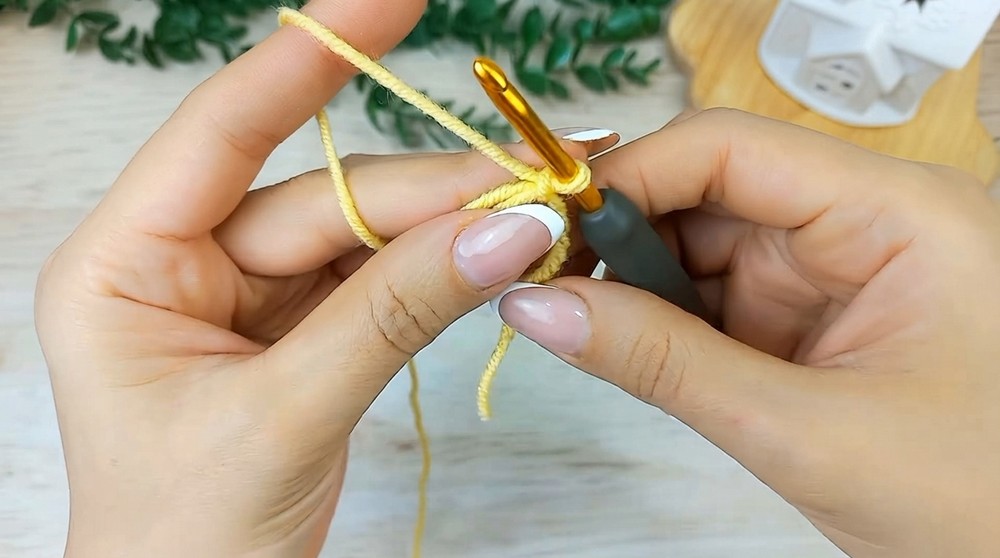
- Create a Magic Ring:
Wrap the yarn around two fingers to form an X. Insert the hook under the first strand, pull the second strand through, and twist into a loop. Chain 1 to secure the ring. - Chain 3 (counts as the first DC).
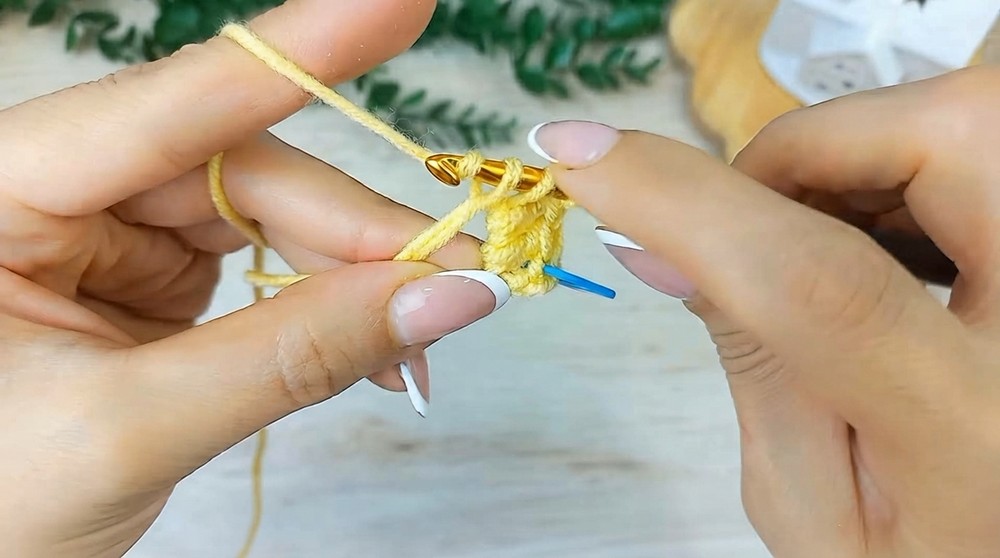
- Work 14 DC into the Magic Ring:
Yarn over, insert the hook into the ring, pull up a loop (3 loops on the hook), yarn over, pull through 2 loops, yarn over, pull through the final 2 loops. Repeat this process until you have 14 DC plus the chain 3 (total: 15 stitches). - Close the Magic Ring and Join the Round:
Pull the tail of the magic ring tightly to close the center. Slip stitch into the top of the chain 3 to finish Round 1.
Round 2: Expand with Increases
- Chain 3 (counts as the first DC).
- Work Increases in Every Stitch:
Work 2 DC into each stitch around: Yarn over, insert the hook into the stitch, pull up a loop, yarn over, pull through 2 loops, yarn over, pull through the final 2 loops. Repeat this process in all stitches to double the stitch count. - Join the Round:
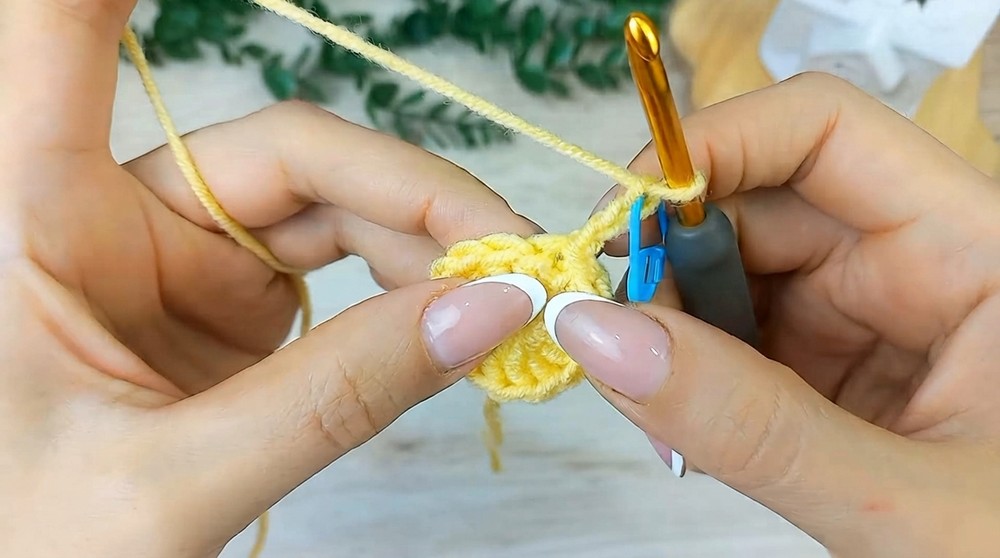
Slip stitch into the top of the chain 3. - Fasten Off:
Cut the yarn, pull it through the last loop, and tighten.
Round 3: Begin the Petals
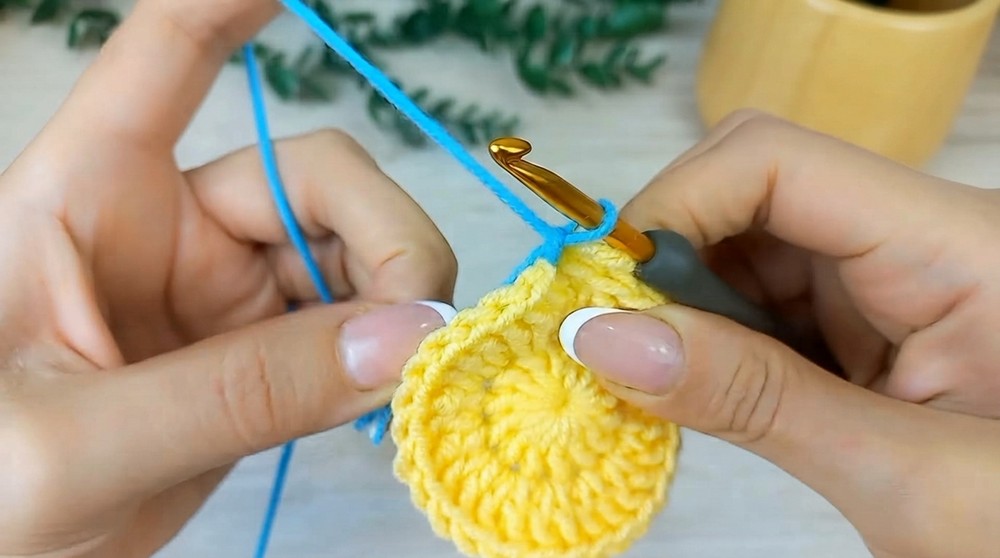
- Attach New Yarn:
Join the new yarn color by inserting the hook into the second stitch of Round 2 and pulling the yarn through. Chain 1 to secure. - Start the Round with a Single Crochet:
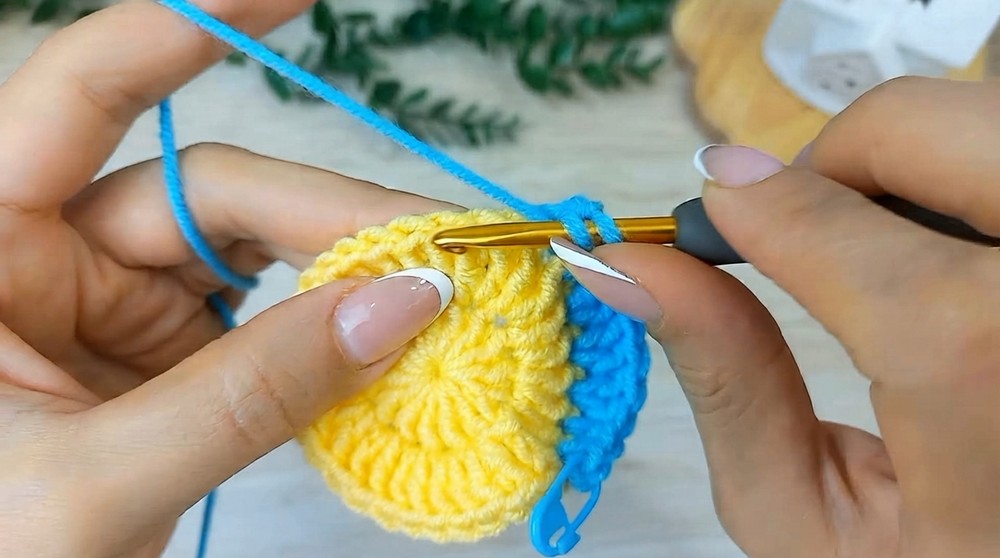
Single crochet into the same stitch. - Work the Petal Sequence:
- Half double crochet in the next stitch.
- Work 2 DC into the Next 3 Stitches (Increases): Yarn over, insert the hook into the stitch, work 2 DC into the same stitch. Repeat for a total of 6 DC across 3 stitches.
- Half double crochet into the next stitch.
- Repeat the Sequence:
Follow this sequence:- Single crochet,
- Half double crochet,
- 3 increases (2 DC in each stitch),
- Half double crochet.
Work this sequence until the entire round is complete.
- Join the Round:
Slip stitch into the first single crochet of the round.
Round 4: Shaping the Petals
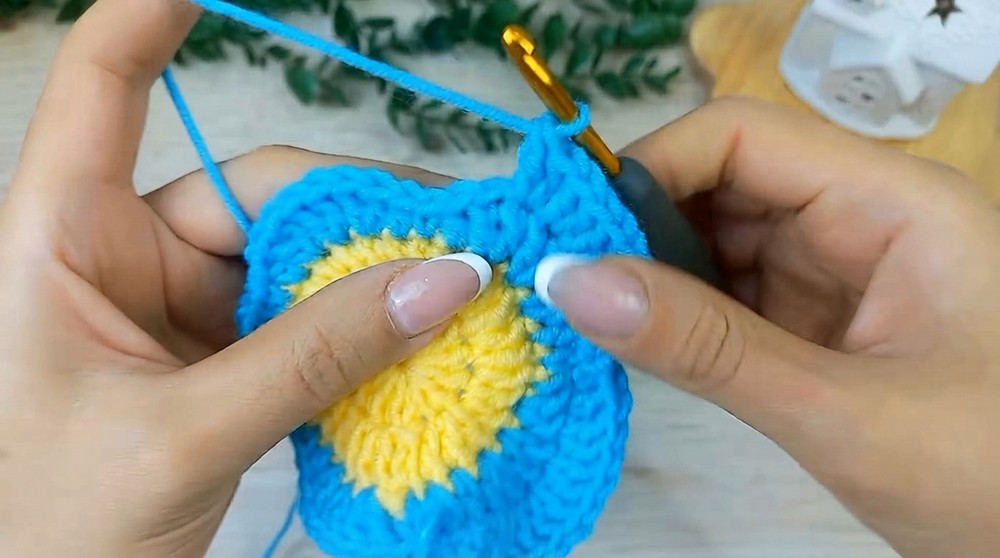
- Begin with the Second Stitch:
Skip the first single crochet and start with the next stitch. - Work the Petal Sequence:
- Half double crochet in the second stitch.
- Double crochet in the next stitch.
- Work 2 double crochets into each of the next 4 stitches (4 increases).
- Double crochet in the next stitch.
- Half double crochet in the next stitch.
- Finish the Petal:
Slip stitch into the single crochet of the previous round to complete one petal. - Repeat for Remaining Petals:
Repeat the sequence across all remaining stitches to form 5 perfect petals. - Finish the Round:
Slip stitch into the first stitch of the round. Fasten off and weave in the ends.
Finishing the Coaster
Use a yarn needle to weave in any remaining ends on the back of the work for a clean finish.
Assembly & Finished Size
Your completed crochet daisy coaster measures approximately 5–6 inches in diameter. Its bright and cheerful design makes it perfect as a decorative home accessory or gift.
Conclusion
Congratulations! You’ve completed your crochet daisy coaster. With a colorful center and sculpted petals, this project is both simple and satisfying. You can experiment by using different yarn colors to create unique designs for your table collection.