
Free Crochet Christmas Bell Pattern to Hang on Your Door
Make your holiday special by crocheting a charming Christmas bell, a joyful decoration or a perfect addition to your festive home décor collection.
On a quiet winter evening, think about sitting with a cup of tea while tiny yarn bells slowly grow in your hands. That is the cozy feeling you get when you follow the tutorials from Crochet Squares, a channel that turns simple stitches into charming Christmas decorations. In their Christmas bell video, they start from a magic circle and guide you carefully through chains, double crochets, and slip stitches, making the process feel calm, clear, and friendly. The way they build the bell step by step, first shaping the round base, then expanding, then refining the edges, shows how even beginners can create something elegant.
Free Crochet Christmas Bell Pattern to Dress Up Your Wreath
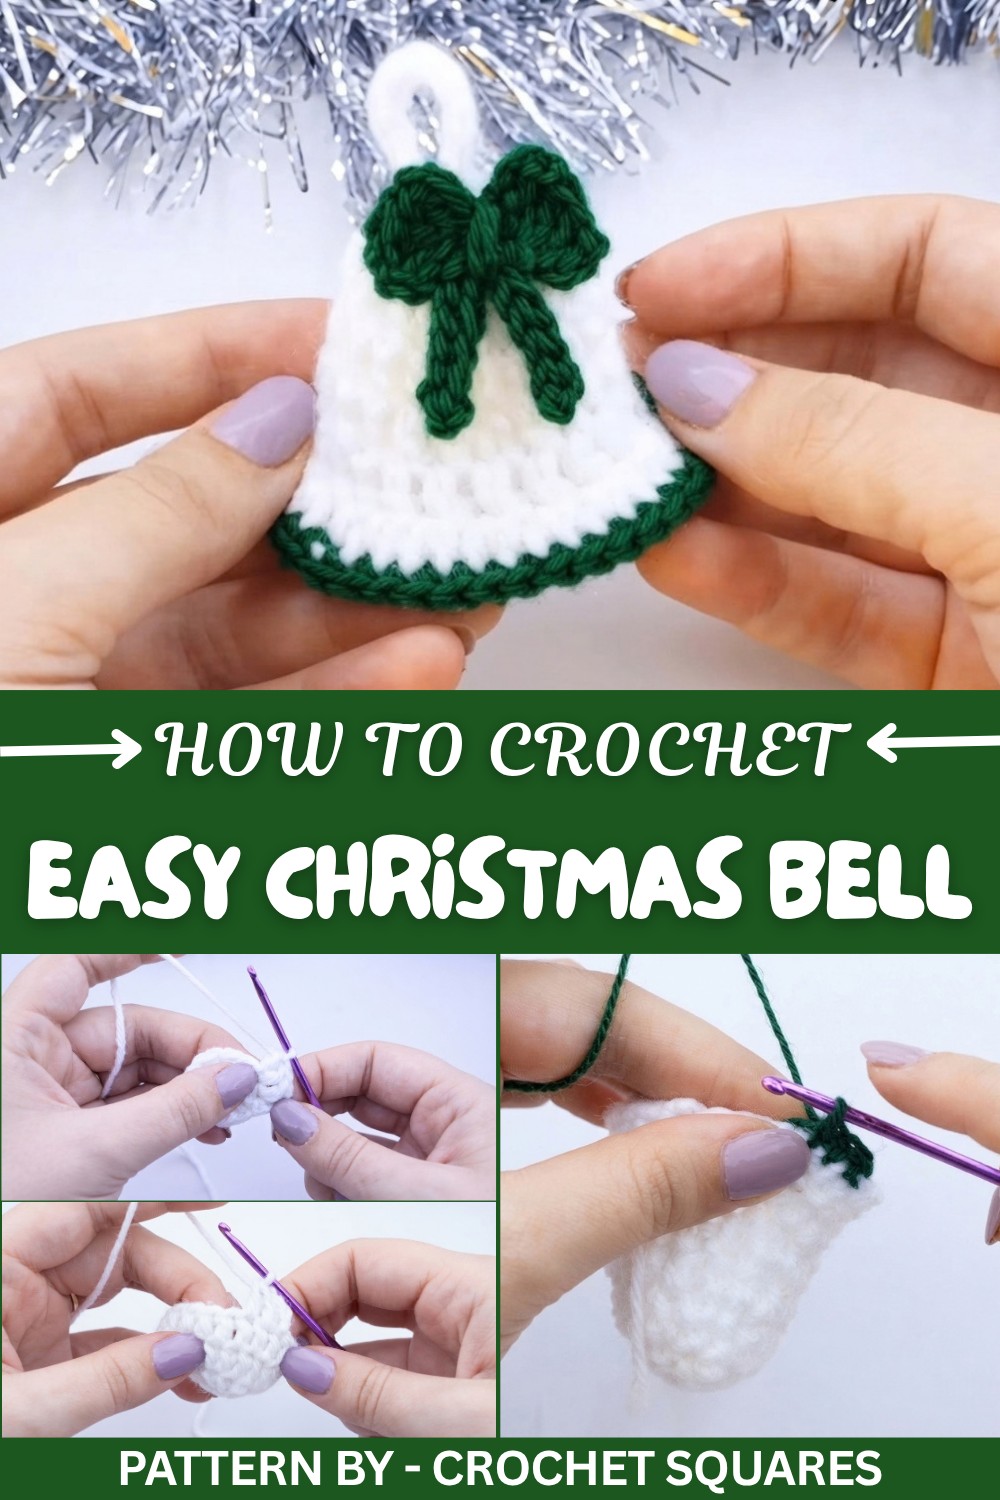
A Free Crochet Christmas Bell Pattern is more than just instructions; it is a doorway to handmade holiday beauty. The bell shape is classic and festive, with five neat rows forming a soft, rounded silhouette that looks lovely on any tree or garland. The design becomes even more attractive when a second color is added at the edge, plus a small rope of 10 chains for hanging. This simple hanging cord gives the bell a graceful, finished look.

One of the most charming parts of the pattern is the bow. Worked with a magic circle, chain stitches, double crochets, and tiny slip stitch “tails,” the bow wraps around the middle and is tied with a long strand of yarn. When it is attached to the bell, the whole piece looks like a miniature gift: delicate, decorative, and full of holiday spirit. You can use this Free Crochet Christmas Bell Pattern to make ornaments, gift toppers, or even a string of bells for your fireplace, all in the colors that match your home and your festive mood.
Crochet bell with Bow Pattern
This project is simple yet fun, and perfect for a variety of uses, such as home décor, seasonal ornaments, or simply as a lovely handmade gift. Follow along with this easy guide to bring your own crochet clopotel to life.
Quick Overview of Pattern
- Create a magic ring for the clopotel base.
- Work rounds using double crochet and reduced double crochet stitches.
- Add color accents with single crochet stitches.
- Make a hanging rope.
- Crochet a bow with both loops and ends.
- Assemble the clopotel by attaching the rope and bow.
Notes
- This pattern uses a combination of simple crochet stitches, such as single crochet (SC), double crochet (DC), reduced double crochet (RDC), chain stitches, and slip stitches (sl st).
- Use contrasting yarn colors to achieve the best decorative effect for the bow and rope.
- The pattern is ideal for beginners and intermediate crocheters.
Skill Level
Beginner to Intermediate
Materials
- Yarn: Two contrasting colors (e.g., main color for the clopotel and another color for accents and bow).
- Hook: Size 2.5 mm.
- Scissors
- Yarn needle
Measurements / Sizing
- The finished clopotel will measure approximately 8–10 cm tall, depending on your tension.
- Rope length: 10 chain stitches (~5 cm).
- Bow: Approximately 5–7 cm wide, depending on tightness of stitches.
Gauge
Gauge is not critical for this pattern. Select yarn and hook size that achieves a tight stitch texture.
Stitch Abbreviations
| Abbreviation | Meaning |
|---|---|
| MC | Magic Circle |
| ch | Chain stitch |
| sc | Single crochet |
| dc | Double crochet |
| rd | Reduced double crochet |
| sl st | Slip stitch |
| FO | Fasten Off |
Special Stitches
Reduced Double Crochet (RDC):
- Yarn over hook, insert hook into next stitch, yarn over and pull through (3 loops on hook).
- Yarn over and pull through first two loops on hook.
- Yarn over and pull through remaining two loops.
The Crochet Pattern
Step-by-Step Instructions
Clopotel Base
- Round 1:
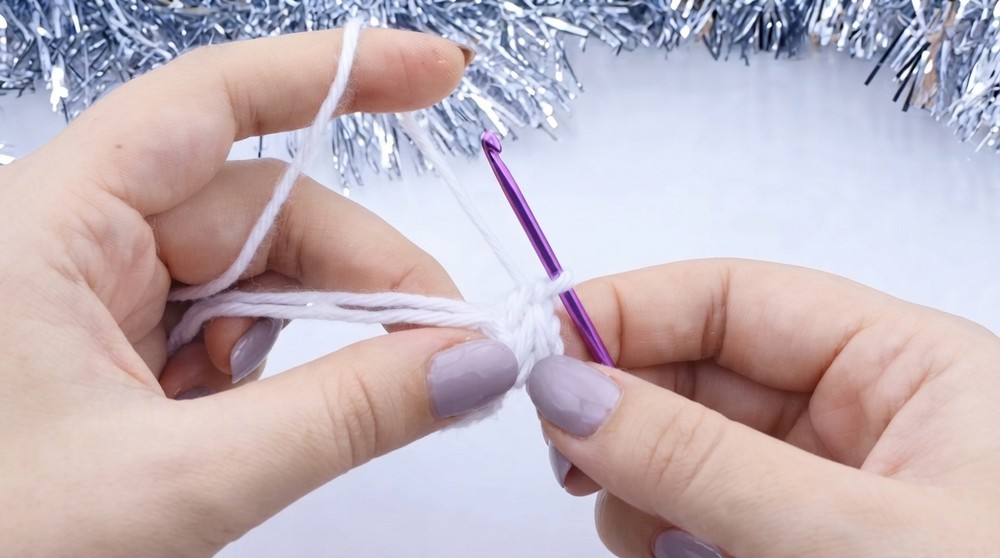
- Create a magic ring.
- Chain 2 (this does not count as a stitch).
- Work 12 double crochet (dc) into the ring.
- Pull the yarn tight to close the ring.
- Slip stitch (sl st) into the first double crochet to close the round.
- Stitch Count: 12 dc.
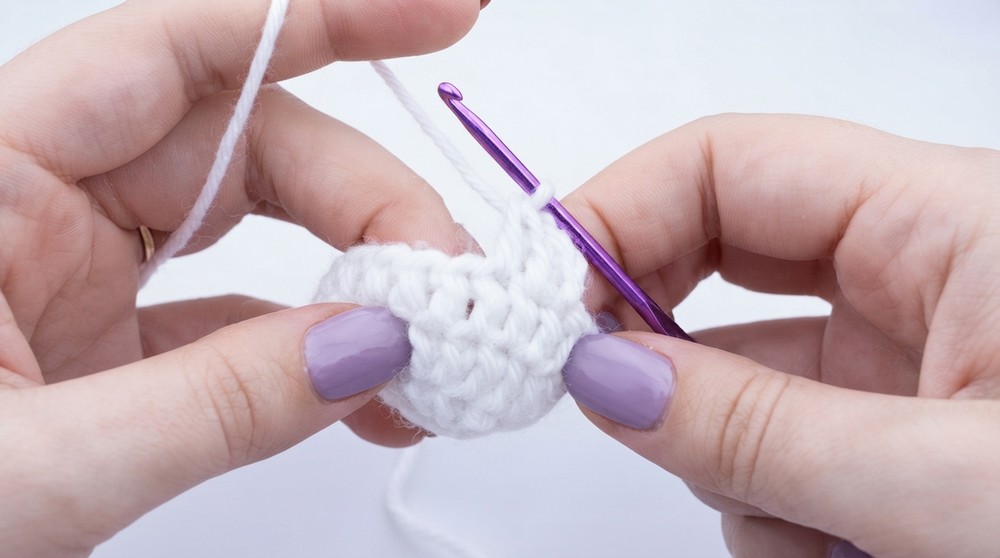
- Round 2:
- Chain 2.
- Work 1 dc into the first stitch and 2 dc into the next stitch.
- Repeat the sequence (1 dc, 2 dc in the next stitch) for 6 cycles.
- Slip stitch into the first double crochet to close the round.
- Stitch Count: 18 dc.
- Round 3:
- Slip stitch into the first dc from the previous round.
- Chain 2.
- Work 1 dc into the same stitch, then 1 dc into each additional stitch, for a total of 18 dc in the round.
- Slip stitch to the first dc to close the round.
- Round 4 and 5:
- From Round 4 onward, repeat the previous row’s instructions.
- Each round begins with chain 2, 18 dc in each stitch, and ends with a slip stitch to close.
- Round 6:
- Slip stitch into the first dc, then chain 2.
- Work 2 reduced double crochet (RDC) into each stitch.
- This will increase the stitch count to 36 RDC.
- Round 7:
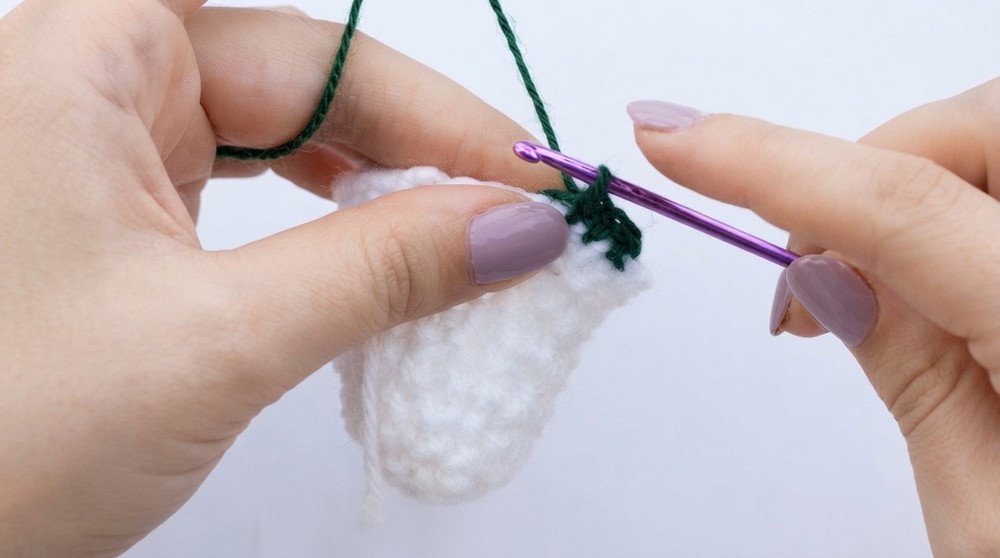
- With a new yarn color, slip stitch into the first RDC from Round 6.
- Chain 1 and work 1 single crochet (SC) into each stitch around.
- Stitch Count: 36 SC.
- Slip stitch, fasten off, and weave in all ends.

Hanging Rope for Clopotel
- Chain 10.
- Cut the yarn and pull through to secure.
- Attach the rope to the top of the clopotel by threading it through the top stitches and tying a knot.

Crafting the Bow
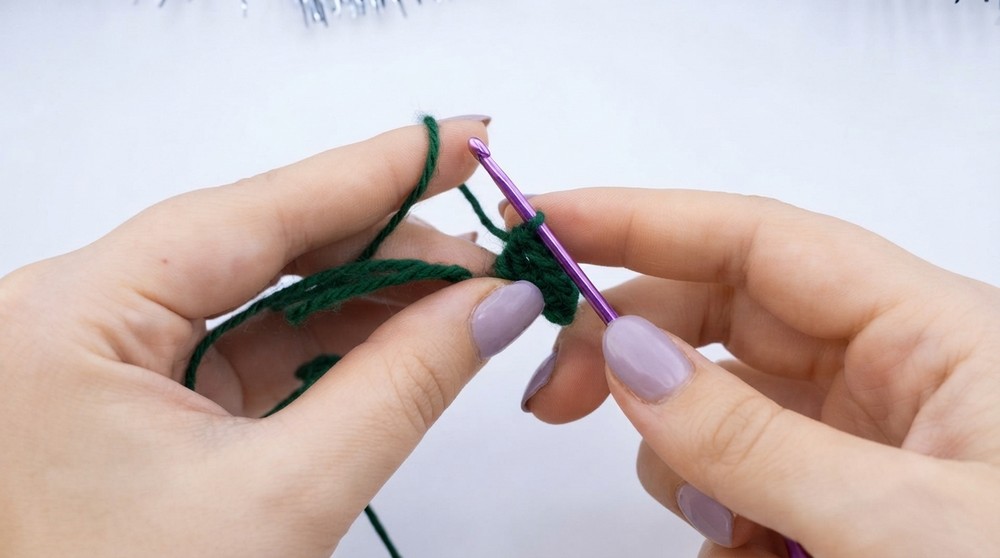
- Step 1: Create a magic ring.
- Wrap the yarn around your fingers to form a loop and secure it.
- Step 2:
- Work the following sequence:
- Chain 3, work 3 dc, chain 3, slip stitch into the magic ring.
- Repeat the sequence one more time from the beginning to create two halves of the bow loop.
- Work the following sequence:
- Step 3:
- Chain 6, then start from the second chain nearest the hook.
- Work 5 slip stitches (sl st) back toward the ring.
- Slip stitch into the magic ring.
- Repeat this step to create two decorative tails for the bow.
- Step 4:
- Slip stitch to secure the entire bow. Leave a tail of 20 cm. Cut the yarn.
- Step 5:
- Pull the magic circle tight and adjust the loops to create the bow shape.
- Step 6:
- Wrap the remaining yarn tail around the center of the bow multiple times to form the bow’s middle knot.
Assembly & Finishing Touches
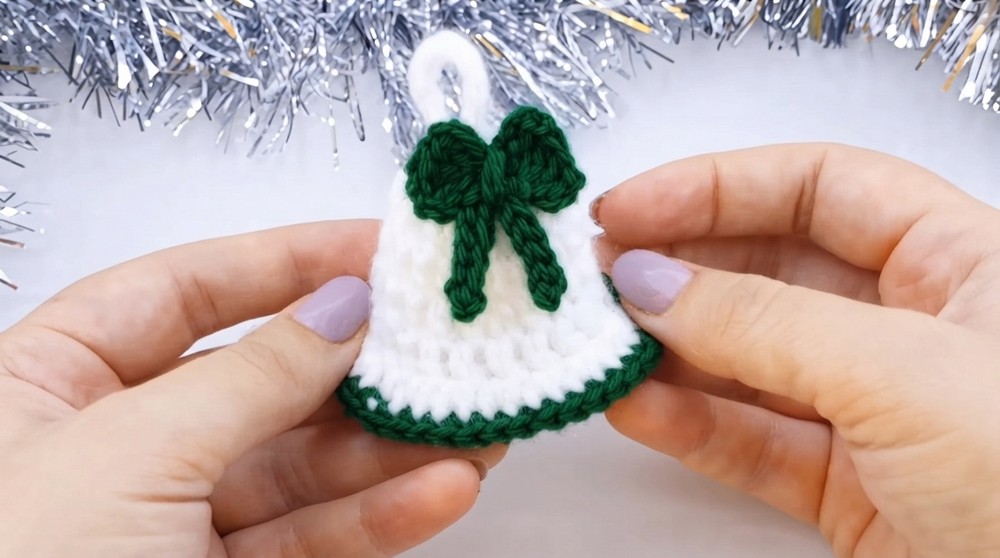
- Attach the bow to the clopotel:
- Place the bow onto the top of the clopotel.
- Tie the bow securely using the long yarn tail wrapped around the middle of the bow.
- Trim the edges, and make sure all ends are tucked in to give the clopotel a refined look.
Finished Size
- The completed clopotel will measure approximately 8–10 cm tall, with a bow about 5–7 cm wide.
- Rope length: About 5 cm using 10 chain stitches.
Conclusion
Congratulations, You’ve just completed your own crochet Big Mouth Monster clopotel keychain with a cute bow and hanging rope. This beginner-friendly pattern is perfect for adding some playful charm to your keys, bags, or zipper pulls. Personalize it by using different colors or adjusting the size for a unique look. Thank you for following this tutorial.