
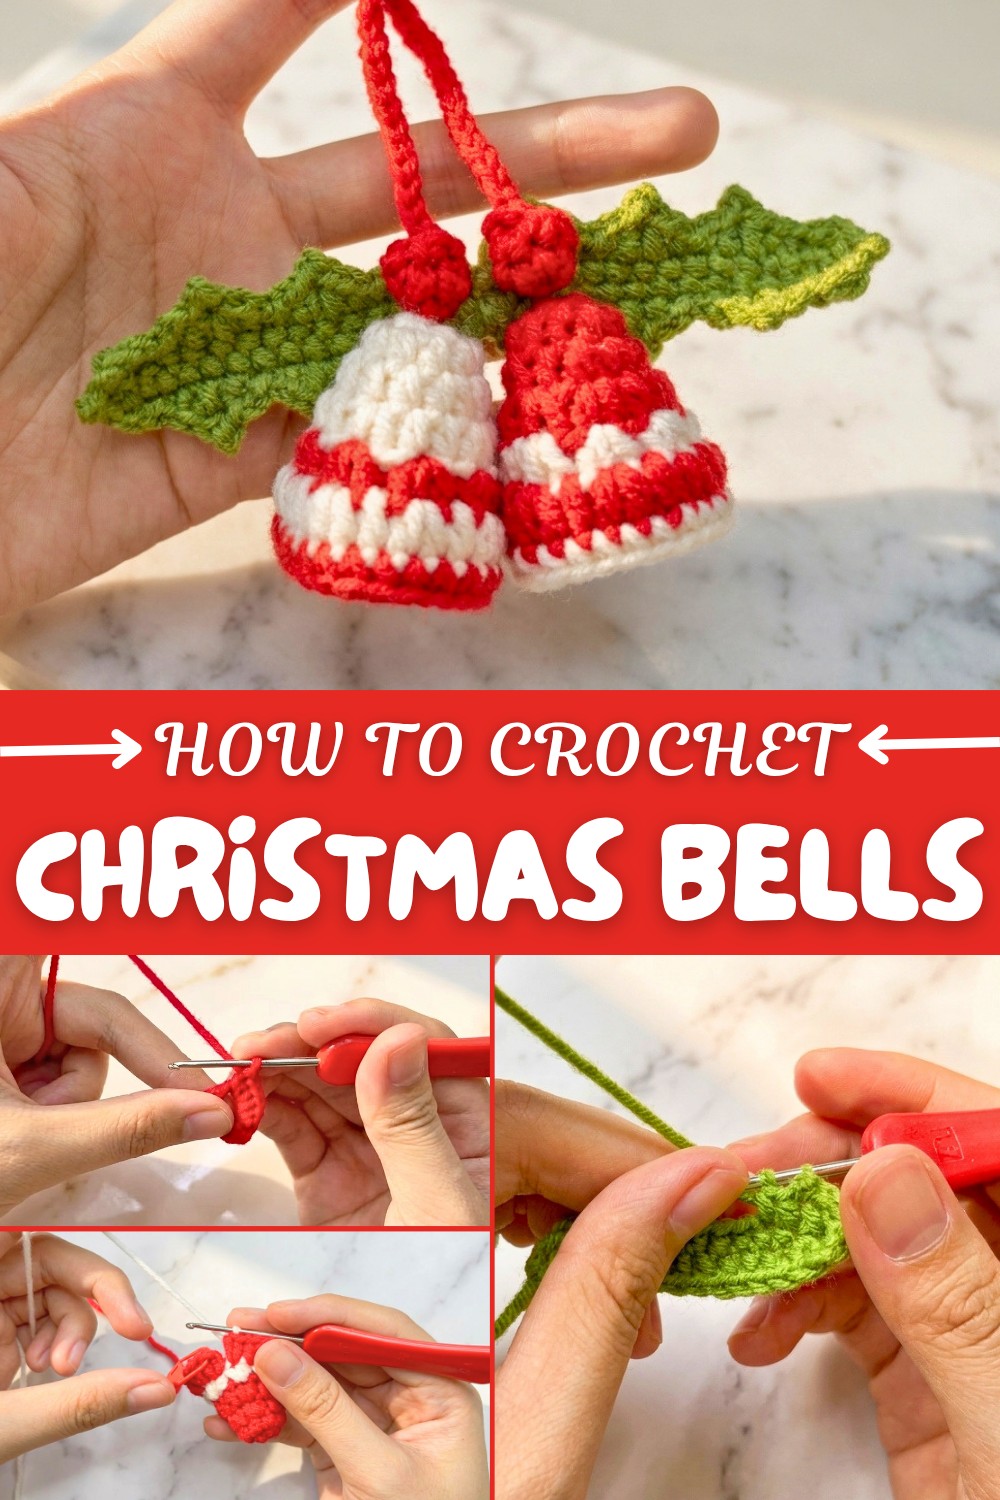
How to Crochet Christmas Bells Pattern for Quick Winter Accents
Refresh your Christmas decorations with a Free Crochet Christmas Bells Pattern, bringing merry handmade touches to your festive spaces.
The joyful sound of holiday bells can now be brought to life with just a hook, yarn, and a bit of creativity. This charming crochet bell project teaches you how to make tiny, festive decorations that look beautiful and are fun to create. Starting with a magic circle, the pattern builds up row by row, guiding you through shaping and adding detail with easy-to-follow steps that help bring the bells to life.
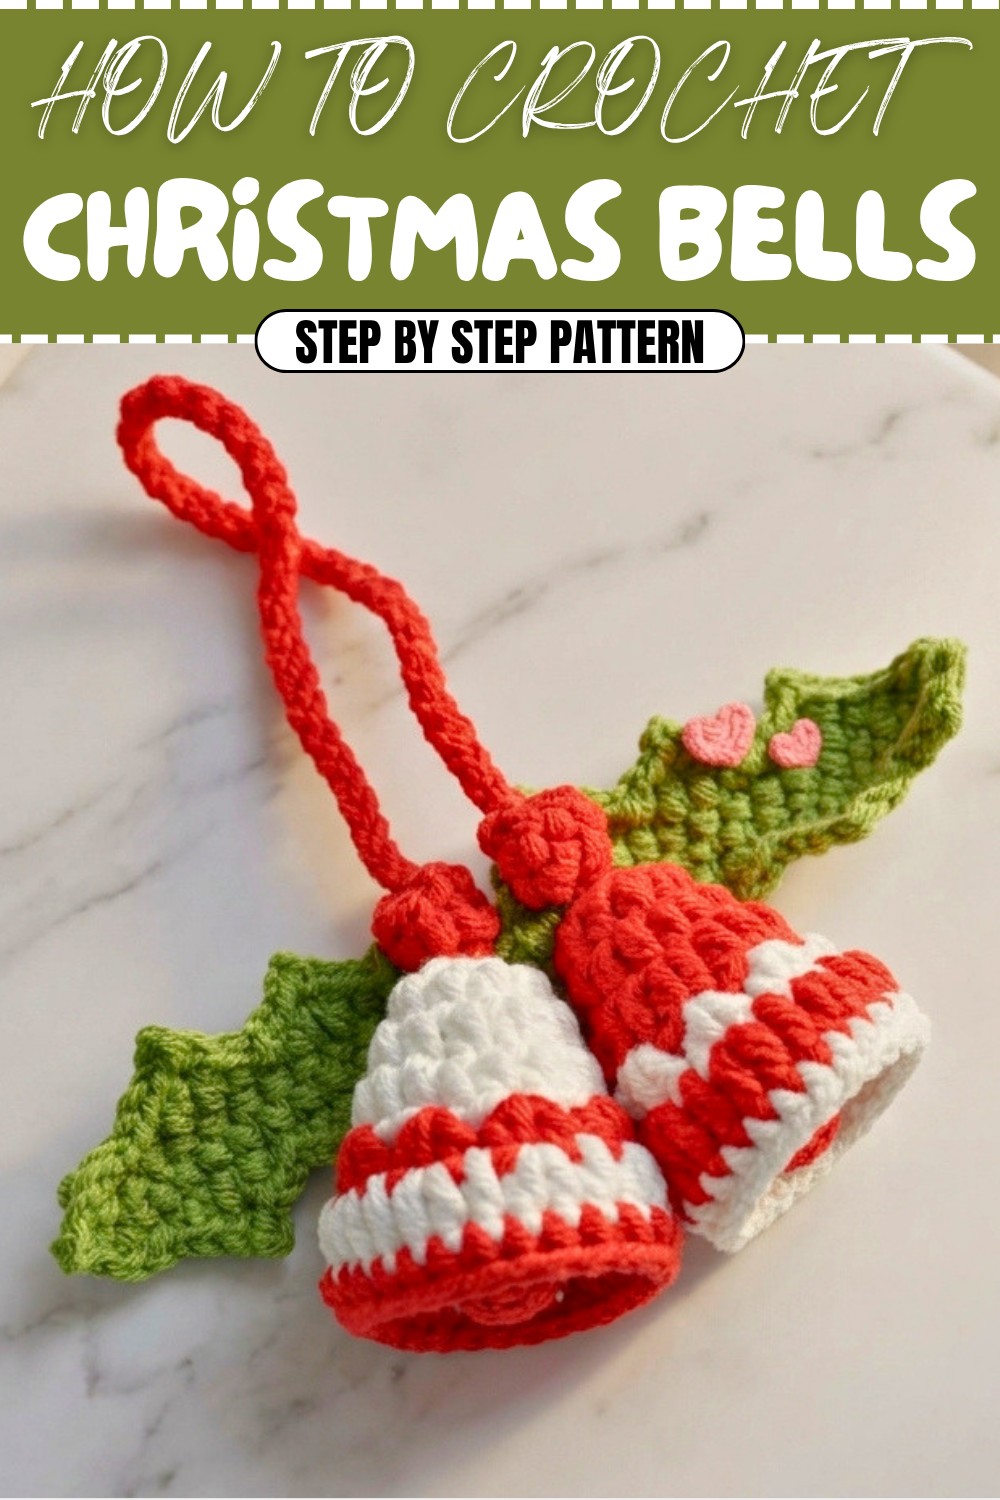
Joyful Crochet Christmas Bells Pattern Free Project for Winter Wonderland
They make perfect tree ornaments, lovely gift decorations, or joyful additions to home décor during the holidays. The stitch pattern creates a lightweight, lace-like effect that makes each bell feel airy and elegant. A small loop added at the end lets you hang them wherever you like, giving you plenty of options to brighten up your space with a handmade charm.
By working on this pattern, you will develop important crochet skills such as crocheting in rounds, keeping your stitches even with a small hook, and shaping your work by increasing and decreasing stitches. You’ll also learn how to combine simple stitches like single and half double crochet with special ones, which expands your crochet abilities and prepares you for more advanced projects. After finishing these lovely bells, you can use what you’ve learned to create other delicate crochet items. Try making snowflakes, tiny flowers, or festive motifs that can be joined into garlands or used as decorations.
Crochet Mini Bell Pattern
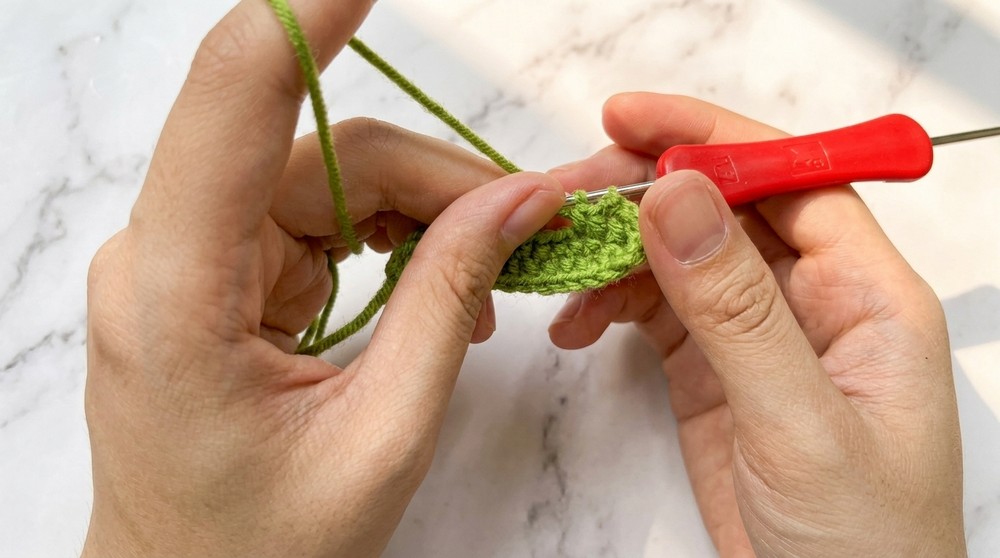
A charming and festive addition to your holiday decorations, this bell pattern is versatile and can be made in various colors. Its lightweight and tiny size make it ideal for hanging on Christmas trees, gift packages, or even as earrings! Follow this detailed guide to create your own.
Skill Level & Terminology
- Skill Level: Beginner to Intermediate
- Terms Used: US Crochet Terms
Materials & Tools
- Yarn: Cotton yarn in the colors of your choice (suggested: white and brightly colored yarn for the bell).
- Hook: 1.75mm crochet hook.
- Pins/Markers: To mark rows or specific stitches.
- Tapestry Needle: For sewing and weaving in ends.
- Scissors: For cutting yarn.
Tip: Cotton yarn provides a crisp structure for the bell, but you can experiment with acrylic for a softer texture.
Gauge
Gauge is not essential as this is a small project. However, for reference: 10 sc x 10 rows = 2x2 inches using a 1.75mm hook with cotton yarn.
Abbreviations List
| Abbreviation | Description |
|---|---|
| ch | Chain |
| sc | Single Crochet |
| hdc | Half Double Crochet |
| sl st | Slip Stitch |
| inc | Increase (2 stitches in 1 stitch) |
Special Stitch Instructions
- Magic Circle: Wrap the yarn around your fingers to form a loop. Work the first stitches into this loop before pulling it tight to close the circle.
- Half Double Crochet (hdc): Yarn over, insert the hook into the stitch, yarn over, pull through (three loops on the hook), yarn over, and pull through all three loops.
- VT Stitch: In this pattern, a VT stitch refers to alternating hdc and sc stitches in the same space for texture.
Finished Size
The finished bell will measure approximately 2 inches tall and 1.5 inches wide, depending on your tension and the yarn used.
The Pattern
Part 1: The Bell Base (Bottom Circle)
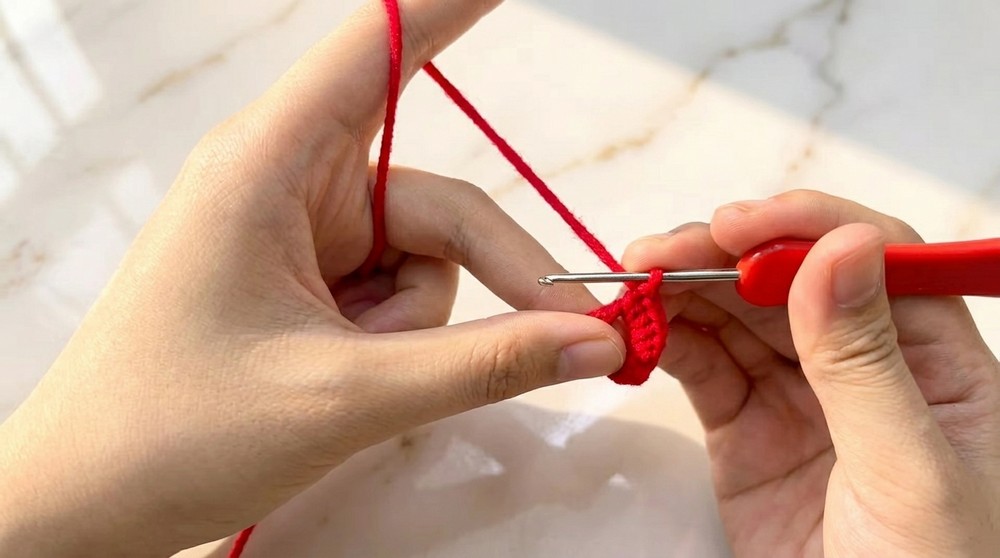
- Start with a Magic Circle:
- Create a magic circle and chain 1 (this does not count as a stitch).
- Work 9 sc into the magic circle.
- Pull the tail gently to close the circle and sl st into the first sc to join.
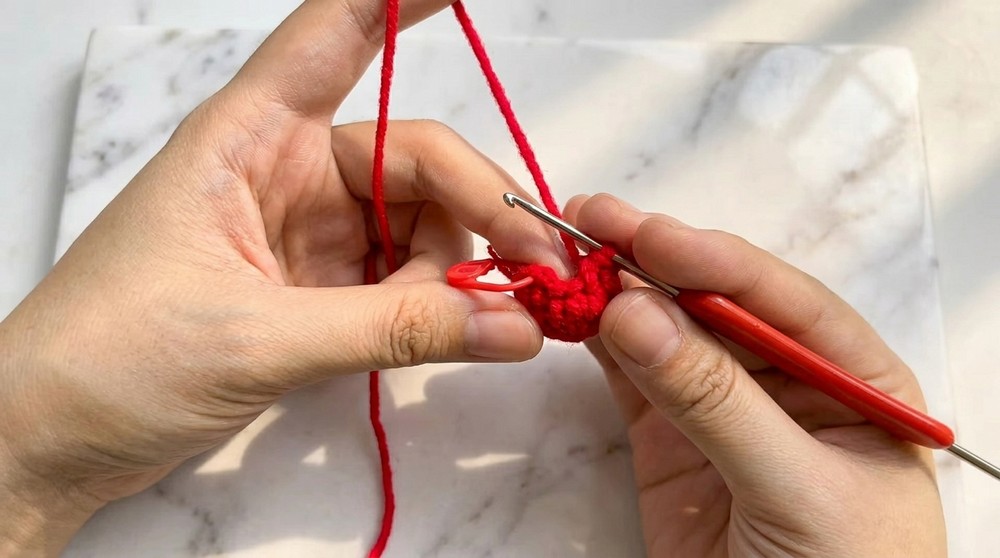
- Row 1:
- Chain 2. Work 1 hdc into each stitch around (total: 9 hdc).
- Mark the first stitch with a pin for reference.
- Row 2:
- Chain 2. Work 2 hdc into the first stitch (increase), and then 1 hdc in the next stitch. Repeat the pattern (1 hdc, 1 inc) until the end of the row. (Total: 15 stitches)
- Row 3:
- Chain 2. Crochet 1 sc, 1 hdc, 1 sc, 1 hdc in each stitch around the base to create a curved shape.
- Slip stitch to the beginning of the row to join.
For non-pattern readers: This section forms the flat base of your bell. The increases ensure the bell has structure and begins to gently curve upwards.
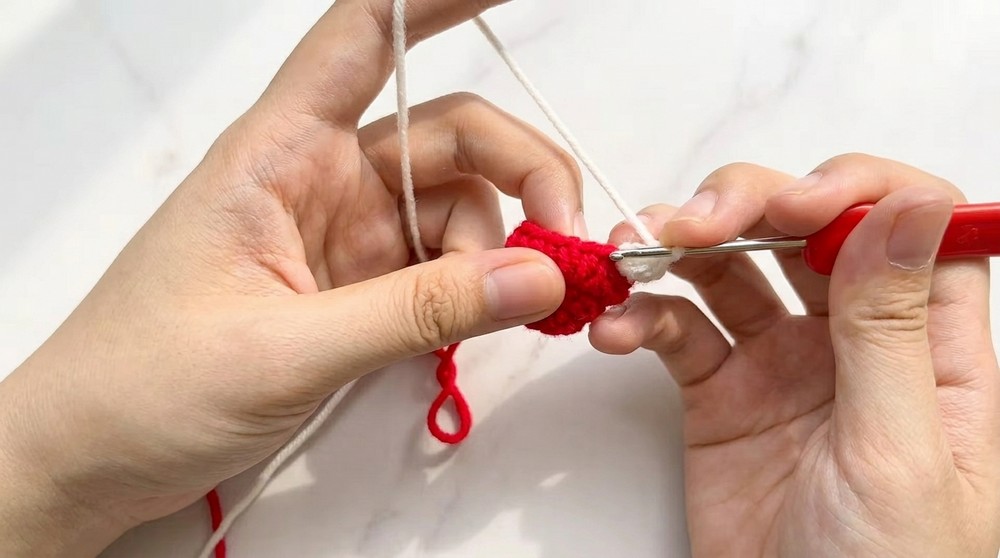
Part 2: Creating the Bell’s Walls
- Row 4:
- Switch to white yarn if desired.
- Chain 2 and crochet 1 sc in each stitch.
- Row 5 (Textured Section):
- Chain 2. Work 1 VT (hdc, sc in the same stitch) in the first stitch, followed by 1 sc in the next stitch. Repeat this pattern (1 VT, 1 sc) until the end of the row.
- Row 6 (Bell Trim):
- Chain 2 and crochet 1 sc in every stitch around. Slip stitch to join.
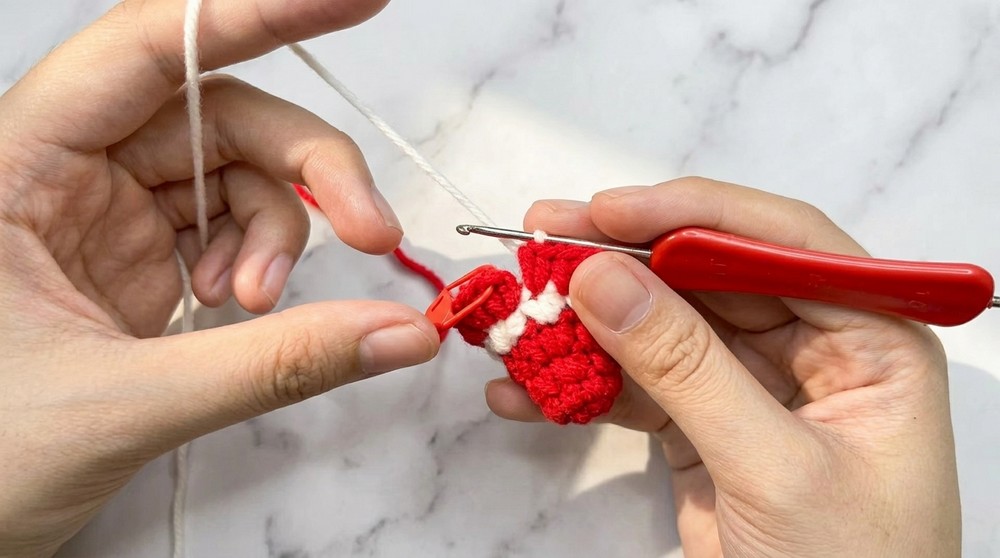
For non-pattern readers: The walls of the bell gradually shape upwards using subtle increases in earlier rows. Adding texture like VT stitches gives the bell a fun and decorative touch!

Part 3: The Hanging Loop
- Create a Magic Circle and crochet 6 sc into it.
- Join with a slip stitch and chain 10 (or more, depending on how large you want the loop).
- Slip stitch into the starting point of the chain to complete the loop.
- Fasten off and sew securely to the top of the bell.
Tip: The hanging loop is a practical addition to turn the bell into an ornament or keychain.
Part 4: Bell Clapper (Optional)
- Create a Magic Circle.
- Work 15 chain, continue crocheting from the second chain from the hook.
- Round 1: 13 sc-increase-13 = 28sc
- Round 2: (Sc-hdc-hdc-Sc)* repeat 7 times
- Cut yarn, leaving a long tail to attach the clapper to the inside of the bell using a tapestry needle.
For non-pattern readers: The clapper adds realism and completes the bell look but is optional for specific uses like storing flat.
Assembly & Finishing
- Shape the Bell: Adjust the edges neatly into shape by pressing down gently on the bell's walls.
- Attach the Hanging Loop: Sew the loop securely to the top.
- Add Details: Optionally, you can add beads or embroidery to give your bell added personality.
How to Start the Pattern for Beginners
This pattern uses basic crochet stitches (sc, hdc) and employs increased stitches to shape the bell structure. You’ll start with a magic circle to ensure the curve of the bell is seamless. The project is worked in the round, meaning you won’t need to worry about chaining or turning rows, making this an ideal project to practice crochet in the round.
Here’s a step-by-step path for starting:
- Watch a quick tutorial on making a magic circle if you are new to this technique.
- Follow along row by row, making sure to use markers to avoid confusion in counts.
- If you’re new to VT stitches (hdc and sc in the same space), practice on a scrap piece of yarn before jumping into the bell wall.
Conclusion
Congratulations! You’ve completed your crochet mini bell! This delightful ornament is perfect for the holiday season or as a quick and thoughtful handmade gift. The combination of simple stitches and subtle texturing creates a design that’s as enjoyable to make as it is to display.
If you love how your bells turned out, make a set in different colors and sizes to decorate your Christmas tree.
Why You’ll Love Making This Pattern
This little bell is a rewarding project because it combines simplicity with creativity. You'll enjoy the quick, beginner-friendly construction while learning shaping techniques like working in the round or using VT stitches for texture. Plus, the bells make joyful decorations that add a personal, handmade touch to the holiday season. They’re fun, fast, and endlessly customizable!