
Free crochet bunny security blanket pattern to create smiles
Stitch the cozy bunny security blanket of your dreams with this fun free crochet pattern that guides you through every step to make a lovely handmade gift.
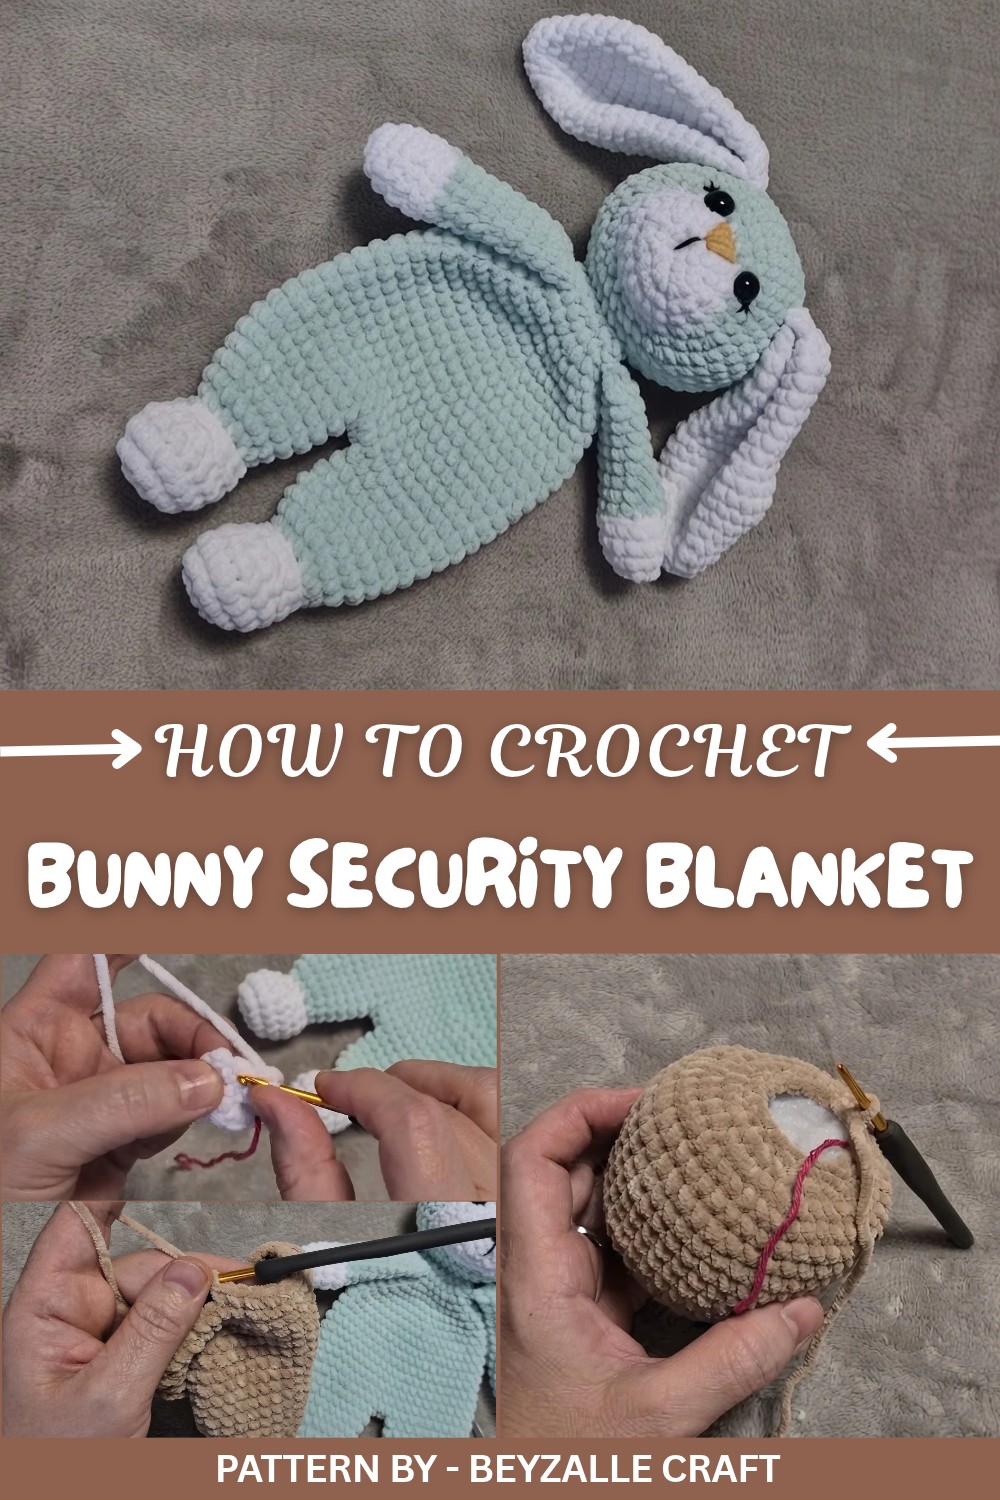
A bunny inspired blanket with a soft, cuddly charm is a delightful project perfect for creating something both practical and adorable. This crochet creation combines the warmth of a security blanket with the playful features of a cute bunny, making it an ideal gift for babies or young children. With its velvety texture and heartwarming design, it is bound to bring smiles and comfort.
Free crochet bunny blanket pattern for snuggle time
The design stands out with its intricate yet simple details, most notably the bunny’s adorable ears, sweet embroidered features, and touches of personalization using soft velvet yarn. Its 28 cm height makes it the perfect size for little hands to hold and snuggle. The blanket's lightweight construction also makes it versatile as both a keepsake and a functional companion for nap time or playtime. For those who want to customize, different yarn colors or hook sizes can create unique variations.
Beginners can achieve stunning results, thanks to straightforward stitches like single crochet, increases, and decreases. Learning how to incorporate back loops only (BLO) gives the project added definition. You’ll love joining pieces seamlessly, minimizing the need for sewing while ensuring a polished finish.
This adorable project is shared by Beyzalle CRAFT, a wonderful YouTube channel that simplifies complex crochet patterns through detailed, step by step instructions. With their guidance, you can create thoughtful handmade gifts, whether for your child, a baby shower, or to sell in your artisan store. This bunny security blanket, crocheted with care, offers not just the joy of making but also an opportunity to create priceless memories for those who receive it.
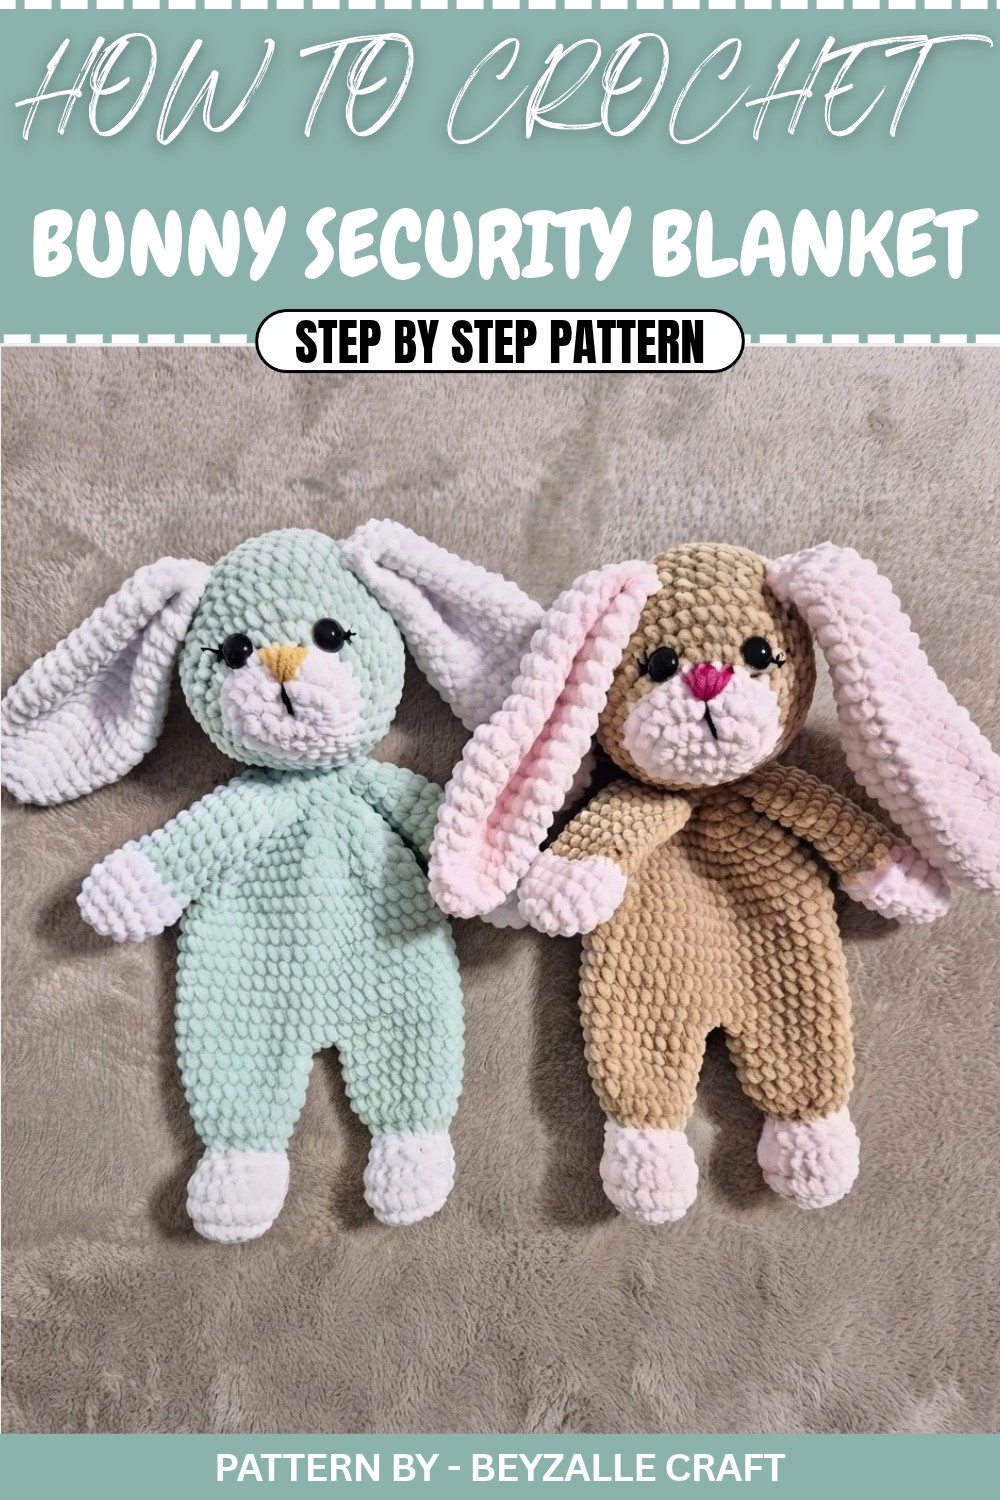
Here is the clear, accurate, and complete construction of the 28 cm Velvet Bunny Sleep Companion following your provided instructions step by step without skipping any details:
Free Crochet Pattern: Velvet Bunny Sleep Companion
Create a cuddly 28 cm bunny using soft velvet yarn. This pattern focuses on minimal sewing and joining parts directly while crocheting, making it a seamless and enjoyable project.
Stitch Abbreviations
- ch = chain
- sc = single crochet
- sc inc = single crochet increase (2 sc in the same stitch)
- sc dec = single crochet decrease (use front loops only for invisible decreases)
- BLO = back loop only
Materials
- Yarn: Velvet yarn in pink (main color), white (feet), and optional black for facial details.
- Hook: Suitable for velvet yarn (4 to 6 mm recommended).
- Polyfiber filling: For stuffing parts like the head and feet.
- Tapestry needle: For final sewing.
- Scissors and stitch markers.
Feet/Legs (Make 2)
Begin with white yarn.
Instructions for Feet:
- Row 1: Ch 4.
- Work 2 sc in the 2nd chain from the hook.
- Work 1 sc in the next chain.
- Work 4 sc into the last chain.
- Turn to work on the other side of the chain.
- Work 1 sc in the next chain and 2 sc in the starting chain.
[10 sc total]
- Row 2:
- Work 2 sc inc in the first 2 sts.
- Work 1 sc in the next st.
- Work 4 sc inc over the next 4 sts.
- Work 1 sc in the next st and 2 sc inc in the last 2 sts.
[18 sc total]
- Rows 3 to 4: 18 sc, no increases or decreases.
- Row 5 (Decrease Round):
- Work 5 sc.
- Work 5 sc dec in sequence over the next 10 sts.
- Work 3 sc.
[13 sc total]
- Row 6:
- Work 6 sc.
- Work 1 sc dec.
- Work 5 sc.
[12 sc total]
Change to Pink Yarn:
Switch to pink yarn to begin the leg. Use the back loops only (BLO) for this row.
- Row 7: BLO Round:
- Work 2 sc and then 1 sc inc.
- Repeat this sequence 4 times.
[16 sc total]
- Row 8:
- Work 3 sc and 1 sc inc.
- Repeat this sequence 4 times.
[20 sc total]
- Rows 9–12: 20 sc, no increases or decreases.
(Lightly stuff the foot at this stage using polyfiber.)
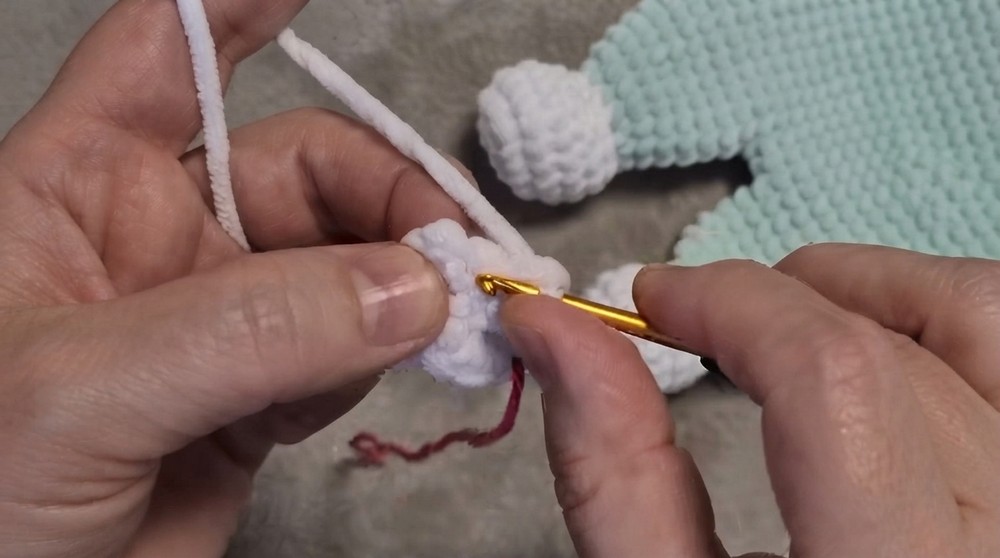
Repeat for the second foot. Leave the stitch markers attached.
Body Construction
Joining the Legs:
- Place the two legs side by side and join them using 2 chains:
- Work 6 sc over the last stitches of the first leg.
- Ch 2, then move to the second leg.
- Work 6 sc over the top of the second leg’s stitches.
- Continue crocheting to form the body:
- Work 20 sc evenly around the second leg.
- Work 2 sc over the chain.
- Work 20 sc on the first leg.
- Work 2 sc over the chain to complete the round.
[44 sc total]
- Rows 2–10: 44 sc, no increases or decreases.
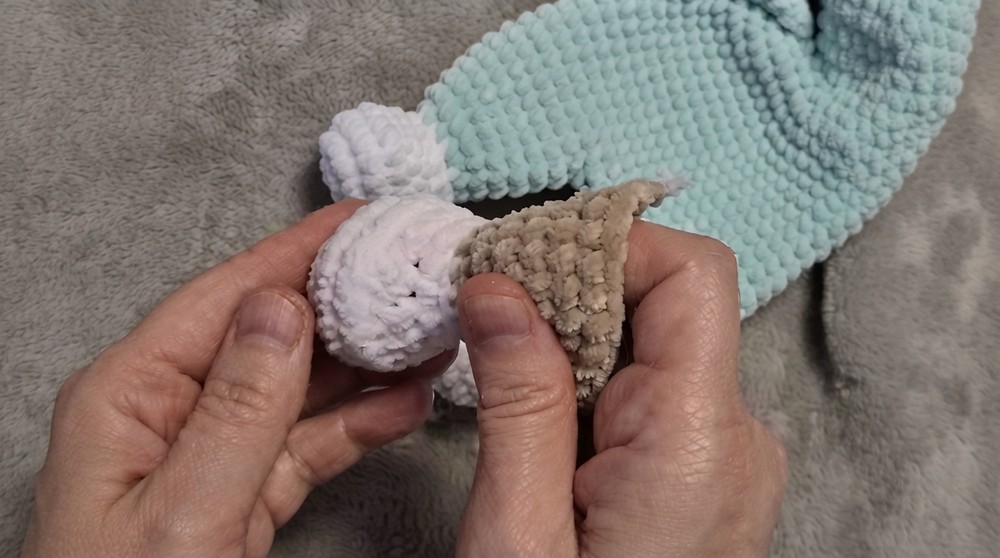
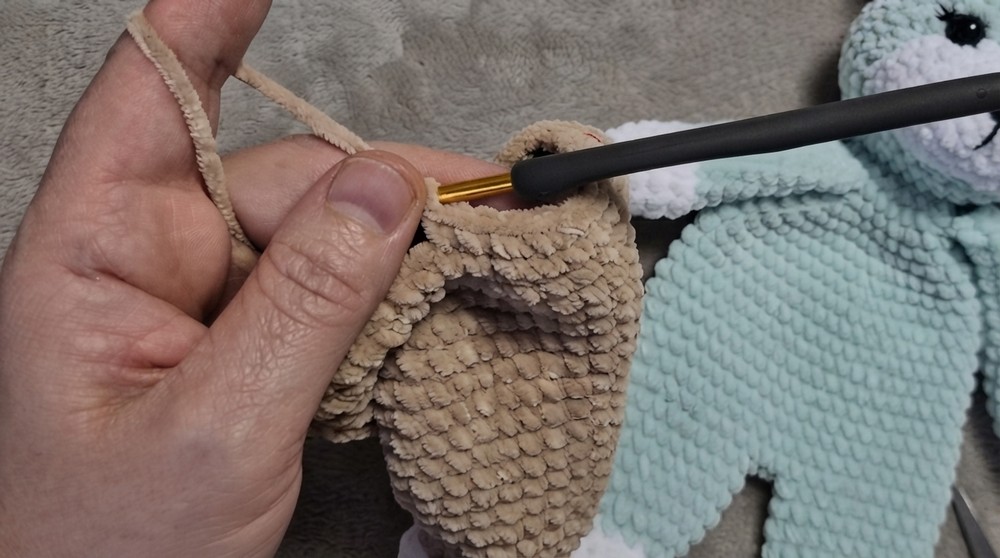
Decreasing for the Upper Body:
- Row 11:
- Work 9 sc and 1 sc dec.
- Repeat this sequence 4 times.
[40 sc total]
- Row 12: 40 sc, no decreases.
- Row 13:
- Work 8 sc and 1 sc dec.
- Repeat this sequence 4 times.
[36 sc total]
- Row 14:
- Work 7 sc and 1 sc dec.
- Repeat this sequence 4 times.
[32 sc total]
- Row 15:
- Work 4 sc and 1 sc dec.
- Repeat this sequence 5 times.
- Work 2 sc to end the round.
[27 sc total]
- Row 16:
- Work 3 sc and 1 sc dec.
- Repeat this sequence 5 times.
- Work 2 sc.
[22 sc total]
- Row 17: Attach arms into this round as you crochet.
- Row 18 (Final Body Round):
- Work 1 sc and 1 sc dec.
- Repeat this sequence 7 times.
- Work the final sc to end the round.
[15 sc total]
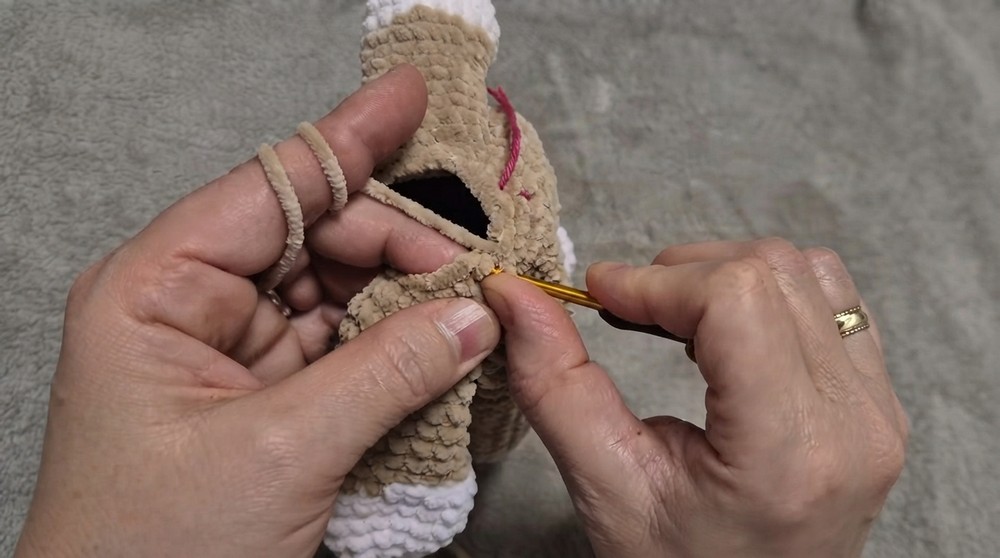
Arms (Make 2)
- Start with ch 2.
- Work 6 sc into the second chain from the hook.
- Row 2:
- Work 6 sc inc.
[12 sc total]
- Work 6 sc inc.
- Row 3:
- Work 2 sc and 1 sc inc.
- Repeat this sequence 4 times.
[16 sc total]
- Rows 4–5: 16 sc, no increases.
- Row 6: BLO Round:
- Work 2 sc and 1 sc dec.
- Repeat this sequence 4 times.
[12 sc total]
- Rows 7–14: 12 sc for 8 rows.
- Flatten the opening and close the arm with 5 sc across.
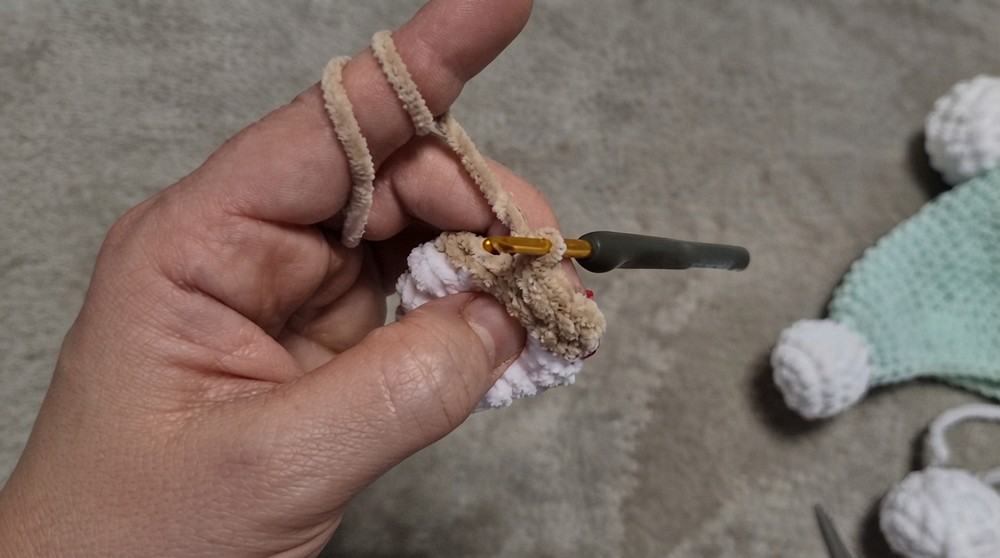
Head Construction
- Start with ch 5 and form an oval using increases at both ends.
- Gradually increase to 40 sc in Rounds 5–6, working in BLO for texture.
- Work evenly for 9 rows, then begin decreasing.
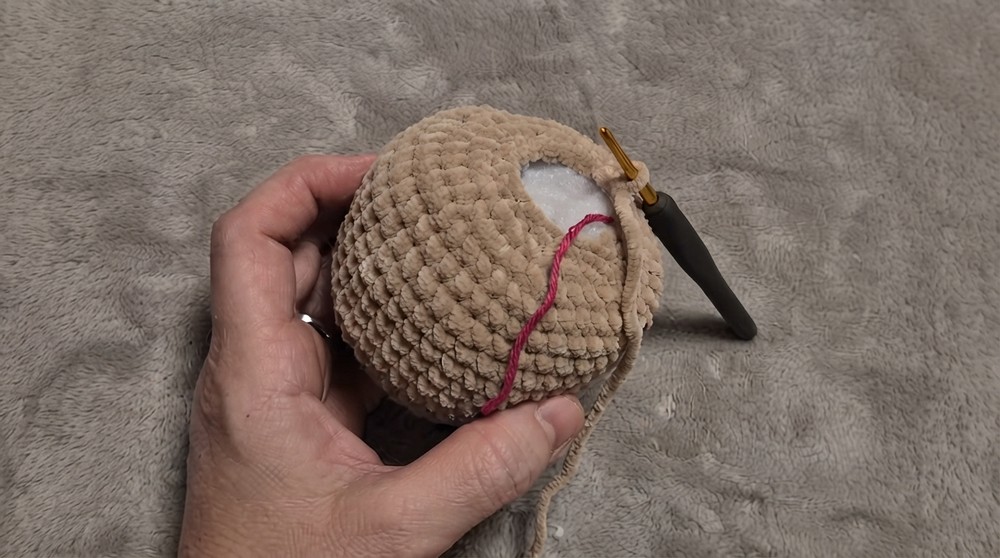
- Finish the head with 8 sc in the last round, close the top using a tapestry needle, and leave a long tail for sewing onto the body.
Ears (Make 2)
- Begin with ch 2 and work in the second chain from the hook:
- Row 1: 6 sc.
- Row 2: 6 sc inc.
[12 sc total]
- Progressively increase to 30 sc, then work evenly:
- Work 2 rows of 30 sc to add stability.
- Decrease in later rows until 16 sc remain.
- Flatten and close the ear with 8 sc across.
Assembly & Final Details
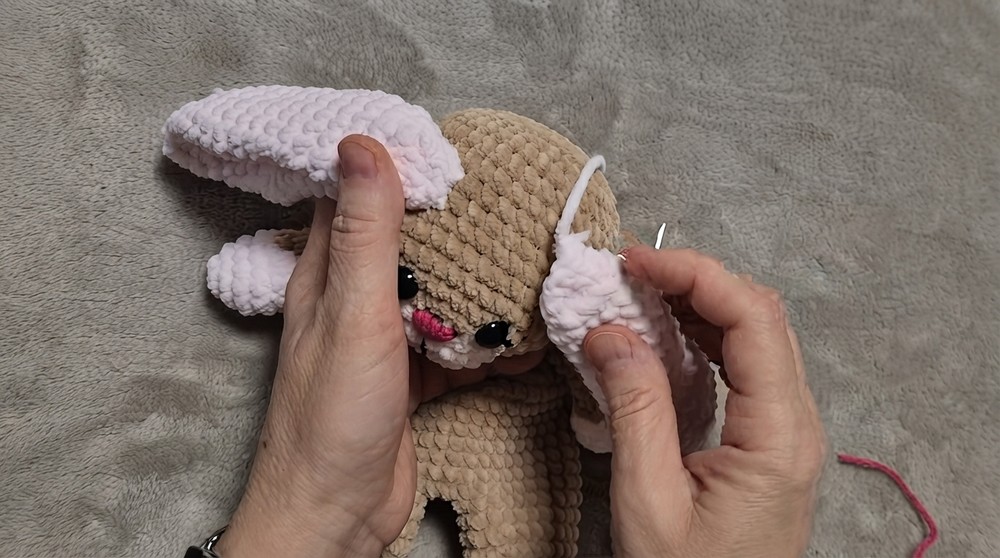
- Sew the head to the body, aligning the stitches for proper symmetry.
- Attach ears on either side of the head.
- Use black thread to embroider eyes, a small nose, and optional lashes if desired.
Conclusion
Congratulations on completing your Velvet Bunny Sleep Companion. This project is perfect for beginners or seasoned crocheters alike, offering a mix of simplicity and charm that’s ideal for gifting, selling, or personal enjoyment. Share your handmade bunny with loved ones or create your own collection of cuddly animals.