
Free Crochet Bucket Hat Pattern With a Trendy Summer Look
Learn to make a stylish crochet bucket hat in your favorite colors by following straightforward instructions for a fun and practical project.
A sunny day always calls for something fun and fashionable, doesn’t it? Whether you’re heading to the beach, a park, or lounging in your garden, a handmade bucket hat can be the perfect companion. One of the best things about crocheting your own bucket hat is the freedom to customize it, picking your own color palette, adding fun details, or even experimenting with different textures. It’s like bringing your personal style to life with just a hook and some yarn.
This adorable crochet bucket hat offers a blend of comfort and style, making it ideal for outdoor walks or adding a playful twist to everyday outfits. The magic happens with the granny stitch, a special pattern that crochets together multiple stitches into clusters. It's widely loved for its neat texture and versatility! If you're just discovering crochet, the granny stitch is a fantastic technique to explore. It’s easy to learn, and once mastered, it opens the door to creating countless other items like cozy scarves, colorful blankets, and even cute little bags.
Free Crochet Bucket Hat Pattern to Add to Your Wardrobe
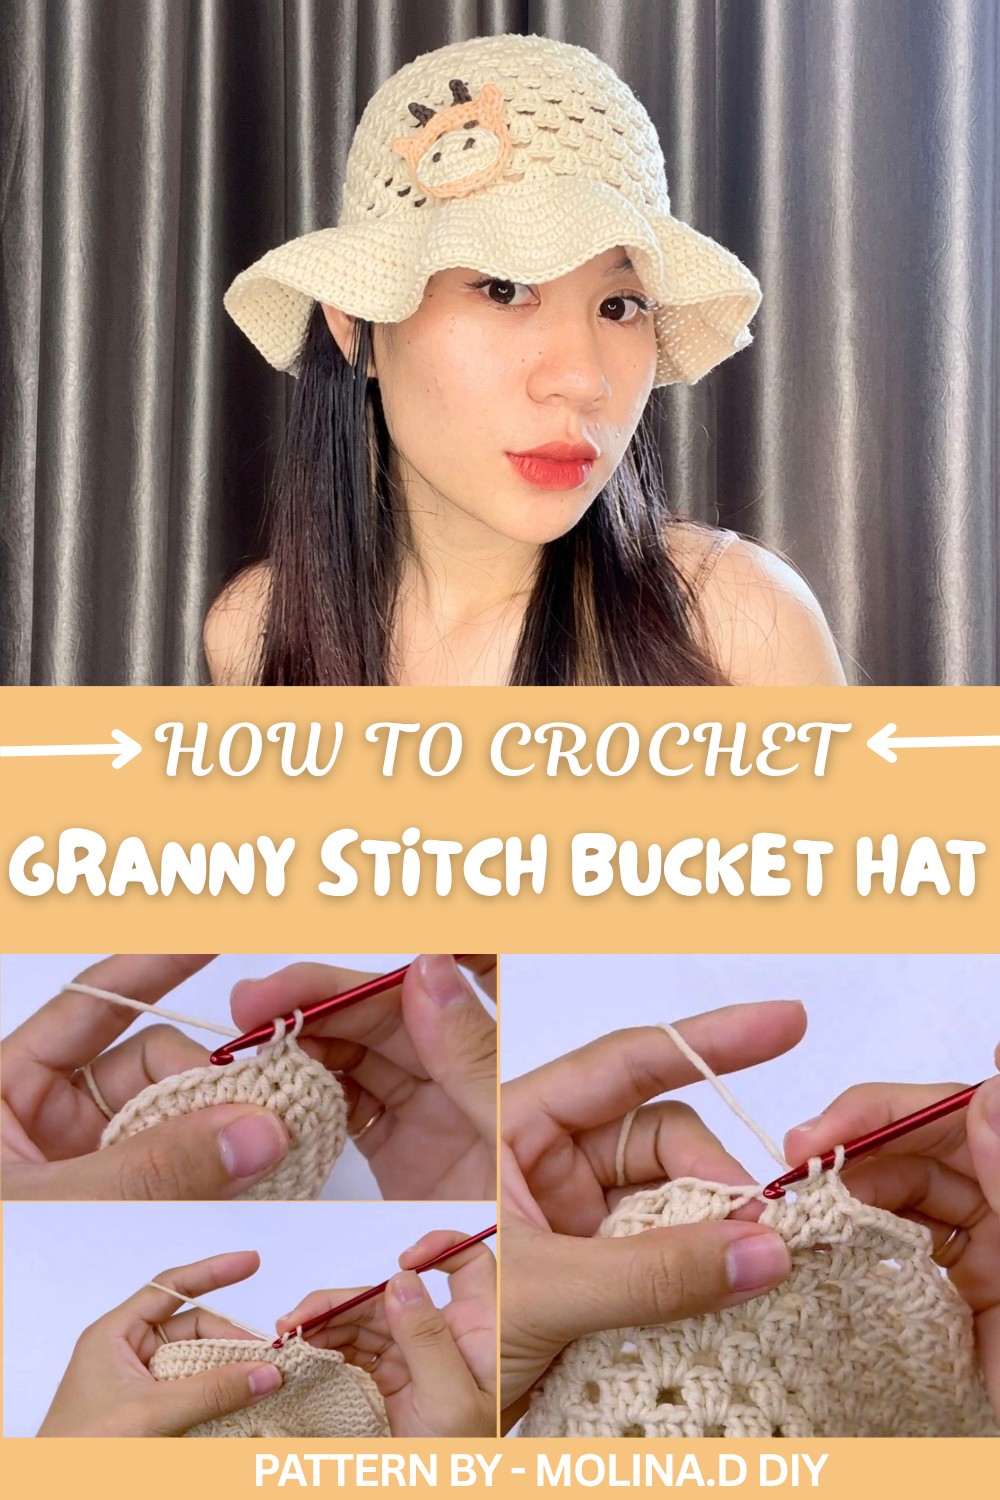
What makes this pattern so exciting is that it’s beginner friendly yet looks wonderfully creative. The joy of crocheting your own hat also extends to its practical use, it’s lightweight, breathable, and can protect you from the summer sun. Plus, the satisfaction of wearing something you’ve made yourself is unmatched.
Pattern By Molina.D DIY
Once you’ve nailed this pattern, you’re not limited to hats. By tweaking the shapes and sizes a little, you can branch out into making shopping totes, plant pot covers, pillowcases, or even trendy bucket style bags. All of this can stem from the same simple stitches, making crochet one of the most flexible crocheters out there. Ready to give your creativity some fresh air? This project might be just the place to start.
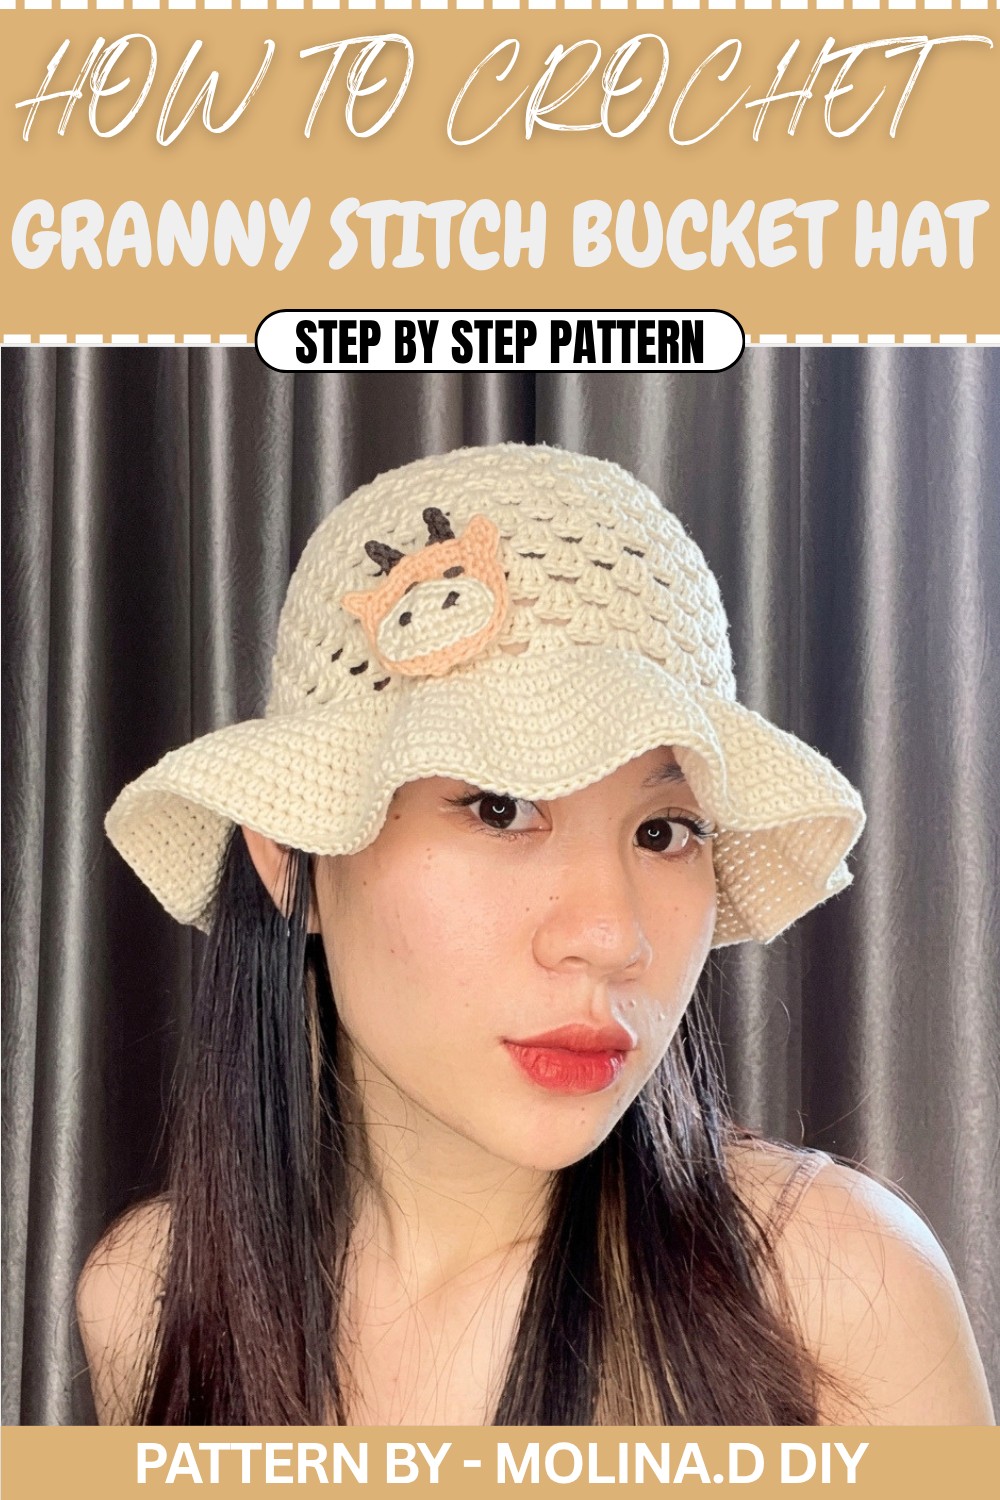
Granny Stitch Bucket Hat Crochet Pattern (S Size)
This stylish hat uses the classic granny stitch combined with half double crochet for structure and softness. It’s a lovely pattern to crochet as a gift or for yourself. The instructions below are for size S, but you can easily adjust to size M by adding an extra round to the top section and adjusting the height by an additional round. Follow the detailed instructions below to create your perfect bucket hat.
Quick Overview of Pattern
- Project Type: Granny Stitch Bucket Hat (S Size)
- Skill Level: Beginner to Intermediate
- Rounds: 28 rounds for S size; add extra rounds for larger sizes.
- Key Techniques: Magic ring, half double crochet, double crochet, increases, and granny stitch clusters.
- Customization: Easily adjustable for larger sizes; add more rounds for the top and height.
Notes
- The pattern is written for size S. Add or subtract rounds to fit your desired size.
- Consistent tension is crucial for a well shaped hat.
- The granny stitch clusters are worked into the spaces of the previous round for a clean finish.
- Use a stitch marker if needed to help track the first stitch of each round.
Skill Level
Beginner to Intermediate – An ideal project for those who know basic crochet stitches like half double crochet and double crochet.
Materials
- Yarn: Milk cotton yarn (125g – or similar lightweight yarn).
- Hook: 3.5 mm crochet hook
- Tools: Scissors, yarn needle
Measurements / Sizing
- S Size: Suitable for a head circumference of approx. 21 inches.
- M Size Tip: Add an extra round (with increases) to the top section and an additional round to adjust the height.
Gauge
Gauge is not specifically calibrated for this pattern. As long as your stitches are consistent, sizing adjustments can be made by adding or subtracting rounds.
Stitch Abbreviations
- MR = Magic ring
- ch = Chain
- sl st = Slip stitch
- hdc = Half double crochet
- dc = Double crochet
- inc = Increase (2 stitches in 1 stitch)
Special Stitches
Granny Stitch Cluster: This is made by working 3 double crochet stitches into the same space.
Construction – Step by Step Crochet Pattern
Top of the Hat (Rounds 1–5)
- Round 1:
- Create a MR.
- Ch 1.
- Work 8 hdc into the MR.
- Pull the ring tight and join with a sl st to the first hdc.
- [8 stitches]
- Round 2:
- Ch 1.
- Work 2 hdc (inc) into each stitch around.
- Join with a sl st to the first hdc.
- [16 stitches]
- Round 3:
- Ch 1.
- (Hdc into the first stitch, inc into the next stitch) repeat around.
- Join with a sl st to the first hdc.
- [24 stitches]
- Round 4:
- Ch 1.
- (Hdc into the next 2 stitches, inc into the next stitch) repeat around.
- Join with a sl st to the first hdc.
- [32 stitches]
- Round 5:
- Ch 1.
- (Hdc into the next 3 stitches, inc into the next stitch) repeat around.
- Join with a sl st to the first hdc.
- [40 stitches]
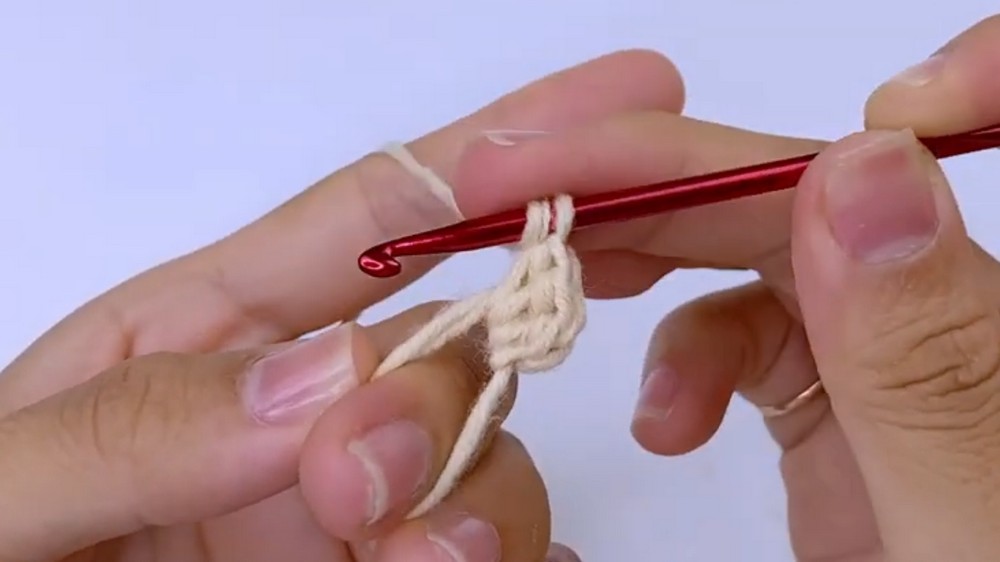
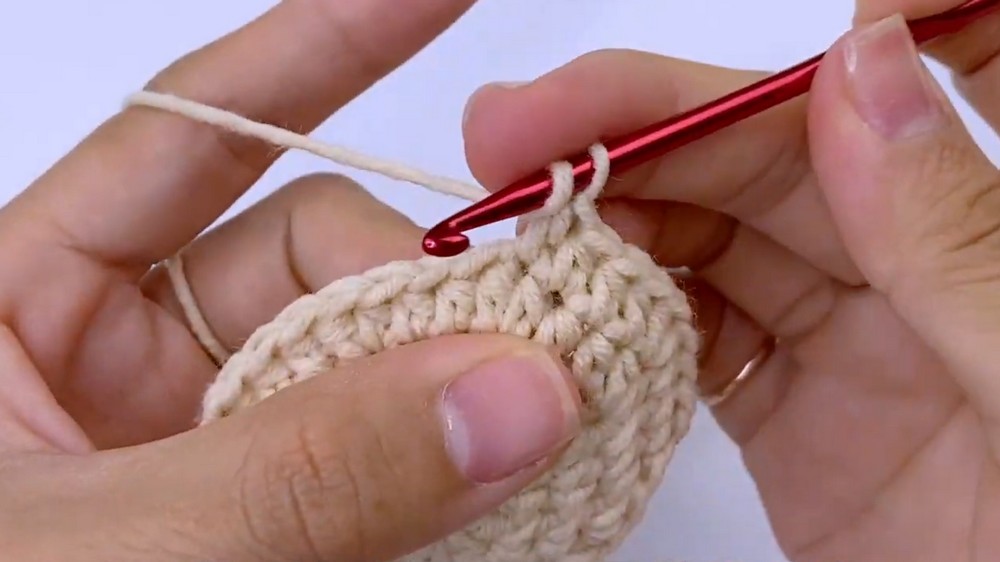
Body of the Hat (Granny Stitch Rounds)
- Round 10:
- Ch 2 (counts as the first stitch).
- Work 3 dc into the first stitch.
- (Skip 2 stitches, ch 1, work 3 dc into the next stitch – back loop only) repeat around.
- Join with a sl st.
- Round 11:
- Ch 3.
- (Work 3 dc into the first space, ch 1, work 3 dc into the next space) repeat around.
- Join with a sl st.
- Round 12:
- Ch 2.
- (Work 3 dc into the first space, ch 1, work 3 dc into the next space) repeat around.
- Join with a sl st.
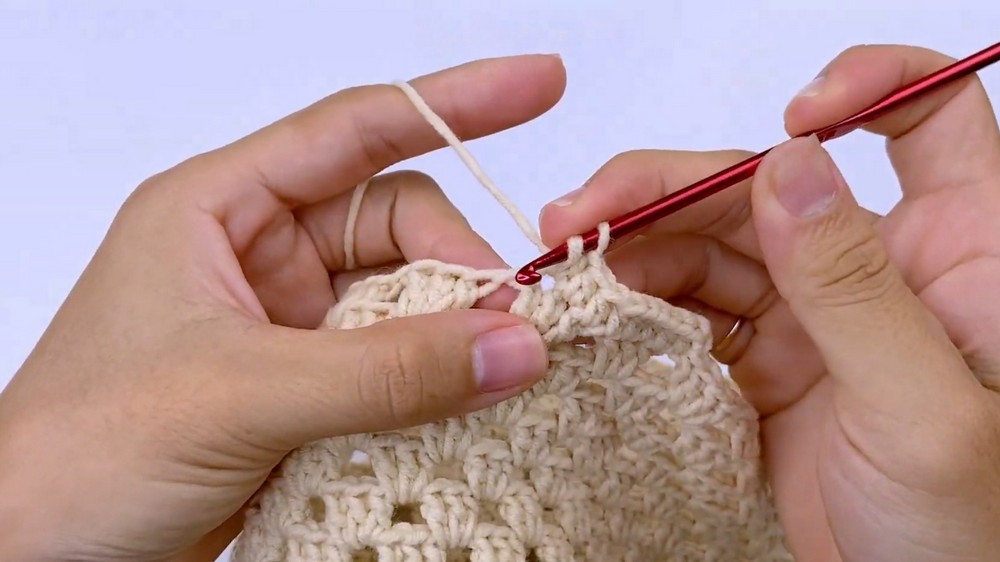
Brim Expansion Rounds (Rounds 22–28)
- Round 22:
- Ch 1.
- (Hdc into the next 3 stitches, inc into the next stitch) repeat around.
- Join with a sl st.
- [72 stitches]
- Round 23:
- Ch 1.
- (Hdc into the next 3 stitches, inc into the next stitch) repeat around.
- Join with a sl st.
- Round 24:
- Ch 1.
- Hdc into every stitch.
- Join with a sl st to finish.
- Round 25:
- Ch 1.
- (Hdc into the next 6 stitches, inc into the next stitch) repeat around.
- Join with a sl st.
- Round 26:
- Ch 1.
- Hdc into every stitch.
- Join with a sl st.
- Round 27:
- Ch 1.
- (Hdc into the next 7 stitches, inc into the next stitch) repeat around.
- Join with a sl st.
- Round 28:
- Ch 1.
- Hdc into every stitch.
- Join with a sl st.

Assembly & Finished Size
- Weaving in Ends:
- Use a yarn needle to weave in and secure the yarn tails. Hide them neatly inside the hat.
- Shaping the Hat:
- Adjust the brim and body of the hat by gently stretching it to the desired shape.
- Personalization:
- Add or subtract rounds to adjust to your preferred size. For M size, include one extra increasing round to the top and height sections.
Conclusion
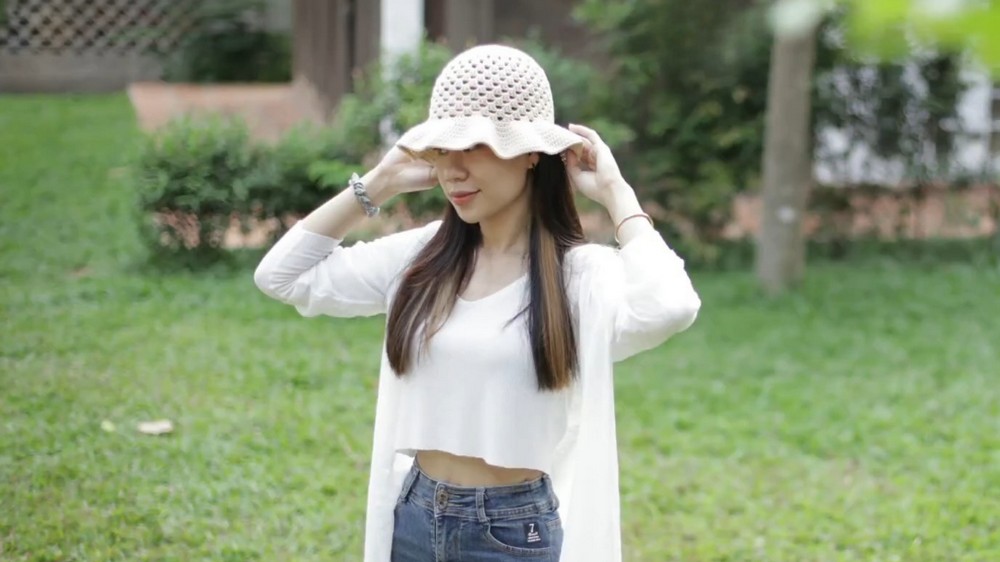
Your gorgeous Granny Stitch Bucket Hat is now complete! This timeless and stylish hat is perfect for sunny outings or as a thoughtful, handmade gift. Adjust the shape and colors to suit your personality and enjoy the process of crocheting something both practical and beautiful.