
Free Crochet Beach Tote Pattern – Quick & Easy Project
Crochet your own stylish and sturdy beach tote with this pattern featuring step-by-step instructions for a durable and breezy design.
Having worked up this approachable crochet project myself, I can say this bag brings together practical style for daily life. More than a typical market bag, this beach tote shines as a functional accessory that’s simple yet vibrant. With the Free Beach Tote Pattern, all instructions are straightforward and the flexible foundation allows each maker to choose the tote’s final size according to their own needs or preferences. Both new and experienced crocheters will find the techniques comfortable and easy to follow.
Free Crochet Beach Tote Pattern with Handles
The finished beach tote stands out with a classic white body accented by a bold purple border and sturdy matching strap. The design transitions from a solid rectangle base using double crochet stitches into light, airy net sides for ventilation and a touch of style. The shape remains rectangular with a roomy interior, ideal for toting everyday items. Three rows of purple single crochet provide a crisp edge and a modern pop of color at the top.

A defining feature of this project is the open mesh texture of the sides, which not only gives a breezy, summery appearance but also offers versatility for many uses. The bag is worked as a flat piece then built upwards, with the sides formed through a consistent pattern of skipping stitches and chains. Both single crochet and double crochet form the foundation and structural details. With the sturdy strap integrated into the border and securely hand-sewn to the opposite end, the result offers both comfort and confidence in daily use.
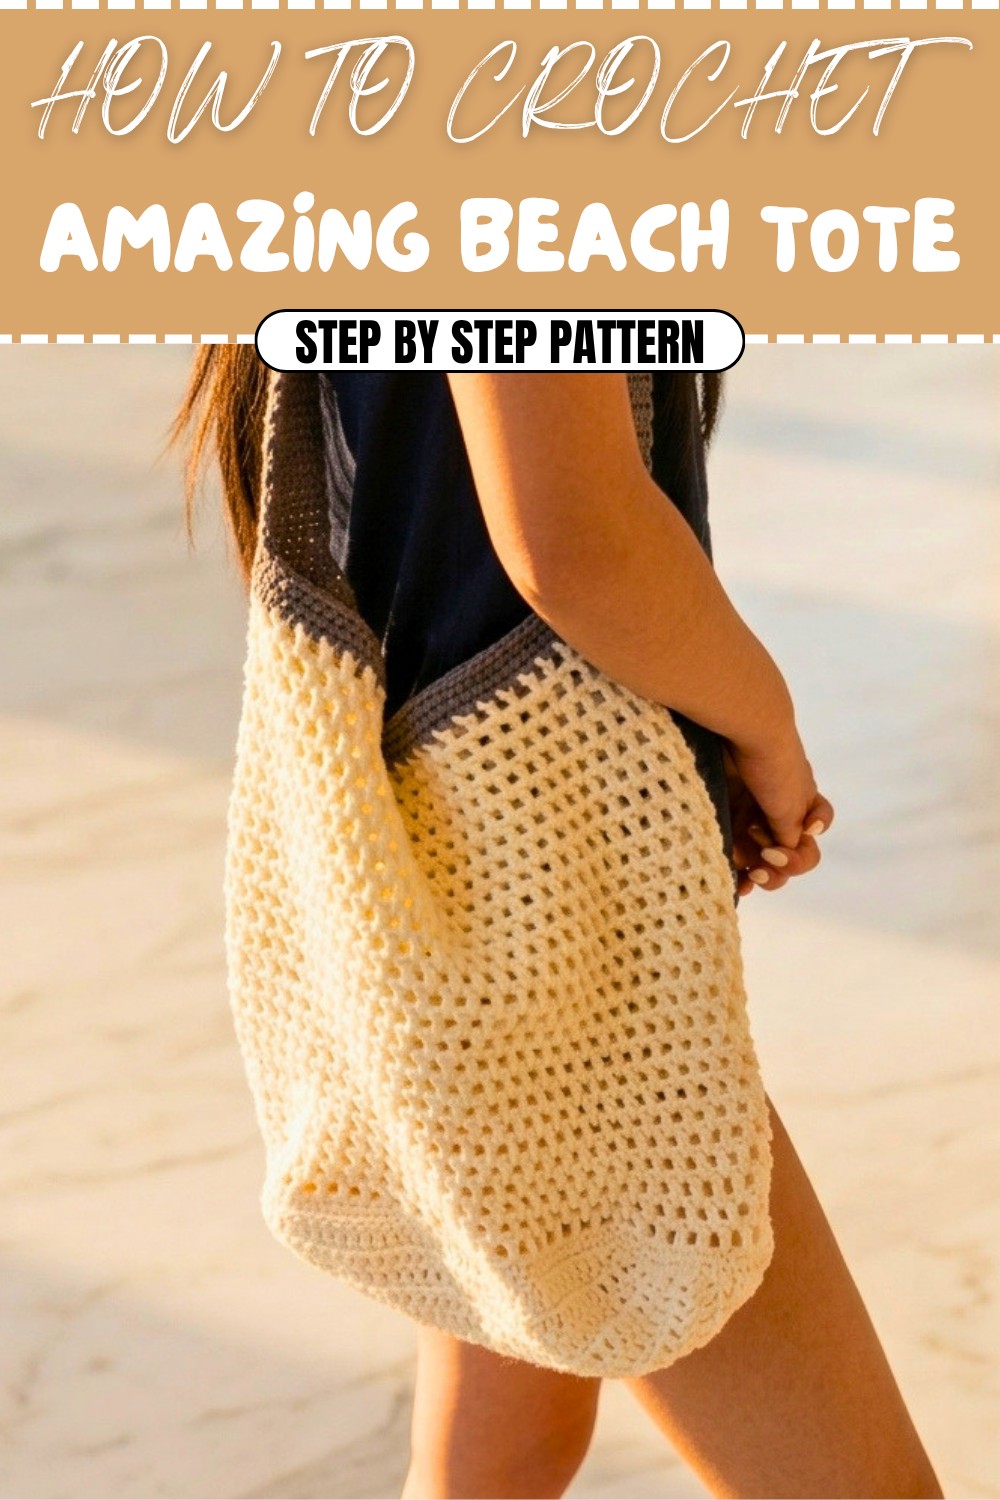
This tote serves multiple purposes, from carrying books and groceries to hauling swim gear or fresh market produce. The standout color-block look makes it a thoughtful gift for anyone who appreciates a handmade touch. Its combination of decorative value, durability, and wearable style makes it a favorite for all ages. With familiar stitches and clear guidance, those at the beginner or advanced beginner level can easily complete this project. Anyone seeking a stylish, straightforward tote bag with a fresh design will find this pattern a rewarding choice for their next crochet piece.
Easy Crochet Beach Tote Bag Pattern
Get ready for summer with this stylish and functional beach tote! This step-by-step pattern is perfect for beginners and includes clear assembly instructions and handy tips throughout.
Before You Start
- Read through the full pattern before starting.
- Use durable yarn suitable for bags; choose a color combo you like.
- Decide your preferred bag size before chaining (customizable).
- Work in an environment with even lighting and minimal distractions.
- Have your darning needle and scissors nearby for assembly.
Pattern Notes
- The base is worked flat in rows with double crochet (dc).
- The side mesh pattern is worked in the round using chain spaces and dc.
- The border and strap are added afterwards with single crochet (sc).
- All stitches are written in US crochet terms.
- The bag is fully customizable in width, length, height, and strap.
- Adjust the strap length and bag height as desired.
How I Made the Crochet Pattern?
- Created a flat base using rows of dc.
- Transitioned to single crochet rounds for structure.
- Crocheted mesh sides using a chain and dc combination.
- Finished with a sturdy border and an adjustable-length strap.
- Sewed the strap securely for durability.
Skill Level
Beginner
Finished Size
Approx. 15" wide x 14" tall (excluding strap).
Strap: Adjustable, approx. 34"–40" long.
Materials
- Worsted weight yarn:
- Approx. 200–300g white for bag body
- Approx. 100g purple or contrasting color for strap/border
- 5.5 mm crochet hook
- Scissors
- Darning needle
Measurements / Sizing
- Base chain: about 40 sts = 15” (adjust as preferred).
- Height of sides: about 25 mesh rows (adjust for taller/shorter bags).
- Strap width: 9 sc (about 2”); length: up to 110 rows or as desired.
Gauge
- Not strictly necessary; aim for firm dc and sc stitches to create sturdy fabric.
Stitch Abbreviations
- ch – chain
- sc – single crochet
- dc – double crochet
- sl st – slip stitch
- st – stitch
Special Stitches
Mesh Stitch:
(Ch 1, skip 1 st, dc in next st) – creates open netting.
The Pattern!
Bag Base
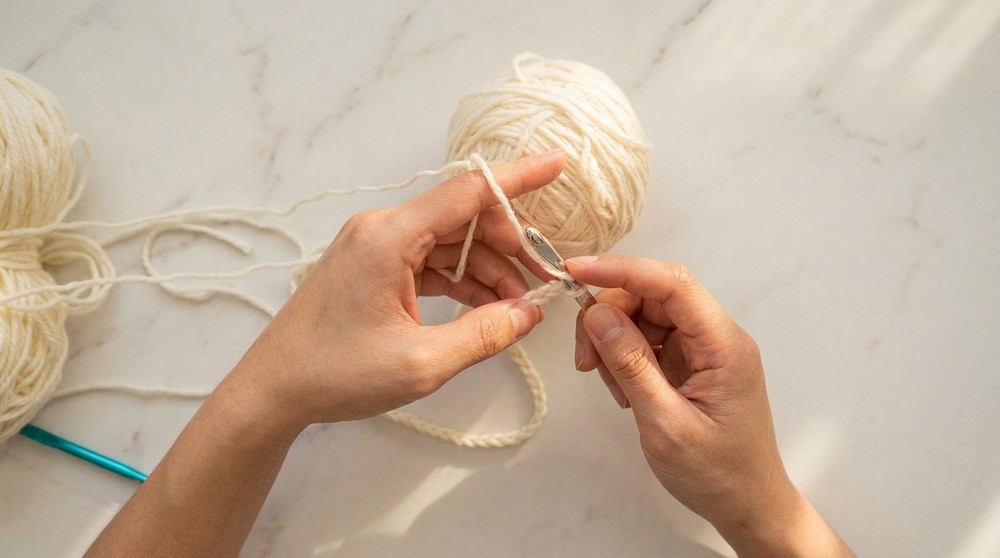
- Make a slip knot.
- Ch 40 (or your desired width).
- Row 1: Ch 2 (counts as first dc), dc in 3rd ch from hook, dc in each ch across. (40 dc)
- Row 2: Ch 2, turn. Dc in each st across.
- Repeat Row 2 for as many rows as needed (suggest 4–8 rows for base thickness).
In simple terms: Start your tote by making a long chain and working rows of double crochet to form a strong base.
Transition to Sides
- At end of final base row, ch 1, turn.
- Begin single crochet edge: sc in each st across top, pick up sc evenly around all edges of the base.
- On each side, sc in each row end; at corners, sc once.
- On foundation chain side, sc in each chain.
- Join with sl st to first sc.
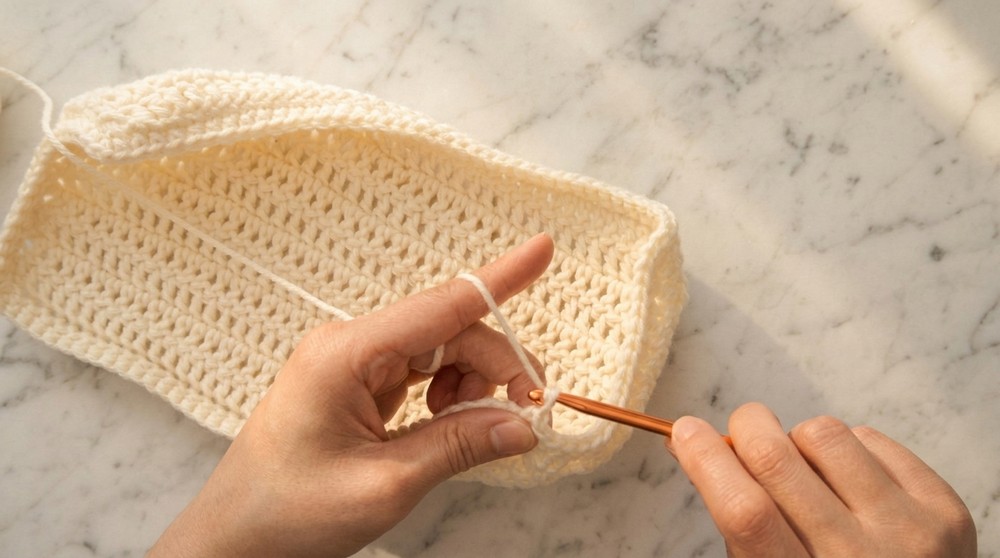
This step gives a clean edge around the base, ready for the mesh sides.
Single Crochet Round
- Ch 1.
- Work 1 round of sc all around, joining with sl st at end.
This second round adds structure and stability for the next mesh rows.
Mesh Sides
- At side corner, ch 4.
- Mesh Pattern Row 1:
- [Skip 1 st, dc in next st, ch 1] repeat around, skipping each time.
- At corners, skip as needed to keep pattern consistent.
- Join with sl st to first ch-4 space.
- At end of round, ch 4, dc in next space, continue mesh pattern:
- [Ch 1, dc in next mesh space] until height is reached.
- Repeat mesh rows for approx. 25 rounds (or until your desired height).
For the mesh sides, simply work a chain-1/net pattern, always placing your dc in chain spaces. Adjust at corners if it feels tight or loose.
Final Mesh Row
- After last round, ch 2, sl st to first mesh space to finish.
- Fasten off and weave in tail with darning needle for a secure knot.
You have now completed the main body of your beach tote! Next, add a colorful border.
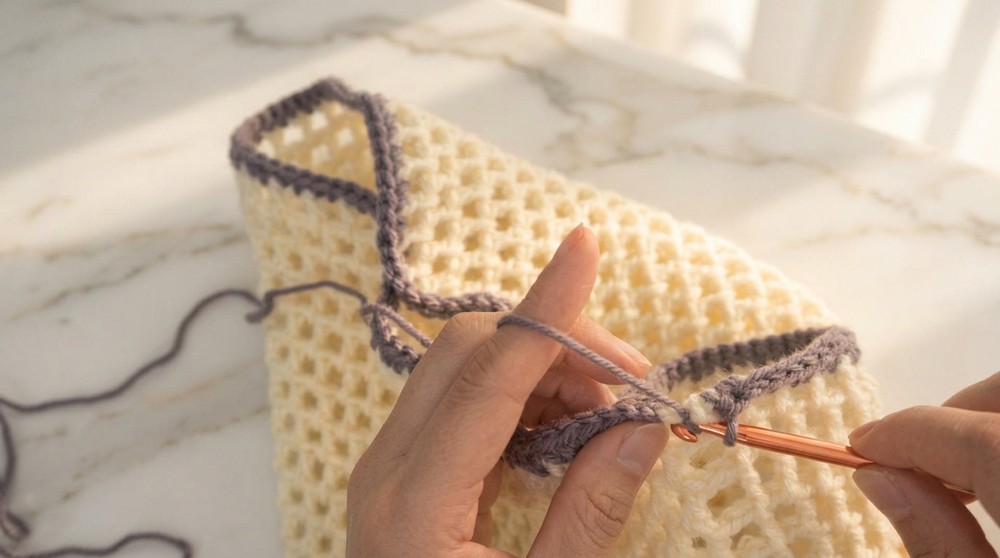
Border and Top Trim (with Purple Yarn)
- Join purple yarn at any top edge.
- Tie 2 knots to secure.
- Border Round:
- Slip stitch in same space.
- [Sc in next mesh space, sc in top loops between spaces] working all around.
- Add 2–3 sc in larger gaps (as needed).
- Work 3 rounds of sc all around edge for depth.
- At end of third round, sl st to first sc, fasten off and knot securely.
Bag Strap
- Locate center of short end. Count 9 sts for strap base.
- Join purple yarn, tie knot.
- Strap Row 1:
- sc in same space and next 8 sts (9 sc).
- Strap Rows 2–110 (or desired length):
- Ch 1, turn. sc in each st across (9 sc).
- At end of final row, sl st to secure and leave a long tail.
Your strap should be as long as you like! Adjust for crossbody, shoulder, or handbag style.
Assembly & Finishing
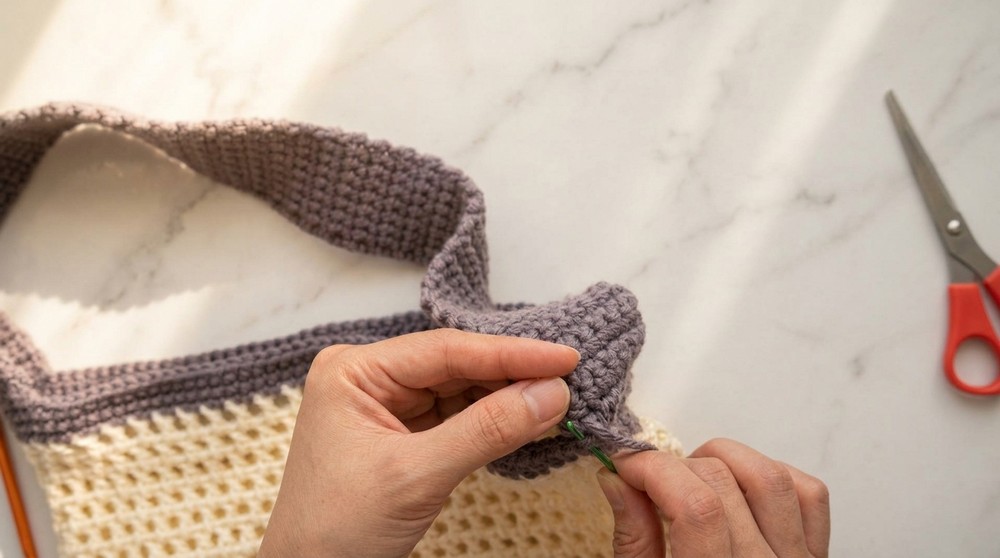
- Attach strap: Use darning needle and yarn tail to sew strap securely to opposite side (count same number of sts for symmetry).
- Knot ends well and weave in tails through the stitches.
- Add extra knots if desired for extra sturdiness.
- Trim any excess yarn for a neat finish.
- Block or shape the bag if necessary.
Solution of Problem
- Problem: Mesh is uneven at corners, or bag warps.
Solution: Adjust stitch count at corners, add extra sc or dc in gaps for shaping. Block the bag gently to even edges. - Problem: Strap feels flimsy or stretches too much.
Solution: Make the strap wider (add more sc to each row) or shorter for better support. Choose sturdy yarn and sew down extra securely. - Problem: Bag sides sag under weight.
Solution: Use tighter mesh stitch, or add lining for reinforcement.
What you can make by using these stitches
- Beach bags and totes for summer
- Market shopping bags
- Yarn or project carriers
- Mesh produce bags
- Gift bags for holidays
- Sturdy, stylish handbags