
Free and Playful Crochet Cactus Amigurumi Pattern for Any Space
Brighten your desk with the Free Crochet Cactus Amigurumi Pattern, delivering a cute, customizable succulent minus the watering.
There’s something so cheerful about having a little green friend that never needs watering. This charming project teaches you how to crochet a cute cactus pot using mostly the single crochet stitch, which is perfect for creating a tight, sturdy fabric that holds its shape well. You’ll also get to practice slip stitches and half double crochet stitches that add texture and help shape the cactus and pot beautifully.
Step by Step Free Crochet Cactus Amigurumi Pattern for Plant Lovers
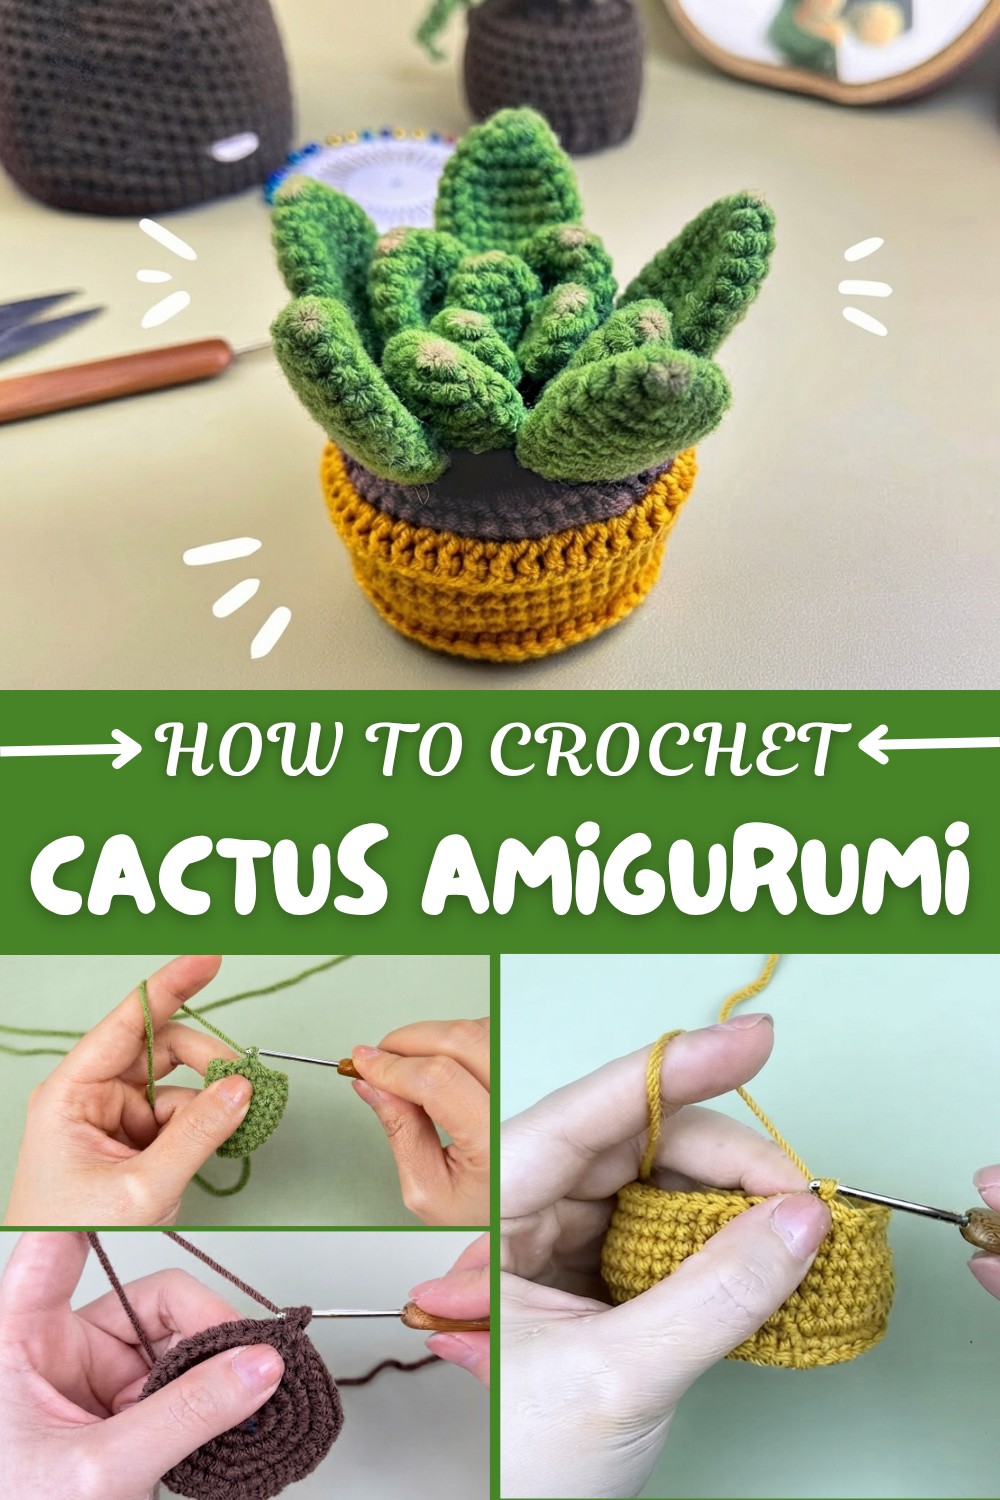
Starting with a magic ring, the pattern guides you through making different sized cactus branches and assembling them into a lovely, handmade potted plant. Each piece is worked in rounds with simple increases and decreases, helping you learn important crochet techniques like joining rounds and working in back loops only. This makes it a great project for beginners who want to build confidence while creating something adorable and useful as a decoration for desks, shelves, or gifts.
What makes this pattern really special is how it combines several sizes of cactus pieces, stacked to create depth and interest, and the cleverly crocheted pot that looks realistic. The mix of stitches gives your creation a fun texture, and stuffing the pieces brings the cactus to life as a soft sculpture.
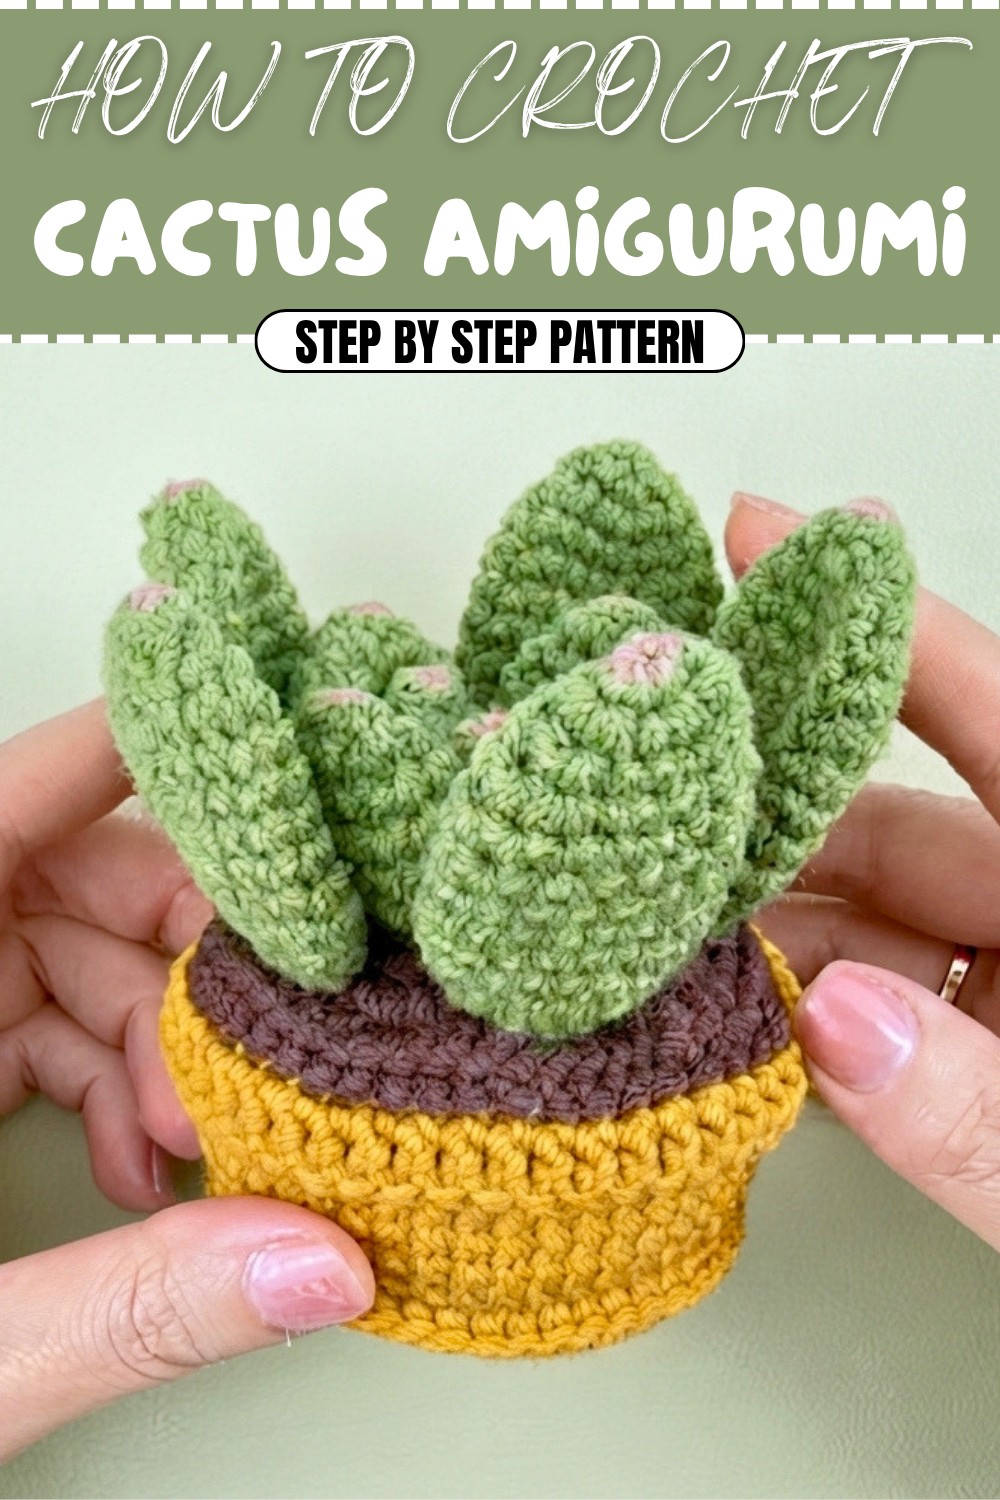
Once you’ve finished your cactus, you can use the same skills and stitches to crochet other plant-inspired amigurumi or small home decor items. Try branching out by making succulents, flowers, or even little garden gnomes using similar techniques. This pattern not only brings a touch of green to your crochets but also opens up lots of creative possibilities for cute crochet projects.
Super Cute Cactus in a Pot – Crochet Pattern
This pattern will guide you to crochet a super cute cactus plant in a pot, complete with “wings” or branches in three sizes (small, medium, and large), soil, and a decorative pot. The structure is modular: you will first crochet the wings/branches, then the soil insert, then the pot, and finally assemble everything neatly.
Skill Level & Terminology
- Skill Level: Confident Beginner to Intermediate (you should be comfortable working in the round and using increases/decreases).
- Terminology: US crochet terms are used throughout.
Materials & Tools
- Yarn:
- Green yarn – for small, medium, and large cactus wings/branches.
- Dark brown yarn – for the soil insert.
- Light or medium brown / beige yarn – for the pot.
- Hook:
- Size 3.0–3.5 mm (US C–E) or size needed to achieve a firm fabric.
- Stuffing:
- Polyester fiberfill for stuffing pot and branches.
- Notions & Tools:
- Yarn needle for sewing parts together and weaving in ends.
- Scissors.
- Stitch markers (optional but very helpful for working in rounds).
- Fabric glue or hot glue (used to secure branches to soil if preferred).
Gauge
Gauge is not critical for this pattern, but your stitches should be tight enough to prevent fiberfill from showing through.
To check:
- Work a small swatch in single crochet (SC) in the round.
- Approximate gauge: about 6–7 SC per 2.5 cm (1 in) with firm tension.
If your fabric looks loose or holey, go down a hook size.
Abbreviations
All in US terms:
- MR – Magic Ring
- SC – Single Crochet
- HDC – Half Double Crochet
- Inc – Increase (2 SC in the same stitch)
- Dec – Decrease (single crochet 2 stitches together)
- Sl St – Slip Stitch
- Ch – Chain
- BLO – Back Loop Only
- FLO – Front Loop Only
Special Stitch Instructions
- Magic Ring (MR):
Wrap the yarn around two fingers to form a loop, insert the hook into the loop, yarn over and pull up a loop, Ch 1 (or more if instructed), then work the required number of stitches into the ring. Pull the tail to close. - Increase (Inc):
Work 2 SC into the same stitch. - Decrease (Dec):
Insert hook into next stitch, yarn over and pull up a loop; insert hook into following stitch, yarn over and pull up a loop (3 loops on hook); yarn over and pull through all 3 loops. This turns two stitches into one. - Working in FLO or BLO:
Insert your hook only into either the front or back loop of the stitch instead of both loops. This creates ridges and structure.
Finished Size
Using medium-weight yarn and a 3–3.5 mm hook, the finished cactus pot is approximately:
- Height: 10–12 cm (4–4.75 in), including branches.
- Pot diameter: About 8–9 cm (3–3.5 in), depending on your yarn and tension.
How to Start & Stitches Used
You will start by crocheting the cactus branches (“wings”), then move on to the soil insert, and finally the pot. Once all pieces are complete, you will sew and glue them together.
Throughout the pattern, you will mainly use:
- Single Crochet (SC)
- Half Double Crochet (HDC)
- Increases (Inc) and decreases (Dec)
- Working in front loops only (FLO) and back loops only (BLO)
These basic stitches are combined to create structure and shape for the pot and cactus.
The Pattern Itself
Part 1 – Small Wings (Small Cactus Branches)
Make 2 small wings.
- Round 1:
- Start with a MR, work 5 × SC into the ring.
- Sl St into the first SC, Ch 1.
- Round 2:
- Work 5 × Inc (that is 2 SC in each stitch around).
- You now have 10 SC.
- Sl St to first stitch, Ch 1.
- Rounds 3–4:
- Work 10 × SC (one SC in each stitch) without increasing.
- End each round with Sl St to the first stitch, Ch 1.
- Round 5:
- Work 5 × Dec around (10 stitches → 5 stitches).
- Sl St, Ch 1, cut the yarn and weave in ends.
- Lightly stuff before closing if desired (optional).
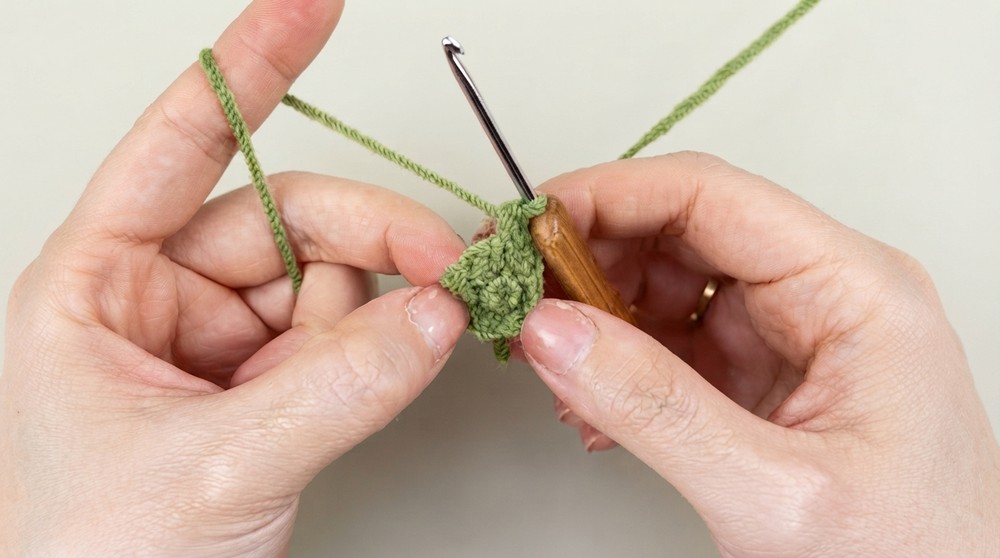
Explanation (Small Wings):
For the small branches, you create a small rounded cylinder by increasing from 5 to 10 stitches, maintaining that width, then decreasing back down. Make two identical pieces for the smallest cactus arms.
Part 2 – Medium Wings (Medium Cactus Branches)
Make 3 medium wings.
- Rounds 1–2:
- Follow the same instructions as the small wings (MR with 5 SC, then 5 Inc → 10 SC).
- Round 3:
- (1 SC, 1 Inc) – repeat 5 times around.
- You now have 15 SC.
- End with Sl St, Ch 1.
- Rounds 4–6:
- Work 15 × SC each round, no increases or decreases.
- Sl St and Ch 1 at the end of each round.
- Round 7:
- (1 SC, 1 Dec) – repeat 5 times (15 → 10 stitches).
- Sl St, Ch 1, cut the yarn and weave in ends.
- Stuff lightly.
Explanation (Medium Wings):
The medium branches are slightly longer and wider than the small ones. You increase to 15 stitches for a fuller shape, work several plain rounds, then decrease to close the top. Make three medium branches to place around the cactus.
Part 3 – Large Wings (Large Cactus Branches)
Make 4 large wings.
- Round 1:
- MR, work 4 × SC into the ring.
- Sl St, Ch 1.
- Round 2:
- 4 × Inc (2 SC in each stitch) → 8 SC.
- Sl St, Ch 1.
- Round 3:
- (1 SC, 1 Inc) – repeat 4 times → 12 SC.
- Sl St, Ch 1.
- Round 4:
- (2 SC, 1 Inc) – repeat 4 times → 16 SC.
- Sl St, Ch 1.
- Rounds 5–10:
- Work 16 × SC each round, no increases.
- Sl St, Ch 1 at the end of each round.
- Round 11:
- (2 SC, 1 Dec) – repeat 4 times → 12 SC.
- Sl St, Ch 1.
- Round 12:
- (1 SC, 1 Dec) – repeat 4 times → 8 SC.
- Sl St, cut yarn, weave in ends.
- Stuff firmly to maintain shape.
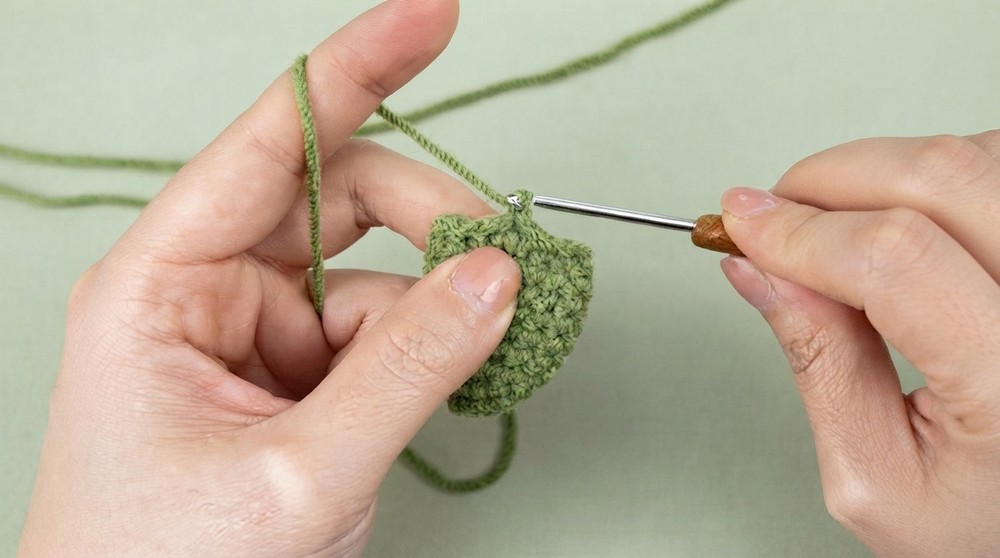
Explanation (Large Wings):
The large cactus branches form the outermost, tallest parts of the cactus. By steadily increasing and later decreasing, you create a smooth, rounded branch that stands upright. Make four pieces for a full, rich cactus look.
Part 4 – Soil Insert
Use dark brown yarn for the soil.
- Round 1:
- MR, work 8 × SC.
- Sl St, Ch 1.
- Round 2:
- 8 × Inc → 16 SC.
- Sl St, Ch 1.
- Round 3:
- (1 SC, 1 Inc) – repeat 8 times → 24 SC.
- Sl St, Ch 1.
- Round 4:
- (1 SC, 1 Inc, 1 SC) – repeat 8 times → 32 SC.
- Sl St, Ch 1.
- Round 5:
- (3 SC, 1 Inc) – repeat 8 times → 40 SC.
- Sl St, Ch 1.
- Round 6:
- (2 SC, 1 Inc, 2 SC) – repeat 8 times → 48 SC.
- Sl St, Ch 1.
- Leave a 20 cm tail for sewing to the pot.
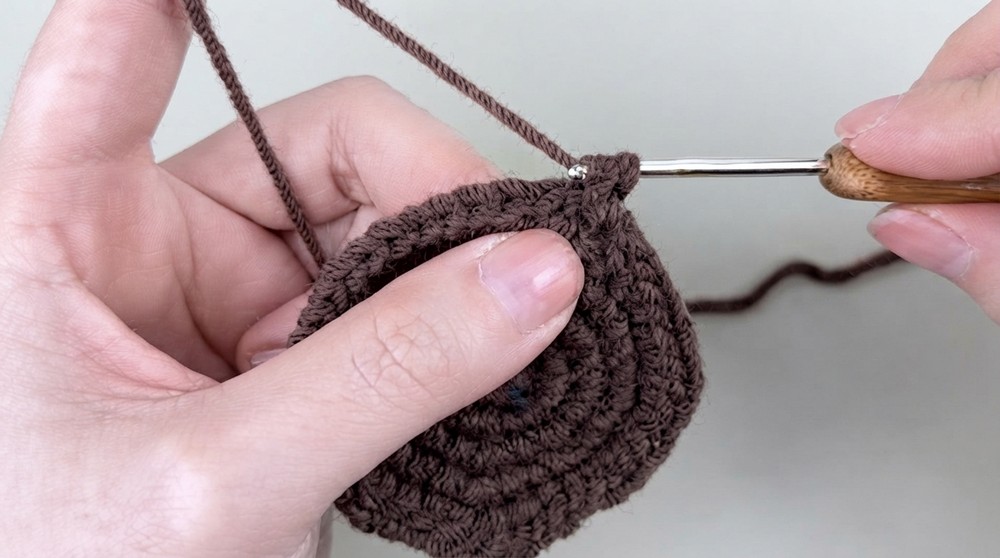
Explanation (Soil):
This is a flat, round disk that represents the soil surface. It fits perfectly inside the pot and is later sewn to the inner wall. The dark color gives the illusion of real soil.
Part 5 – Pot
Use a lighter brown or beige yarn.
- Rounds 1–6:
- Work exactly the same as the soil insert (ending with 48 SC).
- Round 7 (outer edge, top decorative round):
- Turn the piece so the wrong side faces you.
- Work 48 × SC into the outer loops (this creates a ridge).
- Sl St into the first SC, cut yarn, and weave in ends on top.
Now return to Round 6 (base line):
- Insert new yarn into one of the inner loops of Round 6.
- Round 7 (inner wall):
- Work 48 × SC into these inner loops (BLO line).
- Sl St to the first stitch.
- Rounds 8–11:
- Work 48 × SC each round (straight walls, no increases).
- Sl St at the end of each round.
- Round 12 (rim):
- Ch 2, then work 48 × HDC in FLO (front loops only) to form a slightly flared rim.
- Sl St into the first HDC, Ch 1, cut yarn and weave in ends.
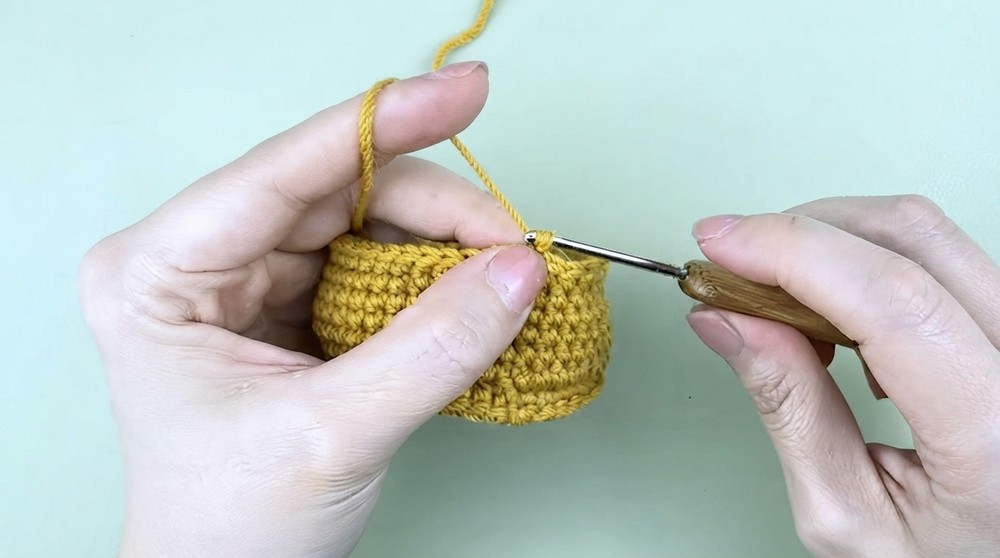
Explanation (Pot):
The pot is built by first making a flat circle, then splitting into outer and inner loops to form the pot walls and an inner decorative band. HDC in FLO creates a nice, rounded rim. Stuffing inside the pot is added later with the soil piece.
Assembly & Finishing
- Sew Soil to Pot:
- Place the soil disk inside the pot, aligning the outer edges.
- Use the long tail from the soil to sew the soil’s edge to the inner wall of the pot.
- Before you close it completely, stuff the pot with fiberfill, then finish sewing.
- Attach Cactus Wings:
- Arrange the branches:
- Small wings towards the center.
- Medium wings in the middle area.
- Large wings around the outer edge.
- You can sew or glue each wing to the soil, inserting the base slightly into the fabric for stability.
- Arrange the branches:
- Secure Everything:
- Check that all pieces are firmly attached and that the cactus stands nicely.
- Weave in any remaining ends neatly inside the pot.
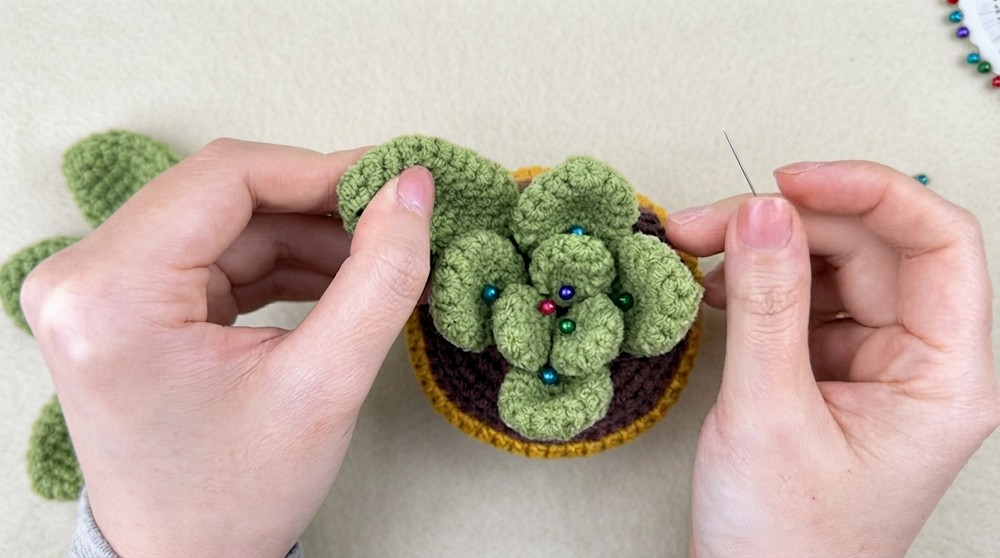
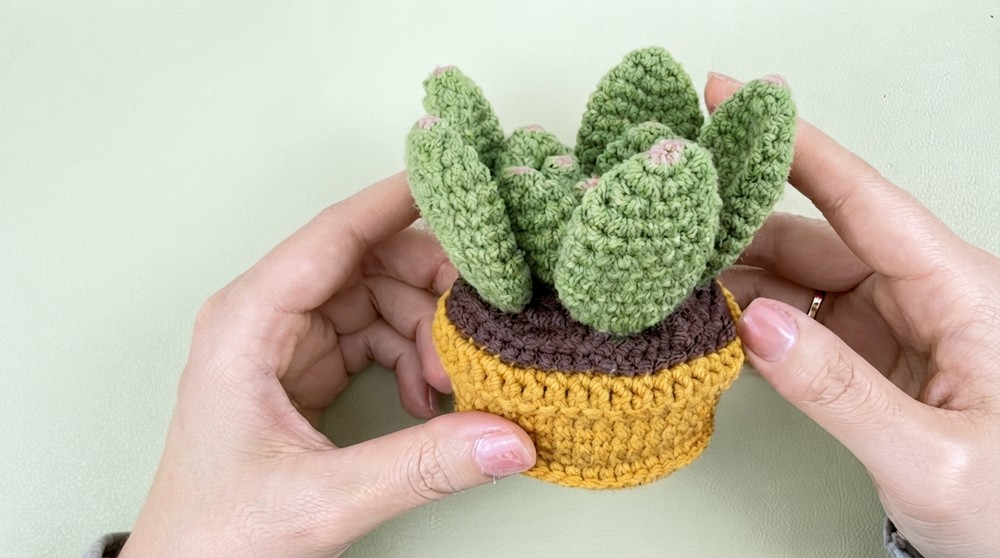
Final Explanation (Assembly):
When assembling, think of a real cactus arrangement: smaller branches inside, larger ones outside. Adjust positions before sewing or gluing permanently. Take your time to balance the cactus so it looks full and symmetrical.
What You’ll Learn & Why This Pattern is Loved
From this pattern you will:
- Practice working in rounds, increasing and decreasing smoothly.
- Learn how to shape 3D pieces like branches and containers (the pot).
- Understand how to use BLO/FLO to create decorative ridges and structural features.
This pattern is especially enjoyable because the final cactus is both adorable and practical as decor. It’s zero-maintenance, customizable in colors and branch placement, and a great gift or desk companion. The mix of simple stitches with clever shaping makes the project satisfying for both newer and experienced crocheters.