
Eco-Friendly Crochet Cowl Neck Warmer Scarf Pattern for Winters
Access a free crochet cowl neck warmer scarf pattern to enjoy a fuss-free solution for staying toasty with flair all season.
Curling up with a warm, handmade accessory always adds a special touch to any chilly day. This cozy neck warmer pattern is crocheted using the solid shell stitch, creating a beautiful and textured shell pattern that’s surprisingly simple to crochet. The shells fan out gracefully, giving a lovely ripple effect that looks much more complex than it actually is. Perfect for beginners, this pattern uses just basic stitches like single crochet and double crochet, making it an enjoyable way to build your skills and confidence.
Explore More Projects with This Stitch
The gorgeous shell stitch pattern isn’t just for cowls. You can also use these stitches to crochet blankets, scarves, hats, and afghans. The fan-like shells provide beautiful texture and structure, making any project stand out. Whether you want to cozy up your home or create wearable accessories, this pattern’s stitch combination offers endless creative opportunities!
Free Chic Crochet Cowl Neck Warmer Scarf Pattern for Cold Days
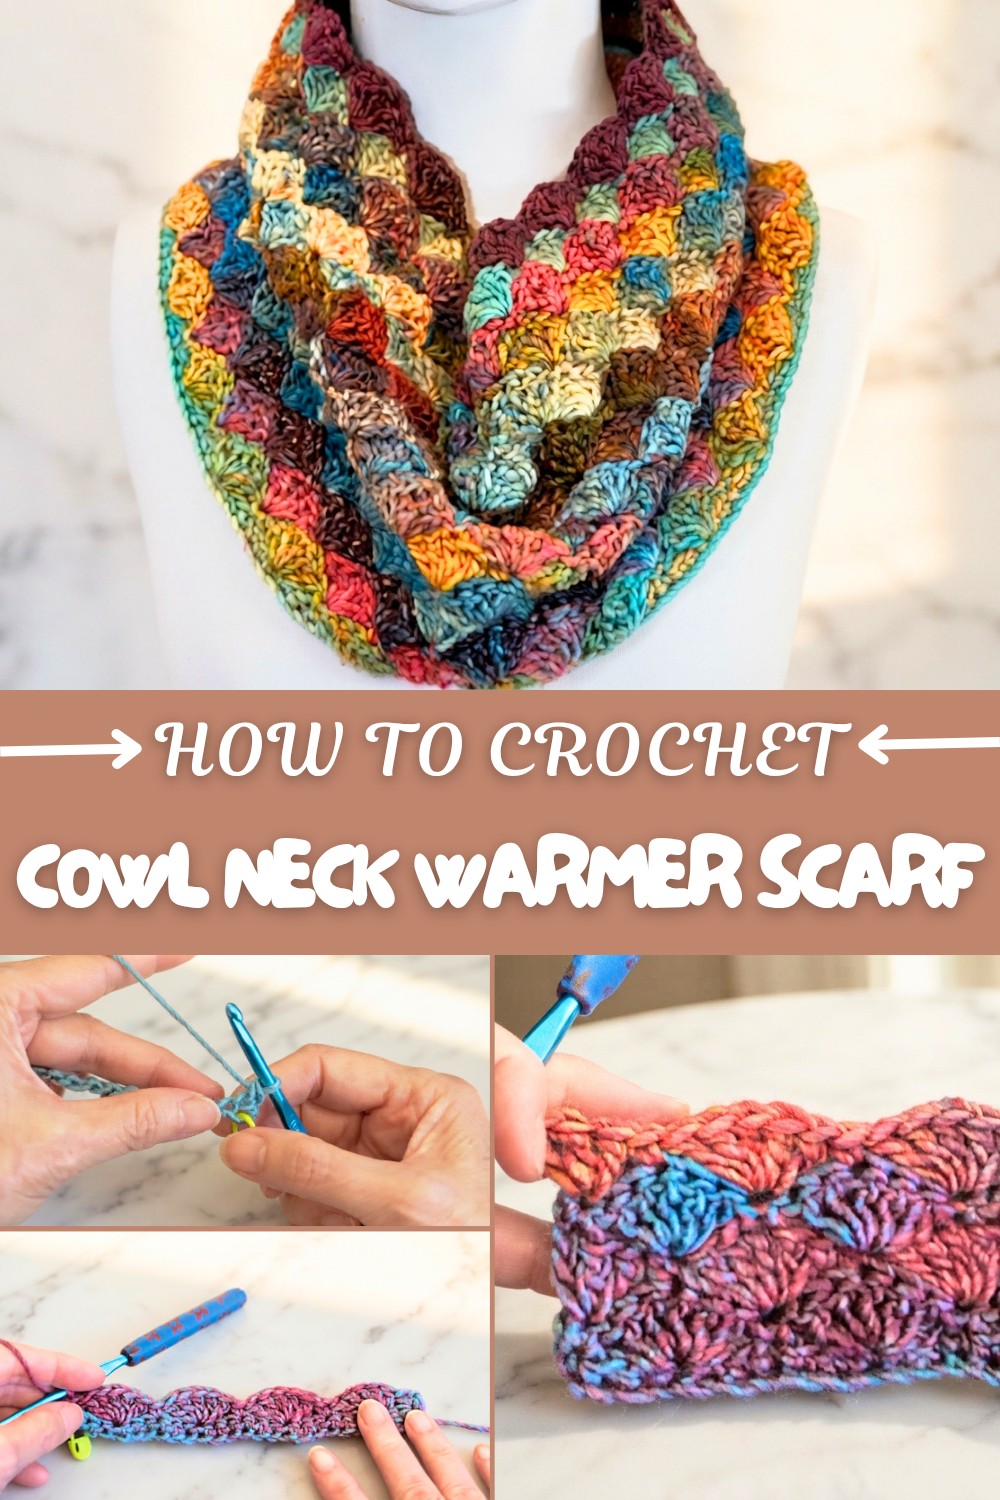
The pattern measures about 28 inches wide and 8 inches long before joining the ends, but you can easily customize the size to fit your preferences. Once sewn together, it forms a snug, stylish cowl that keeps your neck warm while adding a touch of crochet charm to your outfit. The stitch pattern also works beautifully with medium-weight yarn and a 5 mm hook, producing a fabric that is soft, flexible, and cozy.
One of the best parts of this pattern is its versatility and texture. The alternating rows of shells and single crochet make the piece warm yet breathable. The repeating shell motifs create a rippling effect that adds depth and dimension—making your cowl both practical and eye-catching. It’s perfect for everyday wear, gifts, or even special occasions when you want something handmade yet elegant.
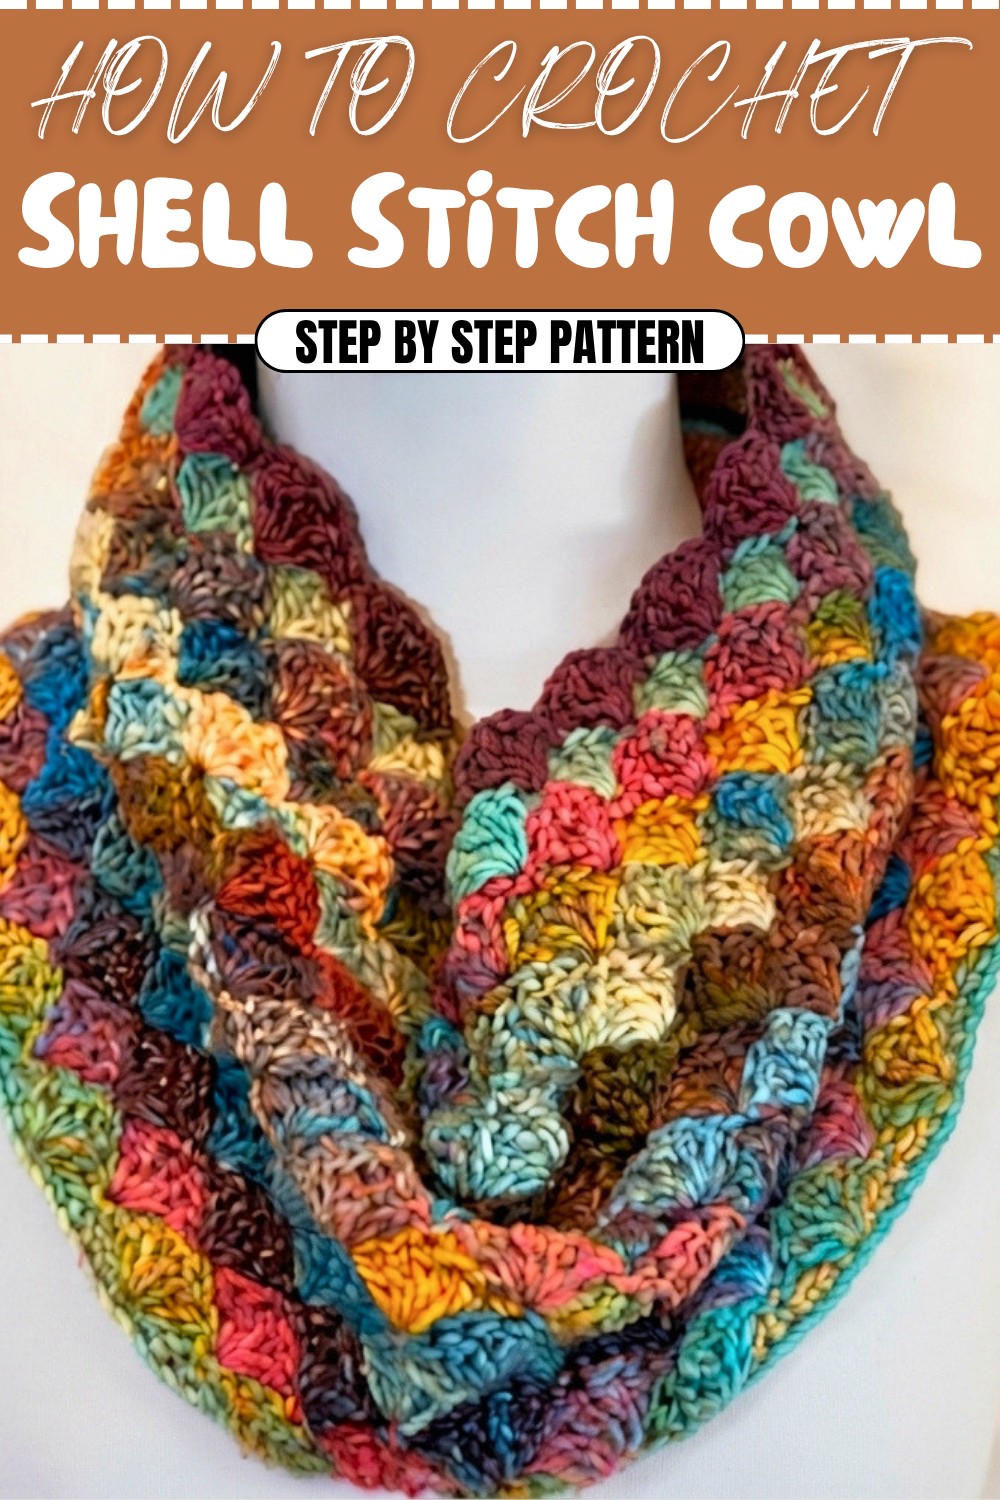
Crochet Pattern: Solid Shell Stitch Neck Warmer
The Solid Shell Stitch is a stunning crochet pattern that is both visually appealing and simple to execute. This pattern turns the stitch into a cozy scarf or cowl, creating a textured design framed by rows of shells. The shells are easy to crochet, making this project a great choice for beginners while also appealing to experienced crocheters seeking a relaxing project. The pattern can also be adapted for afghans, blankets, hats, and other projects.
What You’ll Learn from This Pattern
- How to create shell motifs using double crochet clusters.
- Alternating single crochet rows with staggered shell clusters for textured patterns.
- Techniques for creating seamless finishes for scarves or cowls.
Skill Level & Terminology
- Skill Level: Beginner
- Terminology: US Crochet Terms
Materials & Tools
- Yarn:
- Medium-weight Size 4 yarn (Red Heart Roll With It Melange recommended).
- Hook: 5 mm crochet hook (size 8).
- Optional Tools:
- A yarn needle for sewing ends.
- Stitch markers to track progress (if needed).
Gauge
Gauge is not critical for this pattern, but for reference:
- 2 Shell Rows (1 repeat of Rows 1 and 2) = approx. 1 inch height.
Adjust hook size if needed to achieve the desired texture or looseness.
Abbreviations
- ch – Chain
- sc – Single Crochet
- dc – Double Crochet
- st(s) – Stitch(es)
Special Stitch Instructions
Shell Cluster (Solid Shell Stitch):
In the same stitch, work:
- 5 dc.
This cluster creates the shell motif that repeats across the pattern.
Finished Size
- Width: Approximately 28 inches (when folded).
- Height: 8 inches.
These measurements are for a medium-sized neck warmer. Adjust the width and height by increasing or decreasing the number of foundation chains and rows.
How to Start
This scarf is constructed by repeating two key rows:
- Row 1: Creates the first row of shells.
- Row 2: Introduces a staggered shell arrangement.
The scarf can be worked to your desired width and length. After crocheting all rows, the ends are joined to form a cowl.
The Pattern
Beginning Chain
- Step 1: Start with multiples of 6 chains + 1 (adjust based on your desired scarf width).
- Step 2: For the tutorial, chain 25.
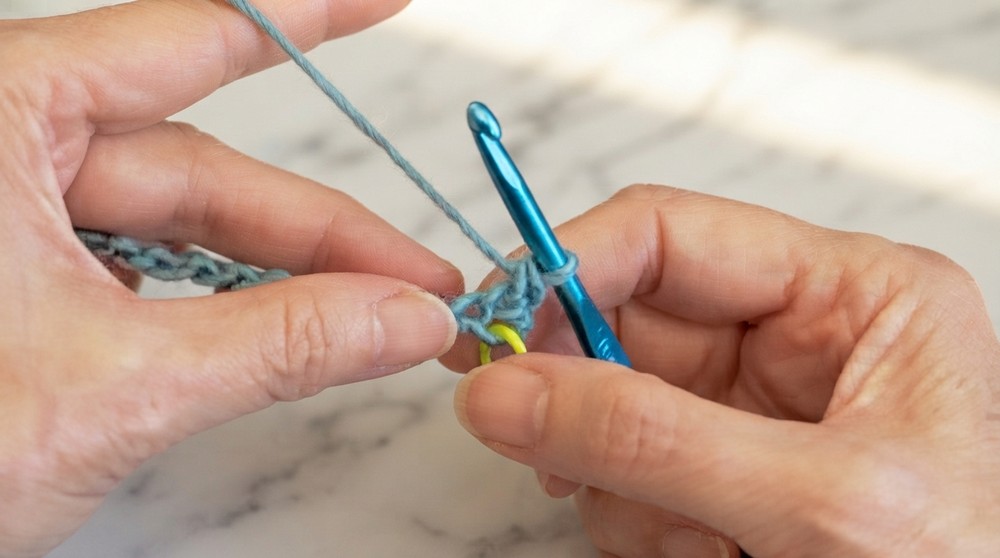
This chain forms the foundation for your solid shell stitch pattern.
Foundation Row
- Step 1: Ch 1, skip the first chain.
- Step 2: Sc into the next chain (marked with a pin).
- Step 3: Work sc in each remaining chain across the row.
- Total Stitches: 25 sc (or the same number as your foundation chain).
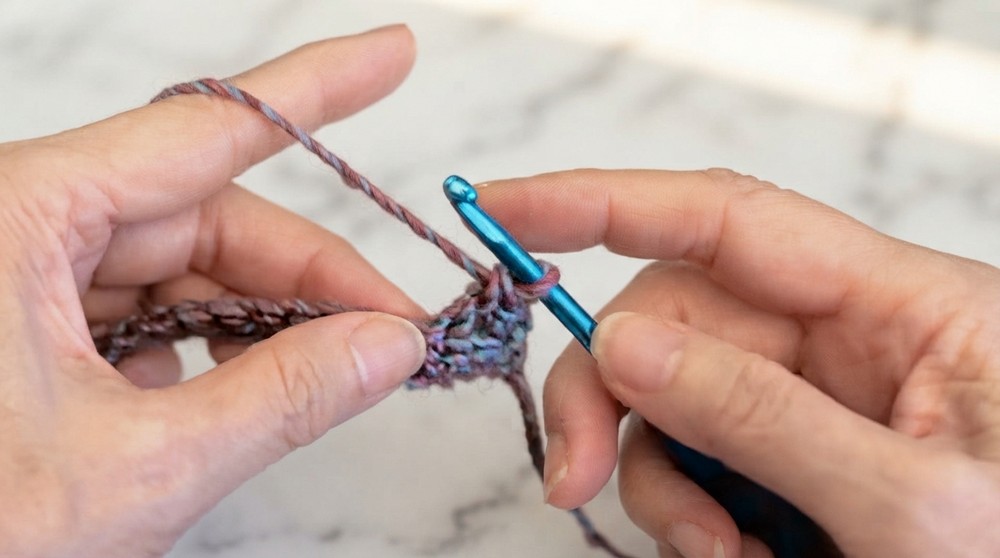
This row creates a solid base for the shell clusters that follow.
Row 1: Shell Row
- Step 1: Ch 1, turn the work.
- Step 2: Sc in the first stitch.
- Step 3: Skip 2 stitches, and then work 5 dc into the next stitch (this forms the first shell cluster).
- Step 4: Skip 2 stitches, then work 1 sc into the next stitch.
- Repeat: Skip 2 stitches, then work 5 dc into the next stitch. Continue this sequence across the row.
- Step 5: End with 1 sc in the last stitch.
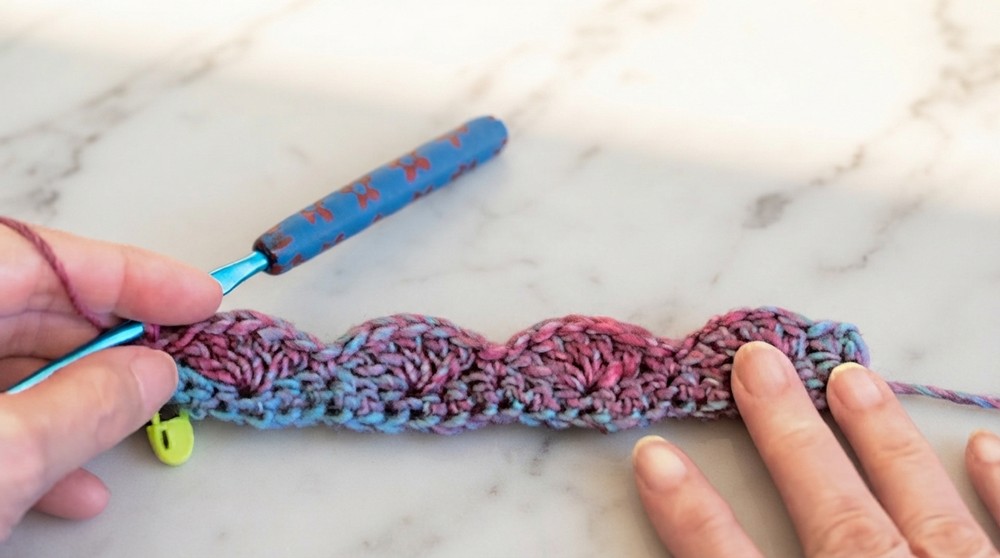
Your shells will fan out, creating the signature shape and texture of this stitch.
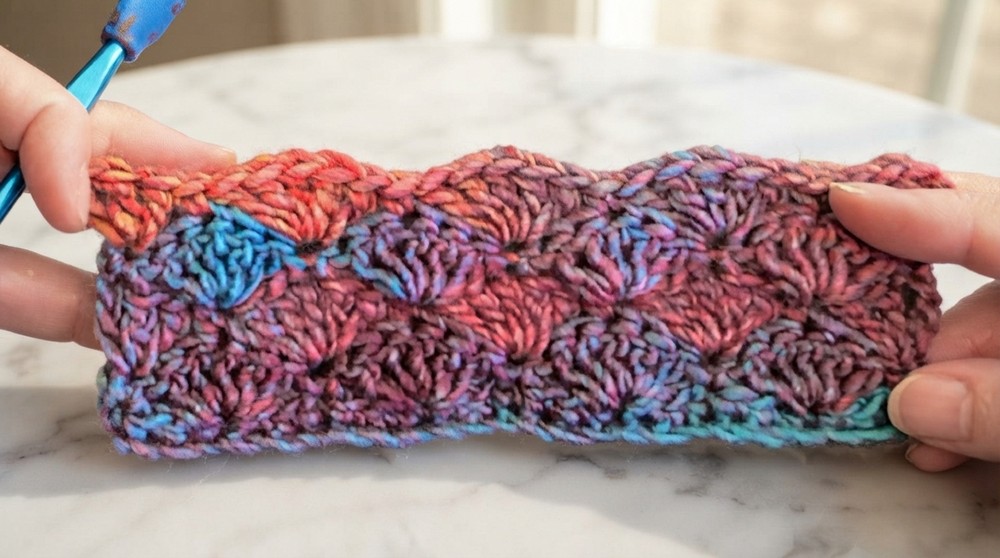
Row 2: Staggered Shell Row
- Step 1: Ch 3, turn the work. The ch-3 counts as the first dc.
- Step 2: Work 2 dc in the same stitch (this forms a half shell to begin the row).
- Step 3: Skip 2 stitches, then work 1 sc into the middle stitch of the shell cluster from the previous row (the third dc in the cluster).
- Step 4: Skip 2 stitches, work 5 dc into the next sc from the previous row.
- Repeat: Continue the sequence across the row.
- Step 5: End with 3 dc into the last stitch.
Row 2 frames the shell rows with half-shells at both ends, creating a staggered shell effect.
Row 3: Repeat Row 1
- Step 1: Ch 1, turn the work.
- Step 2: Sc into the first stitch.
- Step 3: Skip 2 stitches, and then work 5 dc into the next sc from the previous row.
- Step 4: Skip 2 stitches, then work 1 sc into the middle stitch of the next shell cluster.
- Repeat: Continue this sequence to the end of the row.
- Step 5: End with 1 sc in the final stitch.
Row 3 mirrors Row 1 and sets the foundation for continuing the staggered shells.
Repeat Rows 2 and 3
- Continue alternating between Row 1 (shell cluster row) and Row 2 (staggered shell row) until the scarf reaches the desired length.
Assembly and Finishing
Joining Ends to Form a Cowl
- Step 1: Fold the scarf so the two ends meet.
- Step 2: Use a yarn needle to sew the ends together using the slip stitch method.
- Tie a slip knot in an inconspicuous stitch.
- Line up the edges, ensuring the stitches align neatly.
- Insert the needle into the outermost stitches of each edge to prevent bulkiness.
- Step 3: Secure the seam with a double stitch at the first and last stitches.
- Step 4: Hide loose ends with the needle and trim extra yarn.
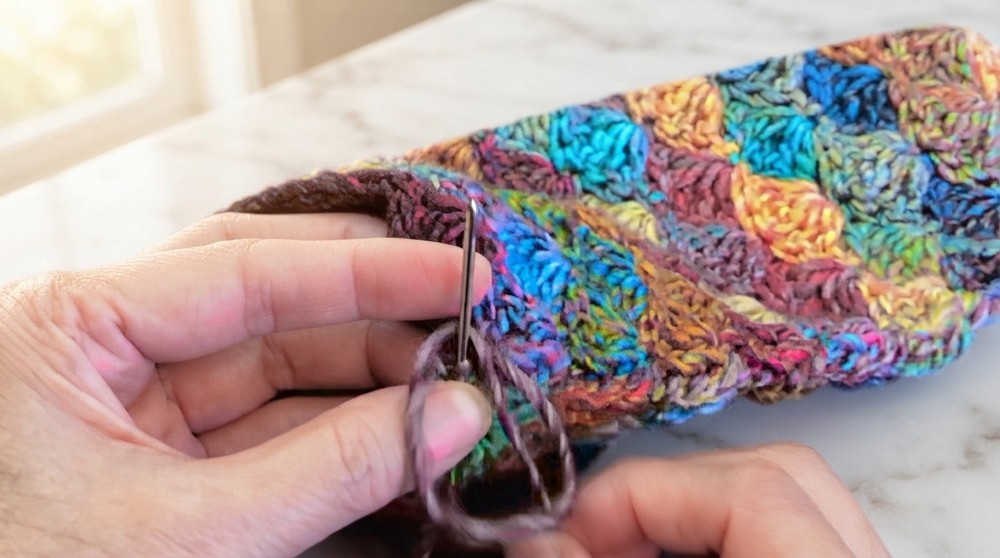
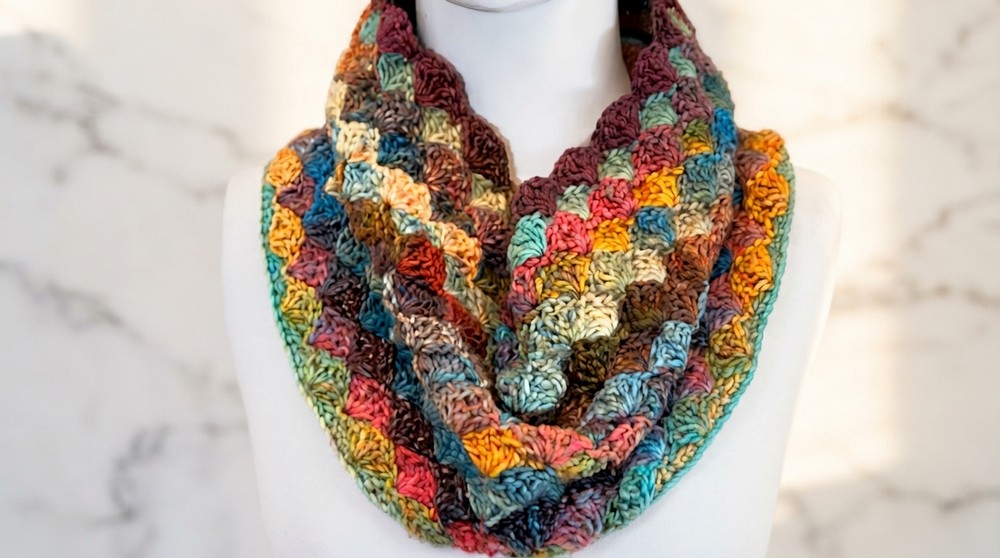
This creates a seamless, functional neck warmer that is easy to wear.
Pattern Difficulties and Solutions
Difficulties:
- Spacing of stitches in Row 2: Beginners may find it tricky to identify the middle stitch of the shell clusters.
- Maintaining tension: Working 5 dc into one stitch can distort the tension if not managed carefully.
- Joining edges neatly: Uneven edges can make the cowl seam bulky.
Solutions:
- Use visual guides: Place stitch markers in the middle stitch of each shell to help with Row 2 placement.
- Keep tension consistent: Avoid pulling too tightly, especially for shell clusters; maintain relaxed loops throughout.
- Align edges: Use a pin or light clip to make sure rows align before sewing edges together.
Why You’ll Love This Pattern
The Solid Shell Stitch Neck Warmer is quick to crochet, fun to work on, and offers stunning texture. Its versatility allows it to be adapted for many projects, and the cozy result is perfect for chilly weather. The repetition of rows makes it beginner-friendly, while its aesthetic appeal makes it a favorite for experienced crocheters.