
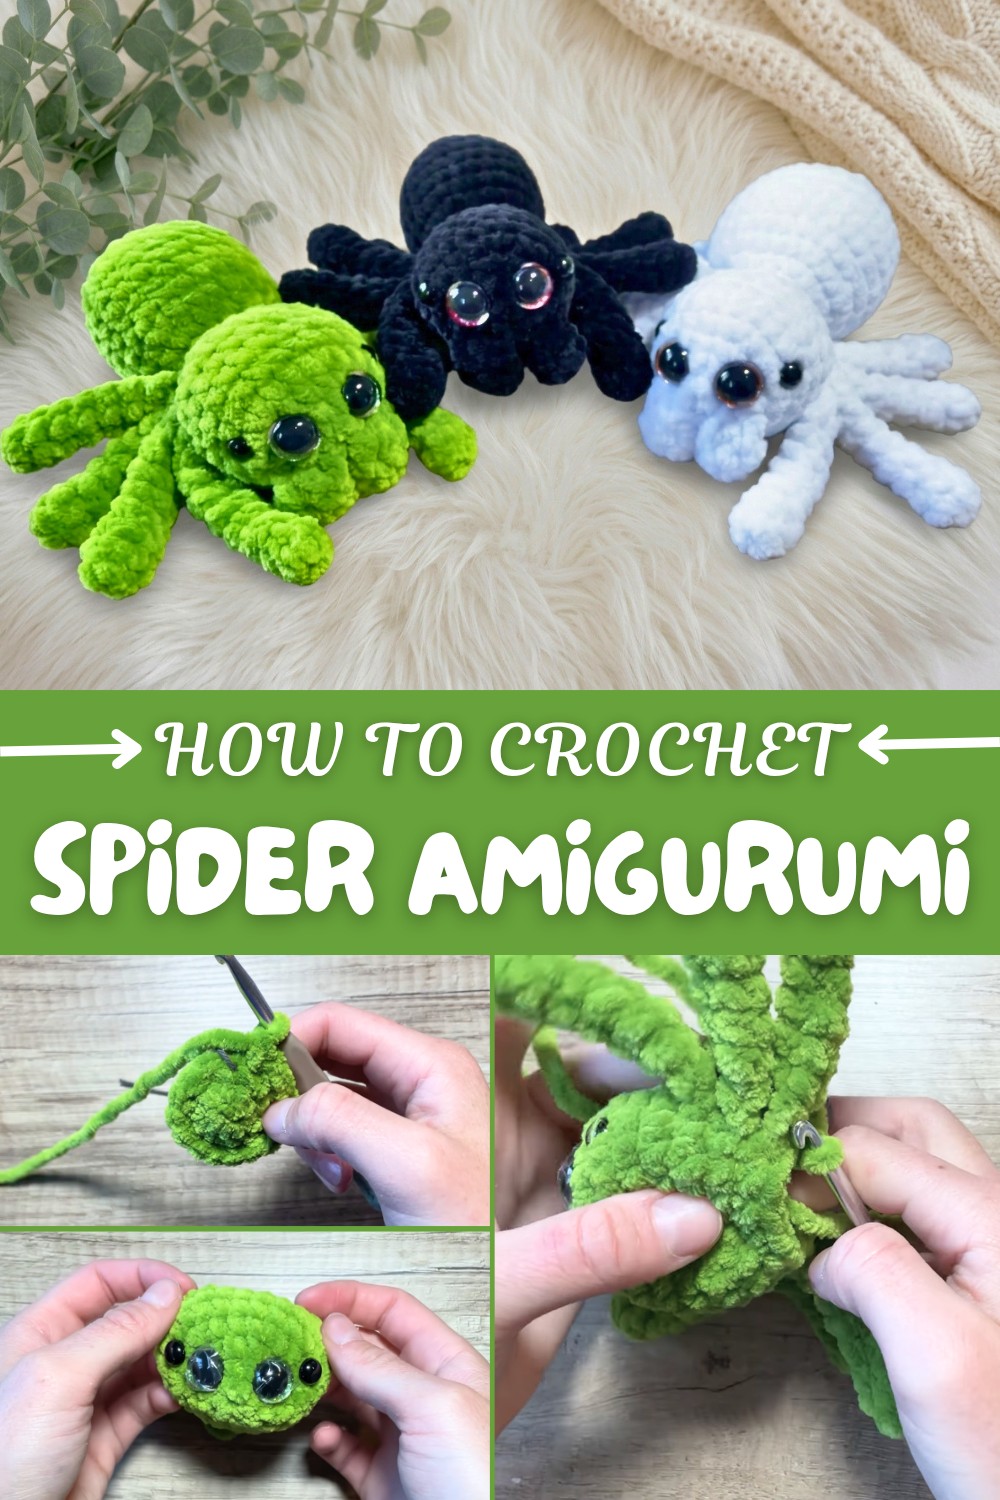
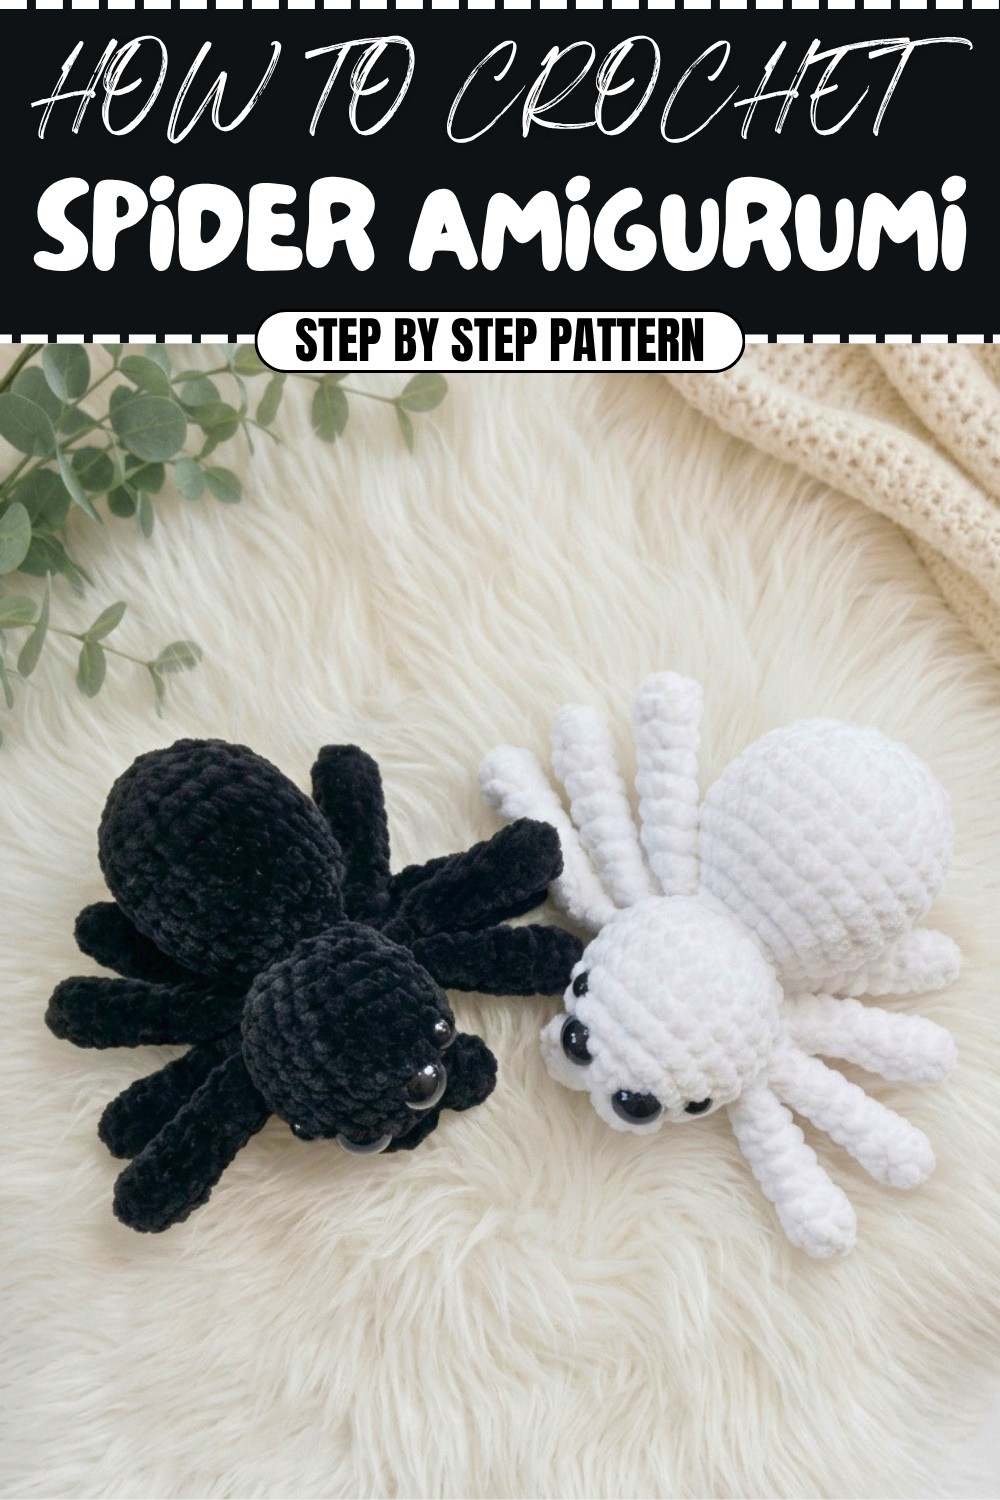
Easy Crochet Spider Amigurumi Pattern (Free and Beginner Friendly!)
Bring spooky fun to life with this Free Crochet Spider Amigurumi Pattern, a playful and beginner-friendly design that's perfect for Halloween decor or gifts.
There’s something so satisfying about turning a ball of yarn into an adorable little creature with just a few simple stitches. Among all the fun projects out there, crocheting a spider amigurumi always brings a smile, both during the process and when you see the finished piece. Watching its tiny legs and round body come together is like a bit of handmade magic.
Quick & Fun Spider Amigurumi – Free Crochet Pattern
What really stands out about this cute crochet spider is its unique shape. With a plump, round body and eight bendy legs, it’s irresistible in its charm. By arranging the legs in different ways, you can give your spider its own personality, whether that’s playful, sweet, or even a bit spooky. The expressive eyes are the perfect finishing touch, and you can customize them to suit your style, big and silly or small and curious.
Choosing the right yarn adds another layer of personality. Soft, fuzzy yarn creates a plush, huggable spider, while sparkly or bright colors make it eye-catching for special occasions. Even simple yarns give the amigurumi a smooth, classic look that’s just as lovable.
These little spiders aren’t just cute to look at, they’re practical, too. They work wonderfully as Halloween decorations, scattered on a party table or strung as a garland. They’re also a big hit with kids and make great gifts, desk mascots, or keychains.
There’s a special kind of joy in crafting something whimsical and fun by hand. Crocheting a spider amigurumi combines cuteness and creativity in the perfect way, once you make one, it’s hard not to start planning your next.
Crochet Chenille Spider Pattern
Pattern Notes
This pattern creates an adorable plush spider, perfect for Halloween or as a playful decoration. Using soft chenille (velvet) yarn and a 5 mm hook, you’ll make a sturdy, squishy body, eight firm legs, and two fangs. Safety eyes and simple sewing complete the face. Work is done in the round with basic stitches, so this project is beginner-friendly yet yields a striking, cuddly result. Each section is followed by a paragraph for crafters who prefer reading instructions in plain English.
Skill Level
Beginner to Advanced Beginner
This spider pattern uses basic stitches, rounds, and simple minimal sewing. If you can single crochet, make increases/decreases, and use a tapestry needle, you’ll do great!
Finished Size
With chenille yarn (100g/120m) and a 5mm hook:
Finished spider is approx. 8–11 cm (3–4 in) in body length, with a leg span of around 18–22 cm (7–9 in) depending on tension and brushing/fluffing.
Materials
- Chenille (velvet) yarn, 100g/120m, color of your choice for spider
- Small amount of contrasting yarn for fangs (white/cream)
- 2 pairs of safety eyes (16mm and 10mm, or as preferred)
- 5mm crochet hook (or size for firm stitches)
- Stitch marker or contrasting thread
- Scissors
- Yarn needle
- Stuffing (polyester fiberfill)
Gauge
Gauge is not critical for amigurumi. Use a hook/yarn combo that makes a dense fabric so stuffing won’t show.
Stitch Abbreviations
| Abbreviation | Meaning |
|---|---|
| ch | chain |
| sc | single crochet |
| inc | increase (2 sc in one stitch) |
| dec | decrease (sc 2 stitches together) |
| sl st | slip stitch |
| st(s) | stitch(es) |
| FO | fasten off |
Special Stitches
Invisible Decrease (dec):
Insert hook in front loops of each of next 2 sts, yarn over, pull through both loops, yarn over, pull through 2 remaining loops.
The Pattern
Spider Legs (Make 8)
- Ch 2.
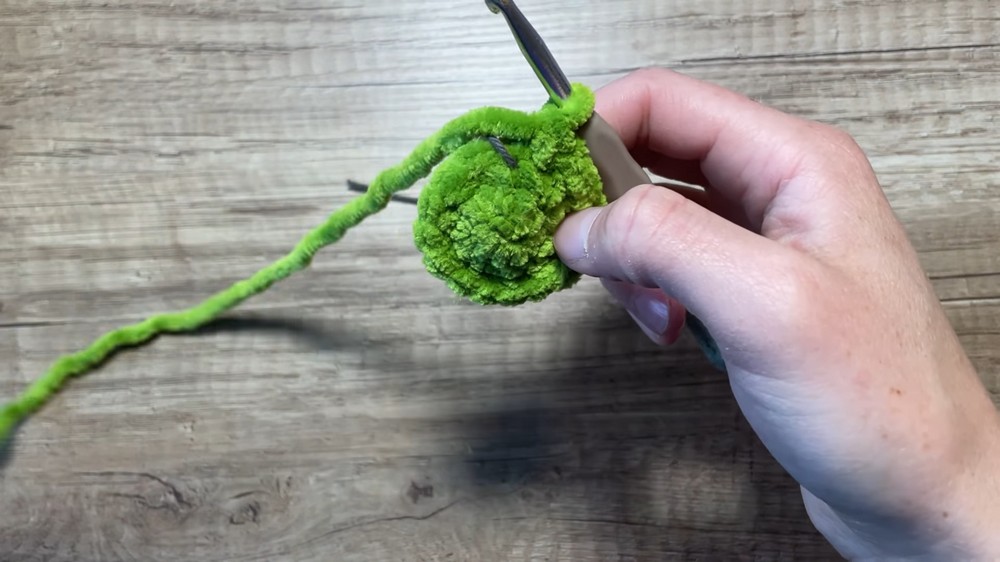
- 5 sc in first chain (5)
- Sc in each st for 7 rows (5 per row, 35 total stitches)
- Flatten the piece, sl st through both sides to close. Ch 1, FO, leaving a short tail for sewing or crocheting in later.
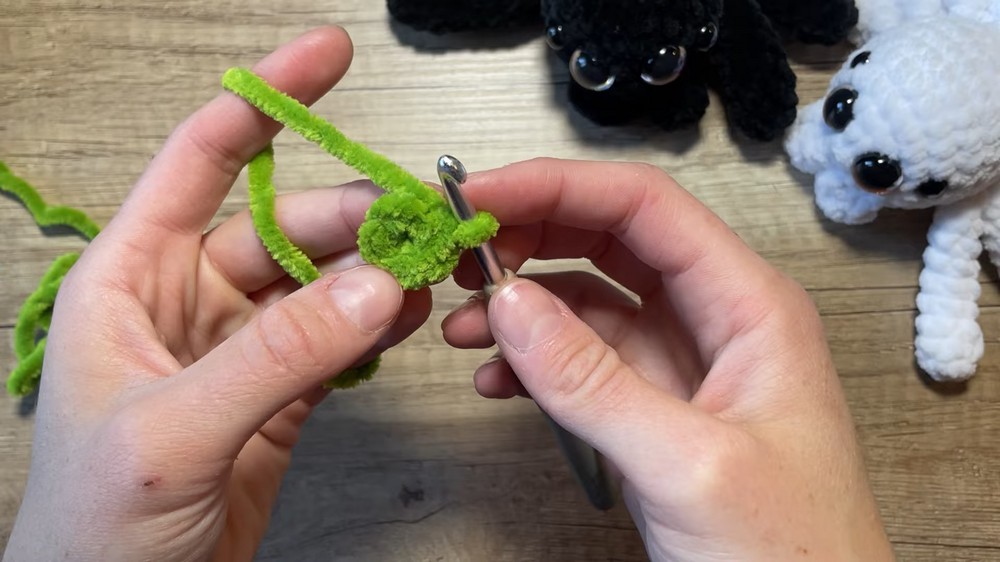
Start with a standard slip knot, chain two. Do five single crochets in the first chain. Continue working back and forth for a total of 7 rows, always crocheting one sc in each stitch so the legs stay slim and sturdy. After the last row, fold the tube and close it flat with slip stitches across; this keeps it even and easy to sew into the body. Make all 8 before moving on.
Fangs (Make 2)
- Ch 2.
- 5 sc in first chain (5)
- Sc in each st for 2 rows (5 per row, 10 total stitches)
- Flatten, sl st through both sides to close. Ch 1, FO, leaving a long tail for sewing.
Make two fangs as you did for the legs, but only work 2 rows after the starting round. Flatten and close them with a slip stitch, leaving enough yarn to attach them securely to the face.
Spider Body
- Ch 2.
- 6 sc in first chain (6)
- Inc in each st around (2 sc per st) (12)
- [sc, inc] around (18)
- [2 sc, inc] around (24)
6-8. Sc in each st (24 st, 3 rounds: this is rounds 5, 6, and 7)
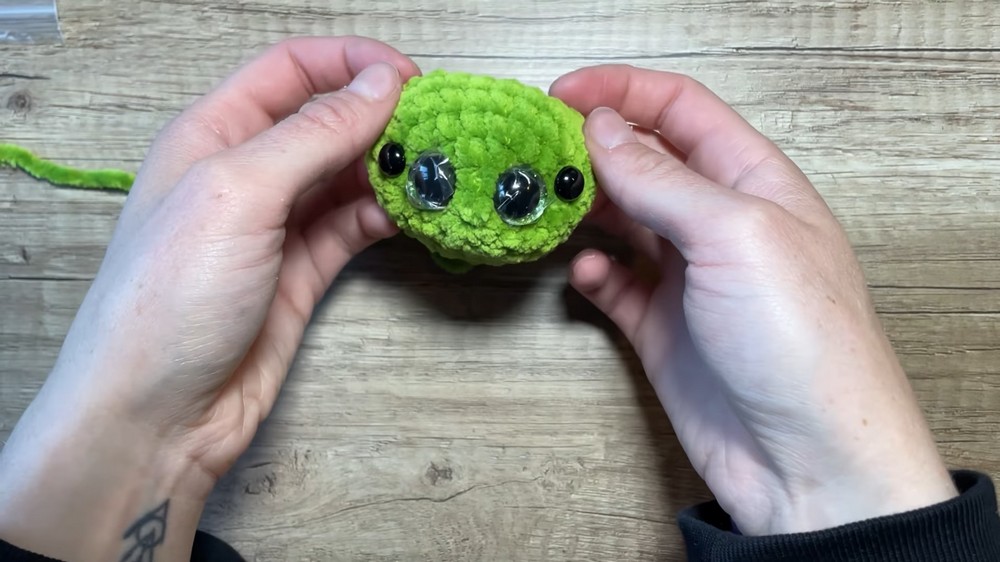
Position Safety Eyes:
Before continuing, insert eyes between rounds 2 and 3 (starting round is 1) as shown in the video. Place the larger (16mm) pair about 2-3 stitches apart at the front, and the smaller (10mm) pair above and slightly outside/beside the first pair.
Start with 2 chains, single crochet 6 into the first chain to make a tight center. Double each stitch in the next round to get 12. The next round alternates one single crochet, then an increase (2 in one stitch) for 18 stitches. Continue in this manner, increasing every round until you have 24. Then work 3 rounds even—just 1 sc in every stitch—to get a ball shape. Pause and add your safety eyes so placement is correct before the head closes up.
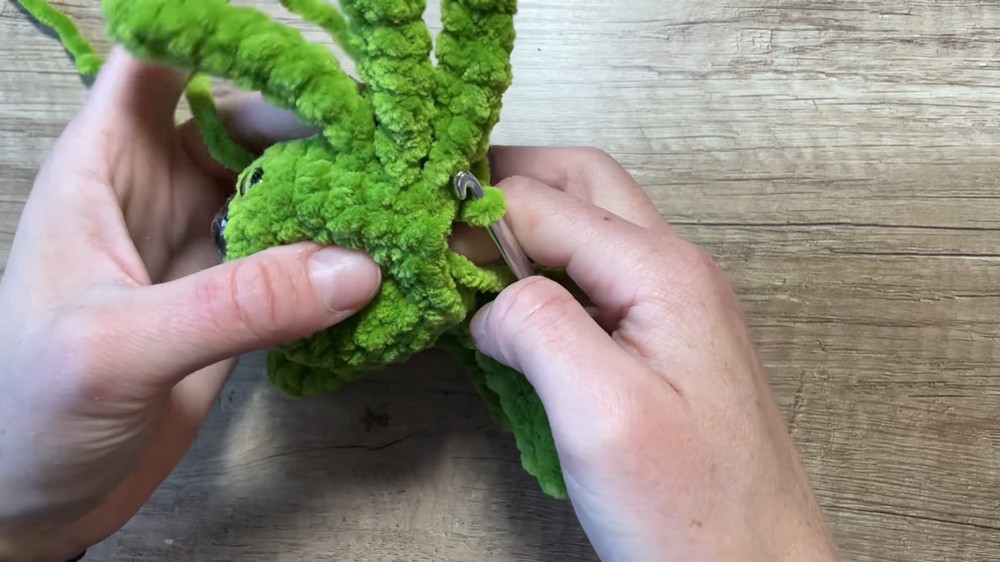
Attaching Legs (Rounds 9–13)
Round 9:
- 4 sc, attach 1 leg: insert hook through the leg and next body stitch, pull up loop and finish sc through both layers. Do 2 sc attaching the first leg.
- 13 sc, attach next 2 legs: each leg is attached over 2 stitches as before.
- 3 sc (end of round).
Round 10:
- [2 sc, dec] across round, making sure to work decreases and sc through both the next leg and body for 2 sts when attaching each leg.
Round 11–12:
Continue working sc, dec or dec only as body narrows. Attach remaining legs, spacing them evenly left and right. Fasten off, leaving long tail for sewing.
Lay the legs flat around the spider body so they’ll be evenly placed and symmetrical to the eyes. Use single crochet stitches through both leg and body together for security. Decrease across rounds, working the legs in as you go. The body will quickly close up.
Stuff & Finish Body
Stuff:
Add fiberfill stuffing after round 11 while you can still access the inside. Add more as needed until spider is plump but not stretched.
Close:
Continue decreases until only a few stitches remain. Sl st, pull yarn through, and sew gap closed by weaving in/out through front loops of remaining stitches. FO, hide yarn tail inside.
After adding the last legs, stuff the spider firmly and shape. Finish with a final round or two of decreases, then draw the hole shut using a running stitch through the front loops. Pull tight and hide the end.
Attaching Fangs
Using a yarn needle, sew each fang under the eyes, curving slightly inward for a natural look. Weave in and secure yarn ends deep in the stuffing.
Position fangs at the front, just under the eyes for a classic spider look. Secure firmly, making sure both are symmetrical. Hide ends inside so they don't show.
Assembly & Final Details
- Double-check leg and fang symmetry.
- Bend legs outward gently for a realistic pose.
- Ensure all ends are securely hidden inside.
Once all parts are attached, shape your spider by curving the legs outward and adjusting fang position. Hide any excess threads inside the body. Your cute chenille spider is ready for Halloween fun or as a year-round plush companion!
Conclusion
This chenille spider is perfect for autumn crafts, spooky décor, or a playful plush project. With oversized eyes and fluffy body, it makes a sweet (not scary) addition to your handmade menagerie. If you enjoyed this pattern, consider sharing your creation or gifting it to someone who would enjoy a snuggly spider friend.