
Easy Crochet Holly Leave Earrings Pattern for Seasonal Sparkle
Instantly add a merry vibe to your look with the Free Crochet Holly Leaf Earrings Pattern perfect for cheerful, eye-catching accents.
The bright green of holly leaves with their sharp, beautiful shapes instantly brings the spirit of the holiday season to mind. These crochet holly leaf earrings are a charming way to wear that festive feeling all winter long. The pattern mainly uses the double crochet stitch, which helps create a lovely textured pattern that looks like real leaf veins. Working with chains and slip stitches adds structure and shape, making each leaf light yet sturdy enough to wear comfortably.
Other Projects to Try With This Pattern
The holly leaf shape is perfect for more than just earrings. You could crochet festive garlands, decorative appliques for holiday cards, or even small ornaments for your Christmas tree. Using different sizes and colors opens up endless possibilities to brighten up your home or give as handmade gifts. Adding beads or embroidery to these shapes brings extra charm to any project inspired by this pattern.
Crochet Holly Leave Earrings Pattern for Winter Festivities
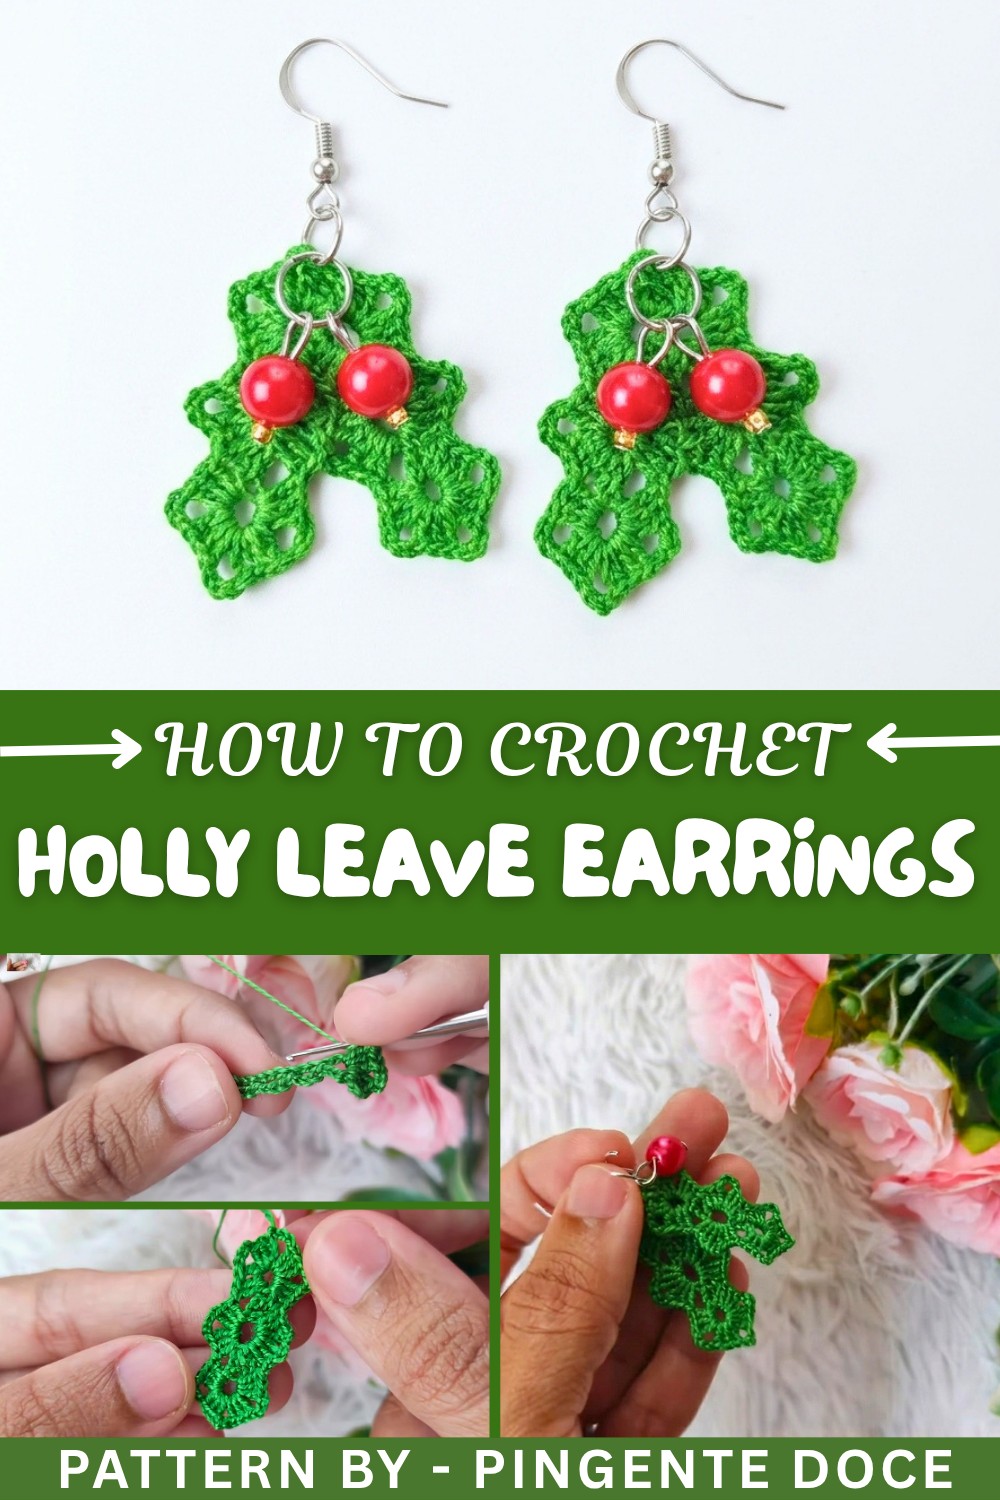
The process begins by making a foundation chain, then skipping and working slip stitches and groups of double crochets to build the leaf shape with open spaces for a lace-like look. The delicate chains between double crochets give the leaf a beautiful airy effect. After making two identical leaves, they are softened into shape with a little water and fabric glue. To add some extra holiday sparkle, simple beads are attached with wire pendants, giving each earring a graceful and festive touch.
These earrings are not only easy to make but also fun to personalize. Changing thread colors or bead styles can create unique pieces tailored to your holiday mood or outfit. Plus, they’re lightweight and perfect for holiday parties or gift-giving. Crochet beginners will find this pattern enjoyable and rewarding as it introduces several handy stitches and shaping techniques.
Crochet Christmas Earrings Pattern
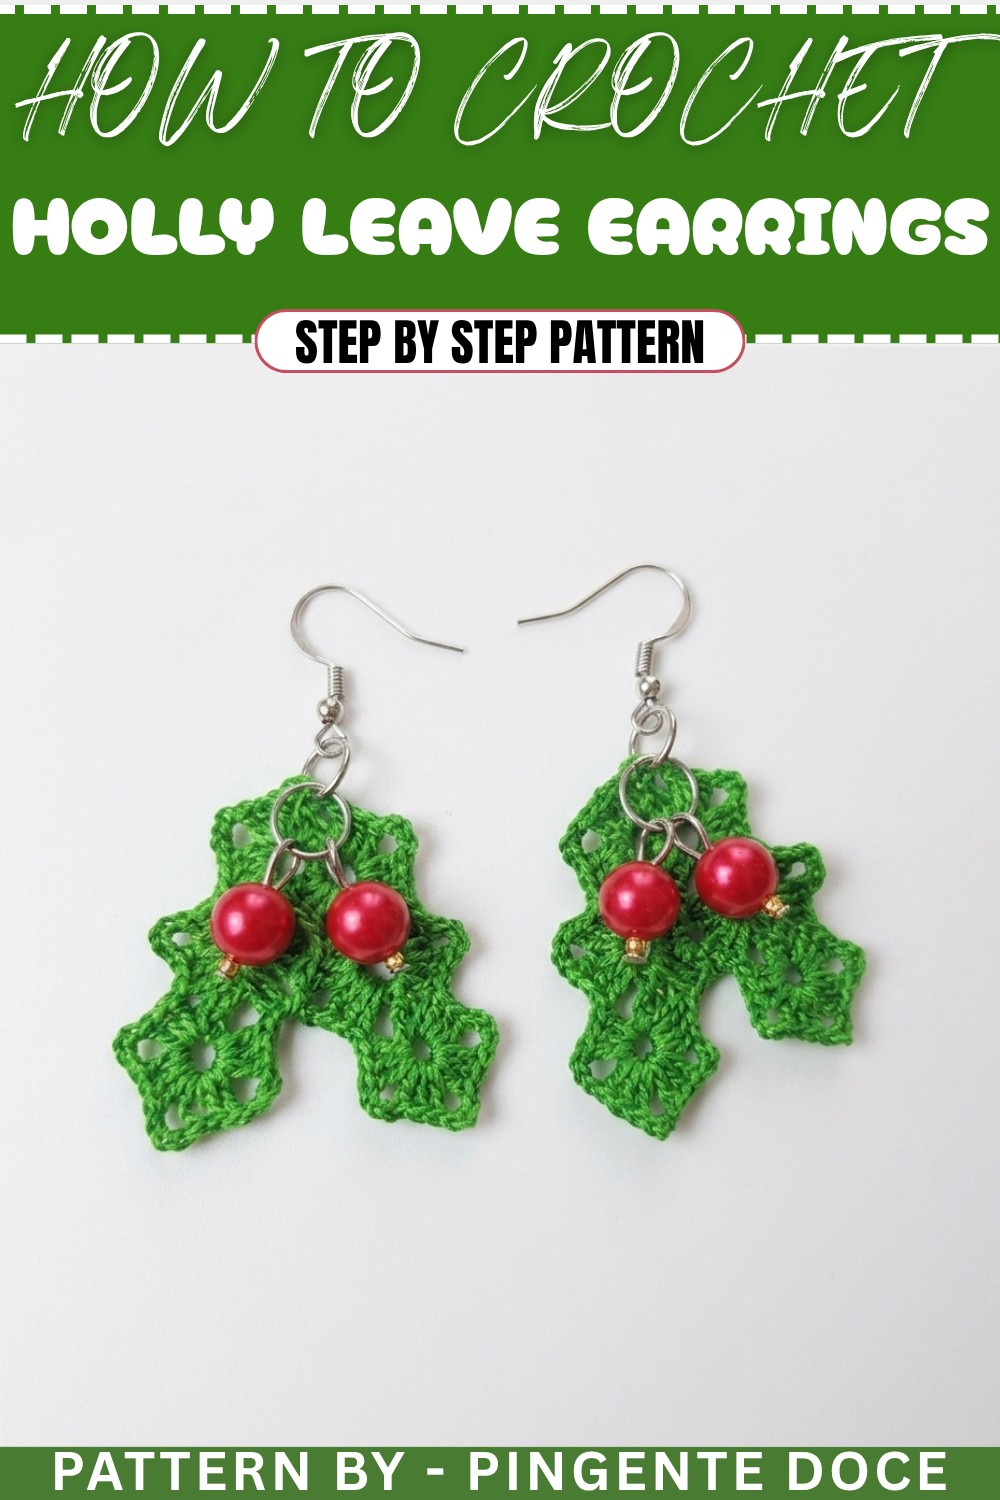
This delightful crochet Christmas earrings pattern will help you create elegant and festive earrings, featuring a delicate design embellished with beads for extra charm. These earrings are perfect accessories for holiday parties, gifts, or craft sales. With simple stitches and step-by-step guidance, this project is great even for beginners while still offering beauty and versatility for advanced crocheters.
Uses of This Pattern:
- Accessories: Pair these earrings with your holiday outfit for a touch of handmade elegance.
- Decorations: Use the same motif as ornaments for your Christmas tree or gift tags.
- Gifts: These handmade earrings make thoughtful presents for friends and family.
What You’ll Learn:
- How to work with chains, slip stitches, double crochet, and treble crochet.
- Adding embellishments like beads with a pin.
- Assembling and stiffening small crochet designs for a polished finish.
Skill Level & Terminology
Skill Level: Beginner-Friendly
Terminology: US Terms
Materials & Tools
- Thread: Anchor #8 thread in a holiday color (e.g., green or red).
- Hook Size: 1 mm crochet hook.
- Other Tools:
- Sewing needle
- Scissors
- Fabric glue and water mixture
- Earring hooks
- Jump rings
- Red beads
- Pins
- Pliers
Gauge
Gauge is not critical for this pattern, as the piece is small and decorative, but ensure your stitches are tight enough to maintain the earring’s shape.
Abbreviations
- CH: Chain
- SLST: Slip Stitch
- DC: Double Crochet
- TR: Treble Crochet
- SC: Single Crochet
Special Stitch Instructions
- Double Crochet (DC): Yarn over, insert hook into the stitch, yarn over again, pull up a loop, yarn over, and pull through two loops twice.
- Treble Crochet (TR): Yarn over twice, insert hook into the stitch, yarn over, pull up a loop, yarn over, pull through two loops three times.
- Slip Stitch (SLST): Insert hook into the stitch, yarn over, and pull through both loops on the hook.
Finished Size
Approximately 1.5 inches tall, depending on the thread and hook tension.
Christmas Earring Pattern
Part 1: Creating the Base Chain Loop
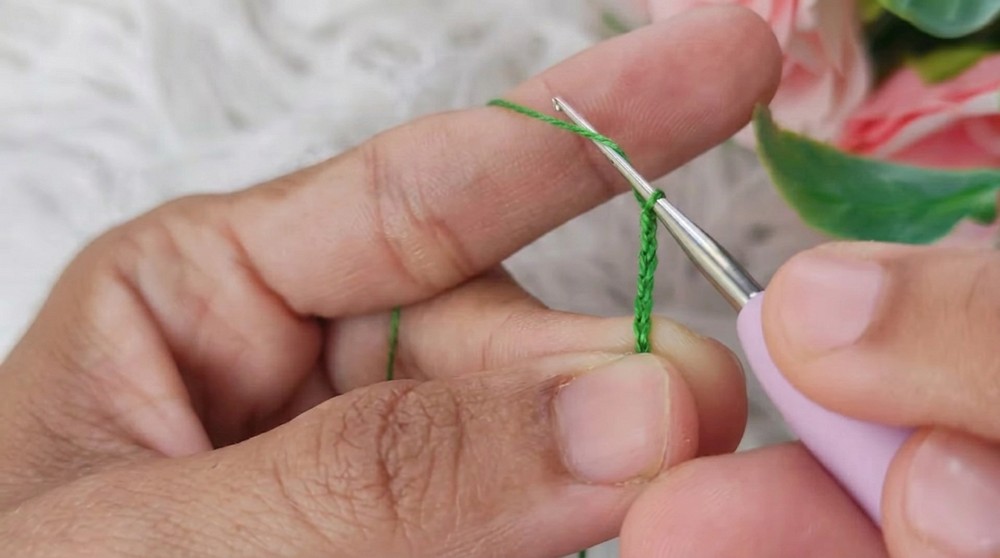
- Slip Knot and Foundation Chains:
- Start with a slip knot and crochet 18 CH.
- Initial Looping:
- Skip the first 5 CH and insert your hook into the next chain.
- Work 1 SLST in that stitch.
This creates the first small loop for the design and begins to establish the base structure.
Part 2: Forming the Loops
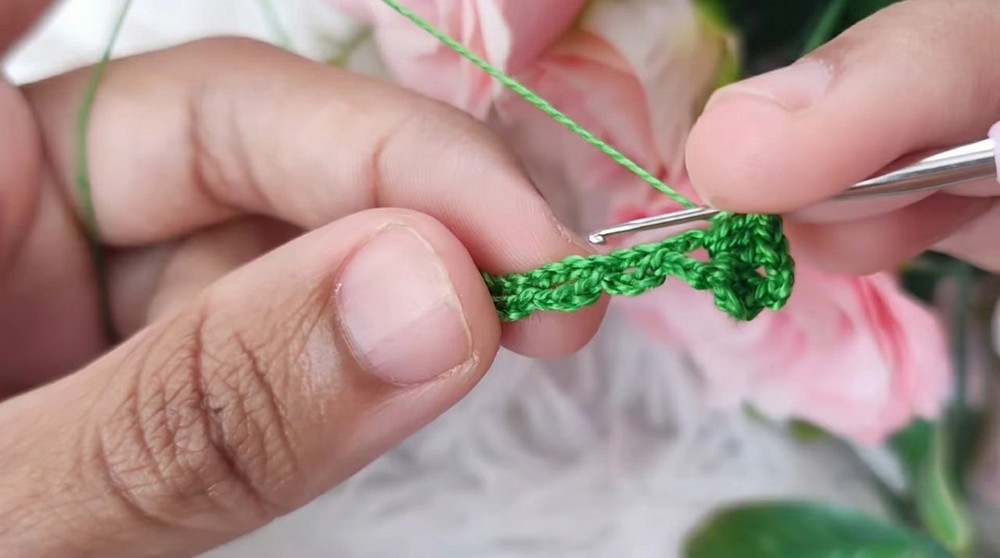
- Repeat Loop Creation:
- Make 3 CH, then:
- Skip 2 CH from the base and insert your hook into the next chain, working 1 SLST.
- Repeat this process 4 times to form a total of 5 loops.
These loops form the foundation for your decorative stitches in the following steps.
- Make 3 CH, then:
Part 3: Adding Double Crochets
- In the First Loop:
- Make 3 CH (counts as the first DC).
- Work 2 DC into the same loop space, followed by 3 CH.
- Complete the design for the loop by adding 3 more DC into the same space.
- Trim any excess thread left from the slip knot.
- In the Next Loop:
- Skip to the next loop and work as follows:
- 2 DC, followed by 1 TR, 3 CH, and another 1 TR.
- In the same space, work 2 DC.
- Skip to the next loop and work as follows:
- Final Loop:
- In the last loop:
- Work 3 DC, followed by 3 CH, and finish with 3 DC.
The final loop creates a decorative edge and completes the round of the motif.
- In the last loop:
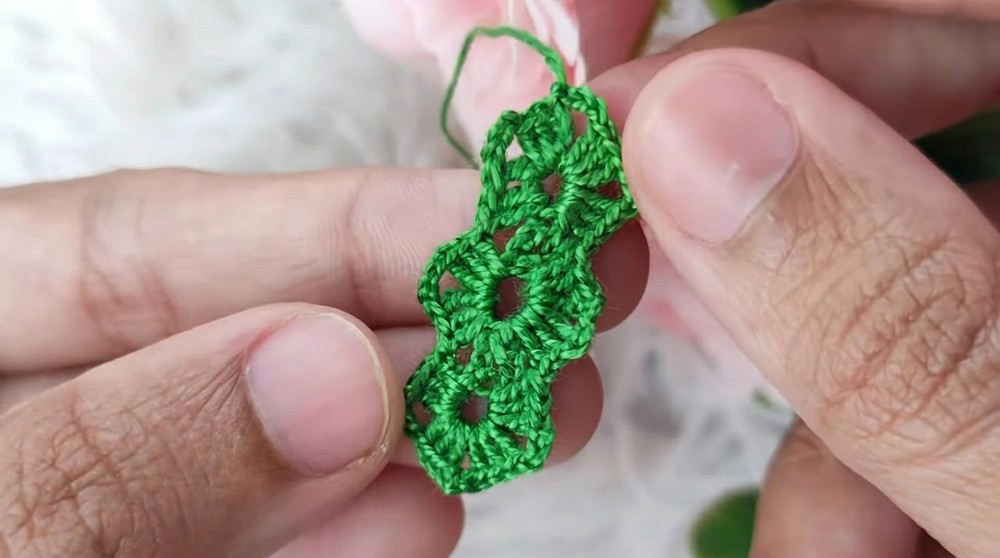
Part 4: Building Additional Design Layers
- Add a Centered Layer (Optional):
- If desired, repeat the pattern in a second piece to create a layered look with depth.
- Sew two identical pieces together, leaving an opening for embellishments.
- Skip Chains for Open Loops:
- With 3 CH for separation, repeat the pattern to create open spacing around the base.
Each layer adds dimension and visual interest to the earring design, emphasizing the festive appeal.
Part 5: Embellishing with Beads and Pins
- Prepare the Beads:
- Take a pin and thread it with two beads of different sizes (e.g., a large red bead and a smaller gold bead).
- Create a Hook with Pliers:
- Use pliers to form a round loop at the top of the pin, securing the beads in place.
- Make two pendants for each earring.
Embellishments like beads add a layer of sparkle, creating a perfect Christmas-themed look.
Part 6: Stiffening and Assembly
- Apply Fabric Glue:
- On the back side, apply a light mixture of fabric glue and water.
- Shape the earring motifs while the glue mixture is still wet and allow them to dry completely.
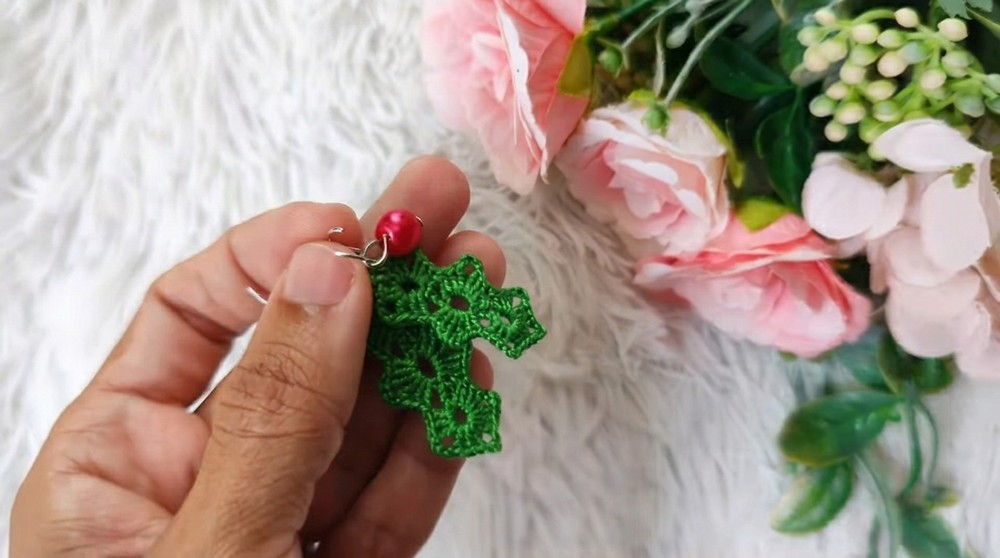
This step ensures the earrings hold their shape and last longer.
- Assemble the Earring:
- Attach the earring hook to a jump ring.
- Add the bead pendants and attach the finished motif.
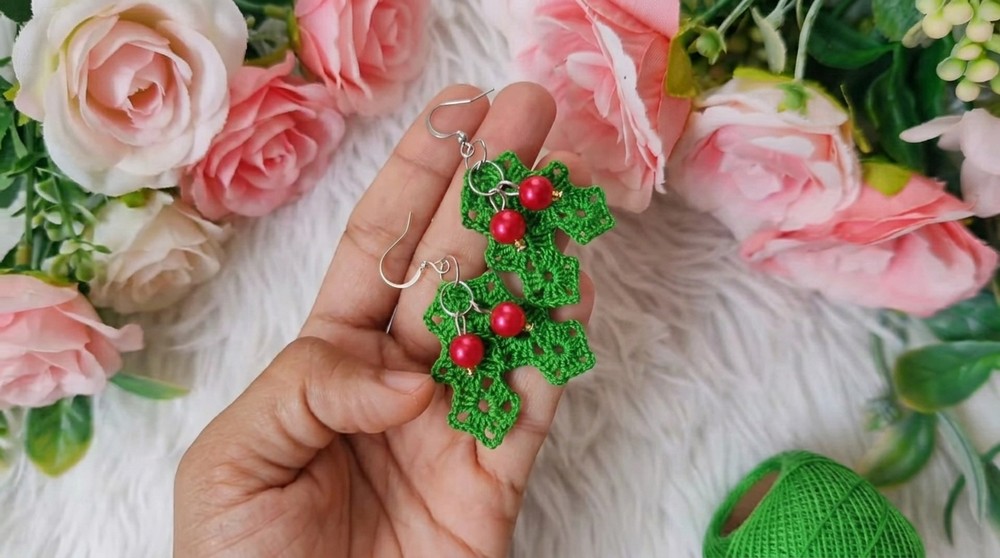
Make sure all connections, rings, and hooks are closed tightly to secure your earring assembly.
Difficulties and Solutions
Challenge: Keeping the loops consistent when skipping chains.
Solution: Mark skipped chain spaces with stitch markers for precision.
Challenge: Adding beads and forming pendants with pins.
Solution: Use small pliers to roll the pin securely and ensure the beads stay in place.
Final Thoughts
This festive Christmas earring pattern is a delightful way to celebrate the season. The combination of delicate crochet motifs, detailed beadwork, and layered design delivers earrings that are not only elegant but also versatile for various uses. Whether gifted, worn, or displayed as décor, they add a magical sparkle.
Why I Love This Pattern:
The delicate blend of crochet and beadwork provides a perfect endless customization opportunity. Quick to make yet intricate to look at, this pattern offers beauty with minimal effort.