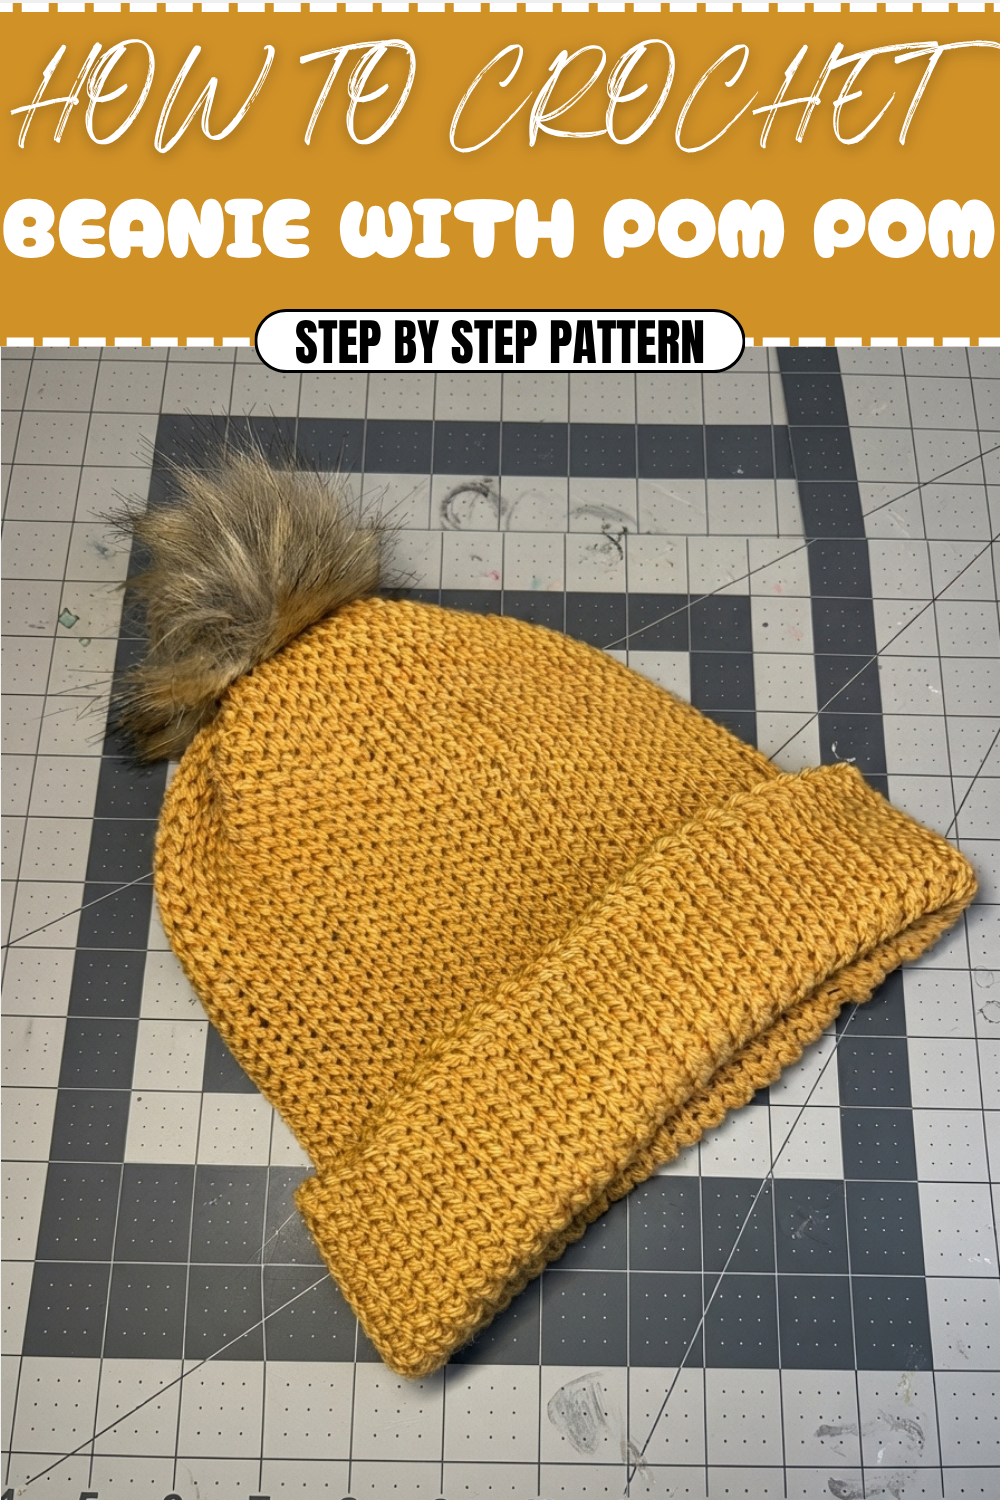
Easy Crochet Beanie With Pom Pom Pattern For Ultimate Warmth
Smart moves introduce a free crochet beanie with pom pom pattern for staying snug while adding a whimsical twist to your wardrobe.
Crocheting something warm and stylish with your own hands is incredibly satisfying, especially when it turns out as cozy and chic as this darling beanie topped with a fluffy pom pom. What makes this pattern truly special is the knit stitch look achieved through slip stitches, giving it a beautiful texture that feels almost like knitting but is actually crocheted. Using a larger hook than usual for your yarn weight adds to that lovely squishy elasticity, making it perfect for snuggling up on chilly days.
More Projects Inspired by This Pattern
Taking the same stitch technique and texture, you can easily create coordinating accessories such as ear warmers, scarves, or fingerless gloves. The slip stitch ‘knit’ texture adds a sophisticated look to any project while keeping things simple. By adjusting the stitch count and size, you can crochet a whole matching set that’s both functional and fashion-forward. This pattern offers a wonderful base for exploring creative variations in your crochet journey.
Learn To Crochet A Beanie With Pom Pom Pattern For Your Wardrobe
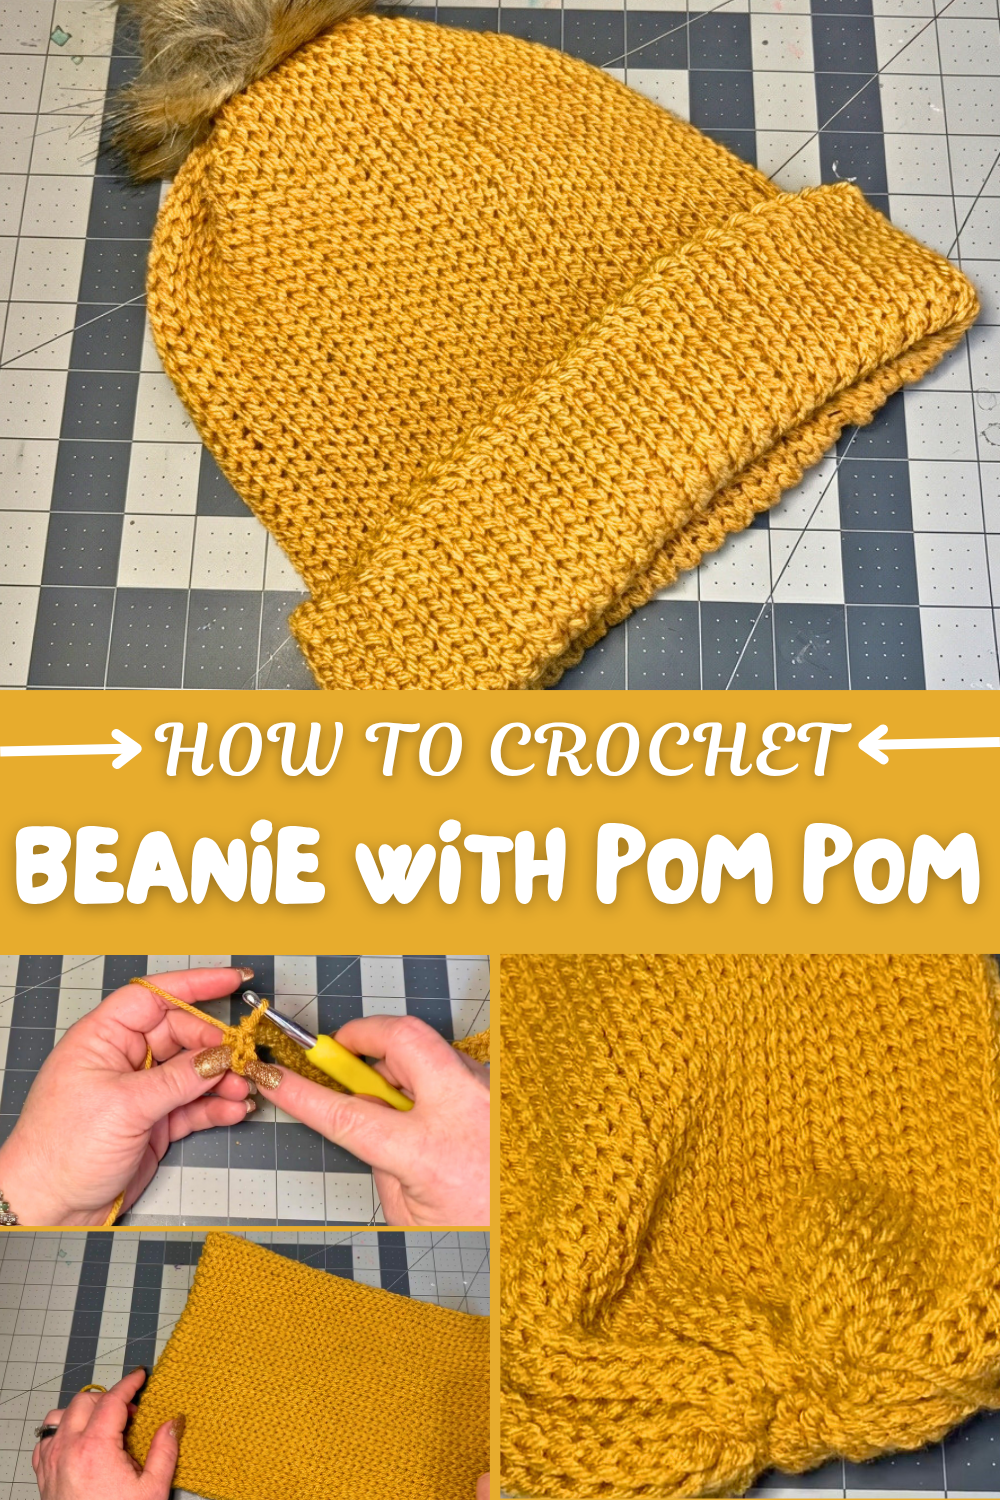
The beanie is worked back and forth and then folded and sewn to create the classic rounded shape. This method allows the slip stitches to create a stretchy, fabric-like feel that fits snugly without being tight. Adding a pom pom on top, secured with a clever button attachment, not only adds playful charm but also makes it easy to change or wash separately if needed. Working with basic stitches like chains, slip stitches, and single crochets keeps the process beginner-friendly while delivering a polished, textured finish that looks impressive.
Crochet Pattern: Knit-Stitch Beanie with Pom-Pom
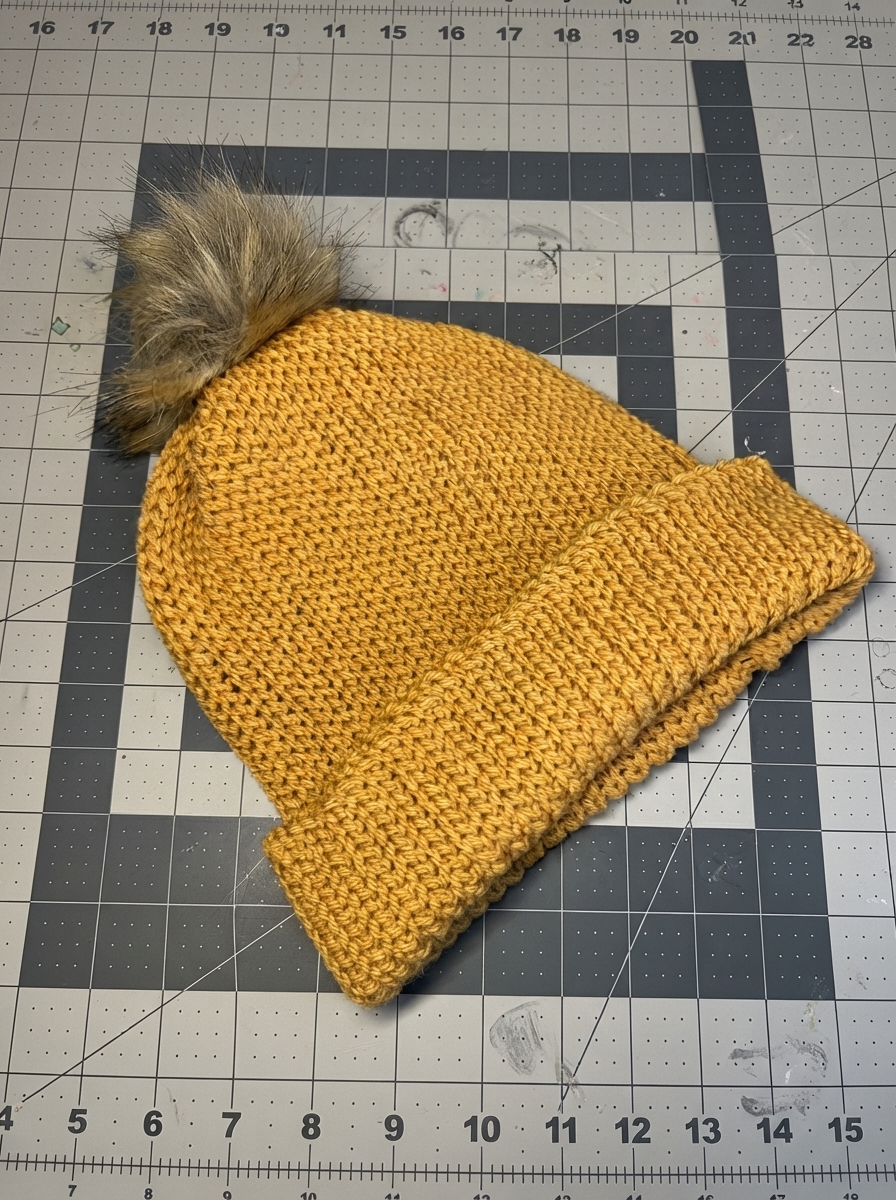
This beautifully textured beanie mimics a knitted look but is entirely made using crochet slip stitches. With an elegant pattern and a stretchy, comfortable fit, this project is perfect for a stylish winter accessory. Whether you're a beginner or an experienced crocheter, you'll love how fun and simple this project is.
Uses of This Pattern
- Fashionable Accessory: Pair this knit-stitch beanie with your winter wardrobe. It’s trendy yet warm and cozy.
- Handmade Gift: Make personalized gifts in various colors and sizes for friends and family.
- Skill Practice: Perfect for beginners to practice slip stitches and learn simple sewing and assembly techniques.
Skill Level & Terminology
- Skill Level: Beginner. This pattern uses only slip stitches, basic sewing, and weaving for assembly.
- Terminology: This pattern follows US crochet terms.
Materials & Tools
To crochet the knit-stitch beanie, you will need the following:
- Yarn: Weight 4 medium yarn in your preferred color. We recommend using quality yarn to enhance the stitch definition.
- Crochet Hook: 8 mm (L) hook (larger than typically used for weight 4 yarn to create stretch and drape).
- Darning Needle: For sewing the seams and attaching the button.
- Button: One button to secure the detachable pom-pom.
- Pom-Pom: Pre-made or handmade fluffy pom-pom.
- Stitch Marker: Optional, but helpful for beginners when working rows of slip stitches.
- Scissors: To cut yarn cleanly.
Gauge
Loose slip stitches are key for this stretchy knit-stitch look. Crochet a small swatch to check your gauge for accuracy:
- Gauge for project: Slip stitches: 4 stitches per inch horizontally and 4 rows per inch vertically.
Abbreviations List
Quick reference of abbreviations used throughout:
- ch: Chain
- sl st: Slip Stitch
- blsl st: Back-Loop Slip Stitch
Special Stitch Instructions
- Slip Stitch (sl st): Insert the hook into the stitch, yarn over, and pull through the loop on the hook. This creates a small, tight stitch that gives the project its elasticity and knitted appearance.
- Back-Loop Slip Stitch (blsl st): Insert the hook into the back loop of the stitch (instead of both loops), yarn over, and pull through both loops. This creates the knitted look.
- Weave-In-and-Out Method: Used to close the crown, this method involves running the yarn tail in and out of the top edge of the beanie to cinch it shut.
Finished Size
- Approximate circumference: 20–23 inches (adjustable to size)
- Approximate height: 9–10 inches, foldable brim included
What You’ll Learn From This Pattern
- Knit-Like Texture: You’ll master the back-loop slip stitch technique to create faux knit ribbing.
- Simple Back-and-Forth Construction: Learn to create easy hats worked in straight rows and seamed into a round shape.
- Custom Sizing: Gain the skills to adjust the pattern to fit various head sizes.
The Pattern
Step 1: Foundation Chain
- Make a slipknot and place it on your 8 mm hook.
- Chain 50 stitches (or until your chain length equals 15 inches - 16 inches, or adjust for a custom size).
For Non-Pattern Readers: This step sets up the width of your hat. You will work back and forth along the chain and then fold and sew the piece into a hat later.
Step 2: Row 1 (Slip Stitch Row)
- Insert your hook into the second chain from the hook, yarn over, and pull through both loops to make a slip stitch (sl st).
- Continue working sl st into each chain across the row, ensuring your stitches are kept loose for easier insertion in the following steps.
- At the end of the row, chain 1 and turn your work.
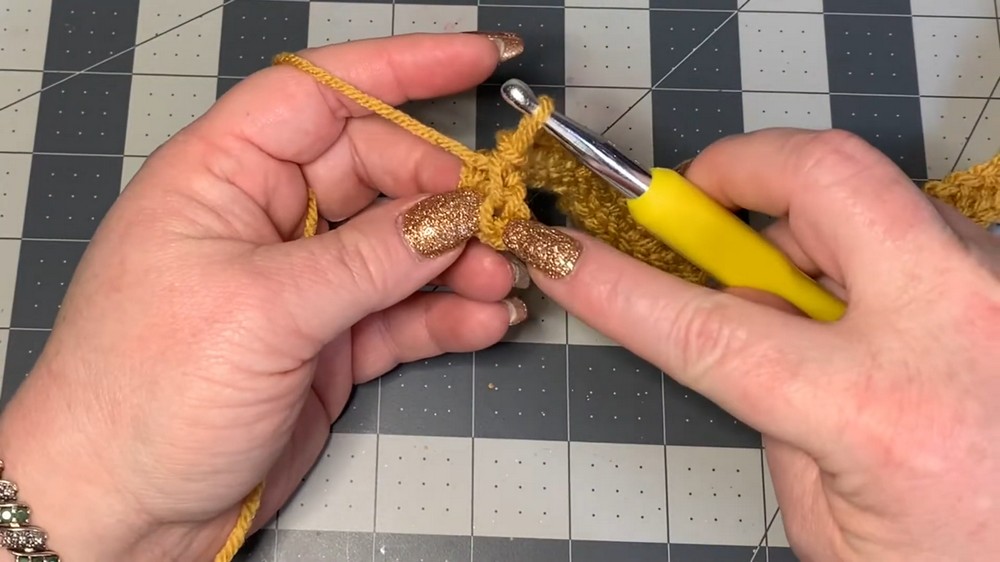
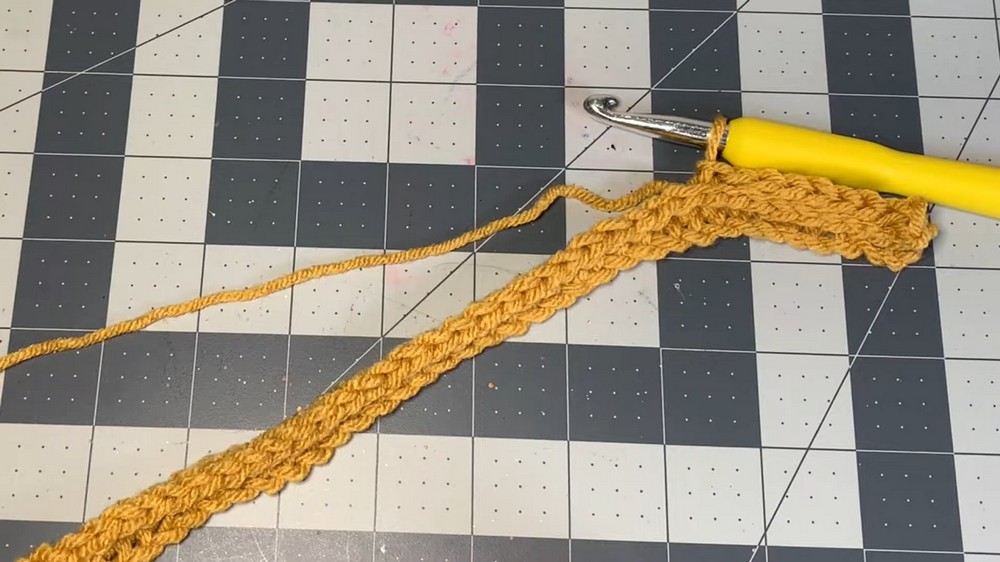
Pro Tip: Make sure you crochet loosely so you can effortlessly insert your hook into slip stitches in subsequent rows.
Step 3: Back-Loop Slip Stitch Rows
- Look at the top of your work to locate the back loop of each stitch.
- For the next row, insert your hook into the back loop only of the first slip stitch (skip the chain 1).
- Work 1 sl st in the back loop (blsl st) of each stitch across the row. Remember to keep your stitches loose.
- When you reach the end of the row, chain 1 and turn your work.
For Beginners: Working into the back loop produces the signature "knit-stitch" texture. This step creates the ribbing effect.
Step 4: Continue the Pattern
- Repeat back-loop slip stitch rows (Step 3) for approximately 20–23 inches, depending on the head circumference.
Visual Reminder: Your crocheted piece will look rectangular, but you will fold and assemble it into a cylindrical shape to create the beanie.
Step 5: Seaming the Side
- Once the desired length is reached, leave a long yarn tail (approximately 18–24 inches) and fasten off with a secure knot.
- Thread the long yarn tail into a darning needle.
- Fold your rectangular piece in half (lengthwise, vertical rows touching) so the short edges meet.
- Sew the short edges together using the back loops only on both edges to create a seamless join.
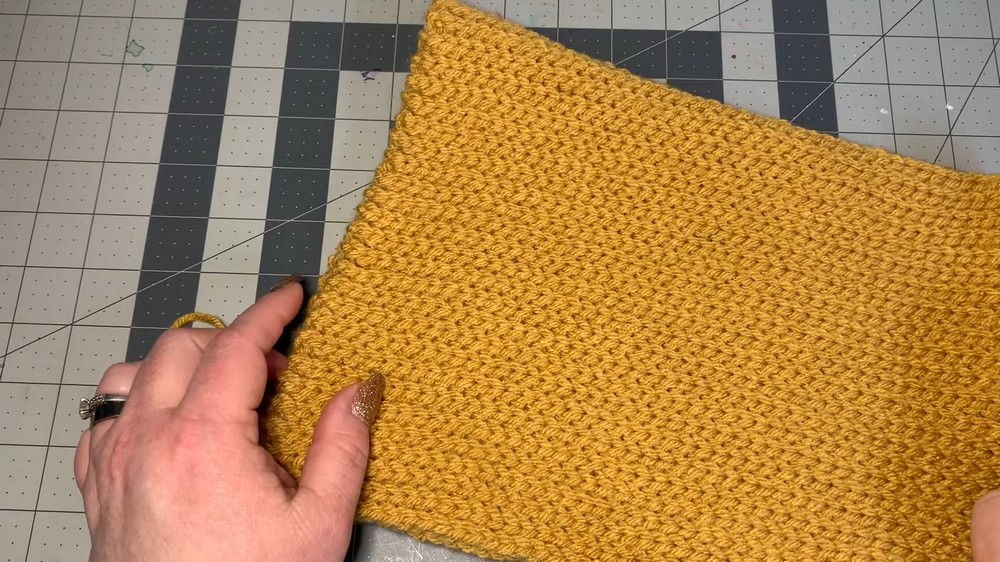
For Non-Pattern Readers: Ensure that the piece is seamed evenly throughout to maintain symmetry in your knit-stitch pattern.
Step 6: Closing the Top
- Using the same working yarn from the side seam, weave the yarn in and out around the top edge of the beanie in each stitch.
- Once you’ve circled back to the start of your weave, pull the yarn gently to cinch the top of the hat closed.
- Secure the closure by sewing through the gathered fabric several times.
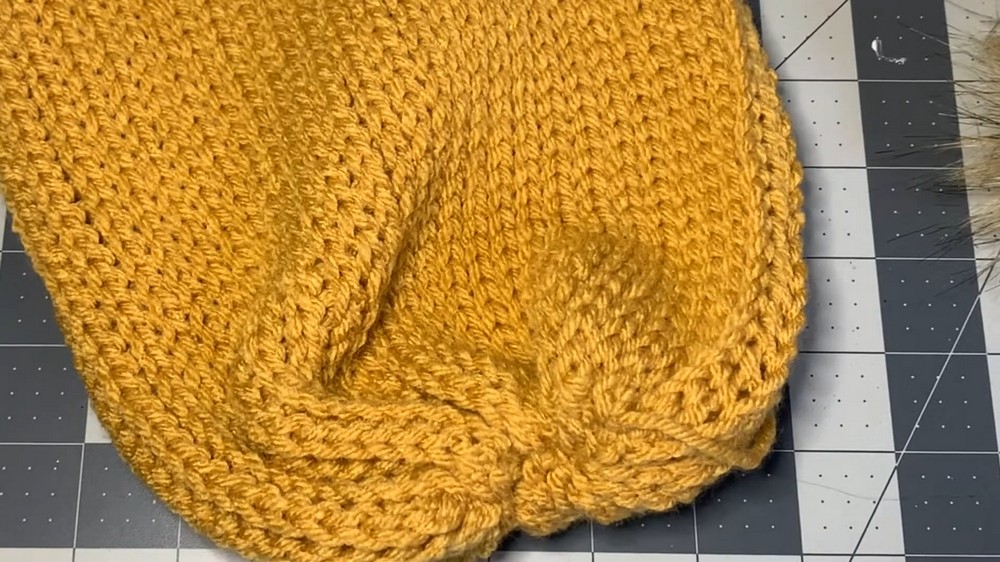
For Beginners: This step creates the snug top of your beanie. Take your time to weave tightly and avoid gaps.
Step 7: Attaching the Pom-Pom
- Attach a button to the inside of the beanie’s top where you cinched the stitches. Sew it securely into place using a darning needle and yarn.
- Take the elastic loop of your pom-pom, thread it under the button, and secure it by looping the elastic around the button until it is snug.
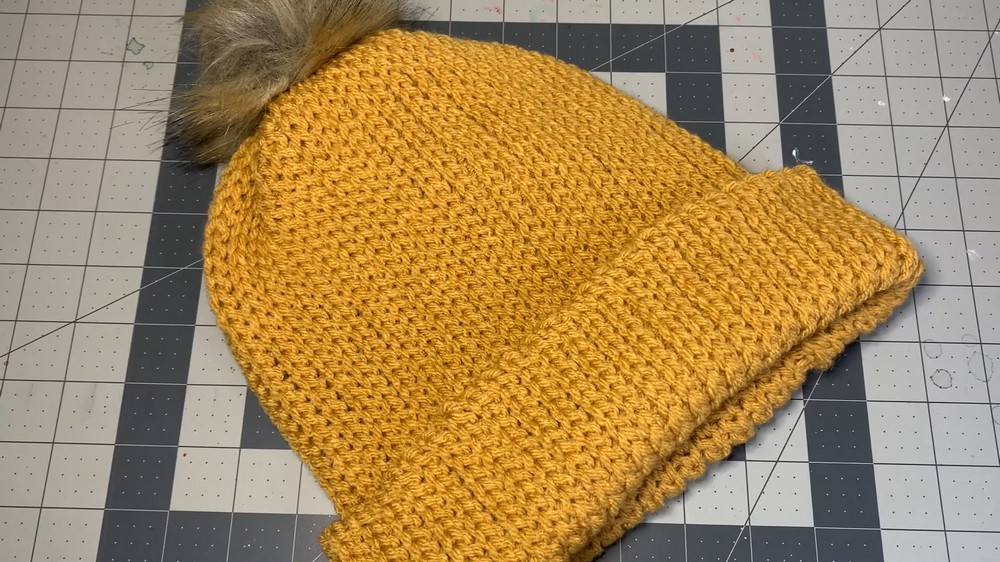
For Beginners: The button method allows for quick and easy removal of the pom-pom for versatile styling or washing. Alternatively, you can sew the pom-pom directly onto the hat.
Difficulties You May Encounter
Difficulty: Tight Slip Stitches
Slip stitches can become tight and challenging to insert the hook into.
- Solution: Always check your tension and crochet loosely. If needed, go up half a hook size for easier handling.
Difficulty: Identifying Stitches at Row Ends
The last stitch of each row can be hard to locate when working with slip stitches.
- Solution: Use a stitch marker to mark the first and last stitch of every row.
Assembly & Finishing
- Turn the hat inside out so the seam is on the inside.
- Fold up the bottom edge to create a textured brim.
- After securing your pom-pom, make sure all yarn tails are woven in neatly.
- Your knit-stitch beanie is now complete!
Final Notes: What Makes This Beanie Special
This knit-stitch crochet beanie is a modern, beginner-friendly project that offers a satisfying result. It is beautifully textured, warm, and boasts the elasticity of true knit—perfect for comfy wear in the cooler months. Its versatile size, clean finish, and customizable fit make it ideal for anyone, from children to adults.