
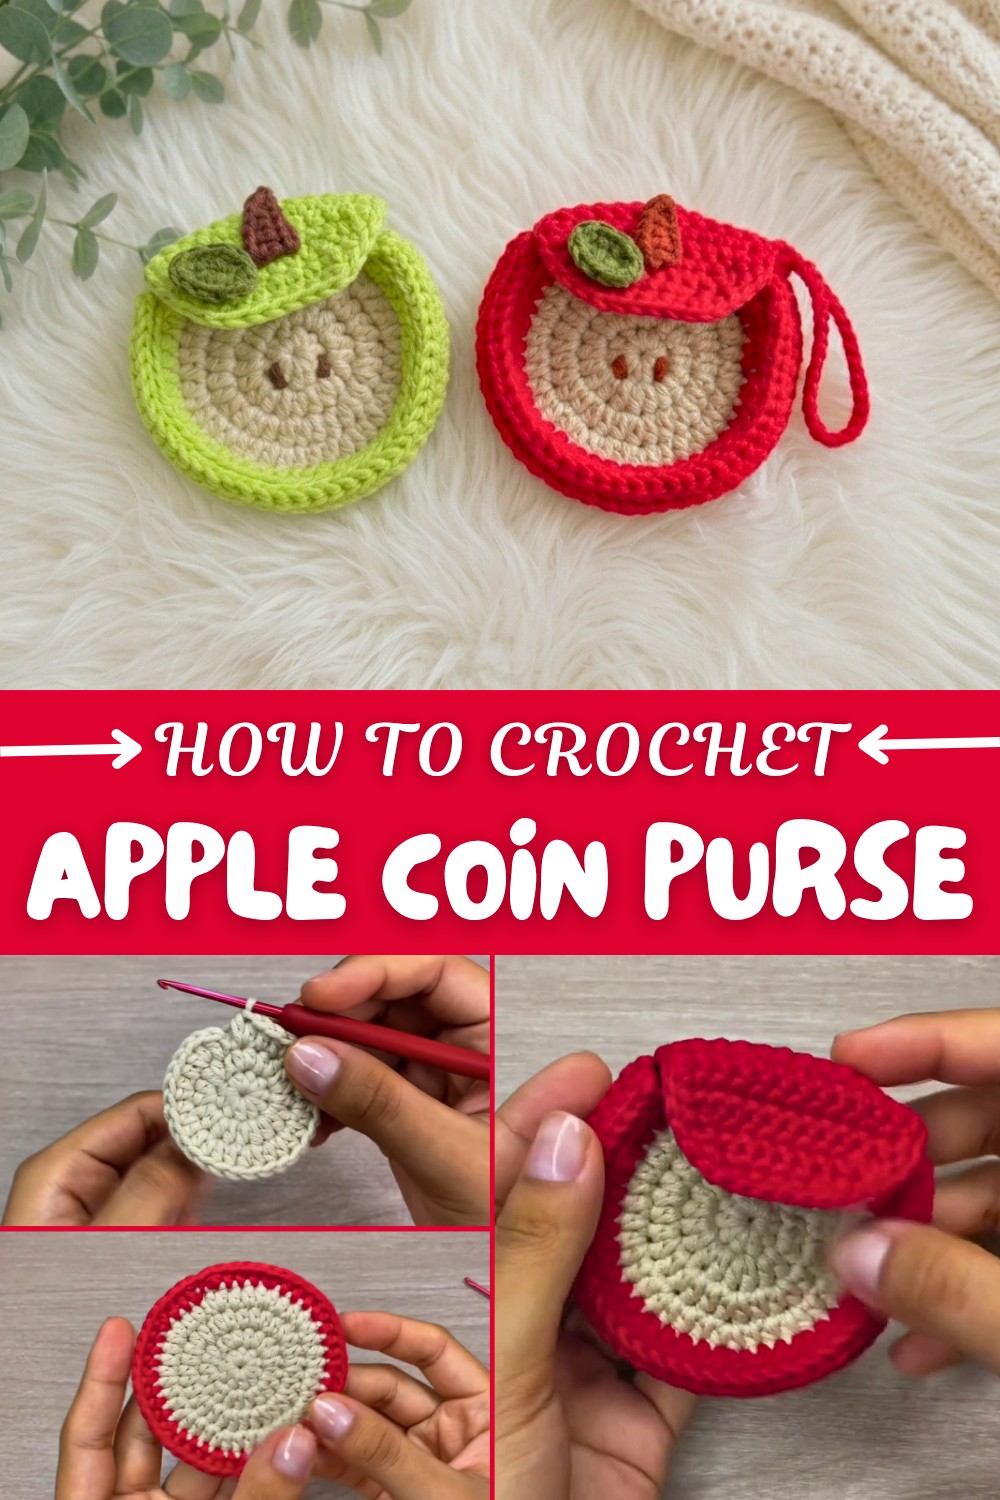
Apple Coin Purse With Free Crochet Pattern Instructions
Stitch a charming and practical accessory with this Free Crochet Apple Coin Purse Pattern, featuring detailed instructions and perfect for all skill levels to enjoy.
When you're looking for a project that works up quickly, this crochet pattern is a great choice. The Free Crochet Apple Coin Purse Pattern is not only speedy to make, but it’s also absolutely adorable. Shaped like a bright, juicy apple, this little purse is sure to catch anyone’s eye and bring a bit of fun to your everyday essentials.
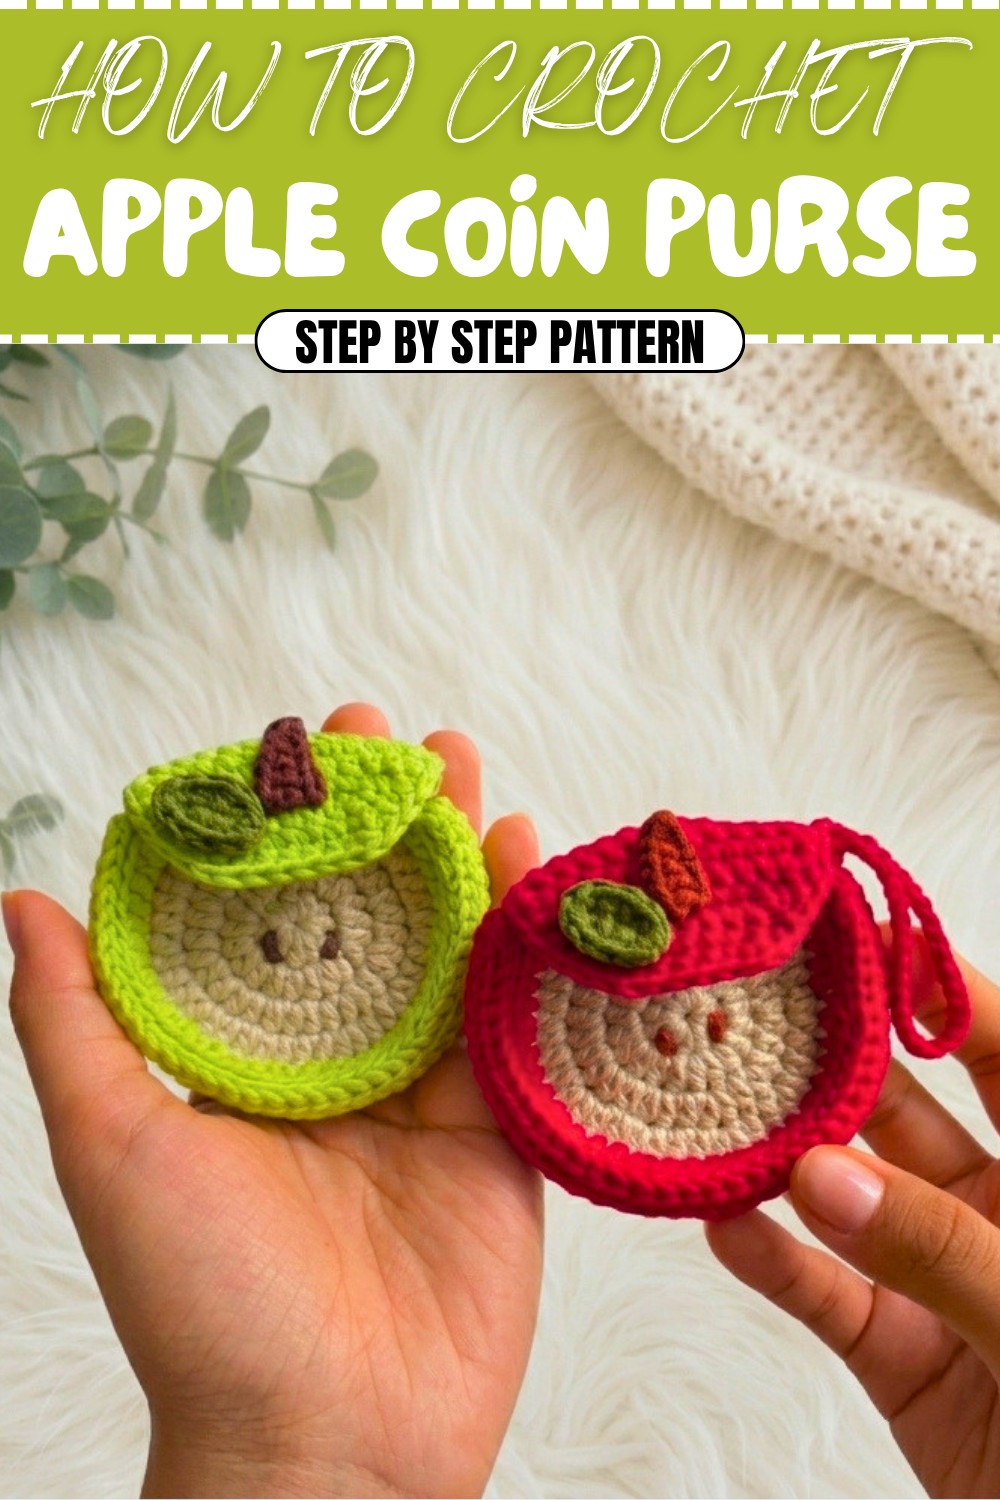
Easy Crochet Apple Coin Purse Pattern Free for Beginners
One of my favorite parts about this project is its unique combination of charm and practicality. The rounded apple shape fits perfectly in your palm, and you’ll love how the smooth stitches create a neat, sturdy texture. The little details really make it special, a tiny green leaf at the top and a small stem give the purse a playful and realistic look.
There’s a zipper at the top, which keeps all your coins, keys, or other small items safe and secure. I find the size just right for tossing into a bag or backpack, and it keeps everything nice and organized. Plus, the bright red yarn adds such a cheerful pop of color that it’s easy to find, even in the depths of a large purse.
This pattern is wonderful for using up leftover scraps of cotton yarn, so it’s budget-friendly too. You can even stitch apples in different colors—maybe a green Granny Smith or a golden Yellow Delicious for a fun twist! Because the pattern uses basic crochet stitches and simple shaping, it’s great for beginners or anyone who wants a relaxing project.
Whether you make one for yourself or as a gift for a friend, the Free Crochet Apple Coin Purse Pattern is a quick, joyful project that’s as delightful to use as it is to make. Give it a try—you’ll want to crochet a whole bushel of these cute little purses!
Apple-Themed Crochet Wallet Pattern
Welcome to this step-by-step pattern for adorable apple-themed crochet wallets! These cute coin purses are great for beginners, quick to make, and easy to customize with your favorite fruit colors. You’ll learn basic amigurumi and flat crochet techniques, color changes, and simple sewing/embroidery for final details.
The explanations and notes after each section will help anyone follow along, whether you’re comfortable with written patterns or prefer plain instructions.
Skill Level & Terminology
- Skill Level: Beginner to Advanced Beginner. The project uses basic stitches and simple color changes.
- Terminology: US crochet terms are used throughout. (Half double crochet = hdc; single crochet = sc.)
Materials & Tools
- Yarn: 100% acrylic, 4-ply (e.g., Miratex Cupito).
- Light color for apple’s core
- Bright color for apple’s skin (red/green)
- Brown for stem
- Green for leaf
- Brown for seeds
- Hook: 2.5 mm crochet hook
- Needles: Tapestry (blunt) and yarn needle for sewing/embroidery
- Scissors
- Glue: Liquid silicone (for leaf and stem, optional)
- Velcro: Small piece for wallet closure
Gauge
Not essential; just ensure stitches are tight enough to hold coins and create a sturdy wallet.
Sample (using yarn and hook above): 10 hdc ≈ 5 cm.
Abbreviations List
- ch: chain
- sc: single crochet
- hdc: half double crochet
- inc: two stitches in same space (increase)
- sl st: slip stitch
- st(s): stitch(es)
- FO: fasten off
Special Stitch Instructions
- Magic Ring: Loop yarn, crochet into the ring to form a tight, closed center.
- Increasing: 2 hdc in the same stitch, used for expanding the circle.
- Color Change: Attach new yarn with a slip stitch; use as directed.
- Working in Back Loops: Used for side flaps and joining, crochet only through the back loop for flexibility.
- Decrease: For the wallet lid, a decrease is made by working two stitches together.
Finished Size
Approx. 8×10 cm when made with 2.5 mm hook and 4-ply acrylic.
Pattern Overview
You’ll crochet two flat circles (front: apple core + skin, back: skin), add a side flap, join both pieces with slip stitches, then create a lid, stem, leaf, and add seed embroidery. Velcro secures the closure, and a chain strap can be added for carrying.
Pattern Start & Stitches Used
Begin with a magic ring as the core. This pattern uses half double crochet for the body, single crochet for edges/flaps/stem, simple color changes, and decreases for shaping the lid.
The Pattern
1. Apple Front (Core + Skin)
- With light color:
- Make a Magic Ring.
- Ch 1.
- 10 hdc in ring.
- Pull ring tight.
- Sl st in first hdc to join.
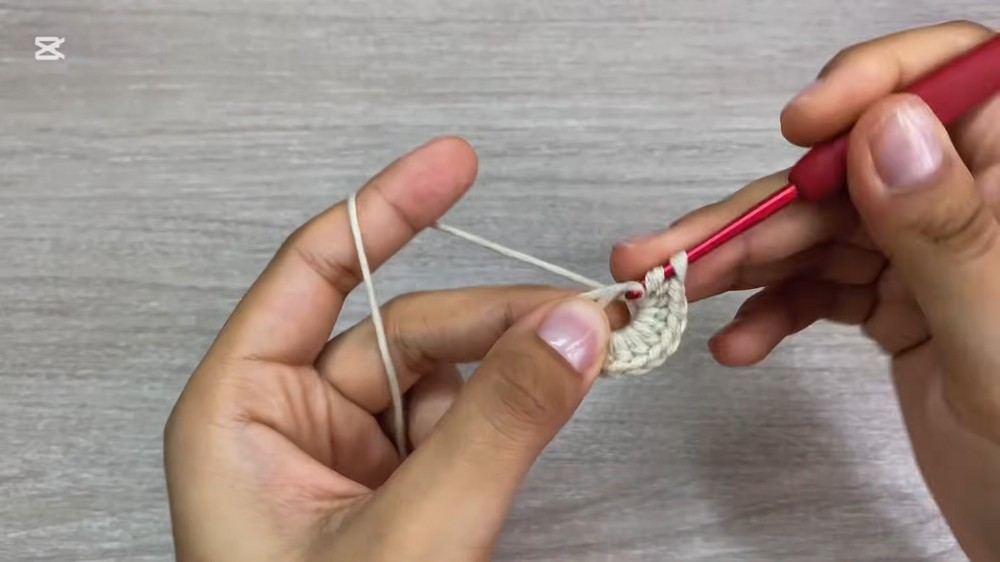
You are starting with the apple’s core. Make an even circle with half double crochets.
- Round 2:
- Ch 1.
- Work 2 hdc in each st around (10 inc).
- Sl st to first hdc. (20 hdc)
- Round 3:
- Ch 1.
- [1 hdc in next st, inc] repeat around (10×).
- Sl st to first hdc. (30 hdc)
- Round 4:
- Ch 1.
- [2 hdc in next sts, inc] repeat around (10×).
- Sl st to first hdc. (40 hdc)
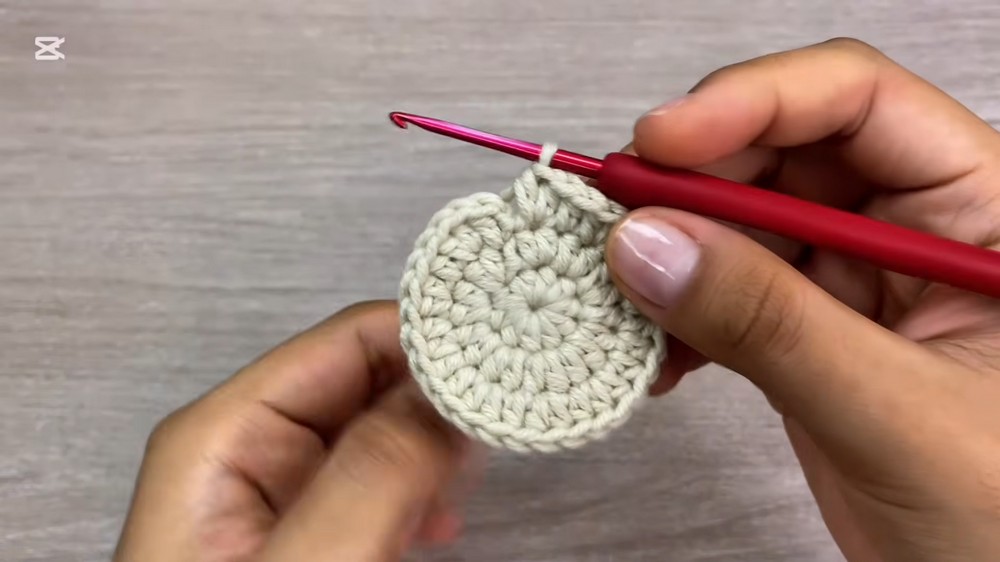
This forms the apple’s main front. You are making a flat disc and expanding each round.
- Round 5 (change to apple skin color):
- Attach skin yarn with sl st.
- Ch 1.
- [3 hdc in next sts, inc] repeat around (10×).
- Sl st to first hdc. (50 hdc)
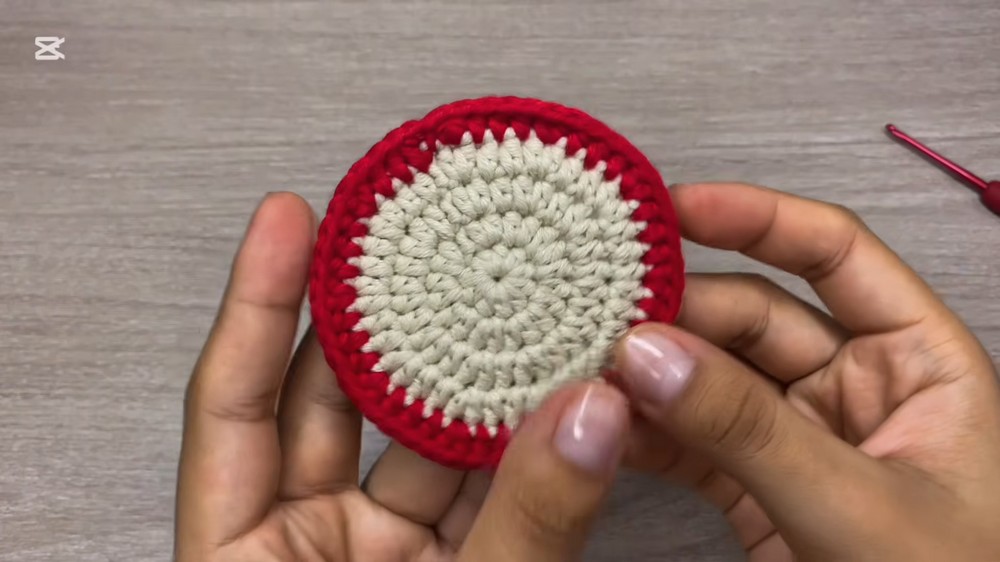
At this point, cut off unused yarn and weave in ends. You now have the main apple shape.
Plain language summary:
You have a flat circle with a light core and a colored skin at the edge. Cut your threads and weave in ends for neatness.
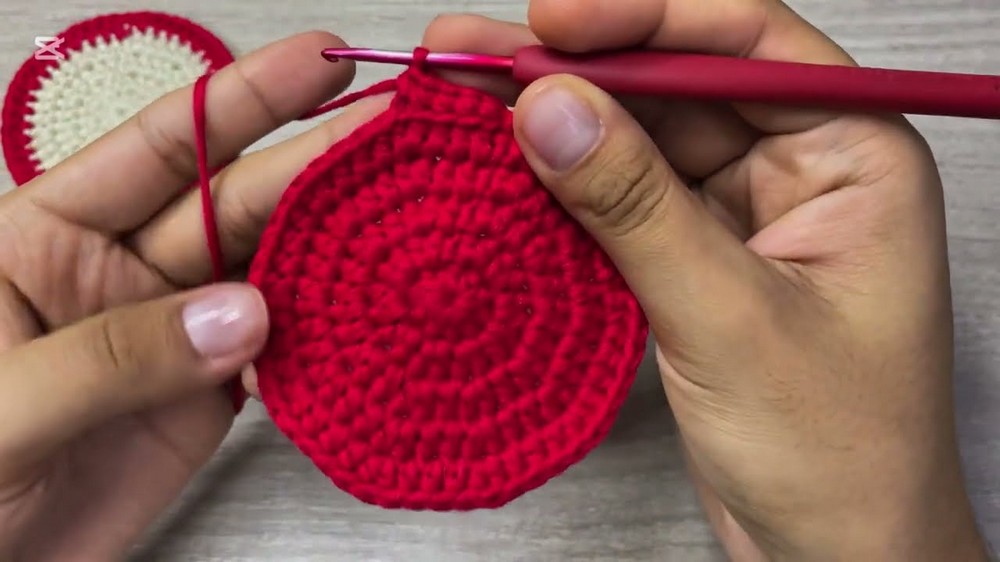
2. Apple Back
- Work as above, but use apple skin color throughout (no core).
- Make a Magic Ring.
- Ch 1.
- 10 hdc in ring.
- Pull ring tight.
- Sl st to first hdc.
- Repeat Rounds 2–5 as above (using skin color throughout).
Now you have two matching discs—front and back of the wallet.
3. Side Flap
- With skin color:
- Attach yarn at back loop of any st on front circle.
- Ch 1.
- Sc in back loop only for 38 sts.
- Ch 1. Turn.
- Sc in each st across.
- Repeat for 2 more rows (total 3 rows).
This makes a flexible strip to give space for your wallet.
Plain-language explanation:
You’re crocheting a mini rectangle by working single crochets into the back loops for three rows, creating the side flap.
4. Joining Front and Back
- Turn flap, align back piece to front.
- Insert hook in back loop of front piece and matching back loop of back piece.
- Work 38 sl st to join pieces.
- FO and weave in ends.
You are slip-stitching around the edge with back loops to securely join the wallet. Cut yarn and hide ends.
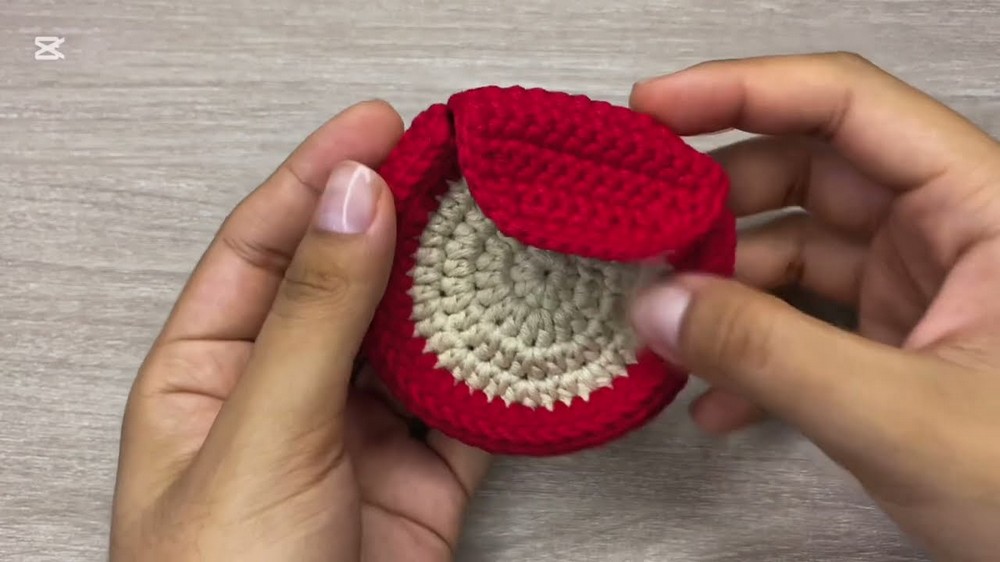
5. Wallet Lid
- Attach yarn to the colored back piece (where flap opening remains—about 12 free stitches).
- Ch 1.
- Sc in each of these 12 sts.
- Ch 1. Turn.
- Sc in each st across. Repeat for 5 rows.
- Row 6:
- Ch 1. Turn.
- Dec, sc in next 8 sts, dec (10 sts)
- Row 7:
- Ch 1. Turn.
- Dec, sc in next 6, dec (8)
- Row 8:
- Ch 1. Turn.
- Dec, sc in next 4, dec (6)
FO and hide thread. You have shaped the lid into a gentle closing point.
Plain-language summary:
You crochet across the opening, add rows, then decrease each end to create a rounded flap for closing the wallet.
6. Edging the Flap
- Attach yarn to the edge of flap, work sc evenly around edges, place extra sc in corners.
- At corners, work 2 sc (increase).
- Finish with a sl st to base, FO, and hide thread.
This creates a neat border and helps the flap keep its shape.
7. Stem
- With brown yarn:
- Ch 6.
- Skipping first ch, sc in next 3, hdc in next 2.
- FO and hide ends.
Quick and easy, this mimics the apple’s stem. Weave in ends at back.
8. Leaf
- With green yarn:
- Ch 5.
- Skipping first ch, sc in next st, hdc in next 2, in last ch work 3 hdc (increase).
- Continue down opposite side: hdc in next 2, sc in next, sl st to start.
- FO and hide ends.
The leaf is small, shaped, and made in one go. Tidy up by weaving in ends.
9. Assembly & Finishing
- Attach stem: Use glue or sew to center top of the colored side.
- Attach leaf: Position beside stem and glue/sew.
- Embroider seeds: With brown thread, embroider two lines in apple’s core.
- Add Velcro: Glue/sow a piece under the flap for closure.
- (Optional) Add a chain handle by crocheting desired length, attach to a side.
- Hide all loose threads for neatness.
Plain summary:
Glue or sew on the stem and leaf; embroider seeds for apple effect; add Velcro for secure closing. Optional: crochet a chain strap for easy carrying.
Conclusion
Your apple-themed wallet is now complete! You learned how to crochet flat pieces, make color changes, add a side flap for coin space, easily join with slip stitches, and finish with cute embroidery and details.
This basic structure can be adapted for other fruits—just change colors and shapes. If you enjoyed this project, please share your work, subscribe for more tutorials, and inspire others to create sweet fruit-themed accessories.
Pattern construction summary:
Start two circles, add a side flap, join with slip stitches, create a lid with decreases, and finish with stem, leaf, and embroidery. All basic crochet stitches are described in the instructions for ease of following.