
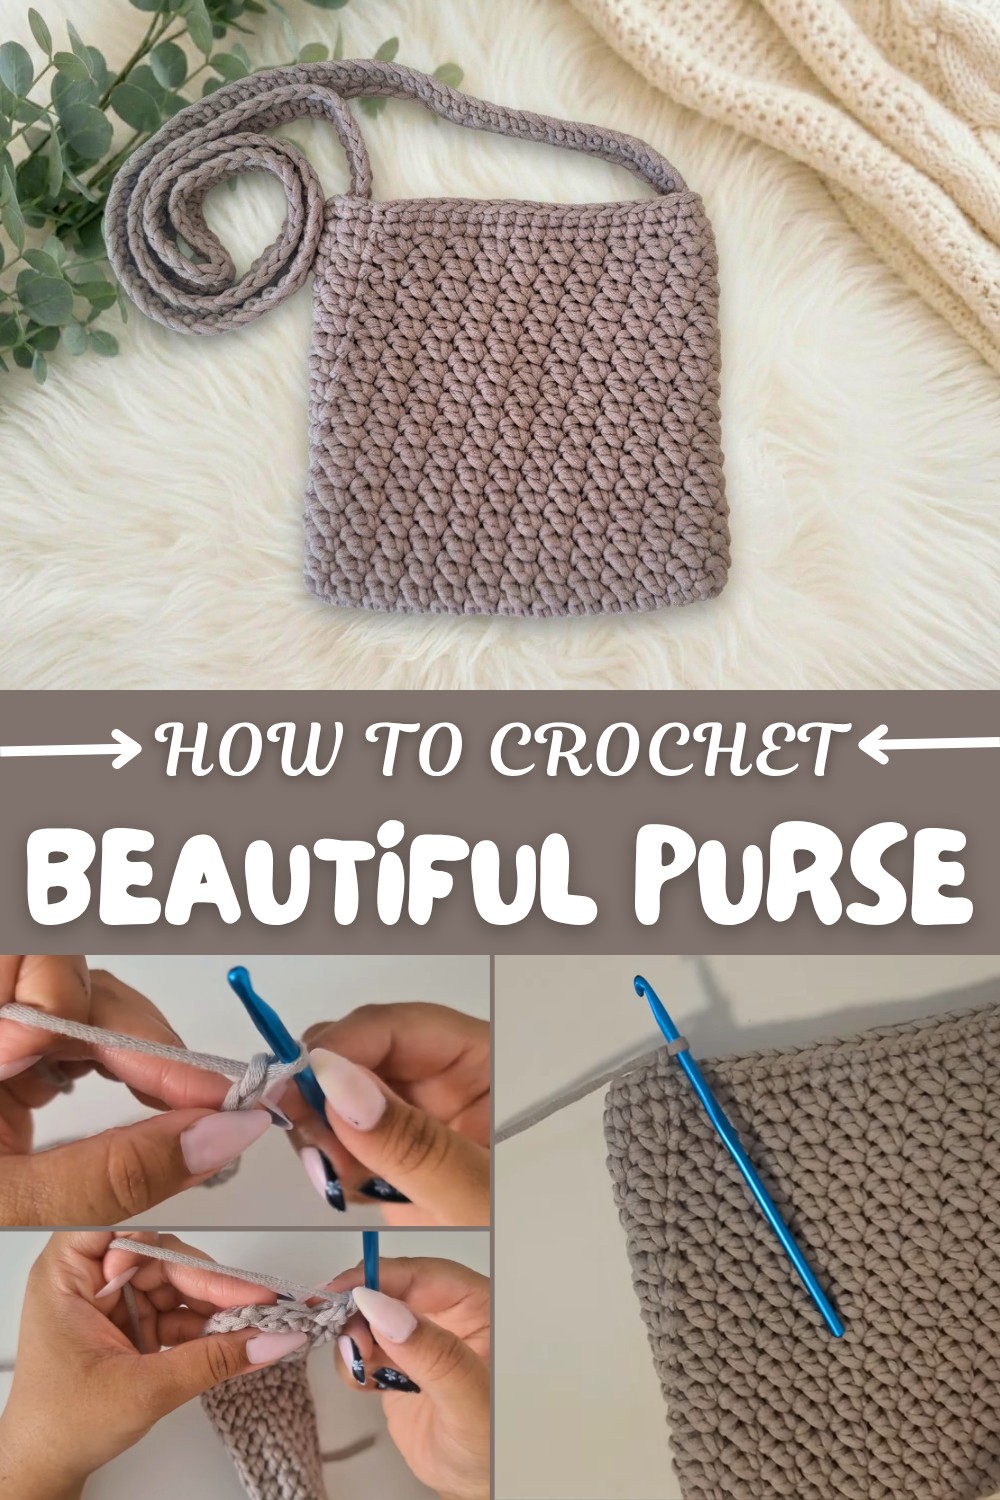
Free Crochet Purse Pattern with Adjustable Size
Learn how to crochet a beautiful purse with this free pattern featuring easy-to-follow steps using your preferred yarn and hook for a custom design.
If you’re searching for a stylish and simple purse to crochet, this free pattern will make you smile. The purse has a neat oval shape with rounded sides and a pretty pattern that repeats all around. Its textured look comes from combining single crochet and double crochet stitches, making the fabric feel soft and sturdy at the same time. The design lets the purse keep its shape while still being flexible and comfortable to carry.
Free Crochet Purse Pattern with Tips for Adding a Thick Border
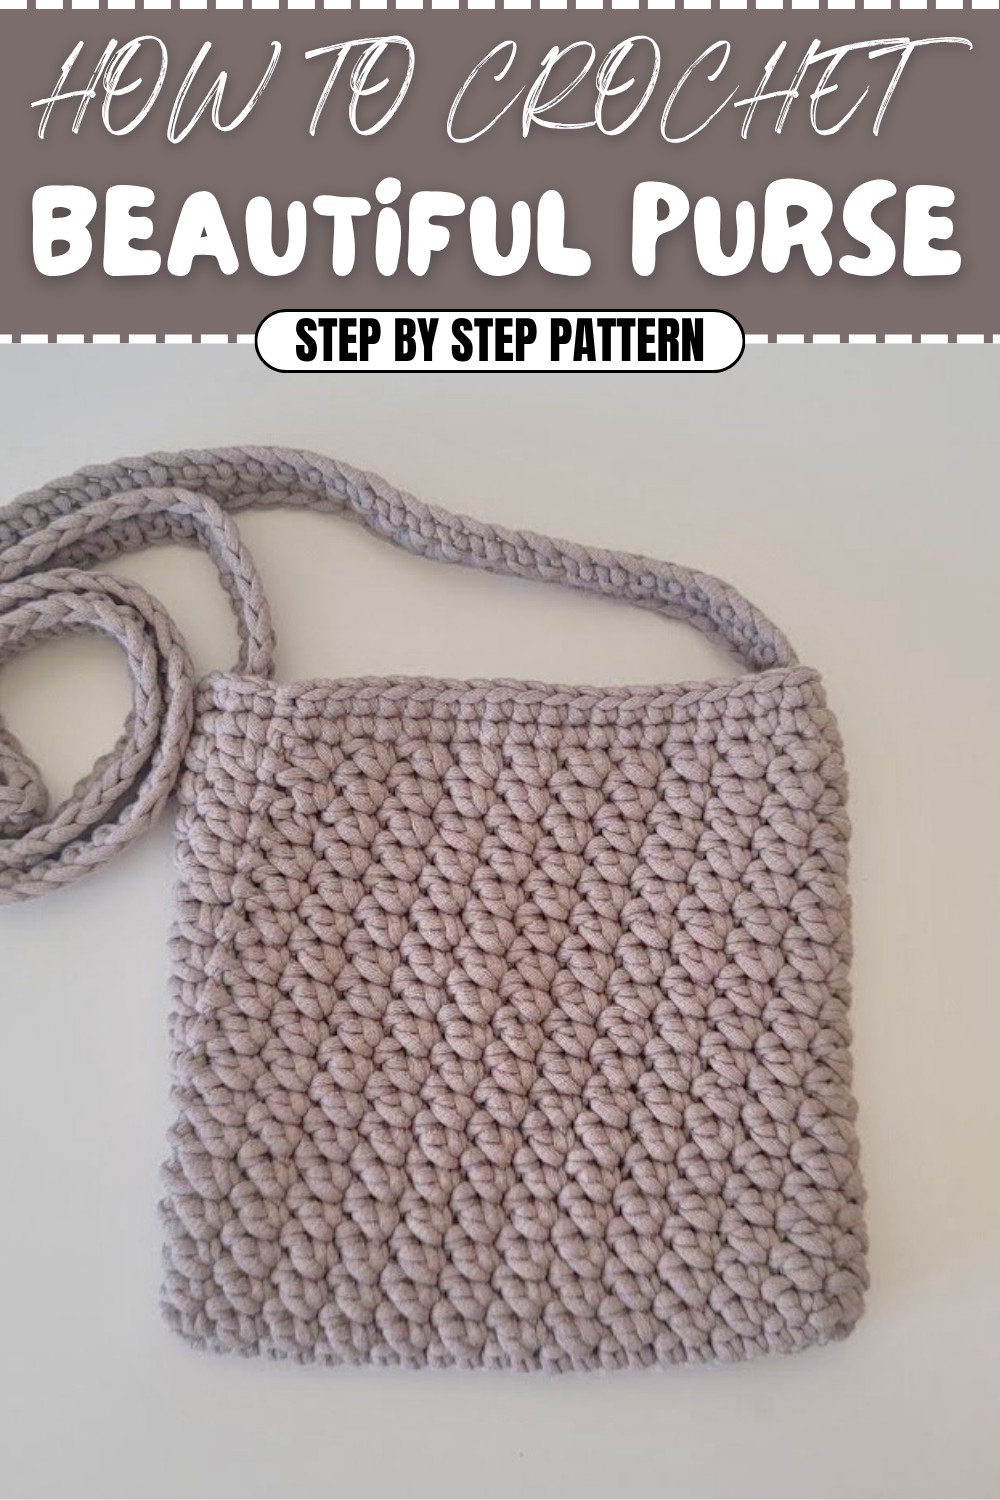
I love how easy it is to customize the purse. You can use category 5 yarn for a thick, fabric-like feel, and a 5 mm hook makes everything come together smoothly. The starting chain sets the width, and you can make your bag longer or shorter by adding or skipping rounds. You can also change the strap length — a shorter chain for a shoulder bag or a longer one for a crossbody style. It’s great for holding your phone, wallet, keys, and other essentials.
One of my favorite things about this purse is its pretty border, made with rows of simple single crochets. The strap is also strong and comfortable, crocheted with extra rows for thickness if you want. There’s no lining needed, so all your hard work shows on the outside. With a little bit of sewing at the end, your purse will look just as nice as ones you see in stores.
Crocheters will enjoy this pattern because it’s relaxing to make and doesn’t need hard stitches or complicated shapes. By changing how many chains or rounds you do, you can also turn this pattern into a small clutch, a pencil case, or even a mini gift bag. Use your favorite colors and wear your handmade purse proudly to school, work, or outings. It’s practical, pretty, and fun.
Crochet Modern Bag Pattern
This step-by-step crochet bag pattern, perfect for anyone with a grasp of basic crochet skills. This pattern creates a sturdy, customizable modern bag, suitable for market runs, day-outs, or as a versatile accessory. You'll work this project in joined, rounded rows, using just single crochets and double crochets for an elegant but simple texture. With a durable strap and neat seam, your bag is made to last and ready for everyday use.
Skill Level & Terminology
Skill Level: Easy/Confident Beginner
Terminology: US Crochet Terms
This project is meant for crocheters who are familiar with basic stitches (chain, single crochet, double crochet) and standard joining and seaming techniques. No advanced skills are required, but comfort with working in back loops and basic seaming will help.
Materials & Tools
- Category 5 Bulky or fabric yarn (or yarn weight/type of your choice)
- 5 mm (H) crochet hook (or as appropriate for your yarn)
- Scissors
- Tapestry/darning needle
Gauge
Gauge is not crucial for this bag—choose a hook size that gives a solid, dense fabric with your chosen yarn.
A sample: 4" x 4" = approx. 10 sc x 12 rows
Abbreviations List
| Abbreviation | Meaning |
|---|---|
| ch | Chain |
| sc | Single crochet |
| dc | Double crochet |
| sl st | Slip stitch |
| st(s) | Stitch(es) |
| BLO | Back loop only |
Special Stitch Instructions
- Back Loop Only (BLO): Insert hook into the back loop (furthest away from you) of the stitch.
- Single and Double in Same Stitch: (sc, dc) – in one stitch: single crochet then double crochet.
Finished Size
- Width: About 6–6.5" across the base (or as long as your starting chain)
- Bag Height: Adjustable (~10" typical with sample row counts)
- Strap: Customizable length for shoulder or crossbody
You can make your bag wider/narrower or longer/shorter by adjusting starting chain and row counts.
Starting Notes
You’ll begin with a foundation chain defining your bag’s width, then create a continuous rounded base. Your bag is worked in the round, expanding into a textured body of single and double crochets. You'll finish with a sturdy single crochet border and a solid, reinforced strap. The entire bag is worked using basic stitches and only one main seam for the strap, making it a satisfying but accessible project for newer crocheters.
Main stitches used: Chain, single crochet, double crochet, slip stitch.
The Pattern Itself
Bag Body
1. Foundation Chain
- Make a slip knot leaving a long tail for weaving in later.
- Ch any number for your desired bag width (sample: ch 24).
- Ch 1 more (for turning; total: 25 ch).

Start with a chain as wide as you want your bag to be (e.g., 24 chains for about 6.5"). If you want a wider or narrower bag, just add or subtract chain stitches.
2. First Round: Base Setup
- Skip the first (extra turning ch).
- Work sc into the BLO of the 2nd ch from hook and each ch to the end (24 sc).
- In the last ch, work 3 sc (all in the same stitch, turning around the end).
- Rotate to work along the other side of the chain, sc in each remaining ch.
- In the last stitch of this side, work 2 sc (so both ends have 3 sc each).
- Sl st into the first sc to join the round.
Work your first row of single crochets into the back loops for a neat base and easy curve. Add three single crochets at each end to begin working “in the round.” Slip stitch to join.
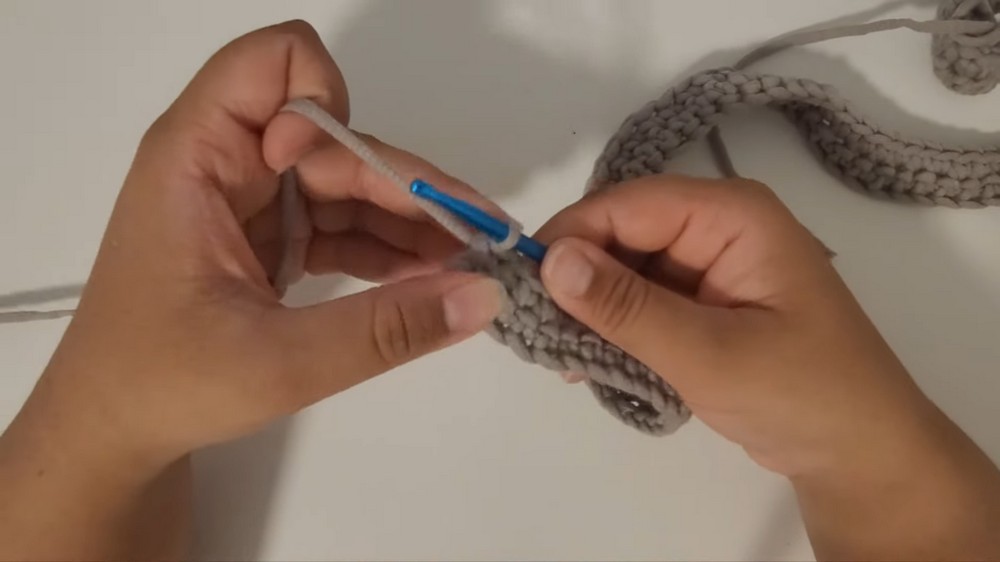
3. Patterned Rounds (Bag Body Rounds)
- These rounds create the texture and body of the bag.
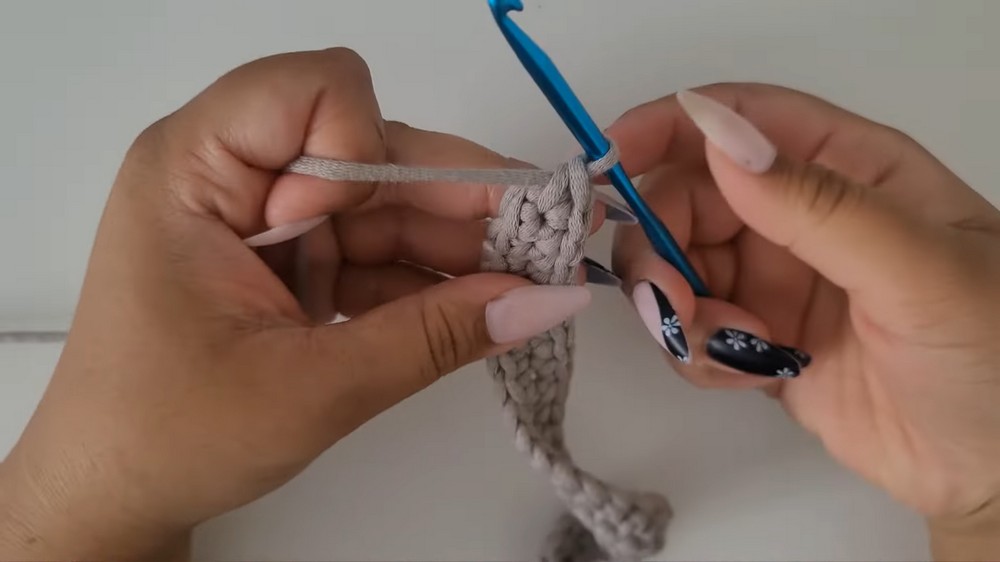
Pattern Round:
- (sc, dc) in the same st; skip the next st – repeat this pattern all the way around.
- At the round end, sl st to the first sc, ch 1.
Repeat this round for as many rounds as needed to reach your desired bag height
(e.g., 20–30 rounds, depending on preference).
In this simple pattern, make a single crochet and a double crochet in the same stitch, skip one stitch, and repeat around. Always work into the single crochet from the previous round. Each round starts and ends with a slip stitch and a chain.
Continue working the (sc, dc) pattern, joining at the end and chaining one as you build up the sides for your bag’s body.
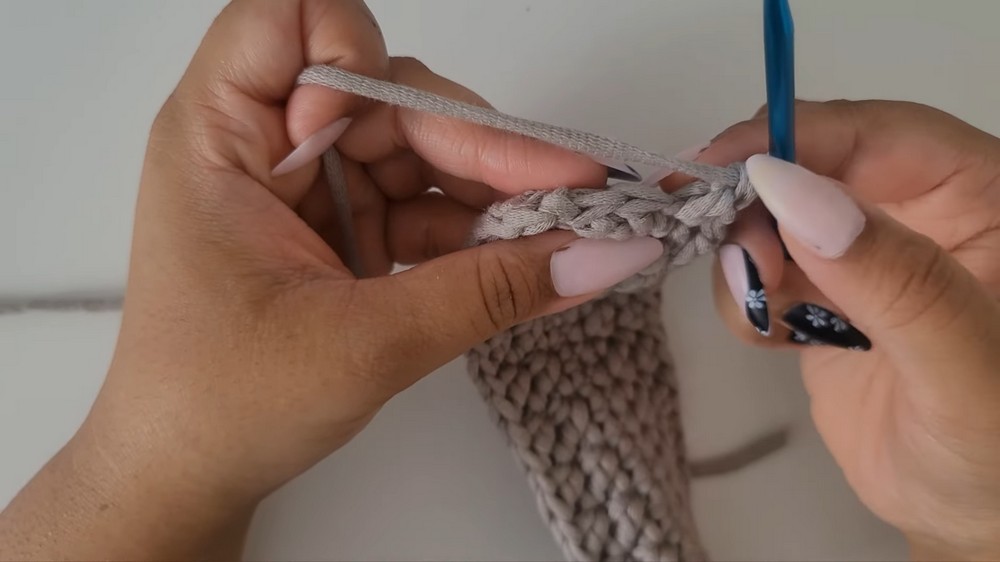
- If you want to check your work, you’ll see little “fans” or “clusters” bumping up in every other stitch, creating a squishy, textured fabric.
This pattern is very flexible. Make as many rounds as you want to get your desired bag depth—the more rounds, the deeper your bag will be. For a small bag try ~10 rounds; for a tote, 20+ rounds.
4. Bag Border
- When your bag body is as tall as you want, finish the last pattern round with a slip stitch, chain 1.
- Work 1 row (or more) of single crochet (sc) in every stitch around.
- At round end, slip stitch to first sc, chain 1. Repeat for 1–3 total border rounds as preferred.
Add one or more rounds of plain single crochet at the top to give your bag a clean, stable edge and shape.
5. Finishing Off Body
- After your last round of single crochet, finish with a slip stitch to the first st, chain 1, then cut yarn leaving a long tail.
- Pull through and tighten off.

Now your bag body is complete. Tuck in any loose ends using your darning needle.
6. Strap Construction
- Leave a yarn tail (8–10") and make a slip knot.
- Attach at one top edge of the bag (anywhere on your final border) with a slip stitch or by sewing after crocheting.
- Chain as many as needed for your desired strap length (short for a shoulder bag, long for a crossbody—usually 60–130 ch).
- Ch 1 extra, skip the turning ch, and sc into each ch back down to the start (for a sturdy strap).
- At end, cut another long tail for sewing.
The number of chains determines the strap length. Two rows of single crochet (or more for a thicker strap) make it sturdy and resistant to stretching.
- If desired, repeat for another row of sc for a thicker strap:
- Ch 1, turn, sc in each st back to start; finish off.
Assembly & Finishing
- Flip your bag inside out.
- Place the two ends of your strap at the inside of the bag, evenly spaced at the sides.
- Sew ends of the strap to the bag body using your tapestry/darning needle—secure with several passes back and forth.
- Weave in all remaining ends (including foundation and fasten-off tails) into the inside of the bag.
Attach your strap firmly to avoid pulling or gaps. Hide all your yarn tails for a clean finish.
- Turn your bag right side out.
- Adjust the shape with your hands if needed.
Conclusion
Congratulations! You’ve completed a modern, sturdy crochet bag, perfect for daily use. The simple repeat pattern makes for quick and satisfying rows, and the plain border and thick strap ensure durability. You can adjust this pattern for any size or style, experiment with colors or yarn types, and embellish with any details you like for a truly personal accessory.
From flat foundation, up through the easy pattern rounds, to the simple but strong strap, this bag is ideal for growing your crochet skills. Enjoy your new handmade creation, and don’t hesitate to make more in every color.
Happy crocheting!
Pattern Quick Recap:
- Make a foundation chain (width of bag), add 1, then work sc in the BLO for the base, adding extra sc at each end.
- Join into a round and work (sc, dc) in one stitch, skip one, and repeat around for the body.
- Add as many textured rounds as you wish for height.
- Finish with single crochet border rounds.
- Create and attach thick strap; weave in all ends.
- Flip, adjust, and enjoy your modern custom bag!