
Cutest Crochet Amigurumi Little Doll Pattern Ever
Delight a special child with a precious, pocket sized doll made with love using this fun and totally free crochet amigurumi pattern.
Soft yarn and a cozy hook can turn into the most delightful little treasures. This project offers a sense of comfort and charm that’s hard to ignore. Cute, compact, and heartwarming, it’s the type of handmade piece that instantly becomes special. Perfect for gifting to loved ones or showcasing on a shelf, its personality stands out in the sweetest way.
With an ideal mix of detail and simplicity, this design works up at a relaxing pace and offers a joyful experience for both beginners and intermediate skill levels. It’s shaped with care, featuring delicate curves and cute accents that bring it to life. Crochet techniques such as seamless stitching, magic circles, and thoughtful color blending make every stitch enjoyable and rewarding.
Adorable Amigurumi Little Doll Pattern to Brighten Your Day
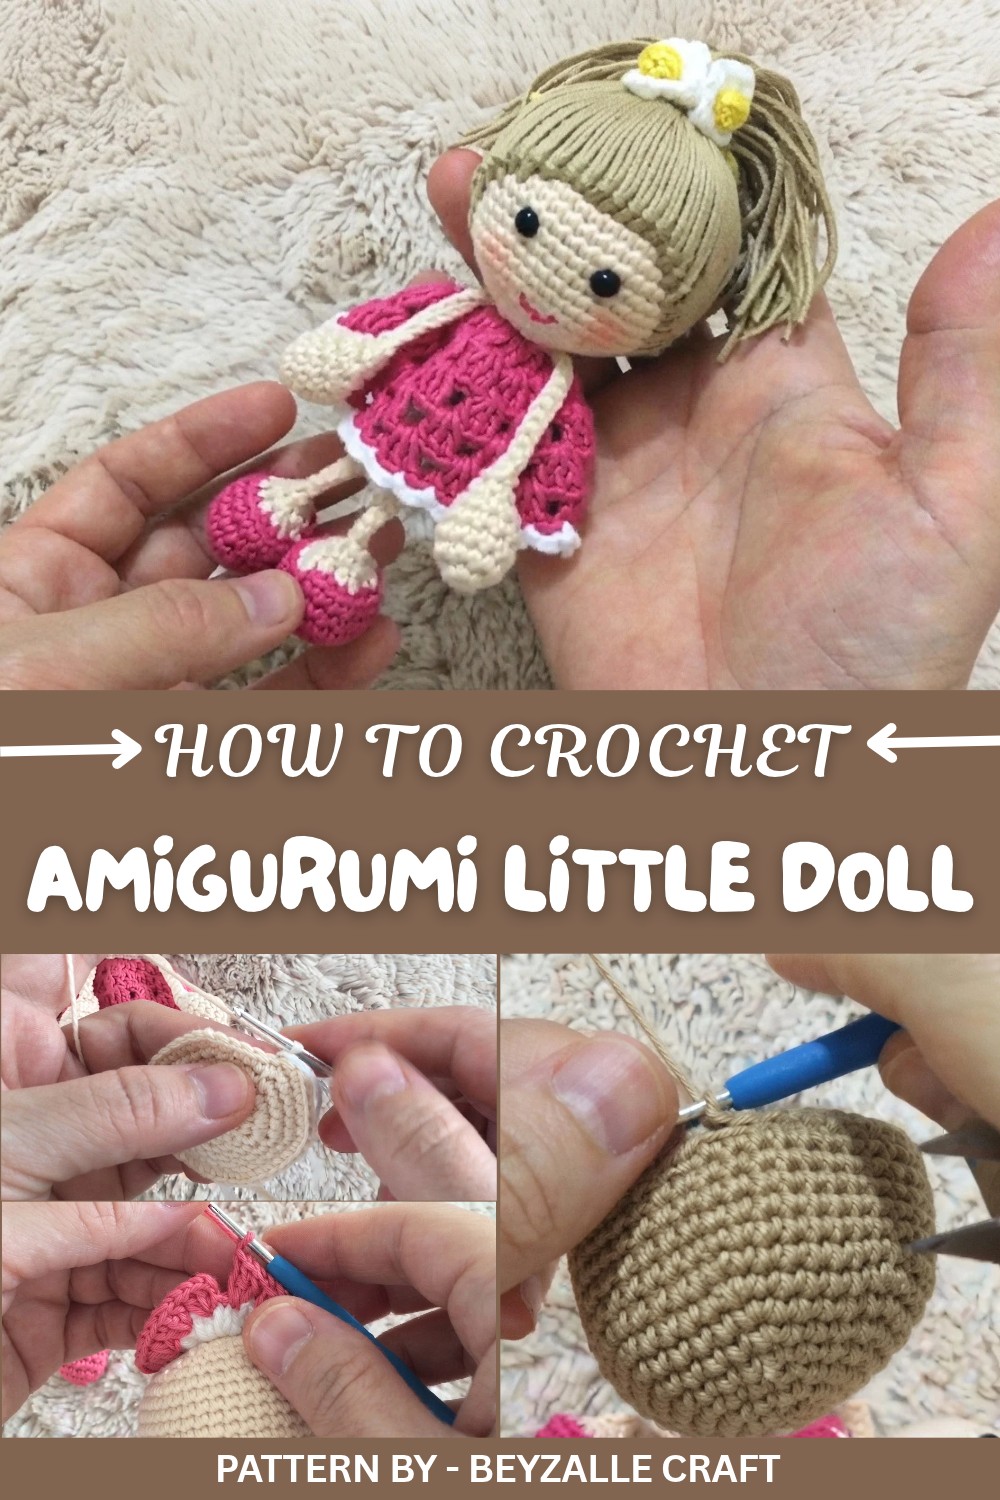
To make your creation truly shine, soft acrylic or vibrant cotton yarns work wonders. The choice of colors can set the mood—whether that’s bold and bright or soft and muted. Once complete, this piece radiates warmth and character, making it perfect for thoughtful presents or cozy room décor.
Pattern By Beyzalle CRAFT
Serious charm packed into a manageable project, don't miss the chance to bring this adorable idea straight to your hook. The full tutorial video reveals all the essentials to stitch up this lovable crochet design.
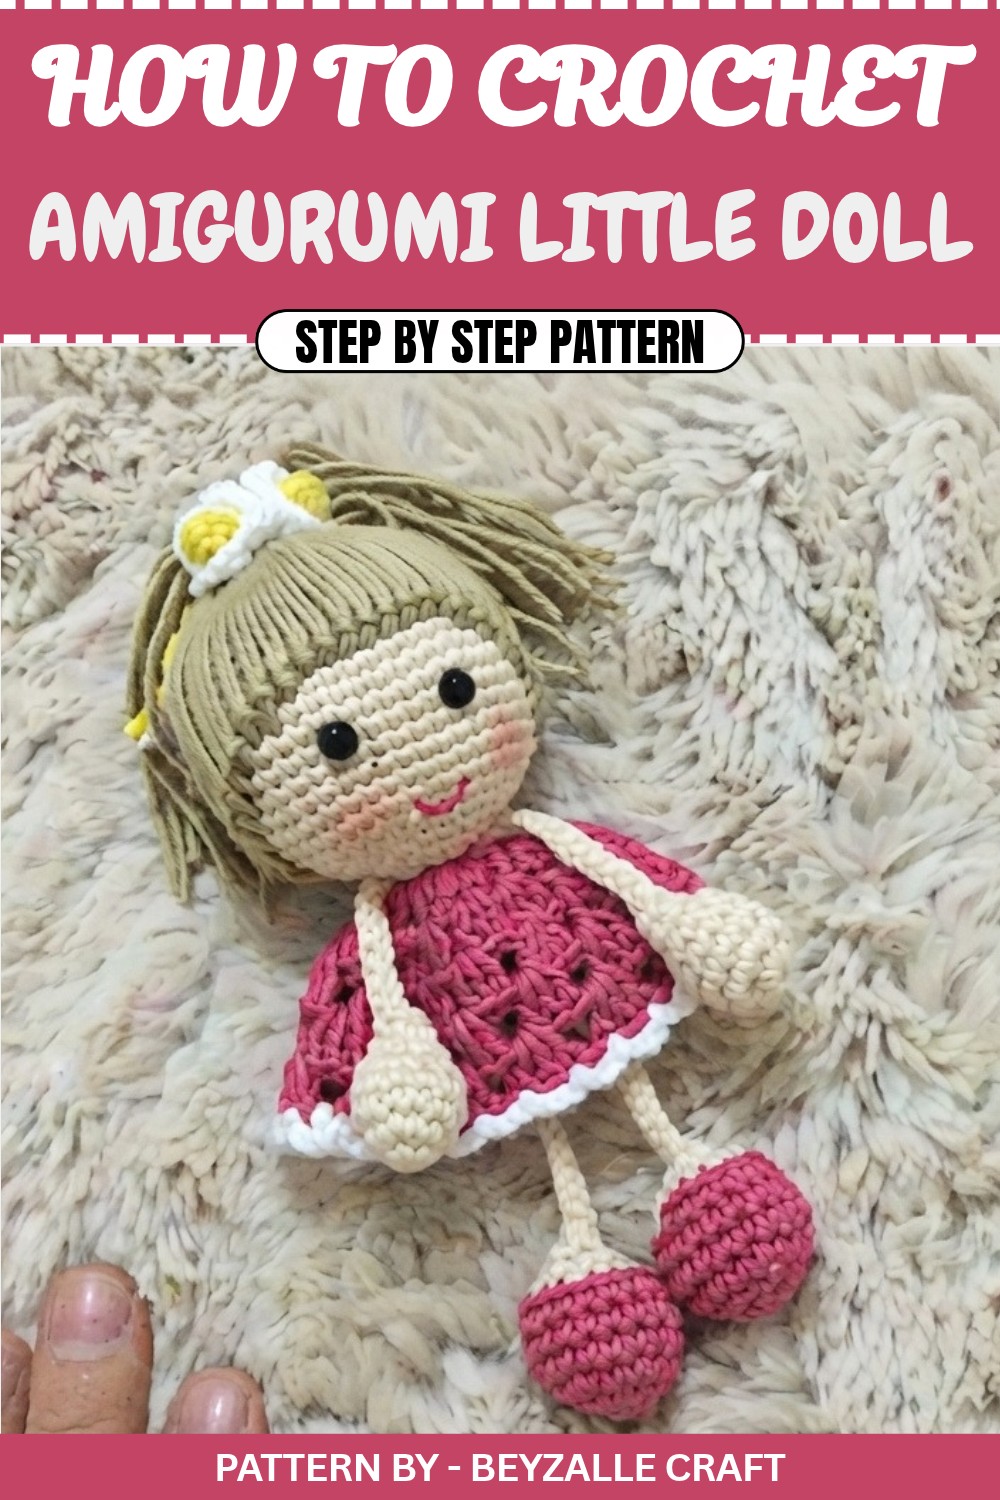
Free Crochet Pattern: Seamless Amigurumi Doll with Dress and Hair
This crochet tutorial will guide you through creating a charming and dashing seamless amigurumi doll. Designed with simplicity in mind, this pattern is beginner friendly and does not involve any sewing, perfect for those just starting out. From the doll's head to its adorable accessories, every step is detailed to ensure your crafting experience is smooth and enjoyable.
Quick Overview of the Pattern
- Project: Seamless amigurumi doll
- Difficulty Level: Beginner
- Techniques Used: Magic ring, single crochet, increases, decreases, slip stitches, and surface crochet
- Key Highlights:
- Completely seamless for a polished and professional look
- No sewing required, making assembly hassle-free
- Adds details like clothing, hair, and facial features with ease
Notes
- This pattern is designed to be uncomplicated, making it ideal for newcomers.
- The doll is seamless, meaning no additional sewing is required for assembling the body parts. The arms, legs, and body are crocheted directly onto each other.
- The doll’s size and hairstyle can be customized to create unique variations.
- For embellishments, you can use ribbons, buttons, or embroidery threads to suit your doll’s personality.
Skill Level
Beginner – Basic understanding of amigurumi techniques like working in a spiral, magic ring, and stitch increases/decreases is helpful.
Materials
- Yarn:
- Skin color: Beige or any preferred shade
- Main dress color: Pink or your choice
- Hair: Any color (e.g., brown, black, blonde)
- Accent color for dress borders (optional): White
- Hook: 2.0 mm crochet hook
- Safety Eyes: 6 mm
- Fiberfill Stuffing: For stuffing the doll
- Tapestry Needle: For weaving in ends and sewing decorative details
- Stitch Marker: To mark the beginning of rounds
- Scissors
Measurements / Sizing
- The doll measures approximately 12–15 cm tall (depending on tension and materials used).
Gauge
Gauge is not critical for this project. Ensure your stitches are tight and even to avoid stuffing showing through.
Stitch Abbreviations
- MR: Magic Ring
- SC: Single Crochet
- INC: Increase (2 SC in one stitch)
- DEC: Decrease (reduce 2 SC into one)
- BLO: Back Loop Only
- SL ST: Slip Stitch
- CH: Chain
Special Stitches
- Invisible Decrease (INV DEC): Insert the hook into the front loops of the next two stitches, yarn over, and pull through both loops. Yarn over again and pull through the remaining two loops to complete the decrease.
The Crochet Pattern
Head and Body (Seamless)
Head
- Round 1: MR, work 6 SC into it. (6)
- Round 2: INC in each stitch around. (12)
- Round 3: [1 SC, INC] x 6. (18)
- Round 4: [2 SC, INC] x 6. (24)
- Round 5: [3 SC, INC] x 6. (30)
- Round 6: [4 SC, INC] x 6. (36)
- Round 7: [5 SC, INC] x 6. (42)
- Rounds 8–12: SC evenly (42).
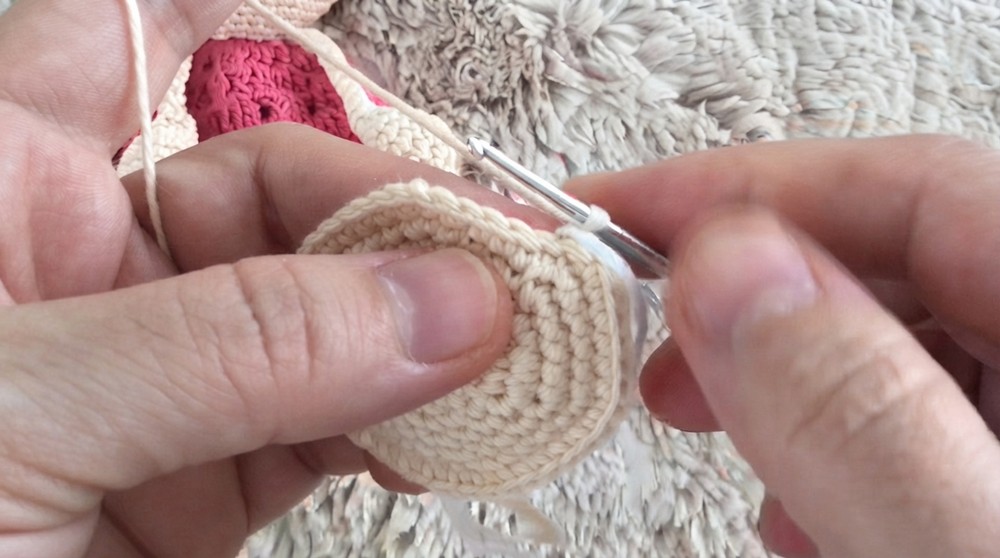
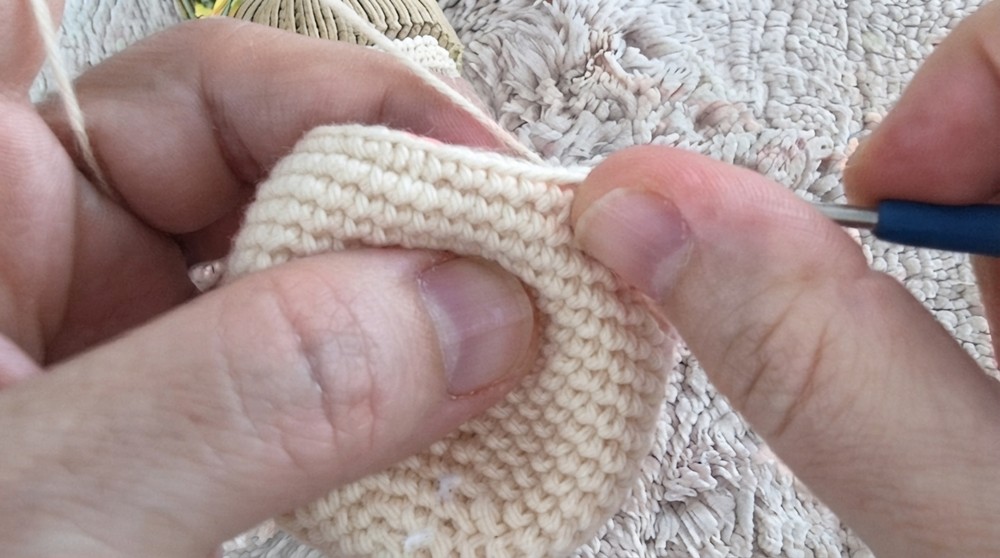
Note: Insert safety eyes between Rounds 11 and 12, leaving a 5 stitch gap in between.
Decreasing the Head
- Round 13: [5 SC, DEC] x 6. (36)
- Round 14: [4 SC, DEC] x 6. (30)
- Round 15: [3 SC, DEC] x 6. (24)
Add stuffing to the head.
- Round 16: [2 SC, DEC] x 6. (18)
- Round 17: [1 SC, DEC] x 6. (12)
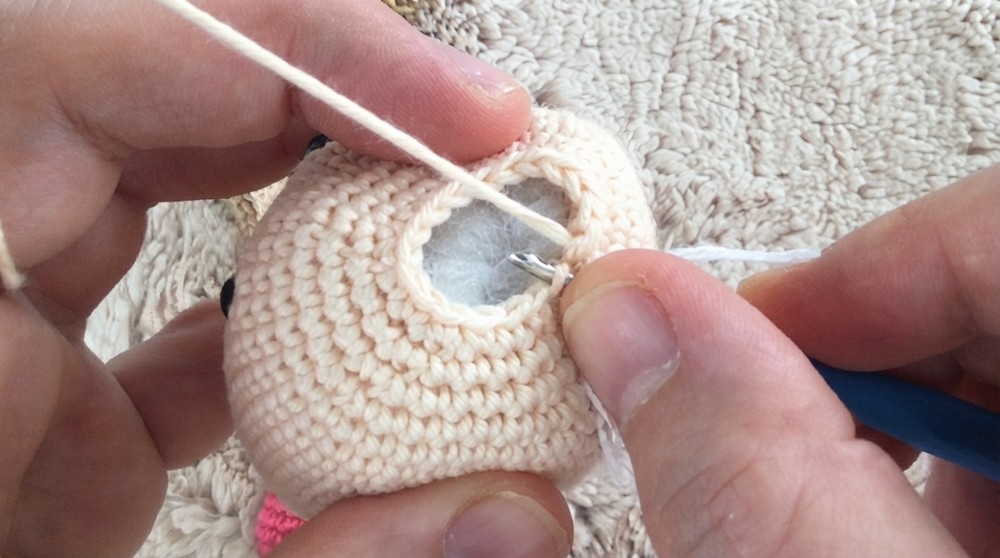
Body
Attach dress color yarn to continue.
- Round 18: Work in BLO (back loops only). [1 SC, INC] x 6. (18)
- Rounds 19–23: SC evenly (18).
- Round 24: [2 SC, DEC] x 6. (12)
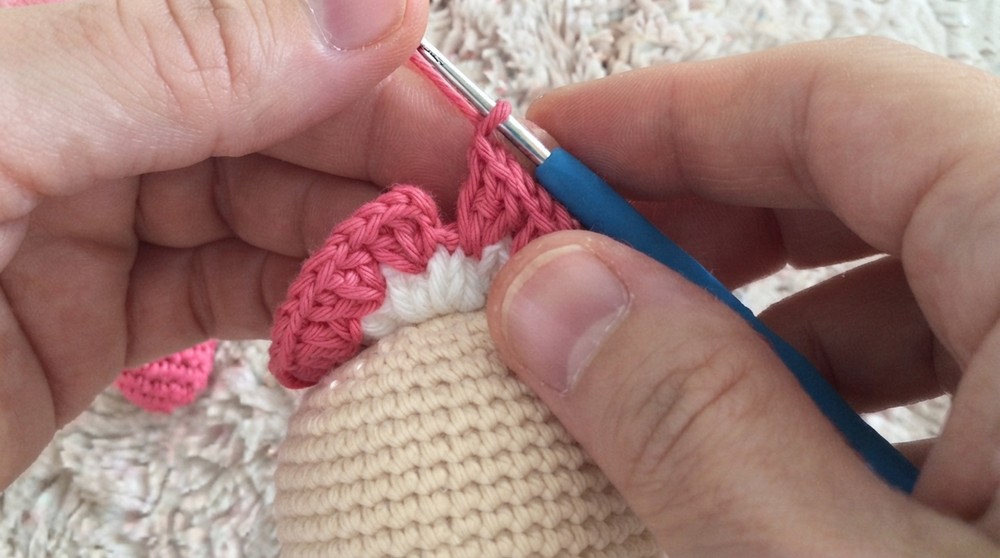
Stuff the body firmly as you continue.
- Round 25: [1 SC, DEC] x 6. (6).
Finish off using a needle to weave the opening closed.
Arms (Make 2)
- MR, work 6 SC into it. (6)
- Work 3 rounds of 6 SC.
- Stuff lightly, then close the top using a SL ST.
- Attach arms directly to the fifth row of the body.
Legs (Make 2)
- MR, work 6 SC. (6)
- Round 2: INC in each stitch around. (12)
- Switch to a new color for shoes and work 3 more rounds evenly.
- Lightly stuff, then close with a SL ST.
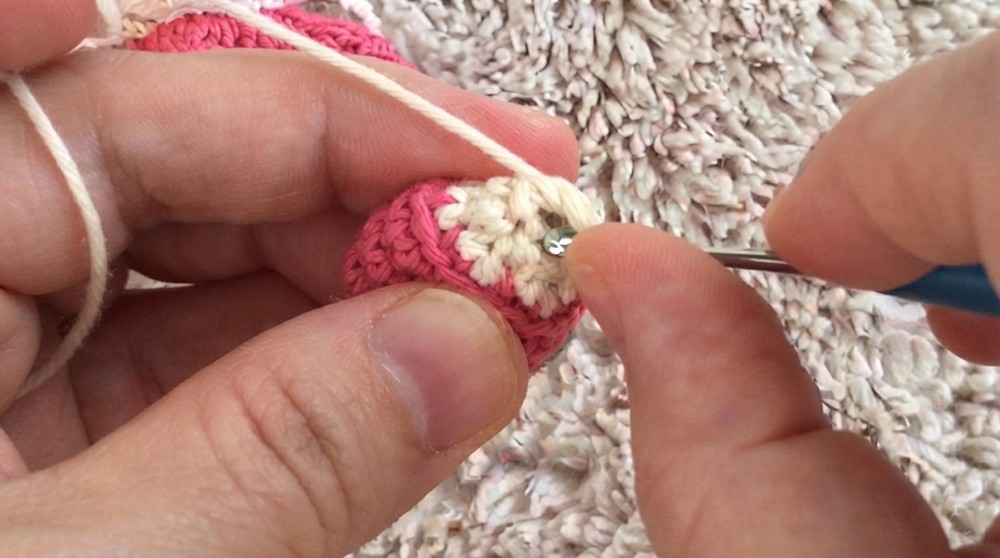
Sew the legs to the bottom of the doll’s body using overhand stitches.
Dress
Dress Collar
- Attach white yarn (or an accent color) to the BLO stitches from Round 18. Work evenly around.
- Row 1: [CH 3, skip 1 ST, SL ST into the next ST]. Repeat to create a decorative picot edge. Finish off.
Dress Skirt
- Reattach dress color yarn.
- Work 1 SC, INC in alternating stitches around.
- Continue with SC rounds, adding a few INC stitches to create the flared shape.
Hair
Cap Base
- Follow the same pattern as the head up to Round 7. (42 SC)
- Work 6 more rounds of 42 SC evenly to form the base cap for the hair.
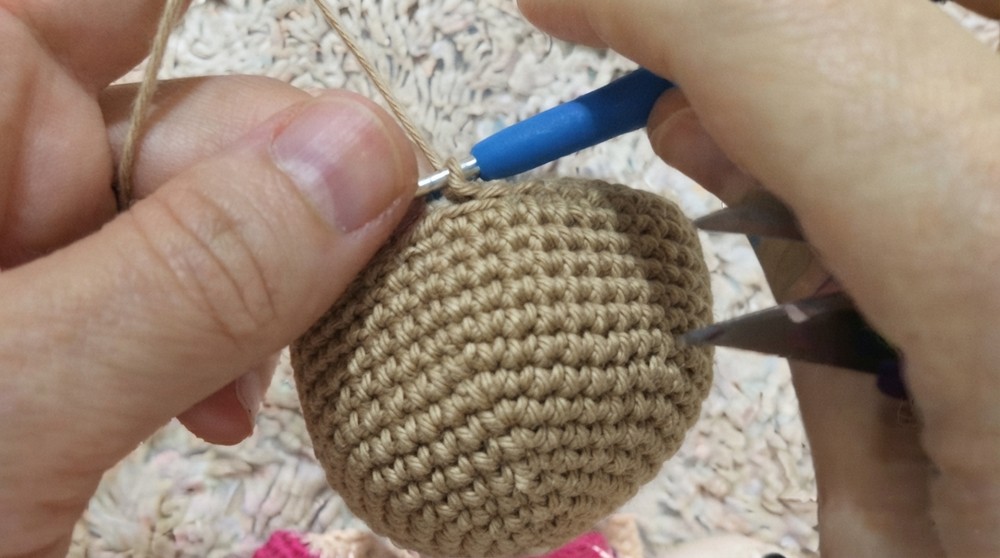
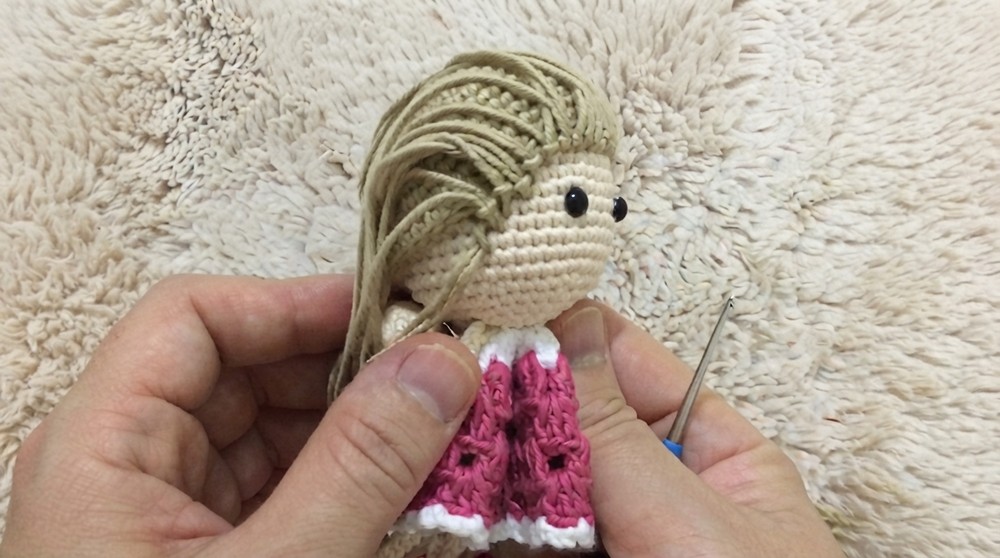
Attaching the Hair
- Position the cap on the doll’s head to mark the hairline.
- Prepare strands of yarn to the desired hair length.
- Using a hook, loop and attach strands to the stitches of the hair cap. Pull to tighten.
- Once all the hair has been attached to the cap, style it as desired (braid, ponytail, or leave loose).
Assembly & Finishing Touches
- Attach and secure the hair cap to the doll’s head using a tapestry needle.
- Adjust the hair length if needed and style accordingly.
- Use embroidery thread to create details like eyelashes or a smile.
- Add decorations, like ribbons, small bows, or jewelry, to complete the look.
Finished Size
- Approximate height: 12–15 cm, depending on yarn and hook size.
- Scalable for larger dolls with additional rounds during increases.
Conclusion and Final Words
Congratulations on completing your seamless amigurumi doll. This simple, no sew pattern provides the perfect base for unleashing your creativity. Customize your doll's dress, hair, and features in any way you like. This doll makes an excellent gift for children and a wonderful addition to your amigurumi collection.