
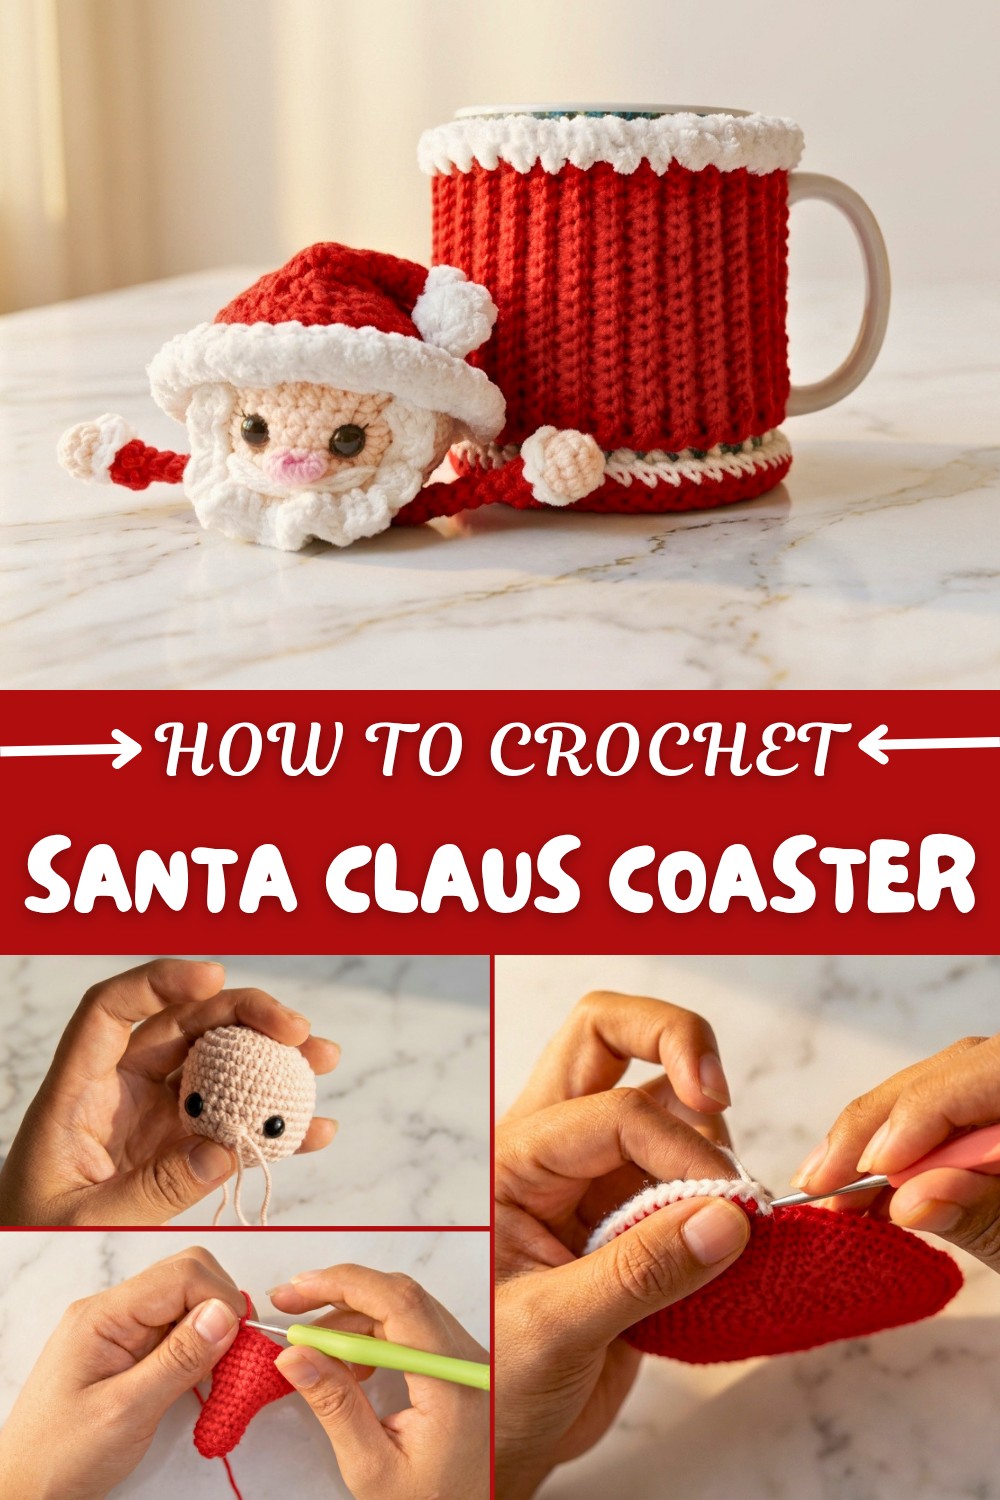
Cute Crochet Santa Claus Coaster Pattern for Festive Moments
Update your holiday decor with a free crochet Santa Claus Coaster pattern that's cheerful, easy for all, and brings a smile to any table.
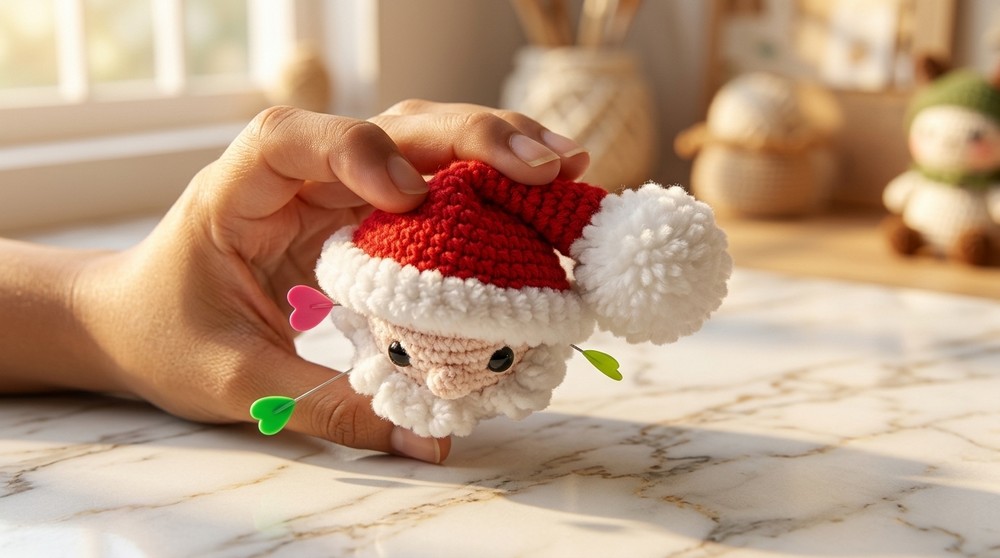
Are you ready to bring a touch of festive cheer to your home or holiday table? This Crochet Santa Claus Coaster Pattern is an adorable and functional project that makes for the perfect Christmas decoration or gift! With its playful features—such as Santa’s rosy cheeks, fluffy beard, and iconic red hat—this coaster pattern combines both charm and practicality. Worked in cheerful red, white, black, and a soft skin-tone yarn, it’s the perfect addition to all things merry and bright. Whether you’re looking for a cozy place to rest your holiday mug or a handmade gift for someone special, this project is sure to delight.
Joyful Free Crochet Santa Claus Coaster Pattern for Christmas Cheer
This pattern is designed with beginner and intermediate crocheters in mind, and it’s a fantastic way to practice classic crochet techniques. You’ll crochet Santa’s adorable hat with increases, sculpt his round face and plump eyes using decreasing and shaping techniques, and add delightful textures using slip stitches and the crab stitch. Plus, the chenille yarn details give Santa’s beard and pom-pom a fluffy, festive touch. The pattern even includes fun finishing steps like painting rosy cheeks or attaching small embellishments for that extra dose of holiday magic.
What Else Can You Crochet Using These Techniques?
Once you've mastered this pattern, the skills you develop can be used to make:
- Themed Coasters: Create other holiday characters like a snowman or reindeer.
- Amigurumi Projects: Use the shaping methods to crochet dolls, animals, or other plushies.
- Holiday Decor: Turn the Santa pattern into a tree ornament or decorative centerpiece.
- Table Accessories: Make a matching set of coasters or placemats for your holiday table.

Final Highlights of this Pattern
- Friendly for beginners but engaging enough for seasoned crocheters.
- Customizable details like colors and embellishments to match your holiday theme.
- A perfect handmade gift for Christmas celebrations.
- A joyful way to learn and polish crochet techniques that can be applied to countless projects.
Santa Claus Coaster Crochet Pattern
Crochet your very own adorable Santa Claus coaster—perfect for festive décor or a thoughtful gift! This pattern walks you through step-by-step instructions for making Santa’s head, beard, hat, hands, feet, and even his base. With simple stitches and an easy-to-follow method, this project is beginner-friendly and yields a charming holiday decoration.
Skill Level & Terminology
- Skill Level: Beginner
- Terminology: US Crochet Terms
Materials & Tools
- Yarn:
- Skin color (Santa’s head and hands)
- Red yarn (Santa’s hat, clothing, and base)
- White chenille yarn (beard and hat pom-pom)
- Black yarn (Santa’s boots and embroidery details)
- Crochet Hooks:
- 1.75 mm hook (details like hands and feet)
- 2.5 mm hook (hat pom-pom and edges)
- Scissors
- Tapestry/Darning Needle
- Glue (optional for assembling parts)
Gauge
Gauge is not critical for this project. A tight tension is preferred to maintain shape and firmness for Santa's design.
Abbreviations List
- MR: Magic Ring
- Ch: Chain Stitch
- Sc: Single Crochet
- Inc: Increase (2 Sc in the same stitch)
- Slst: Slip Stitch
- Dec: Decrease (combine 2 stitches into 1 stitch)
- Hdc: Half Double Crochet
Special Stitch Instructions
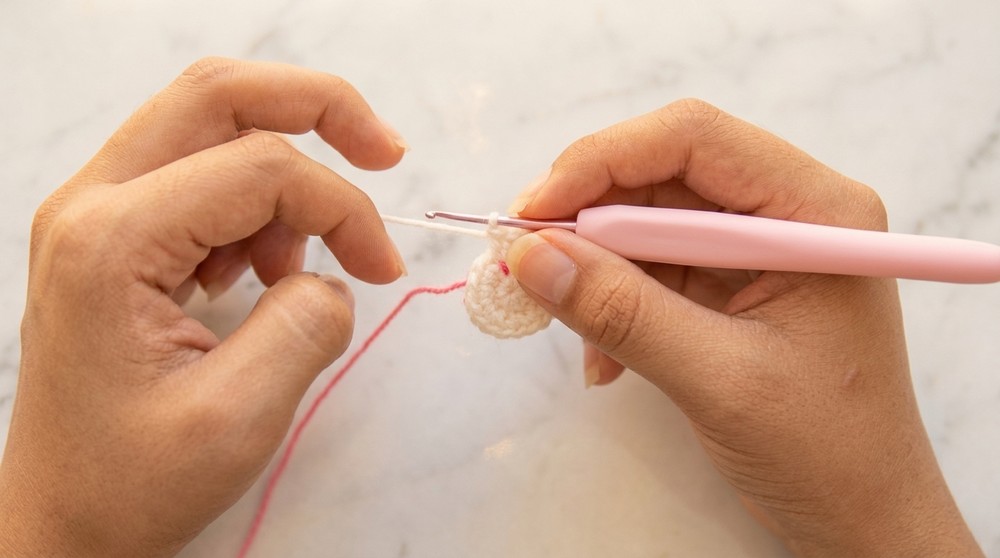
Magic Ring (MR)
- Create a loop with the yarn.
- Insert the hook into the loop, yarn over, pull up a loop, and chain 1 to secure.
Crab Stitch (Reverse Single Crochet)
- Work backward (to the left) into the previous stitch.
- Insert hook, yarn over, pull up a loop, yarn over again, and pull through both loops.
Finished Size
The completed Santa Claus coaster measures approximately 5–6 inches across, depending on yarn thickness and crochet tension.
What You’ll Learn from This Pattern
- Shaping Techniques: Create Santa’s round face and hat using magic rings, increases, and decreases.
- Decorative Edging: Add a polished border to your coaster using the crab stitch.
- Detailing Skills: Learn how to craft tiny features like eyebrows, a fluffy beard, and a pom-pom.
- Assembly Tips: Techniques for sewing and attaching the arms, feet, and other details.
The Pattern Itself
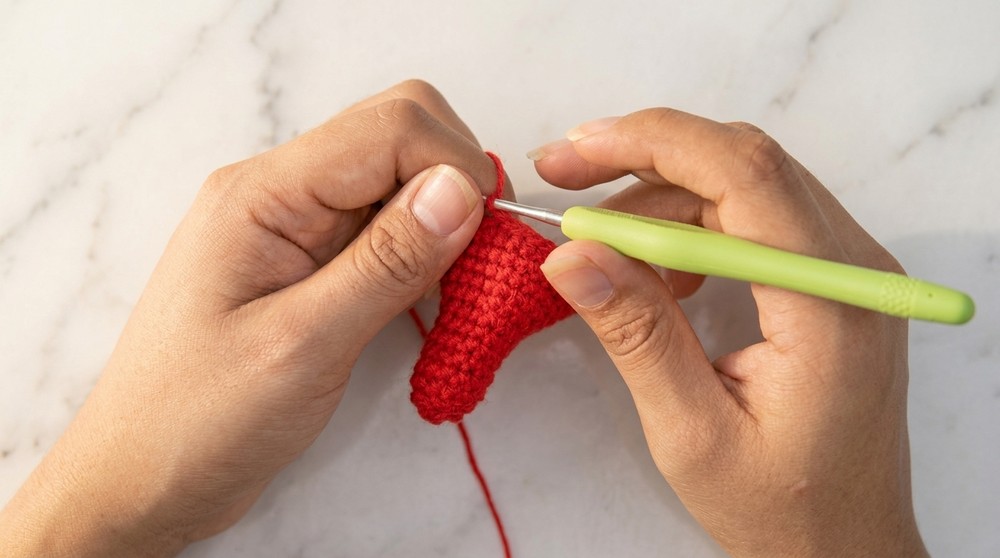
Santa’s Head (Skin Color)
- Round 1:
- Create a Magic Ring (MR) and work 7 Sc inside. Close the loop with a Slst. (7 stitches)
- Round 2:
- Work 7 Inc (2 Sc in each stitch). (14 stitches)
- Round 3:
- Sc 1, Inc, repeat around. (21 stitches)
- Round 4:
- Sc 2, Inc, repeat around. (28 stitches)
- Round 5:
- Sc 3, Inc, repeat around. (35 stitches)
- Rounds 6–14:
- Work 1 Sc in each stitch. (35 stitches)
- Round 15:
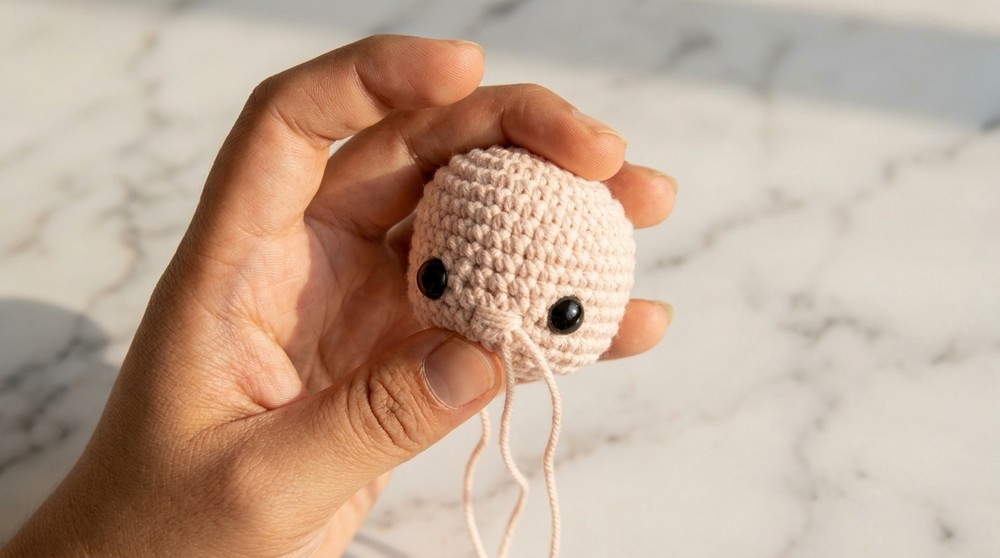
- Sc 3, Dec, repeat around. (28 stitches)
- Pause to Attach Eyes: Insert safety eyes between rounds 11 and 12, spaced 6 stitches apart.
- Round 16:
- Sc 2, Dec, repeat around. (21 stitches)
- Round 17:
- Sc 1, Dec, repeat around. (14 stitches)
- Round 18:
- Work 7 Dec (combine stitches into one). (7 stitches)
- Fasten off, leaving a long tail for sewing.
For Beginners: This forms the circular foundation and structure for Santa’s head. Follow the sequence of increases and decreases carefully for a symmetrical shape.
Beard (White Yarn)
- Chain 21:
- Skip the first chain and work across using the following pattern:
- Slst into the second chain.
- Sc into the next chain.
- 3 Hdc in the next chain stitch.
- Skip the first chain and work across using the following pattern:
- Repeat 3 Hdc for every chain across, leaving 2 chains at the end.
- Work 1 Sc and 1 Slst into the last two chains to finish. Fasten off.
- Position the beard on Santa’s face and sew or glue into place just below Santa's nose.For Beginners: This simple decorative piece forms Santa’s iconic white beard. Feel free to glue this on for added convenience.
Hat (Red Yarn with White Chenille Edge)
- Round 1:
- Create a Magic Ring (MR) and work 6 Sc inside. (6 stitches)
- Round 2:
- Sc 1, Inc, repeat around. (9 stitches)
- Round 3:
- Sc 2, Inc, repeat around. (12 stitches)
- Round 4:
- Work 1 Sc in each stitch. (12 stitches)
- Rounds 5–10:
- Continue increasing in a spiral:
- Round 5: Sc 3, Inc (15 stitches).
- Round 6: Sc 4, Inc (18 stitches).
- Round 7: Sc 5, Inc (21 stitches).
- Round 8: Sc 6, Inc (24 stitches).
- Round 9: Sc 7, Inc (27 stitches).
- Continue increasing in a spiral:
- Rounds 10–12:
- Work 1 Sc in each stitch (27 stitches).
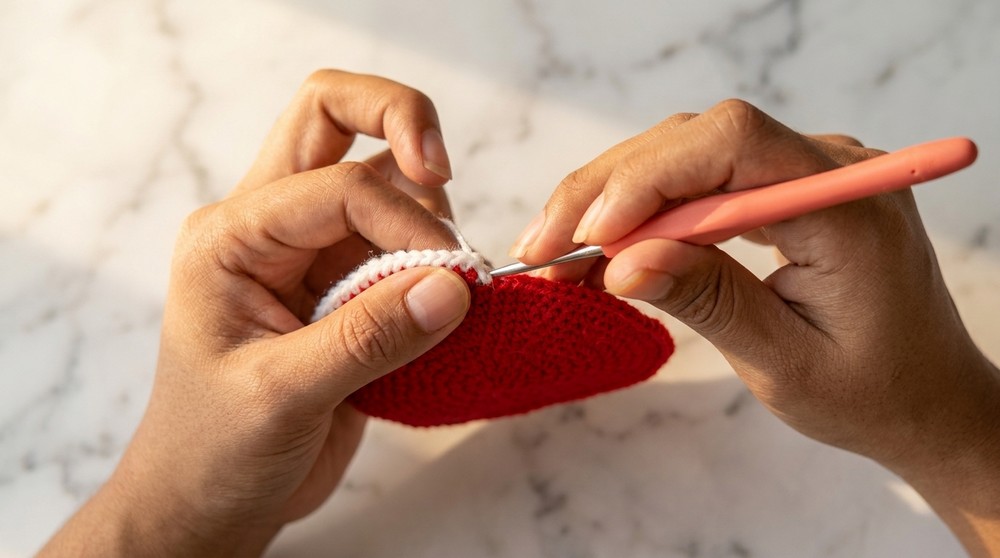
- Chenille Edge: Switch to white chenille yarn and crab stitch (reverse single crochet) around the edge for a textured trim. Fasten off.The hat is worked in rounds and gradually increases after each row to form its cone shape. The chenille adds a polished, whimsical finish.
Hat Pom-Pom (White Chenille Yarn)
- Round 1:
- Work 6 Sc into a MR.
- Round 2:
- Inc in each stitch. (12 stitches)
- Rounds 3–4:
- Work 1 Sc in each stitch. (12 stitches)
- Add fiberfill to the pom-pom before finishing.
- Round 5:
- Work 6 Dec (close all stitches). (6 stitches)
- Fasten off and sew onto the tip of the hat.
Santa’s Hands and Feet
Hands (Skin and Red Yarn)
- Round 1:
- Work 7 Sc into a MR with skin-color yarn.
- Rounds 2–3:
- Work Sc stitch over stitch (7 stitches).
- Round 4:
- Switch to red yarn and work Sc stitch over stitch (7 stitches).
- Fold and close with 3 Sc through both layers.
- Optional: Add white edging using white chenille yarn.
Feet (Black and Red Yarn)
- Round 1:
- Work 6 Sc into a MR with black yarn.
- Rounds 2–3:
- Switch to red yarn and work Sc stitch over stitch (6 stitches).
- Fold and close with 3 Sc through both layers.
Base Coaster (Red Yarn)
- Round 1:
- Work 7 Sc into a MR.
2–10. Gradually increase each round as follows:
- Round 2: Inc in each stitch (14 stitches).
- Round 3: Sc 1, Inc (21 stitches).
- Round 4: Sc 2, Inc (28 stitches).
- Round 5: Sc 3, Inc (35 stitches).
- Continue similarly (adding 1 more Sc before each Inc) until Round 10 has 62 stitches.
- Finish off with white chenille crab stitches to create a textured edge.
This part forms the flat base of the coaster to hold a cup or mug, adding utility to Santa’s design.
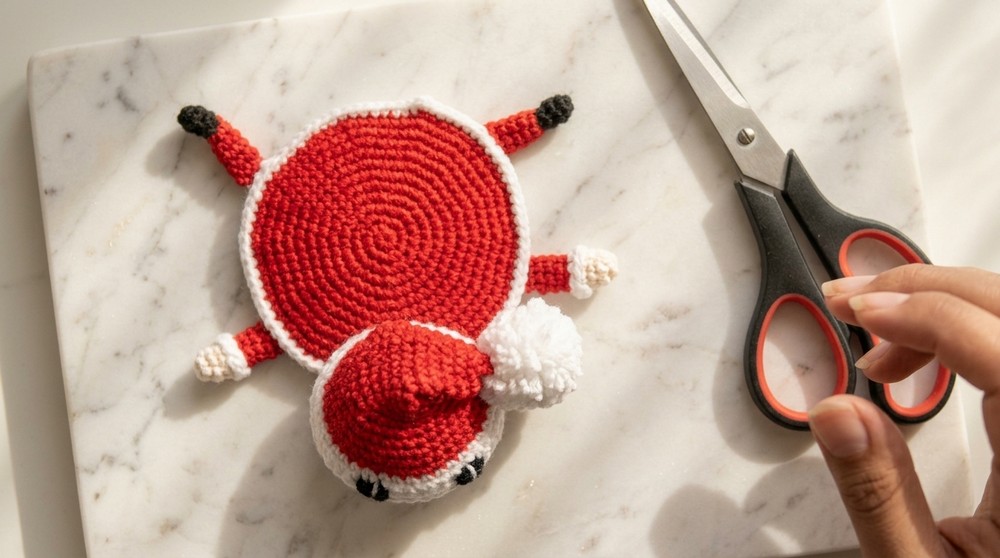
Assembly & Finishing
- Attach Pieces:
- Assemble the hat, beard, hands, and feet onto the head. Glue or sew them securely.
- Create Details:
- Embroider eyes, eyebrows, and facial features with yarn for added detail.
- Secure Santa’s Head to the Base:
- Attach the head to the coaster base using sewing or glue for stability.
How to Start and Stitches Used
Begin the project with the Magic Ring technique for all rounded pieces. The pattern uses basic stitches like single crochet (Sc), increases, decreases, and crab stitch (reverse single crochet). Follow the gradual increases for the head, coaster, and hat and assemble the decorative parts.
Conclusion
This Santa Claus coaster will add a pop of festive cheer to your holiday setups! Customize the color palette, add personalized touches, or make Santa part of your gift-giving this season. With straightforward techniques, this project is ideal for crafters of all levels, combining practicality and holiday fun. Enjoy creating Santa and spreading joy!