
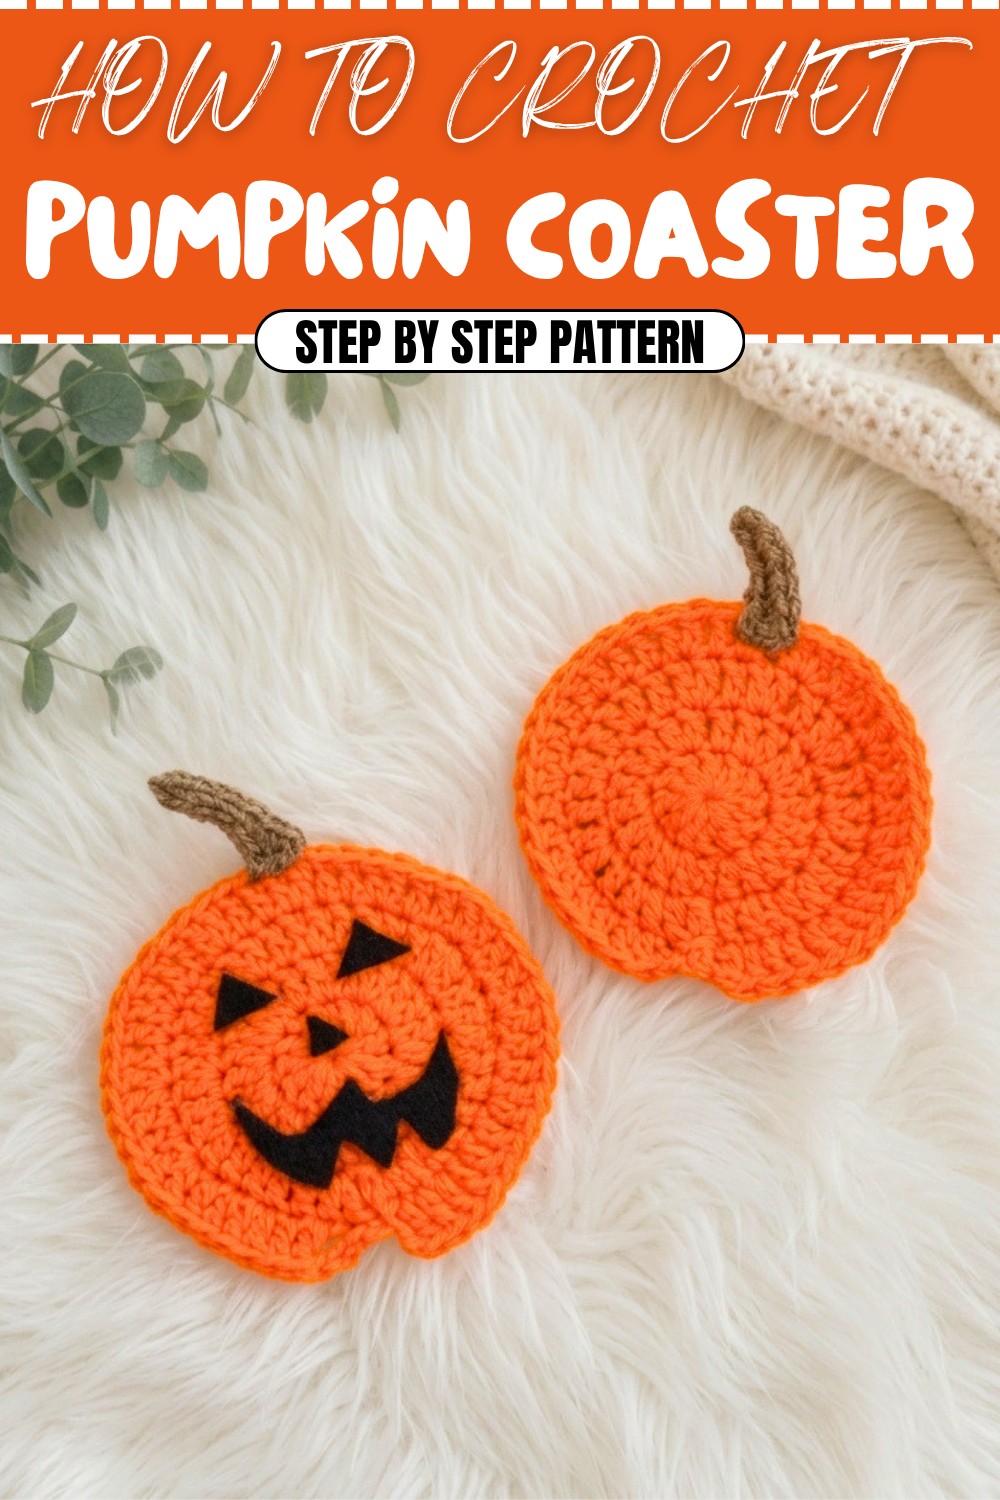
Crochet Pumpkin Coaster Free Pattern Autumn Table Charm
Follow a free crochet pumpkin coaster pattern that makes your fall table cute, easy to impress friends, and fun for autumn days.
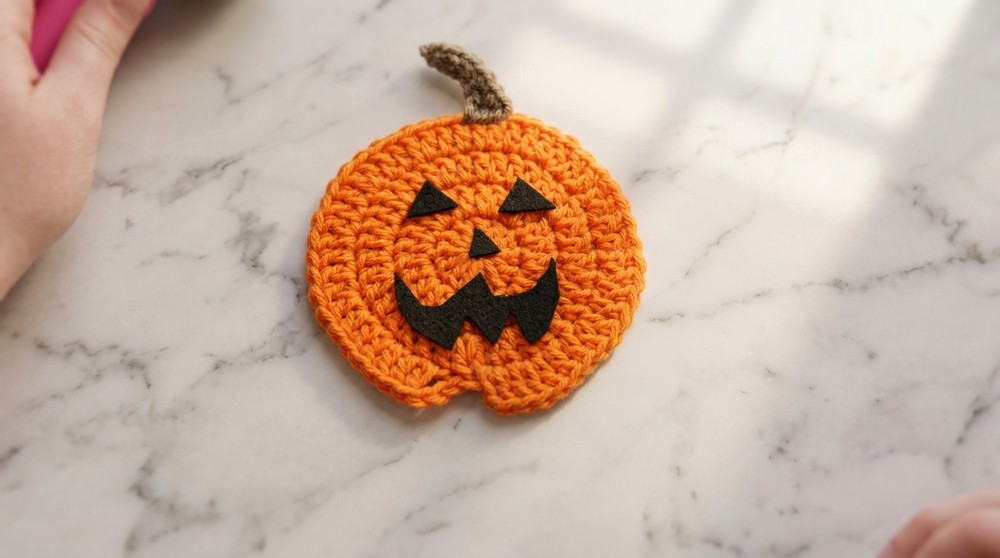
As the leaves start to fall and the air grows crocheting adorable pumpkin-shaped coasters. This crochet pattern is perfect for beginners and offers a charming way to bring warmth and seasonal vibes to your home. The vibrant orange body of the pumpkin, paired with a rustic brown or green stem, makes it a delightful addition to any table setting. Whether they’re used to hold your pumpkin spice latte, a steaming cup of tea, or as a decorative element for autumn gatherings, these versatile coasters will never fail to impress. What truly sets this pattern apart is the use of the magic ring technique for a seamless center and double crochet stitches to form the pumpkin’s body. These basic stitches give beginners a chance to master key techniques while creating something both functional and beautiful.
Free Crochet Pumpkin Coaster Pattern for Rustic Cozy Vibes
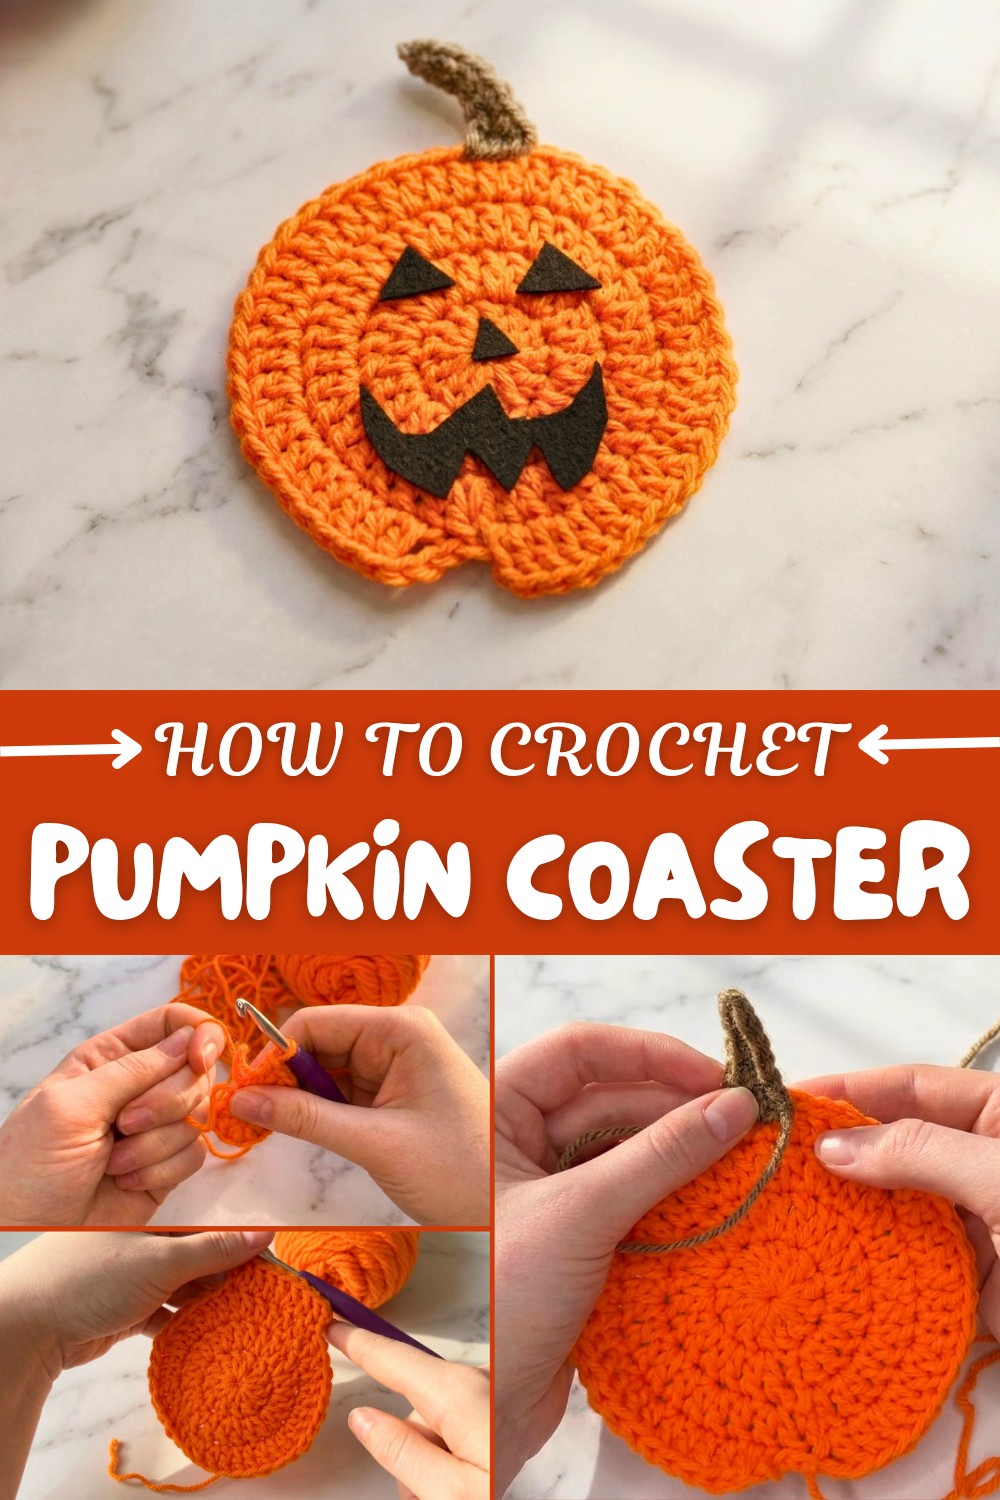
What’s especially exciting is how easily this project can be customized. Add a spooky twist by attaching a jack-o’-lantern face made of felt, or leave it as a simple pumpkin for a more understated autumn theme. The little stem, made with single crochet and finished with half double crochet, adds a nice touch, giving it that extra pumpkin-y charm.
Other Things You Can Crochet from This Pattern
This coaster design is incredibly versatile! Once mastered, you can easily adapt it for other creative projects:
- Larger placemats: Simply add more rounds to enlarge the pumpkin.
- Pumpkin garlands: String together multiple pumpkins for a festive decor piece.
- Amigurumi pumpkins: Incorporate the pattern with extra height and stuffing for 3D plush pumpkins.
- Keychains or ornaments: Use a smaller hook and thinner yarn for mini Halloween accessories
Reasons You'll Fall in Love with This Pattern
- Quick, beginner-friendly project for instant gratification.
- Perfect for autumn and Halloween aesthetics.
- Customizable for various shapes and colors.
- Great opportunity to use leftover yarn and felt scraps.
Crochet Pumpkin Coaster Pattern
Create adorable pumpkin or jack-o'-lantern coasters that are perfect for fall or Halloween decor! Whether you're sipping pumpkin spice lattes or hosting spooky gatherings, these crocheted coasters are a delightful way to bring seasonal charm to your home. By combining basic crochet stitches with some simple assembly, this project is great for beginners and can be made in less than an hour. Plus, you get the option to add a classic jack-o'-lantern face made from felt.
About this PATTERN
The pattern uses basic crochet techniques to create a pumpkin-shaped coaster featuring the warm colors of fall. The pumpkin base is built using double crochets (dc), while the stem incorporates single crochets (sc) and half double crochet (hdc) stitches. Add a Halloween twist by attaching felt shapes to give your pumpkin a playful jack-o'-lantern look. These coasters are beginner-friendly and can be customized in size or style by simply changing yarn colors or adjusting the round count.
Skill Level & Terminology
Skill Level: Beginner
Crochet Terms Used: US Terminology
Materials & Tools
- Yarn: Worsted weight yarn in Pumpkin Orange (for the base) and Brown or Dark Green (for the stem).
- Felt: Black felt for jack-o'-lantern details (optional).
- Hook: 5 mm crochet hook.
- Tools: Yarn needle, scissors, and fabric glue (for jack-o'-lantern details).
Gauge
Gauge is not critical for this project as the size of the coaster is adjustable. However, aim to keep your stitches uniform for an even result.
Abbreviations List
- ch: Chain
- dc: Double crochet
- sc: Single crochet
- hdc: Half double crochet
- sl st: Slip stitch
- rnd: Round
Special Stitch Instructions
- Magic Ring: Wrap the yarn around your fingers to create a loop. Work the first set of stitches inside the loop, then pull the tail tightly to close the ring.
Finished Size
Approximately 5 inches in diameter. The size may vary based on your tension and yarn.
The Pattern Itself
Pumpkin Coaster Base
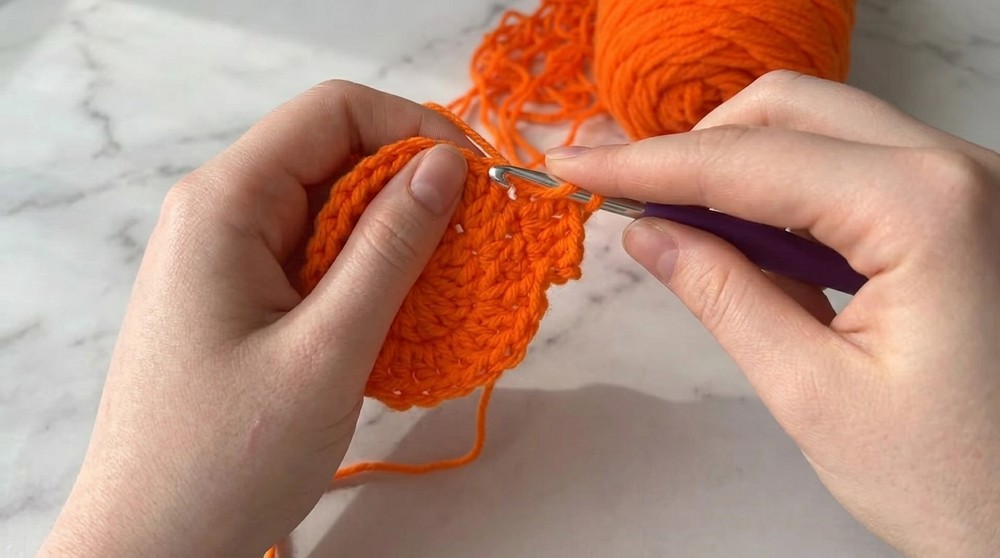
R1:
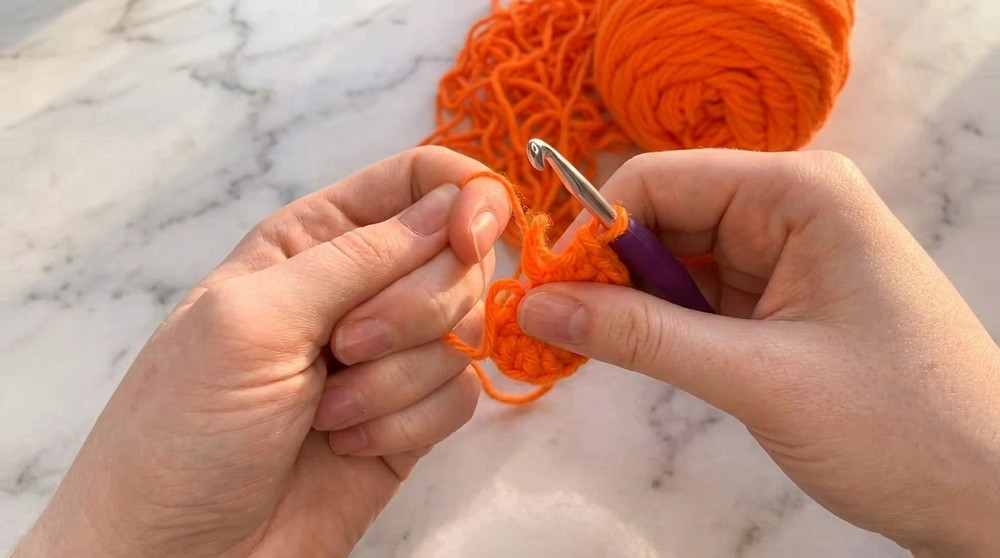
- Create a magic ring.
- Ch 2, then work 12 dc into the magic ring.
- Tighten the ring and sl st into the top of the first dc to join (12 sts).
👉 This is the foundation of your pumpkin coaster. The magic ring ensures a gap-free center. Keep your stitches consistent for a smooth shape!
R2:
- Ch 2, then work 2 dc into each stitch around (increase in every stitch).
- Sl st to join (24 sts).
👉 This round creates the first layer of expansion for the pumpkin body. Each stitch grows into a neat double-crochet pair.
R3:
- Ch 2, then work 1 dc in the first stitch, followed by 2 dc in the next stitch (pattern is 1 dc, 2 dc).
- Repeat this pattern around.
- Sl st to join (36 sts).
👉 The combination of single and double increases ensures the coaster keeps its round shape as it grows.
R4:
- Ch 2, work 1 dc in each of the next 2 stitches, followed by 2 dc in the next stitch (pattern is 2 dc, 2 dc in the next st).
- Repeat this pattern around until the last stitch.
- Ch 2, then sl st into the last unworked stitch. Finally, work another sl st into the first dc from the previous round. Break yarn and fasten off.
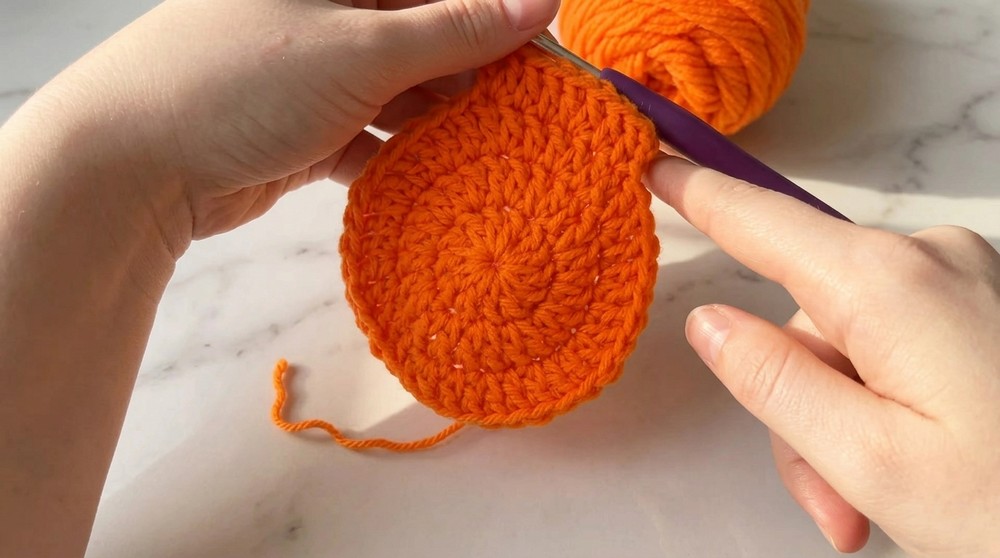
The final round creates an indentation, giving your pumpkin its realistic bottom curve.
Stem
Step 1:
- Attach brown or green yarn to the top-center of the pumpkin. Ch 7, making sure the chains are slightly loose for easy stitching.
Step 2:
- Starting in the second chain from the hook, work in the back loops:
- Sc in the first 4 ch.
- Hdc in the next ch.
- Dc in the last ch.
Step 3:
- Leave a tail long enough to sew the stem to the pumpkin. Break yarn and thread your needle.
Step 4:
- Position the stem at the top of the pumpkin to align with the bottom indent. Sew in place, making sure your stitches are invisible from the front. Knot securely and weave in any loose ends.
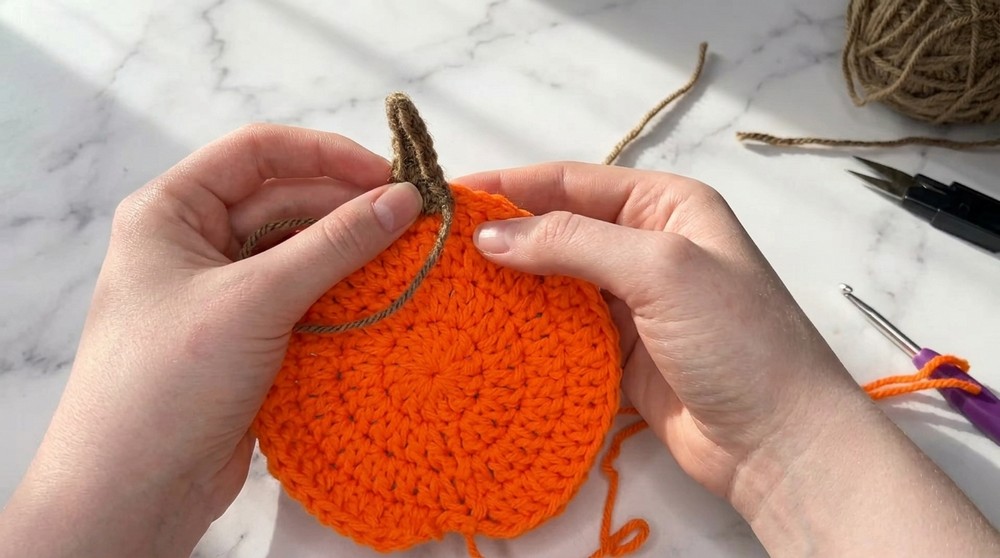
This quick, textured stem adds a realistic finishing touch to your pumpkin!
Jack-o'-Lantern Face (Optional)
Step 1:
- Use black felt to cut two triangles for the eyes, one smaller triangle for the nose, and a zigzag pattern for the mouth.
Step 2:
- Arrange the face on the pumpkin until you're satisfied with the positioning.
Step 3:
- Use fabric glue to attach the felt pieces to the pumpkin coaster. Ensure the glue is fully dry before use. (Avoid hot glue for this step, as heat from a cup may remelt it.)
For a classic Halloween vibe, the jack-o’-lantern face adds character to your coaster.
Assembly & Finishing
- Tie in all loose ends from the orange base and stem securely.
- If adding felt details, firmly press down to attach them securely with the glue.
- Block your work lightly, if needed, to ensure the coaster lays flat.
How to Start & Stitches Used
To begin, you'll need to know how to make a magic ring and use simple stitches like double crochet (dc), single crochet (sc), and half double crochet (hdc). These stitches combine to create a sturdy yet decorative base for the pumpkin, while the stem is shaped with textured height variations. This is a great opportunity to practice circular crochet techniques and assembly skills.
What You Will Learn from This Pattern
- Circular Crochet: How to crochet in rounds using a magic ring for seamless finishes.
- Increasing Stitches: The technique to enlarge shapes while maintaining a flat surface.
- Assembly Skills: Attaching details, such as the stem, with hidden stitches for a polished final look.
- Customization: Adding personality with felt shapes for versatile creations.