
Crochet Witch Hat Free Pattern With Simple Instructions
Learn how to crochet a charming witch hat with this free pattern, designed to help you create a fun and stylish accessory perfect for Halloween or dress-up.
The first thing you’ll notice about this crochet witch hat is how perfectly its tall, pointed shape and wide brim capture the classic Halloween look. The hat stands up on its own, with a smooth, neat texture all around, thanks to simple, tight stitches that give it a clean and finished appearance. There’s just something about the way the brim curves slightly and the tip leans ever so gently that makes the hat look both playful and magical.
Crochet Witch Hat – Free Pattern for Magical Costumes
Made in black yarn, the witch hat has a bold and eye-catching look that fits right in with any spooky decoration or themed party. If you want to make it even more special, you can wrap a stripe of colored yarn around the base or add a tiny felt buckle. This small touch changes the whole mood of the hat, letting you give it your own creative spin.
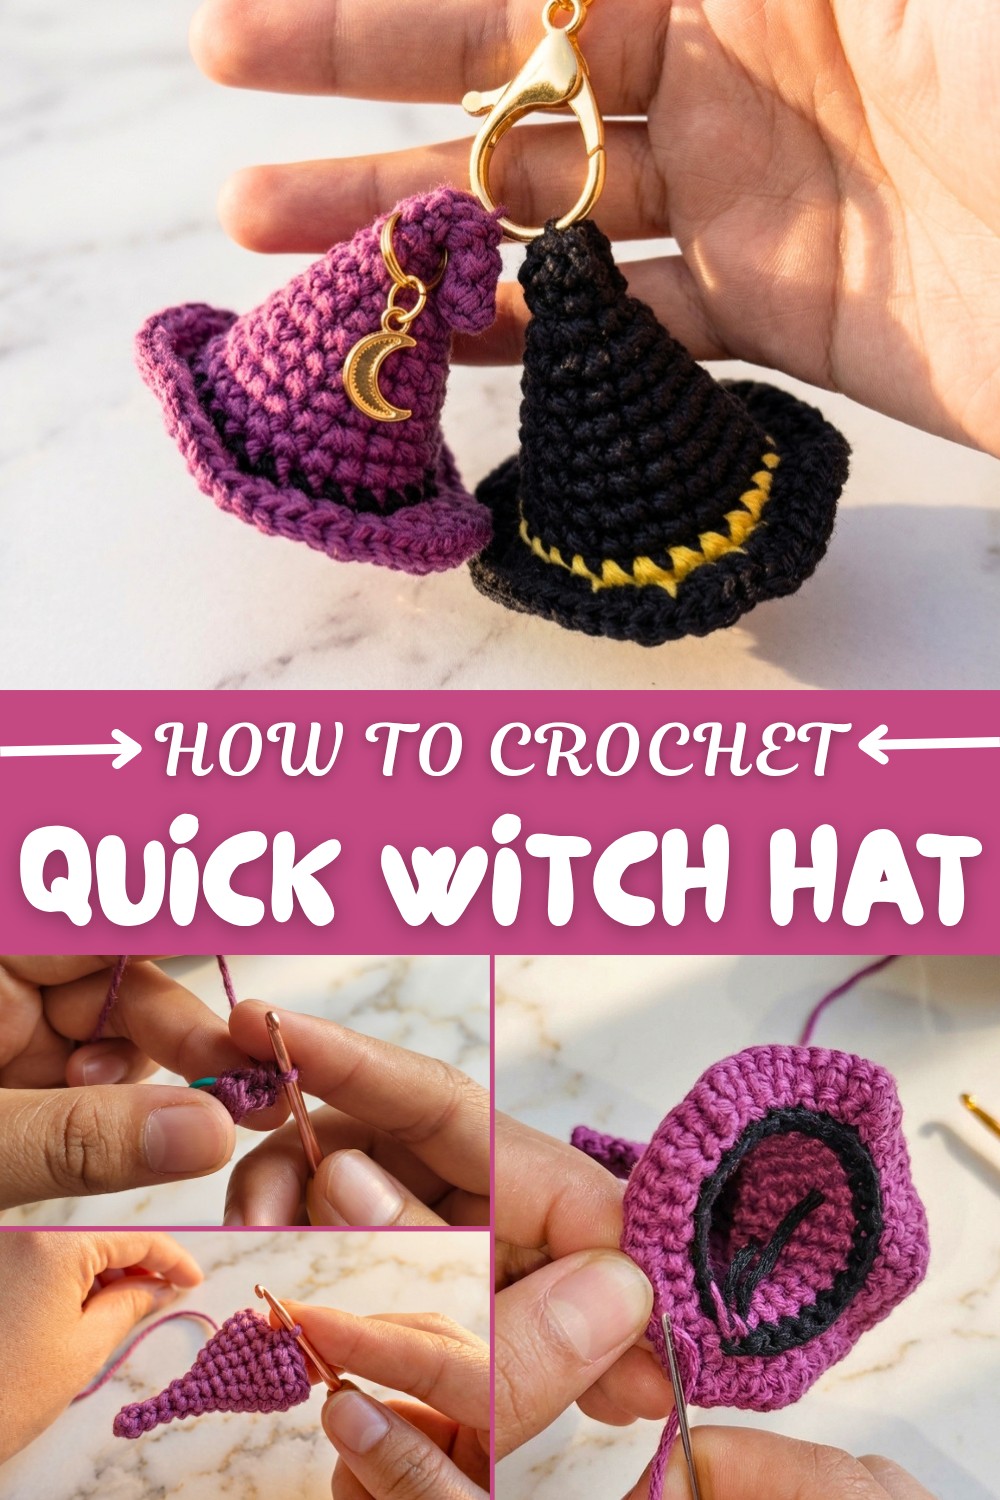
What’s great about this pattern is how easy it is to make the details shine. Since it uses mostly single crochet and simple shaping, even beginners can get a crisp, defined finish. The texture is strong, and the hat holds its shape, which means you can use it for lots of things. Place it on a table as a decoration, pop it onto a plushie or doll for a costume, or make a mini version as a cute keychain.
The Free Crochet Witch Hat Pattern is an ideal way to add a touch of Halloween fun to your home, party, or handmade gift. It looks adorable on its own, and you can easily try different sizes for even more creative uses. This little hat is sure to make you smile every October.
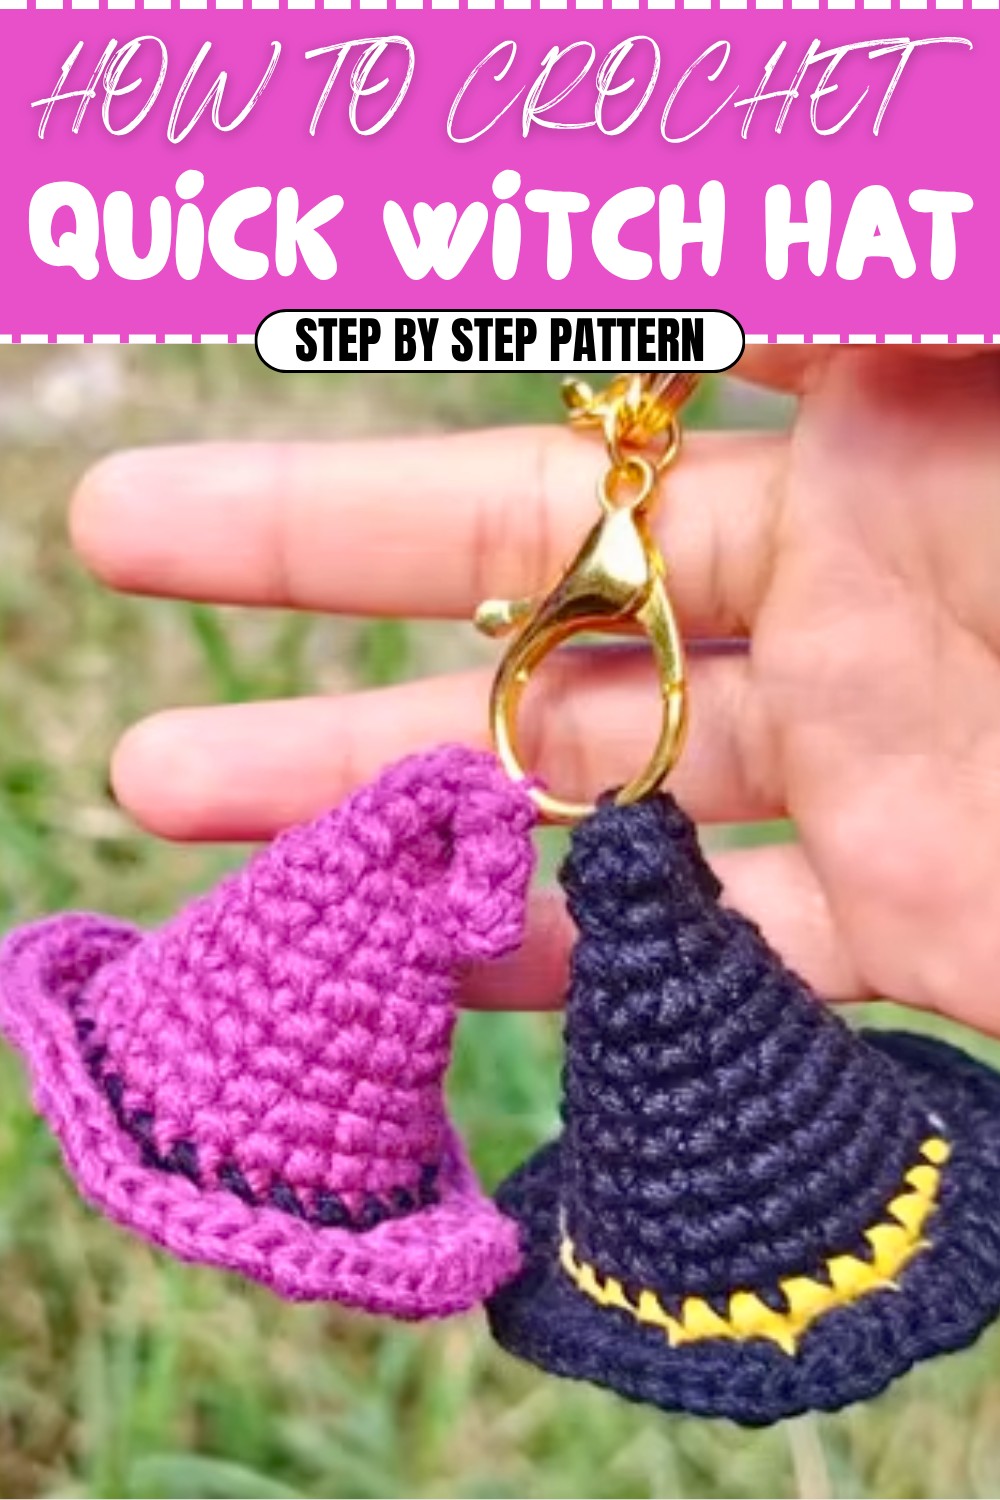
Easy Crochet Witch Hat Keychain Pattern
Get ready for a delightful and beginner-friendly project! With this step-by-step pattern, you’ll create a charming miniature witch hat, perfect for Halloween decor, gifting, or selling. This pattern works up quickly, uses minimal yarn, and is easily customizable with your favorite colors.
Whether you are new to crochet or just looking for a fun seasonal project, this pattern will help you make a professional-looking accessory for your keys or bag.
Skill Level & Terminology
- Skill Level: Beginner
- Terminology: US crochet terms are used in this pattern.
Materials & Tools
- Yarn: Two strands in different colors (e.g., purple and black), small amount of each—ideal for leftover yarn.
- Crochet Hook: 2.5 mm or size appropriate for your yarn weight.
- Tapestry Needle: For sewing and weaving in ends.
- Stitch Marker: To mark the start of rounds.
- Key Ring: Metal ring for making your hat into a keychain.
- Scissors
Gauge
Gauge is not critical for this pattern. Aim for a tight fabric so the hat keeps its shape. After the first six rounds, your hat should measure about 2–2.5 cm across.
Abbreviations List
| Abbreviation | Meaning |
|---|---|
| MR | Magic ring (magic circle) |
| sc | Single crochet |
| inc | Increase (2 sc in same st) |
| sl st | Slip stitch |
| BLO | Back loop only |
| st(s) | Stitch(es) |
| FO | Fasten off |
Special Stitch Instructions
- Magic Ring (MR): Make a loop, insert hook and pull through, work stitches into ring for a tight, seamless center.
- Increase (inc): Make 2 single crochets in one stitch.
- BLO: Work stitches into the back loop only, for ribbing or borders.
Finished Size
When finished, your witch hat should be about 5–6 cm tall, just right for a fun keychain.
Stitches & Getting Started
This pattern uses chain, single crochet, increases, and a few slip stitches. You start with a magic ring for a neat tip, expand with basic increases, and finish the brim and border with color changes. If you are new, these are the most essential amigurumi techniques, and they’re easy to learn!
The Pattern
Hat Cone (Main Color: Purple)
- Round 1:
MR, 4 sc into ring. (4 sts)
Pull tight. Place stitch marker in first stitch. - Rounds 2–4:
Sc in each st around. (4 sts per round, three rounds total)
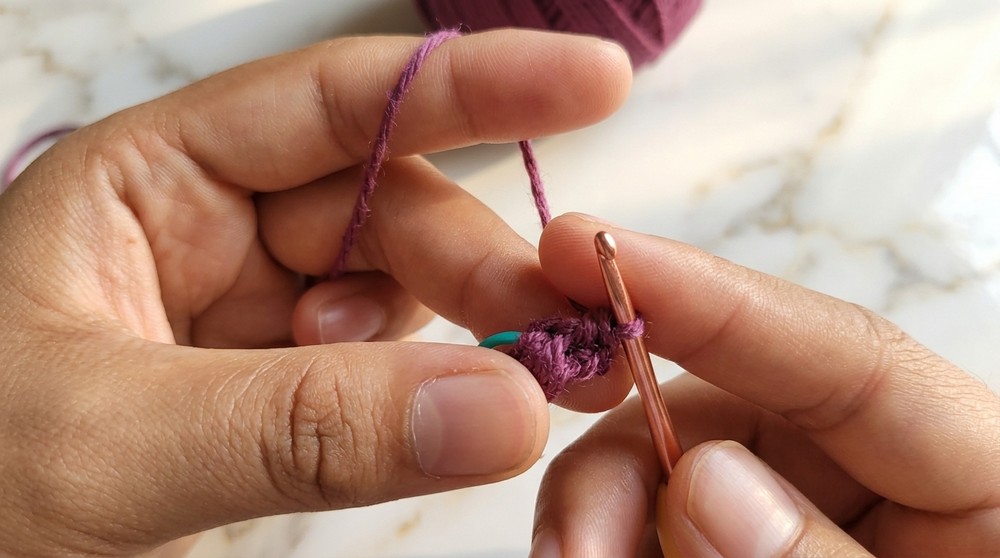
You are forming the tip of the hat. If you don’t use patterns, just make four stitches in a ring and add three rounds without increases.
Shaping the Cone
- Round 5:
Sc in next st, inc in next st x2. (6 sts)
[sc, inc, sc, inc] around.
Place marker in first st. - Rounds 6–7:
Sc in each st around. (6 sts per round, two rounds total)
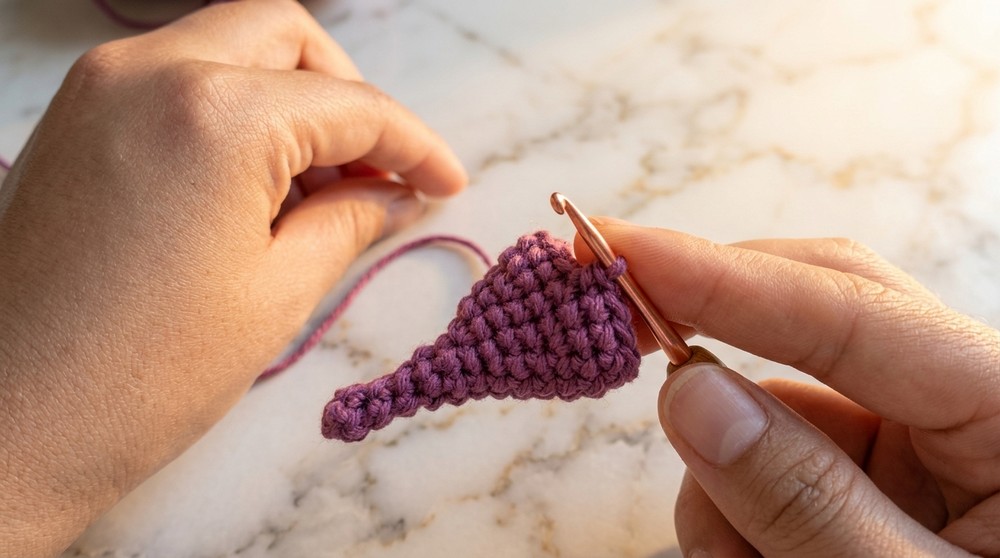
Now, your hat is gently widening. For non-pattern readers: Add a stitch, then two in the same space, and repeat all the way around.
Hat Body
- Round 8:
Inc in each st around. (12 sts)
[2 sc in each st] all the way. - Rounds 9–10:
Sc in each st around. (12 sts for each round, two rounds)
These rounds build the hat’s body. Think of them as rounds where you work one single stitch per space, and then increase to double the size.
Brim Start
- Round 11:
Sc in next st, inc in next st around. (18 sts)
[sc, inc] repeat six times. - Rounds 12–13:
Sc in each st around. (18 sts for each round, two rounds)
Your hat is now flaring out slightly. This is the start of the brim.
Brim Widening
- Round 14:
Sc in next 2 sts, inc in next st x6. (24 sts)
[sc, sc, inc] repeat. - Round 15:
Sc in each st around. (24 sts)
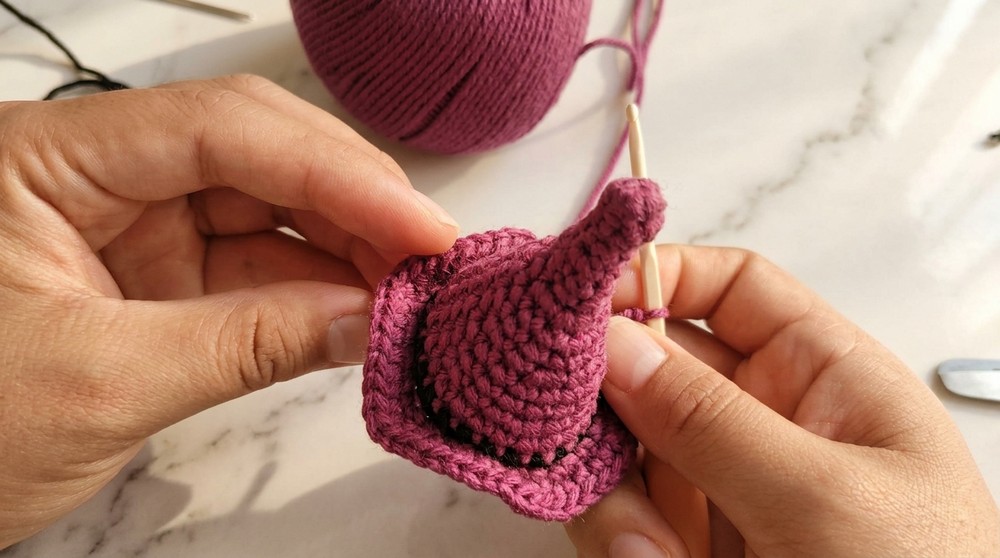
You've made the brim wide enough for a classic witch hat shape. This solidifies the form and makes your hat look authentic.
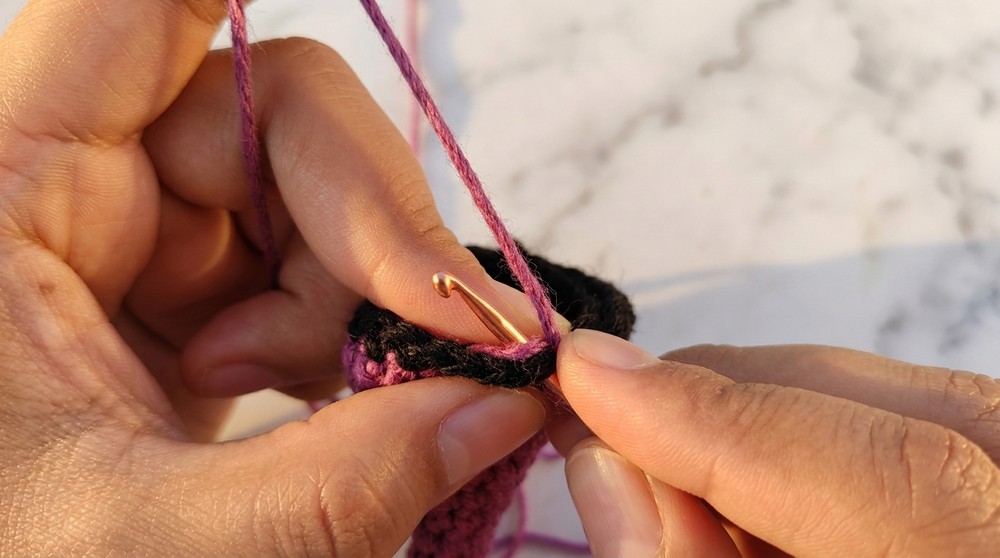
Color Change & Brim Accent
- On the last stitch of Round 15, join the accent color (e.g., black) by working the last yarn-over in black.
- Round 16:
With black yarn, sc in each st around. (24 sts)
- On the last st, join main color (purple) for the final trim.
For non-pattern readers: Simply switch colors and make one round all around in your new color, then switch back for the last round.
Brim Edge – Ribbing
- Round 17:
Work sc in BLO (back loop only) all the way around. (24 sts)
[sc, inc] all the way, working into just the front strand of each stitch.
- On the last st, FO and pull through a long tail.
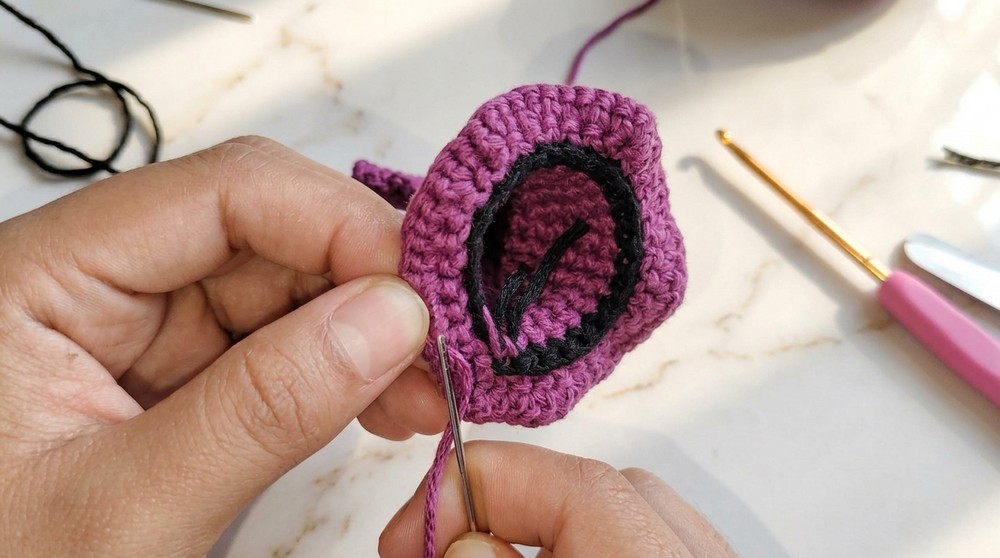
Finishing
- Use your tapestry needle to pull through and make a small knot inside the hat to secure.
- Weave ends through the inside of your hat to hide.
- Bend the hat top gently downward to create a classic crooked tip.
- Adjust brim with your fingers.
If you do not read patterns: Sew up ends, fold top down, and use your fingers to shape the hat as you like.
Assembly & Keychain Attachment
- Thread a short strand of yarn through the tip of the hat and tie it onto your key ring.
- You may also use a small jump ring or metal ring for durability.
- Secure with a knot and weave in any extra ends.
Conclusion
Congratulations! You’ve created your own cute crochet witch hat keychain using only basic stitches: magic ring, single crochet, increases, color changes, and slip stitches. The hat works up quickly and is ideal for beginners. You can personalize it with different color combinations, optional embellishments, or extra touches like little stars or a buckle.
Take your time with each step, and don’t hesitate to use your creativity—each hat is unique! Add the finished hat to your keys, bag, or gifting stash for Halloween. With every stitch, you grow your skills and add charm to your creations. Stitches used: chain, single crochet, increase, back-loop work, slip stitch.