
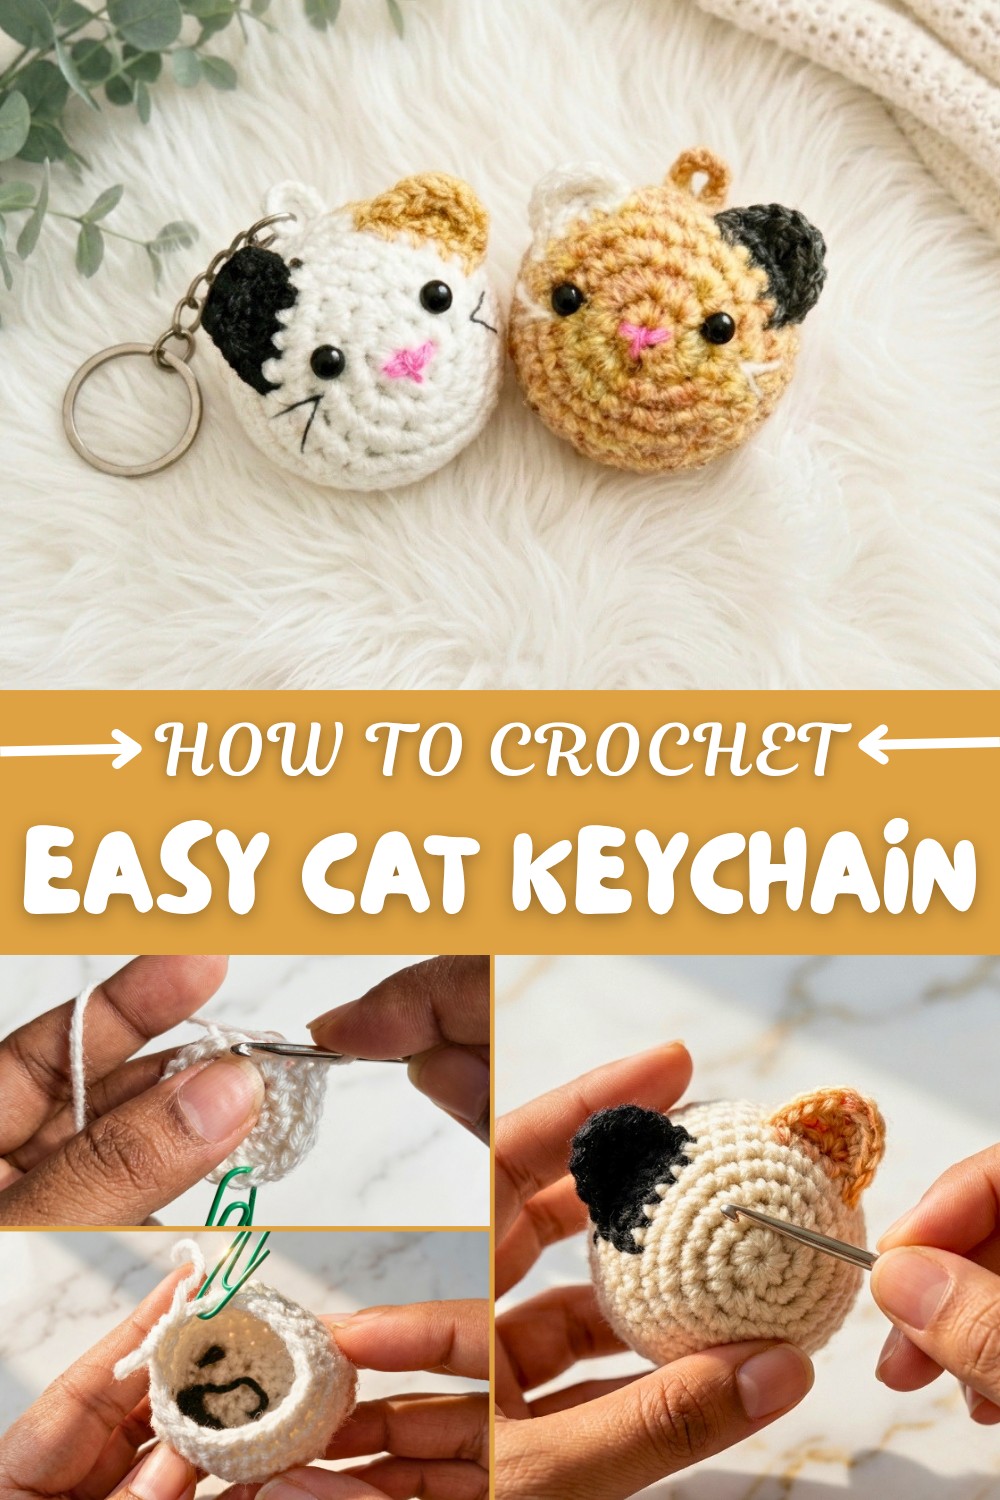
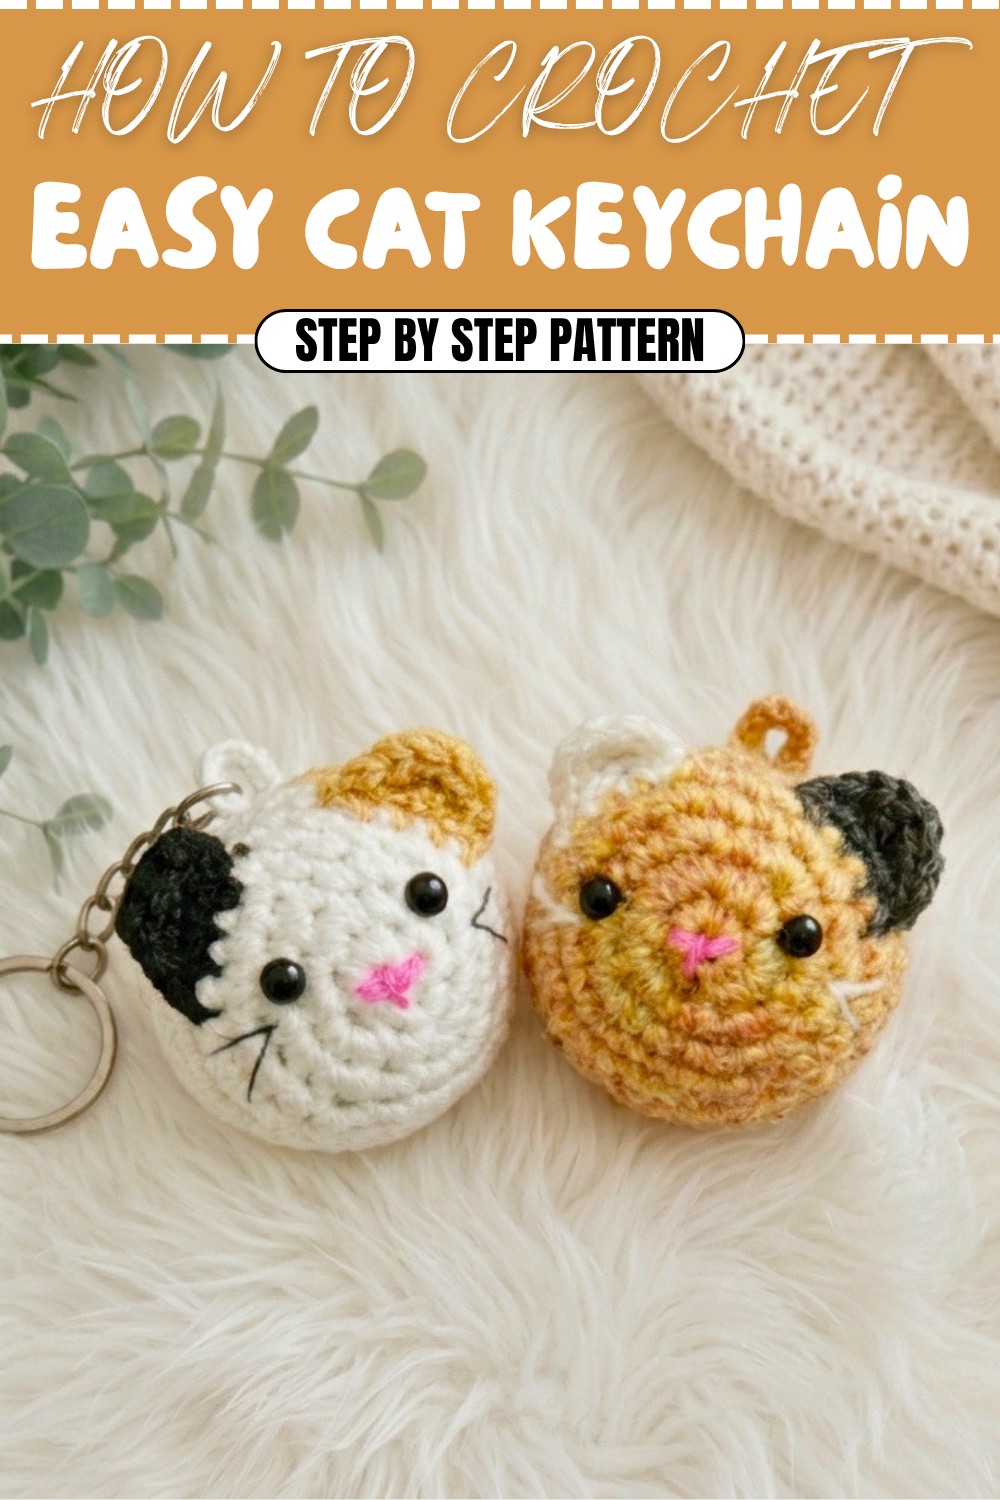
Cat Keychain Free Crochet Pattern with Easy Assembly
Master the art of crocheting a cute cat keychain with easy-to-follow instructions that bring charm and creativity to your homemade accessories effortlessly.
There’s something truly special about carrying a small handmade charm wherever you go. I still remember the first time I tried making a crochet cat keychain, I was hooked right away. This free crochet cat keychain pattern quickly became one of my favorites, and I love how it turns out every time.
Handmade Free Crochet Cat Keychain Pattern
The design is just so sweet and simple. The main part is a soft, round cat head, made with easy single crochet stitches. What really makes it stand out are the cute little ears stitched neatly on top, and the bright bead eyes that bring the cat to life. The texture is nicely bumpy and soft, making it comforting to hold. Using colorful yarn adds a playful, cheerful touch to the cat’s personality.
Crocheters will enjoy how quickly this pattern comes together, making it is both relaxing and satisfying. Plus, there’s room to get creative. By changing yarn colors or using different beads, you can create your own unique collection, or even make little gifts for friends. With a simple change, the pattern could also become a bag charm or a cute zipper pull for your favorite pouch.
This cat keychain is just the right size for adding to keys, backpacks, or purses. It brightens up everyday items and makes them a little more personal. Every time I reach for my keys, this cheerful little cat adds a spark of happiness to my day. If you love making quick and adorable crochet projects, this cat keychain will be a wonderful addition to your handmade treasures.
Crochet Cat Kitchen Decoration Pattern
Crocheting brings a special charm to your home, and what better way to brighten your kitchen than with a handmade cat kitchen decoration? This adorable cat design is simple, quick, and economical, using basic crochet stitches and cheerful color changes. Whether you hang it from a cabinet or keep it on your countertop, its cute face will make you smile every day. The pattern is clearly structured and includes short tips beneath each section for those new to reading crochet patterns. Let’s begin your next delightful kitchen project!
Skill Level & Terminology
Skill Level: Confident Beginner
Terminology: US Standard Crochet Terms
This project requires knowledge of single crochet (sc), chain (ch), slip stitch (sl st), double crochet (dc), half double crochet (hdc), and working in the round with both color changes and basic decreases.
Materials & Tools
- Yarn: DK-weight cotton or acrylic in yellow (main color), white (stripe/face details), black (face/ears outline)
- Hook: 2.5 to 3.5 mm (adjust to your yarn and tension)
- Stuffing: Polyester fiberfill
- Notions: Yarn needle, scissors, stitch marker, 2 small black beads (or safety eyes) for the eyes
Gauge
Gauge is not critical, but consistent tight stitches will help keep stuffing inside and the project neat.
- Approximate Finished Size: 9–11 cm (3.5–4.5 in) tall
Abbreviations List
| Abbreviation | Meaning |
|---|---|
| MR | Magic Ring |
| ch | Chain |
| sc | Single Crochet |
| inc | Increase (2 sc in 1 stitch) |
| dec | Decrease (sc2tog) |
| sl st | Slip Stitch |
| dc | Double Crochet |
| hdc | Half Double Crochet |
| FO | Fasten Off |
| st(s) | Stitch(es) |
Special Stitch Instructions
Magic Ring (MR): Loop working yarn into a ring; work subsequent stitches into the circle.
Increase (inc): Work 2 single crochet into the same stitch.
Decrease (dec): Insert hook in next st, yarn over (YO), pull up loop, insert into following st, YO, pull up loop (3 loops on hook), YO, pull through all loops.
How to Start & Stitches Overview
You will start from the base working in rounds with single crochet, increasing for shaping, changing color for stripes, and then shaping the top. The ears are worked directly into the body as you close, and the face is detailed with easy embroidery. Attach a chain at the end to hang your decoration.
Main stitches: Magic ring, single crochet, increase, decrease, double crochet, half double crochet, slip stitch.
The Pattern Itself
A. Base & Body
- Round 1: Make a magic ring. Work 6 single crochet (sc) into the ring. (6 sts)
- Round 2: Inc in each st around (2 sc in every st). (12 sts)
- Round 3: Sc in each st around. (12 sts)
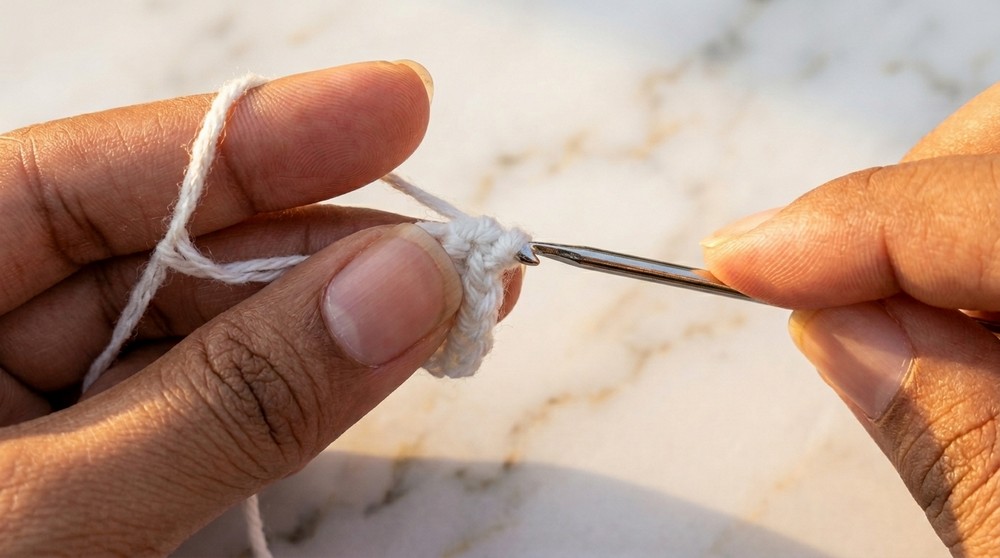
If you’re new to crochet: Start with an adjustable ring ("magic ring") and evenly space six single crochets. Mark your start; it will help keep track of your rounds.
- Round 4–7: Sc in each st around for 4 more rounds (12 sts per round).
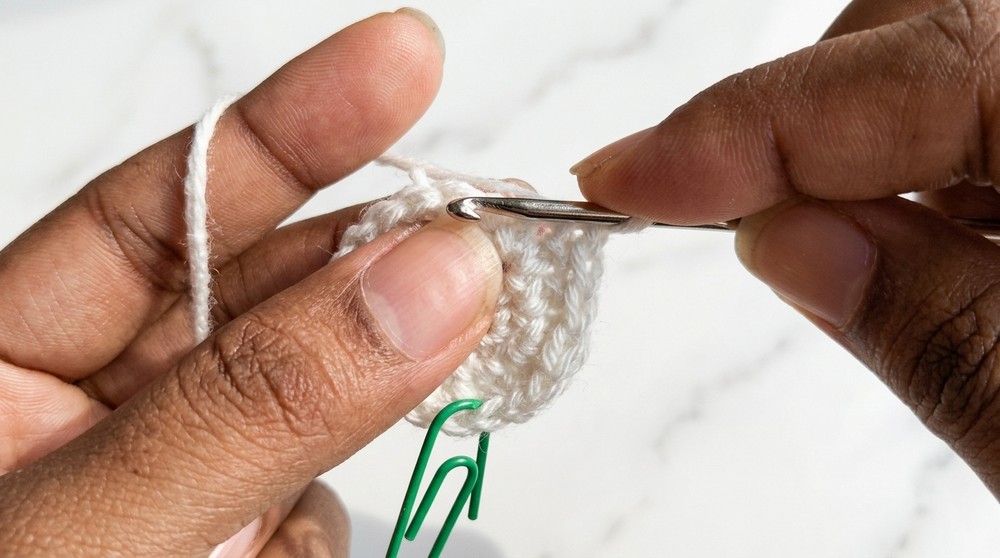
You’re building up the cylindrical body. Just continue single crochet all the way around, using a marker to note the start.
- Round 8–9: Continue in sc, alternating between yellow and white for stripes. Carry the unused color gently along the inside. (12 sts each round)
Change yarn color after a stitch as needed, to achieve lovely stripes. Hold unused yarn inside the work for crisp color lines.
B. Body Expansion and Shaping
- Round 10: [Sc in 3 sts, inc in next st] x3. (15 sts)
- Round 11: Sc in each st (15 sts)
You’ve made the body a bit wider for a rounded tummy. Always remember to single crochet in every stitch unless directed to increase or decrease.
- Round 12: [Sc in 4 sts, inc in next st] x3. (18 sts)
- Round 13: Sc in each st around (18 sts).
More increases help shape the plush body of your cat.
C. Top & Closure
- Round 14: [Sc in 1 st, dec next 2 sts] x6. (12 sts)
- Round 15: Sc in each st (12 sts)
- Stuff the cat firmly at this stage.
The decreases help close the top, forming the head. Now is a good time to stuff so it holds its shape.
- Round 16: Dec in every other stitch around. (6 sts)
- Finish Off (FO), weave yarn through last 6 sts, pull tight and fasten, hiding the tail inside.
This neatens the top and holds stuffing in place.
D. Ears (worked directly, both sides)
- With cat facing you and using main color, join yarn at one top corner.
- (Ch 3 (counts as first dc), dc in next st, hdc in next, sl st in next st) for each ear.
- Repeat on the other side.
Each ear is “drawn up” from the closed shape—simply attach yarn, make a tall chain, then work double and half-double crochets to give that ear a triangular, pointy look.
E. Facial Details
- Use black thread to embroider a tiny nose, mouth, and optional whiskers.
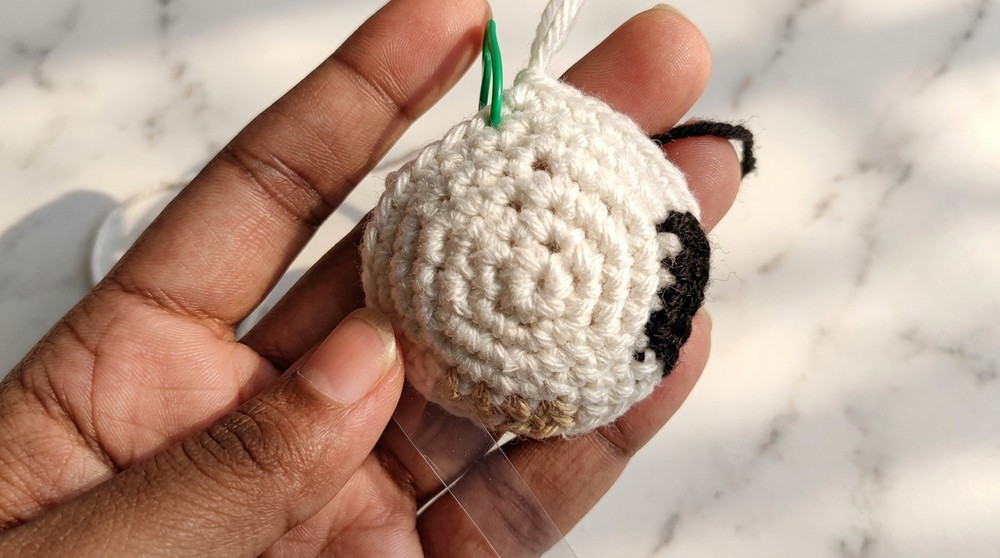
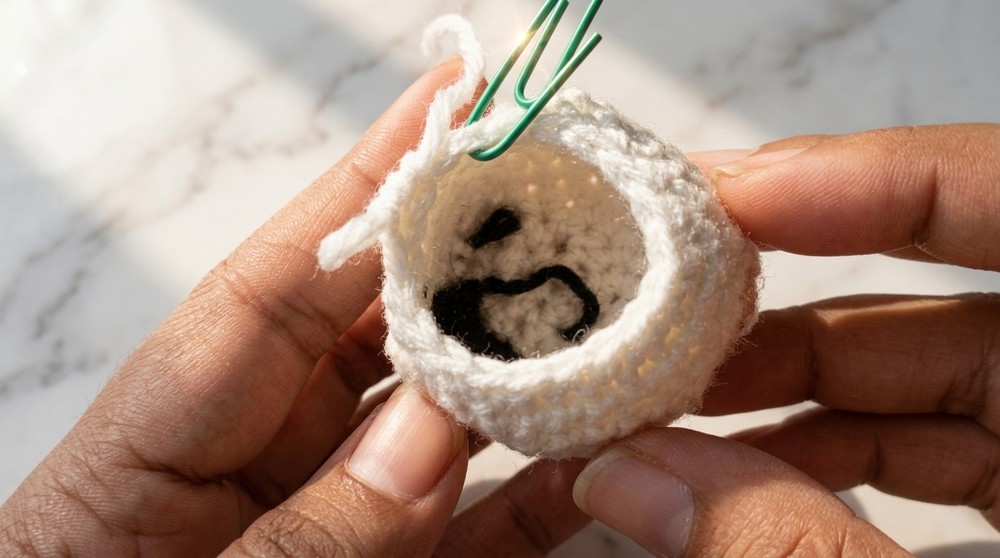
- Stitch or glue beads or safety eyes between round 2 and 3, centered on the face.
- Use a dab of white yarn/thread to embroider a cute sparkle in the corner of each eye.
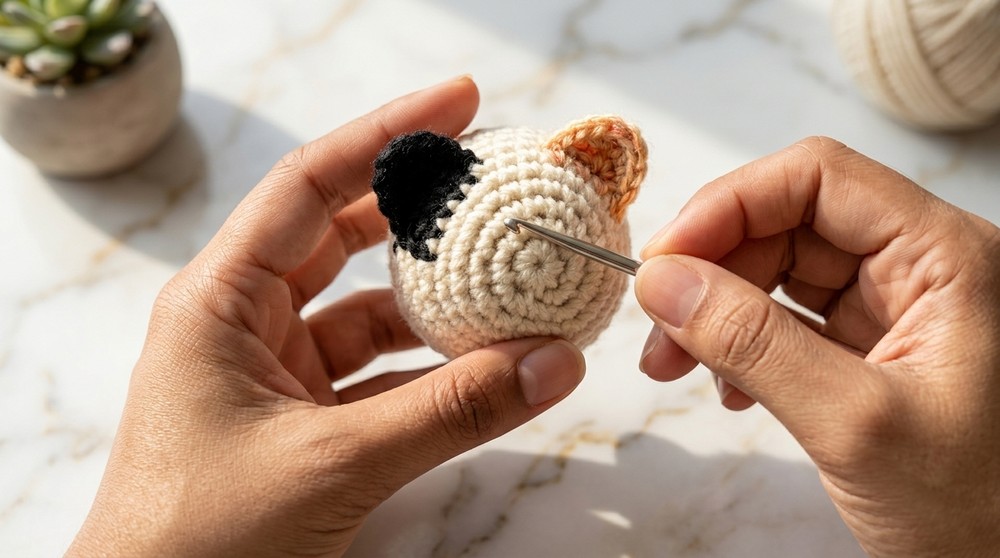
These touches give your cat its sweet expression. Make sure they’re well attached, especially if for children.
F. Hanging Loop
- Attach yarn to top center (behind one ear), ch 20–30 for your desired length, sl st back into starting point, FO and weave in ends.
This loop lets you hang the cat easily on hooks or pegs.
For Beginners after Each Section
- Base & Body: Start with a loop (magic ring), do single crochets until you see a tight circle. Mark your rounds!
- Shaping: When told to "increase," put two stitches in one hole. "Decrease" means combine two stitches into one to get narrower.
- Ears & Details: The ears are built after the top is closed; nothing separate to sew. The face is easy embroidery. The loop is a quick chain stitched to the top.
Assembly & Finishing
- Weave in all yarn tails carefully inside the body.
- Adjust toy shaping gently; ensure stuffing is even.
- Check that eyes and face features are symmetrical.
- Attach loop securely.
- Press with a clean, damp cloth if needed to neaten.
Conclusion
Congratulations! You’ve completed your Crochet Cat Kitchen Decoration—a charming accent made with just a little yarn and some joyful handiwork. The pattern used basic single crochet, neat increases and decreases, a few color changes, and easy finishing methods. Experiment with colors for your own playful cats. Hang them all around the kitchen or gift them to friends for a homemade touch.