
Crochet Lemon Amigurumi Free Pattern for Play Kitchens or Props
Use this free crochet lemon amigurumi pattern to make a cheerful little accessory that will add a pop of fun to your everyday life.
Pattern ByBeyzalle CRAFT
Looking to create something bright, cheerful, and absolutely adorable? This little crochet lemon amigurumi is the perfect project to bring a pop of sunshine to your day. With its round, plump shape, vibrant yellow hue, and charming green leaves, this handmade lemon is packed with personality. It’s the ideal handmade treasure for anyone who loves fruit inspired decor, fun keychains, or delightful handmade gifts.
Free Crochet Lemon Amigurumi Pattern with Endless Uses
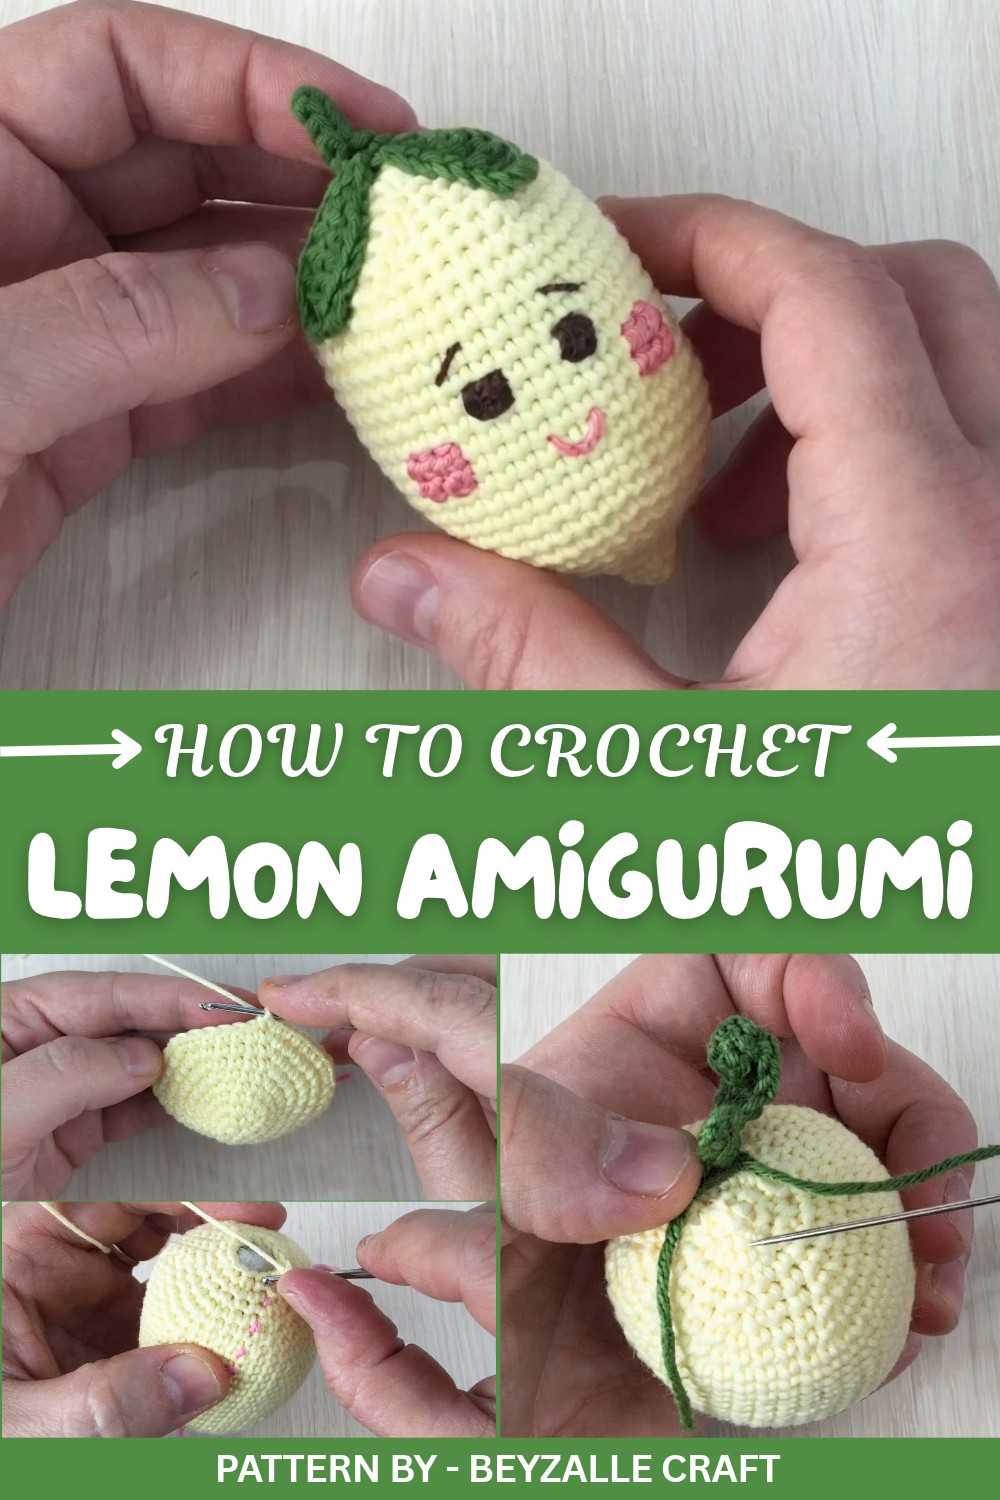
This crochet project is perfect for beginners looking to try their hand at amigurumi. The simple structure consists of basic shapes and easy stitches like single crochet (SC), increases, and decreases, making it accessible and enjoyable for crafters of all skill levels. Measuring just a few inches, the compact size makes this amigurumi lemon great for creating keychains, bag charms, or even a playful addition to a child’s fruit and vegetable toy collection.
Using soft, sturdy cotton yarn is recommended for a smooth finish and to help the details, like the embroidered eyes and smile, stand out. The project also include simple leaf and stem details that make the lemon come to life. Whether you’re crocheting for fun, to gift someone special, or to add a refreshing twist to your decor, this hand stitched lemon is fun to make and sure to impress.
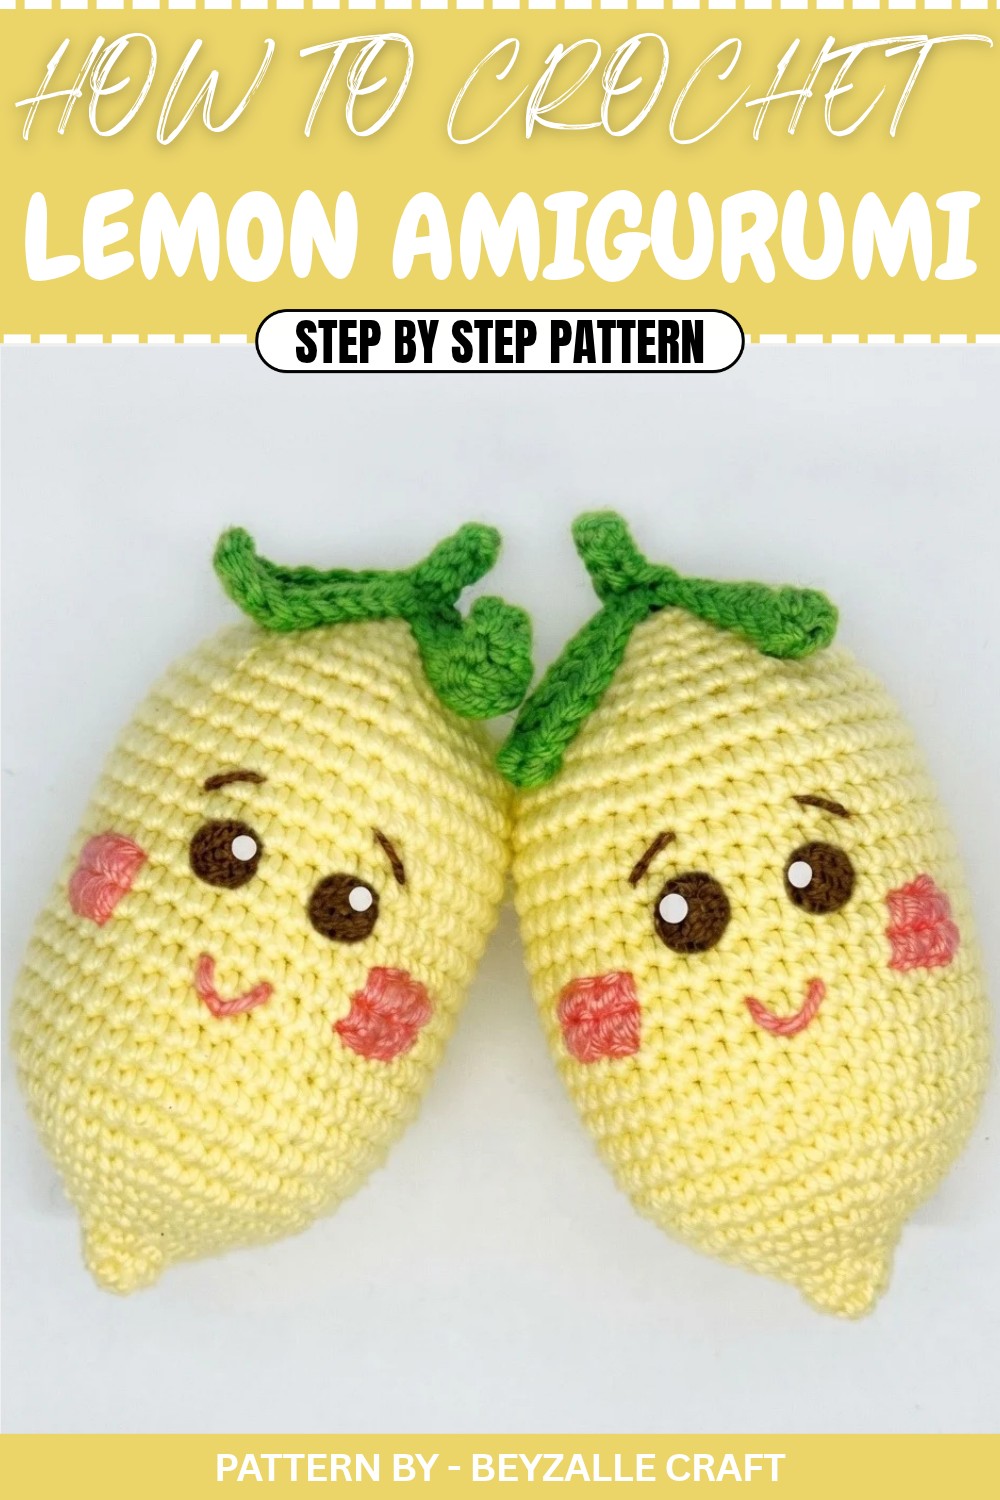
Crochet Amigurumi Lemon Pattern
Whether you're looking for a toy for kids or a decorative keychain for adults, this pattern is versatile for all. Add a clip to the top, and you can use it as a car charm, bag accessory, or even an educational toy to teach kids about colors and fruits. Let’s get started!
Quick Overview of the Pattern
- Shape: Lemon body, small leaves, and cheerful details.
- Skill Level: Beginner friendly.
- Techniques Covered: Magic ring, single crochet, increases, decreases, creating details like eyes, cheeks, and leaves.
- Purpose: Great as toys, decorations, or keychains.
Notes
- Use smooth, non fuzzy yarn for amigurumi patterns to maintain the neatness of stitches.
- For stuffing, avoid overfilling or underfilling to ensure a balanced form.
- Keep stitch markers or a small scrap of yarn handy to mark your rounds.
- The lemon’s finishing details (face and leaves) are easy, but you can personalize them further with embroidery.
Skill Level
Beginner: This pattern is ideal for beginners who are familiar with basic stitches like single crochet, increases, and decreases.
Materials
- Yarn: Gazal Baby Cotton or any cotton acrylic blend. Colors needed: yellow (main body), green (leaves), brown (eyes), pink (cheeks), and a lighter shade for highlights (optional).
- Crochet Hook: 1.75mm
- Fiberfill: Polyfill stuffing for shaping the lemon.
- Embroidery Thread: Brown, pink, and gül kurusu (soft pink) for facial features.
- Darning Needle: For sewing parts and details.
- Keychain Clip: Optional, for turning the lemon into a portable keychain.
Measurements/Sizing
The finished lemon measures approximately 6–7 cm long with leaves.
Gauge
Exact gauge is not necessary, as amigurumi pieces are tightly crocheted to avoid gaps. Work snug stitches to maintain a uniform look.
Stitch Abbreviations
- MR: Magic Ring
- sc: Single Crochet
- inc: Increase (2 sc in one stitch)
- dec: Decrease (crochet 2 stitches together)
- sl st: Slip Stitch
- ch: Chain
Special Stitches
- Yalancı trabzan: This is essentially a half double crochet. Yarn over, pull through, and complete as usual.
- Multi stranded Chain: Used for creating the leaf stem, ensure the yarn is folded and treated like one strand while chaining for bulk.
The Crochet Pattern
Lemon Body
Step 1: Create the Base Shape
- Round 1: Make a magic ring. Secure with 1 chain. Crochet 6 sc into the magic ring. Tighten the ring. (Total: 6 stitches)
- Round 2: Crochet 6 sc, 1 in each stitch with no increases. (Total: 6 stitches)
- Round 3: Increase in every stitch (2 sc in each). Finish with 12 sc. (Total: 12 stitches)
- Round 4: Crochet 12 sc, 1 in each stitch without increases. (Total: 12 stitches)
- Round 5: 1 sc, 1 inc around to achieve 18 stitches. (Total: 18 stitches)
- Round 6: 2 sc, 1 inc around to reach 24 stitches. (Total: 24 stitches)
- Round 7: 3 sc, 1 inc around for a total of 30 stitches. (Total: 30 stitches)
- Round 8: 4 sc, 1 inc around for 36 stitches. (Total: 36 stitches)
- Round 9: 5 sc, 1 inc around to achieve 42 stitches. (Total: 42 stitches)

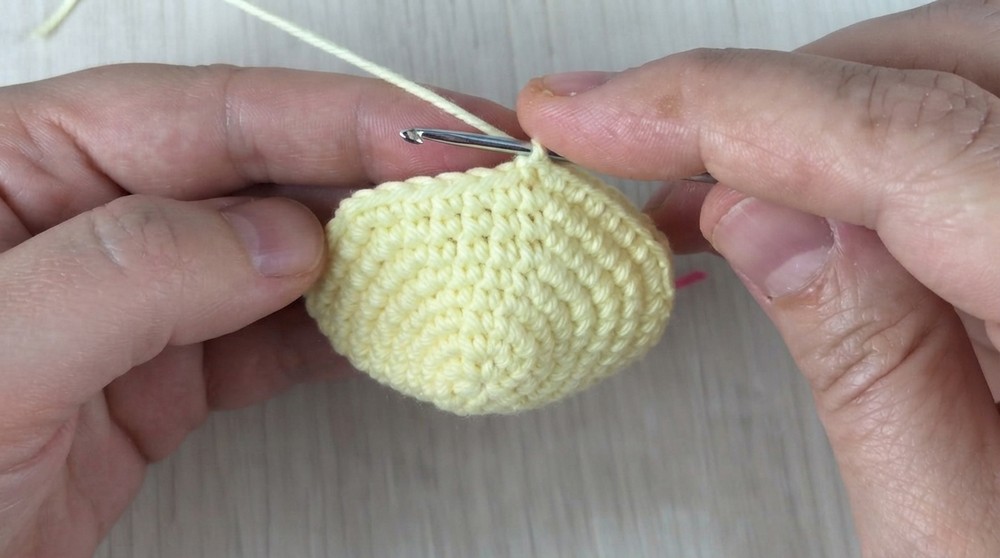
Step 2: Build the Lemon’s Height
- Rounds 10–23: Crochet 42 sc for 14 rounds without increases or decreases. This forms the body’s length.
Step 3: Shaping the Lemon (Decreasing Section)
- Round 24: 5 sc, 1 dec around to reduce to 36 stitches. (Total: 36 stitches)
- Round 25: 4 sc, 1 dec around to reduce to 30 stitches. (Total: 30 stitches)
- Round 26: 3 sc, 1 dec around to reduce to 24 stitches. (Total: 24 stitches)
- Round 27: 2 sc, 1 dec around to shrink to 18 stitches. (Total: 18 stitches)
- Round 28: Crochet 18 sc (no decreases). Remember to stuff the lemon gently and evenly before moving on.
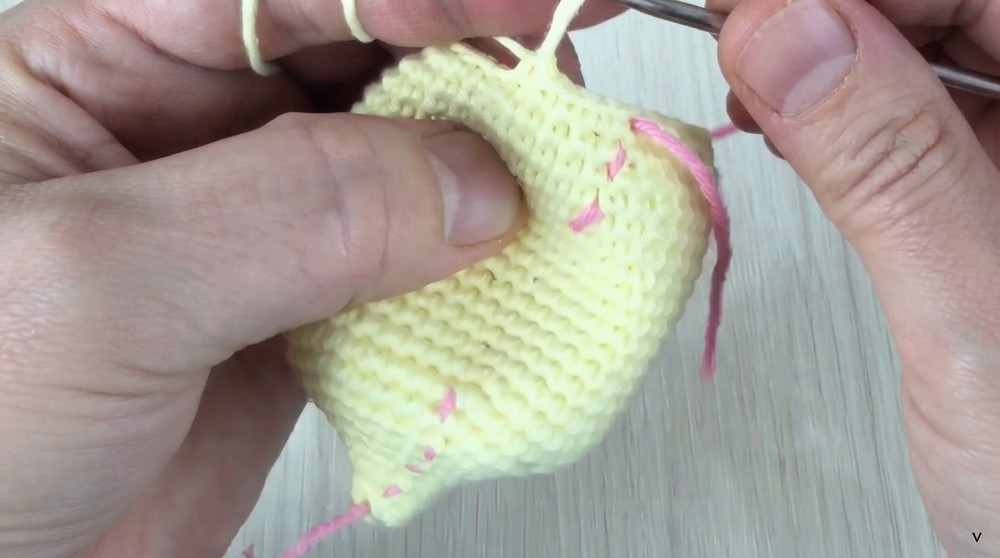
Step 4: Closing the Lemon
- Round 29: 1 sc, 1 dec around to reduce to 12 stitches. (Total: 12 stitches)
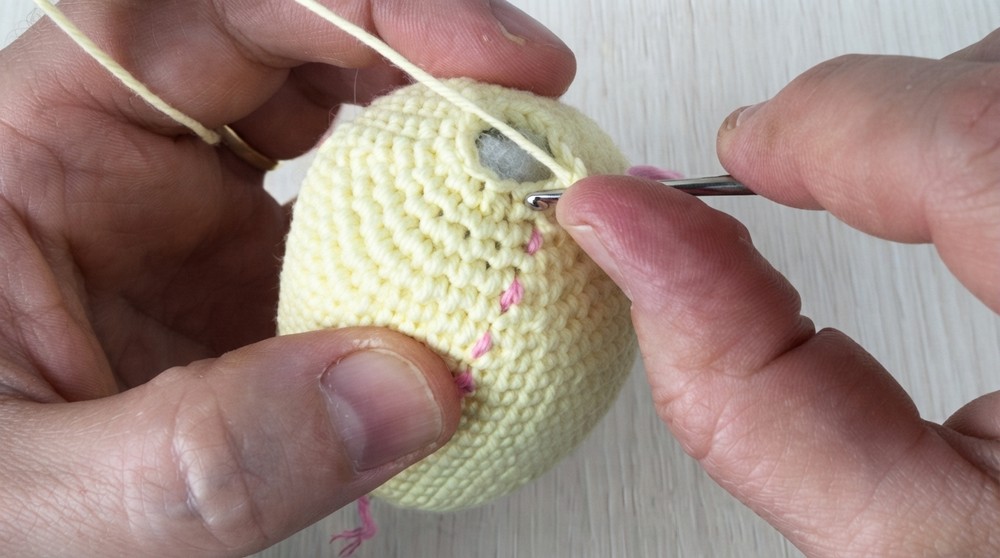
- Round 30: Decrease every stitch (6 dec) to close the lemon. (Total: 6 stitches) Sew the small hole shut using a needle.
Leaves and Stem
- Fold green yarn into two strands and chain a 10 cm long stem.
- Work the following on the leaf:
- Chain 9. Start in the second chain from the hook.
- Work 1 sc, 1 half double crochet, 1 double crochet, 2 triple crochets, 1 double crochet, 1 half double crochet, and 1 sc into individual chains for leaf shaping.
- Attach the leaf to the stem with sl st. Repeat for a second leaf.

Facial Details
Eyes
- Use brown thread to embroider simple cross stitch eyes. Place them symmetrically on the lemon’s surface.
- Outline and fill the crosses for thickness.

Cheeks
- Use soft pink thread to embroider blush marks. Position them evenly under the eyes.
Mouth
- With gül kurusu thread, embroider a smiling mouth. Insert the thread two rounds beneath the eyes and curve gently.
Assembly & Finished Size
- Attach the leaves on the top (narrow end of the lemon). Secure tightly with the needle for durability.
- Size: Approximately 6–7 cm when fully assembled.

Conclusion
Congratulations, You’ve created a fun and cheerful lemon that’s perfect for gifting or accessorizing. Whether it’s a toy for kids or a stylish keychain for adults, this versatile pattern is perfect for everyone.