
Crochet Ice Cream Cone Plush Pattern Free for Creative Fun
Fix plain décor fast with the Free Crochet Ice Cream Cone Plush Pattern to add a happy, easy-to-follow plush treat.
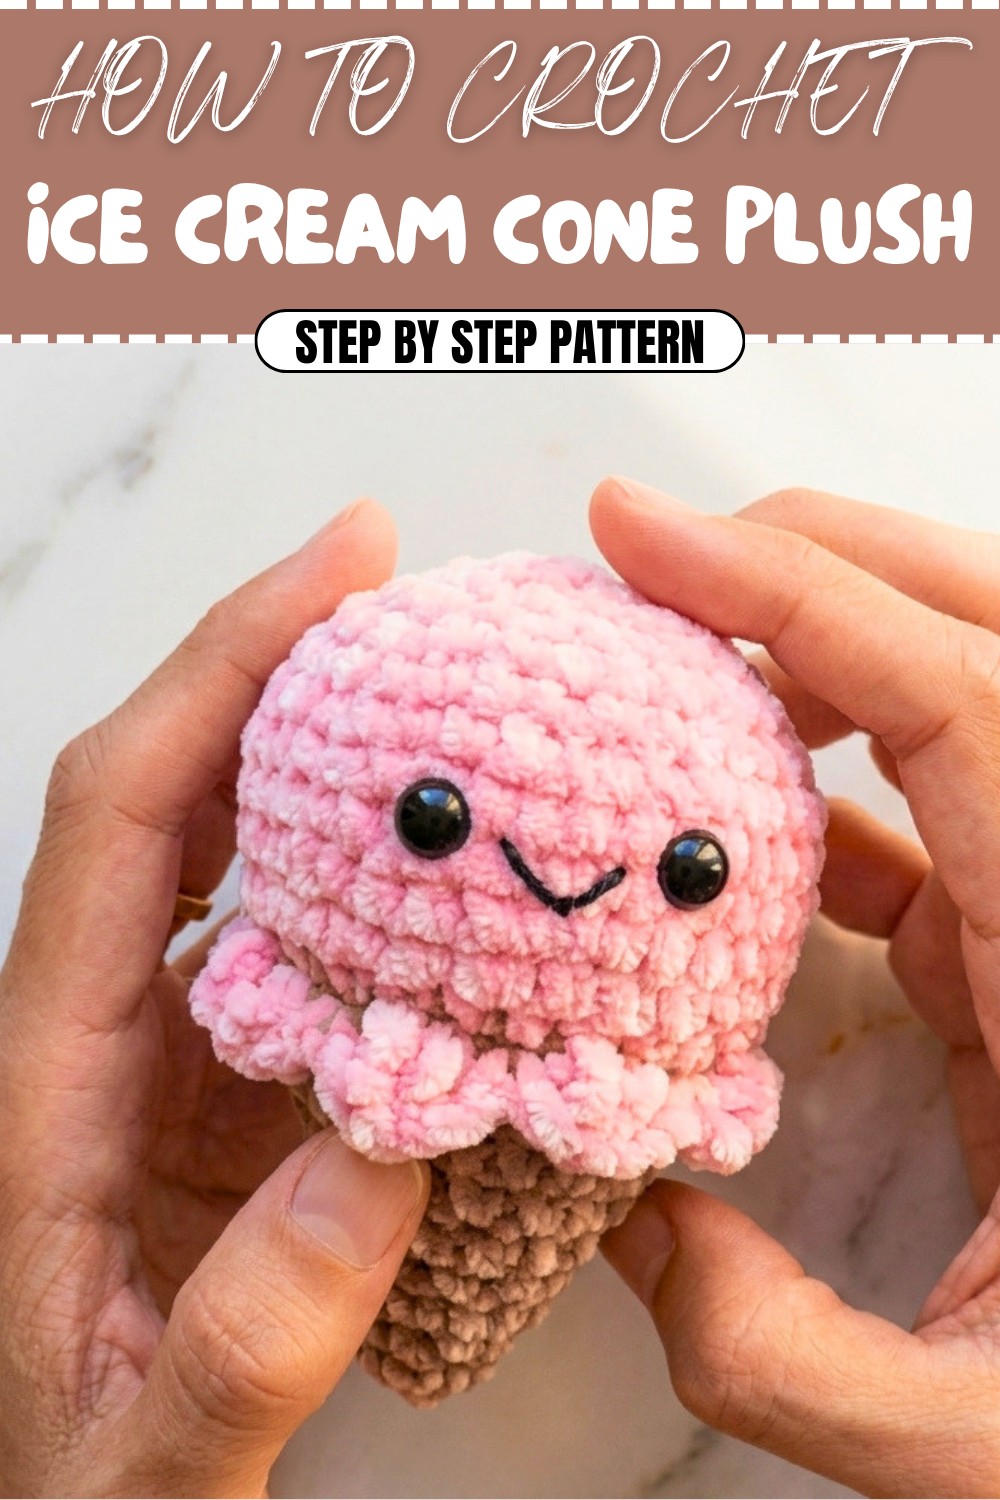
Who doesn’t love an ice cream that never melts? This plush ice cream cone crochet pattern is an absolute treat to make and perfect for brightening up any crochet collection. With its soft pink scoop sitting atop a light brown cone, this pattern combines whimsy and charm. It’s made using plush chenille yarn, giving it a velvety, cuddly texture that makes it feel extra special in your hands. Whether it’s displayed as a cute desk décor, gifted as a toy, or attached to a keychain or bag charm, this pattern is sure to sweeten anyone’s day!
Free Crochet Ice Cream Cone Plushie Pattern for Adorable Home Accents
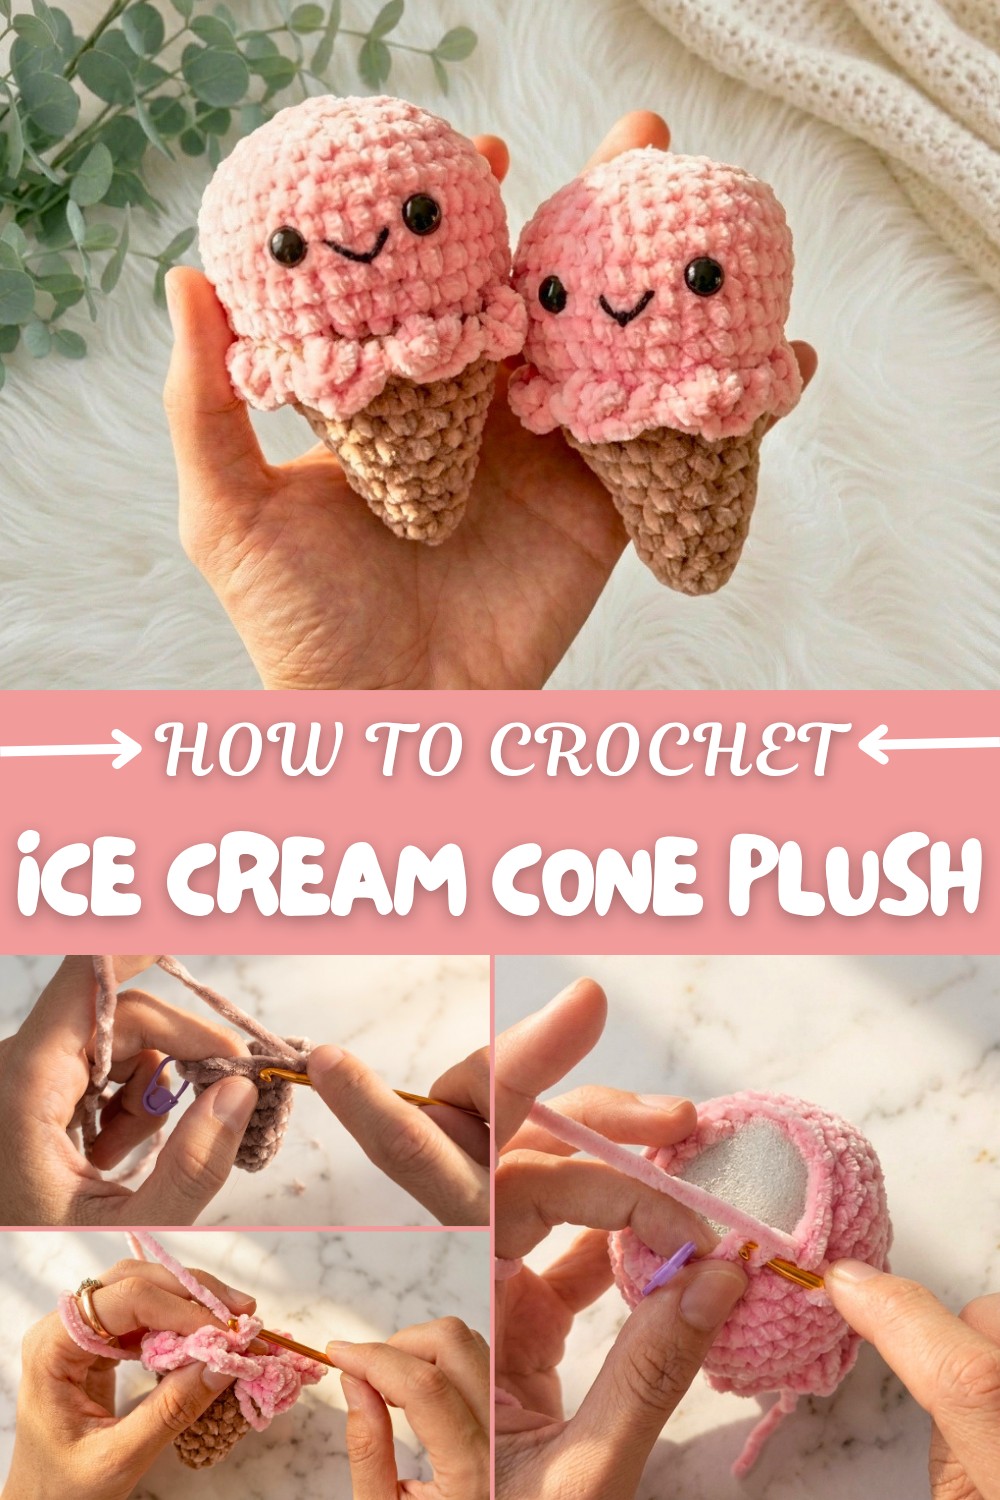
This beginner-friendly pattern will guide you through step-by-step to create a 3D plush cone, using techniques such as single crochet, front and back loop stitches, and shaping with increases and decreases. The playful ruffled edge on the pattern is achieved by working in the front loops, adding a delightful detail that makes your project pop. You'll also get to practice finishing touches like attaching safety eyes and embroidering a tiny smile, adding heaps of personality to your creation.
Other Things You Can Crochet Using This Pattern:
- Different dessert-themed plushies, like donuts or cupcakes.
- Mini plush keychains in multiple designs using variations of this pattern.
- Kids’ play food sets, perfect for imaginative play.
- Seasonal holiday décor, like candy canes or hot cocoa mugs.
- Charm giveaways or party favors; customize them for specific themes.
Reasons You’ll Love Making This Cute Ice Cream Cone
- Beginner-friendly with satisfying detail work.
- Explores fun color combinations for endless creativity.
- Can be turned into toys, décor, or accessories.
- Perfect for brightening up your day, one stitch at a time!
Crochet Ice Cream Cone Pattern (Step-by-Step Guide)
Let’s crochet a super cute ice cream cone together! This beginner-friendly pattern uses plush yarn to create a soft and decorative piece. Whether you want to create a decorative keychain or a tiny plush toy, this project is quick, rewarding, and fun to make. Follow the detailed step-by-step instructions as we work from the base to the scoop of the cone.
This crochet Ice Cream Cone is designed for beginners and experienced crocheters alike. The project takes less than an hour and uses basic stitches such as magic circle, single crochet, increase, decrease, front loop only (FLO), and back loop only (BLO). Customize it with your favorite colors for the scoop and cone to make it yours!
Skill Level & Terminology
- Skill Level: Beginner
- Crochet Terminology: US terms (adjust to UK terms as needed)
All techniques are explained step-by-step, so even first-timers can follow along.
Materials & Tools
- Yarn:
- Pink plush yarn (for the ice cream scoop)
- Light brown plush yarn (for the cone)
- Hook: 4 mm crochet hook
- Safety Eyes: 10 mm
- Thread: Black thread (for the smile)
- Stuffing: Poly-Fil or any soft stuffing material
- Other Tools:
- Scissors
- Stitch marker
- Needle
Gauge
Gauge is not critical for this pattern. Tighter stitches are preferred to avoid gaps in the plush fabric.
Abbreviations
Here are the abbreviations you'll encounter in this pattern:
- MR: Magic Ring
- SC: Single Crochet
- Inc: Increase (2 SC in one stitch)
- Dec: Decrease (Invisible decrease explained below)
- BLO: Back Loop Only
- FLO: Front Loop Only
- Sl St: Slip Stitch
Special Stitch Instructions
- Magic Ring (MR): Begin with a loop where stitches are crocheted into the center, allowing the ring to be pulled tight and closed.
- Invisible Decrease: Insert the hook into the front loops of the next two stitches, yarn over, pull through the loops, yarn over again, and pull through the last two loops—creating a cleaner finish.
Finished Size
- Cone Length: Approximately 4 inches (10 cm)
- Scoop Diameter: Roughly 2.5 inches (6.5 cm).
Pattern Instructions
Cone (Light Brown Yarn)
Rounds 1–7: Establishing the Cone Base
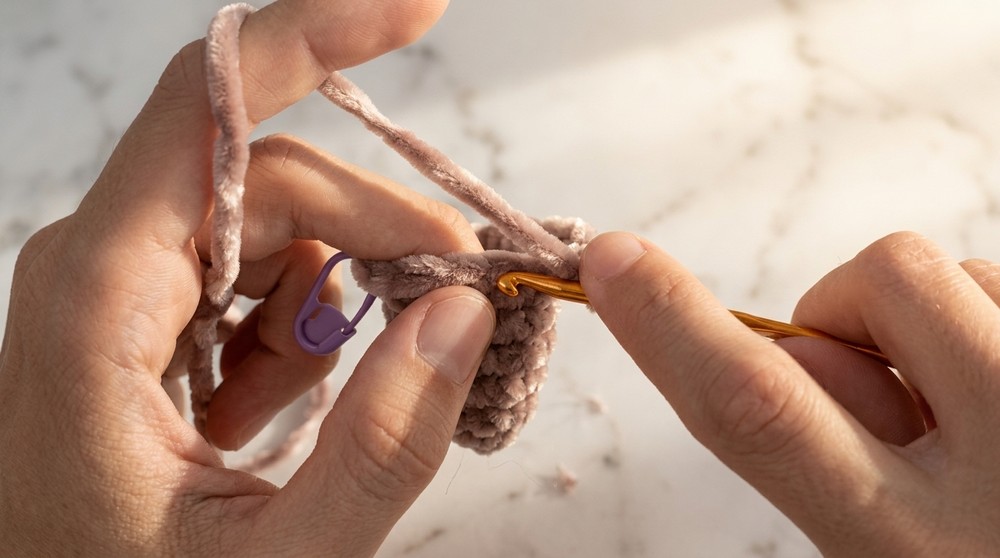
- Round 1: Start with a MR. Work 6 SC into the ring. Pull tight and place a stitch marker in the last stitch (6 SC total).
- Tip: The magic ring forms the base of the cone.
- Round 2: (2 SC, Inc) repeat 2x (8 SC total).
- Round 3: (3 SC, Inc) repeat 2x (10 SC total).
- Round 4: (4 SC, Inc) repeat 2x (12 SC total).
- Round 5: (5 SC, Inc) repeat 2x (14 SC total).
- Round 6: (6 SC, Inc) repeat 2x (16 SC total).
- Round 7: (7 SC, Inc) repeat 2x (18 SC total).
At this stage, the cone is taking shape with a gentle upward slant. The increases gradually expand the cone’s size.
Rounds 8–10: Maintaining Size
- Round 8: (8 SC, Inc) repeat 2x (20 SC total).
- Round 9: (9 SC, Inc) repeat 2x (22 SC total).
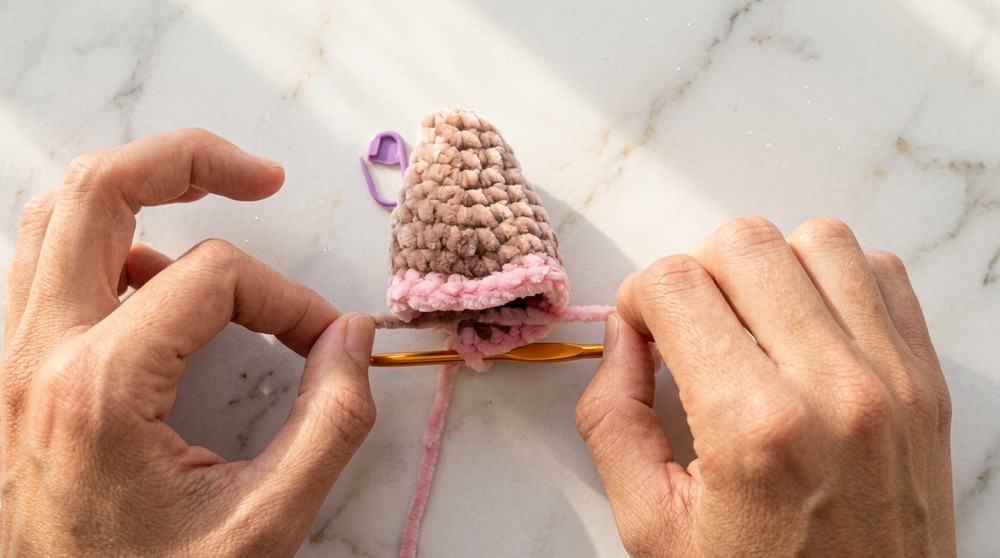
- Round 10: Switch to pink yarn. Work 24 SC around (1 SC per stitch).
Quick Note: Once the cone base is complete, cut the light brown yarn, leaving a short tail to secure the end.
Scoop (Pink Yarn)
Round 11: Creating the FLO Details
- Round 11: Work into the FLO of every stitch.
- Chain 4. (Yarn over, insert into FLO of the next stitch, work a double crochet cluster).
- Slip stitch into the next FLO stitch. Repeat * for 8 clusters.
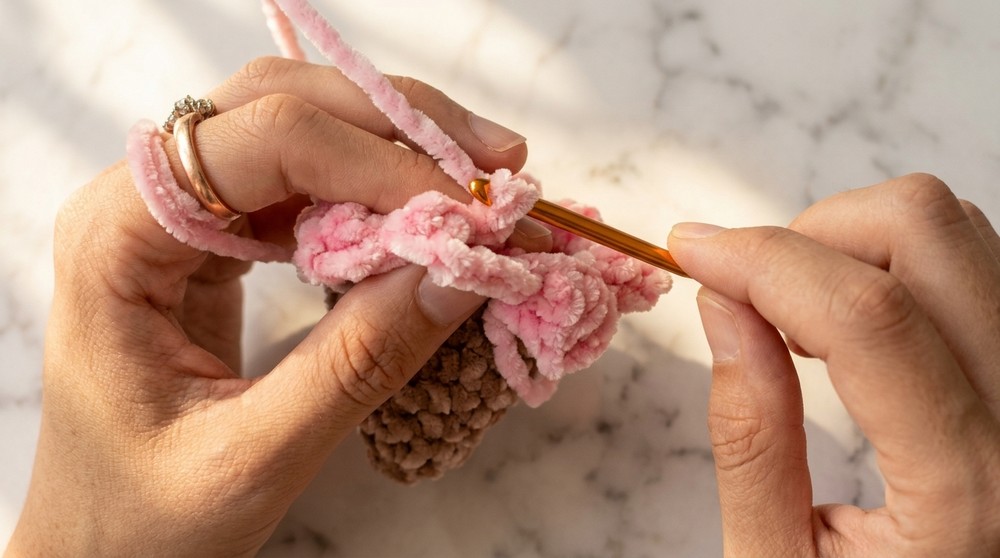
This creates the frilly edge of the ice cream scoop. The FLOs add texture and detail.
Rounds 12–14: Building Scoop Shape
- Round 12-13: Switch to working in the BLO from Round 11: Work 24 SC around.
- Round 14: (3 SC, Inc) repeat 6x (30 SC total).
- Round 15: (4 SC, Inc) repeat 6x (36 SC total).
The smooth increases shape the scoop of the ice cream.
Rounds 16–18: Adding Eyes and Shaping
- Round 16-17: Work 2 rows of 36 SC around.
- Insert safety eyes between Rounds 5 and 6 (of the pink section), spacing them 5 stitches apart. Secure with washers.
- Round 18: (4 SC, Dec) repeat 6x (30 SC total).
Rounds 19–20: Decreasing to Close the Scoop
- Round 19: (3 SC, Dec) repeat 6x (24 SC total). Stuff the scoop firmly with Poly-Fil.
- Round 20: (2 SC, Dec) repeat 6x (18 SC total).
- Round 21: Work 6 Dec to close the piece (6 SC total).
Tip: Use invisible decreases for a cleaner look.
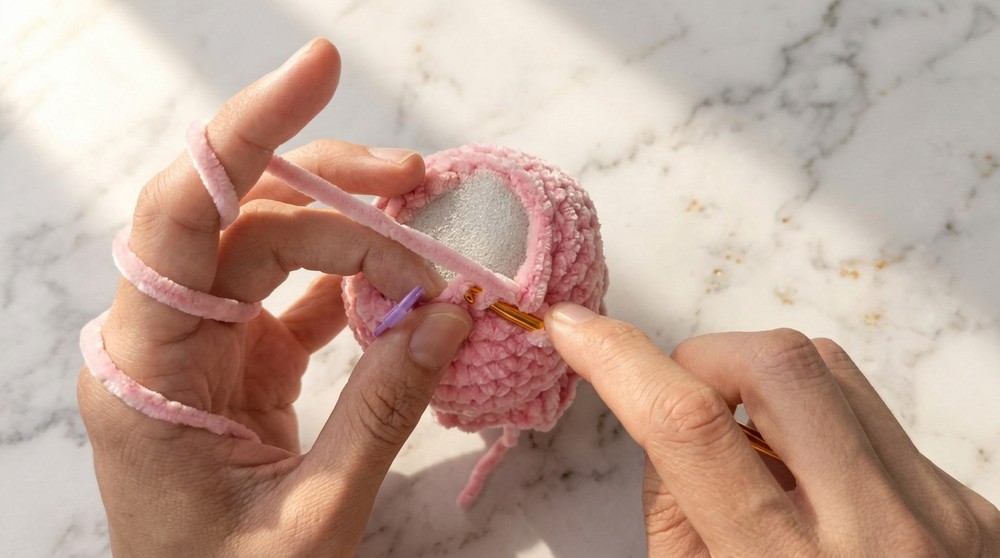
Assembly & Finishing
Sewing the Opening
- Thread a needle with the yarn tail. Insert the needle into the front loops of the remaining stitches. Pull tight to close the hole securely.
Adding Details (Smile & Finishing Touches)
- Use black thread to stitch a small smile between the eyes. Work two small stitches diagonally to form the curved mouth.
- Hide yarn tails by pulling them inside the body using a needle. Trim excess ends neatly.
Pattern Summary for Beginners
This crochet Ice Cream Cone starts from the cone base with gradual increases to form the tapering shape. Once the cone is complete, the ice cream scoop is crocheted in rounds, including decorative FLO frills to mimic the texture of frosting or scooped ice cream. Eyes and a stitched smile add character, while careful shaping ensures the perfect look.
Conclusion
Congratulations—you’ve finished your Ice Cream Cone Plushie! This versatile design can be customized with different colors for a fun and seasonal look. Add a keychain to the top as an adorable accessory or use it as a decoration for parties and gifts.
Enjoy creating more crochet projects, and be sure to check out other free tutorials.
What You'll Learn from this Pattern
- Perfecting foundational stitches, including single crochet, slip stitch, and the magic circle.
- Creating textured details using front and back loop-only techniques.
- Techniques for joining colors seamlessly and shaping plush designs.
- Adding fun finishing touches, like embroidered features and safety eyes.