
Crochet Halloween Pumpkin Pattern for Quick & Cute Decorations
Spruce up your autumn décor fast using the Free Crochet Halloween Pumpkin Pattern for creative and cheerful pumpkin accents.
There’s something wonderfully cozy about bringing a little handmade Halloween spirit into your home, and this charming crochet pumpkin is just the perfect way to do it! Made with simple single crochet stitches, increases, and decreases, this pumpkin is cute and easy to create, making it a great project for beginners and experienced crocheters alike. As you work in rounds starting with a magic ring, you’ll build the pumpkin’s round shape stitch by stitch, learning how to shape your work beautifully with basic crochet techniques.
Crochet Halloween Pumpkin Pattern for Easy Autumn Celebrations
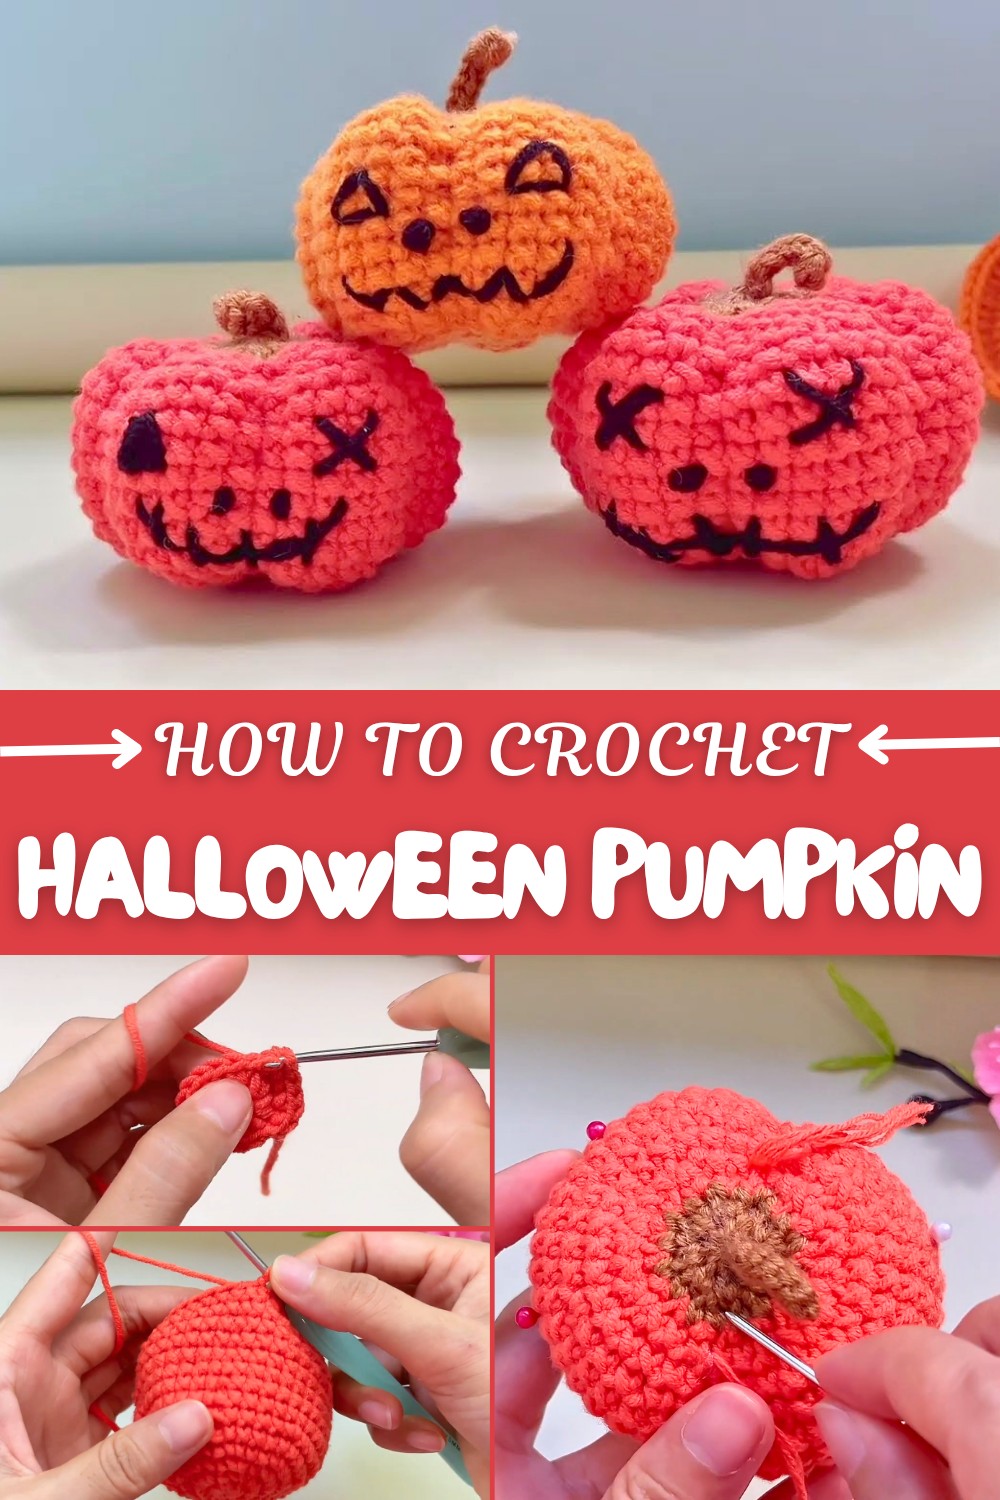
What makes this pumpkin really special is the way the stitches come together to form a plump, soft texture that’s perfect for decorating your table, mantel, or even as a fun gift. The gentle shaping, along with the bright orange and brown yarn, captures that classic pumpkin vibe perfectly. You’ll also use slip stitches and simple color changes to add details and close the pumpkin neatly. Once finished, you can personalize it by stitching on a cute face using black yarn, adding a touch of Halloween personality.
What Else Can You Crochet
Once you’re comfortable with the shaping and stitch techniques from this pumpkin pattern, the possibilities are endless! The same principles of increases, decreases, and color changes are great for making other adorable seasonal amigurumi like mini gourds, spooky ghosts, or even festive pumpkins in different sizes. These skills are also wonderful for creating soft toys, home décor accents, or even cozy accessories like hats. This pattern sets a friendly foundation to explore more creative crochet projects full of charm and personality, perfect for every season and skill level.
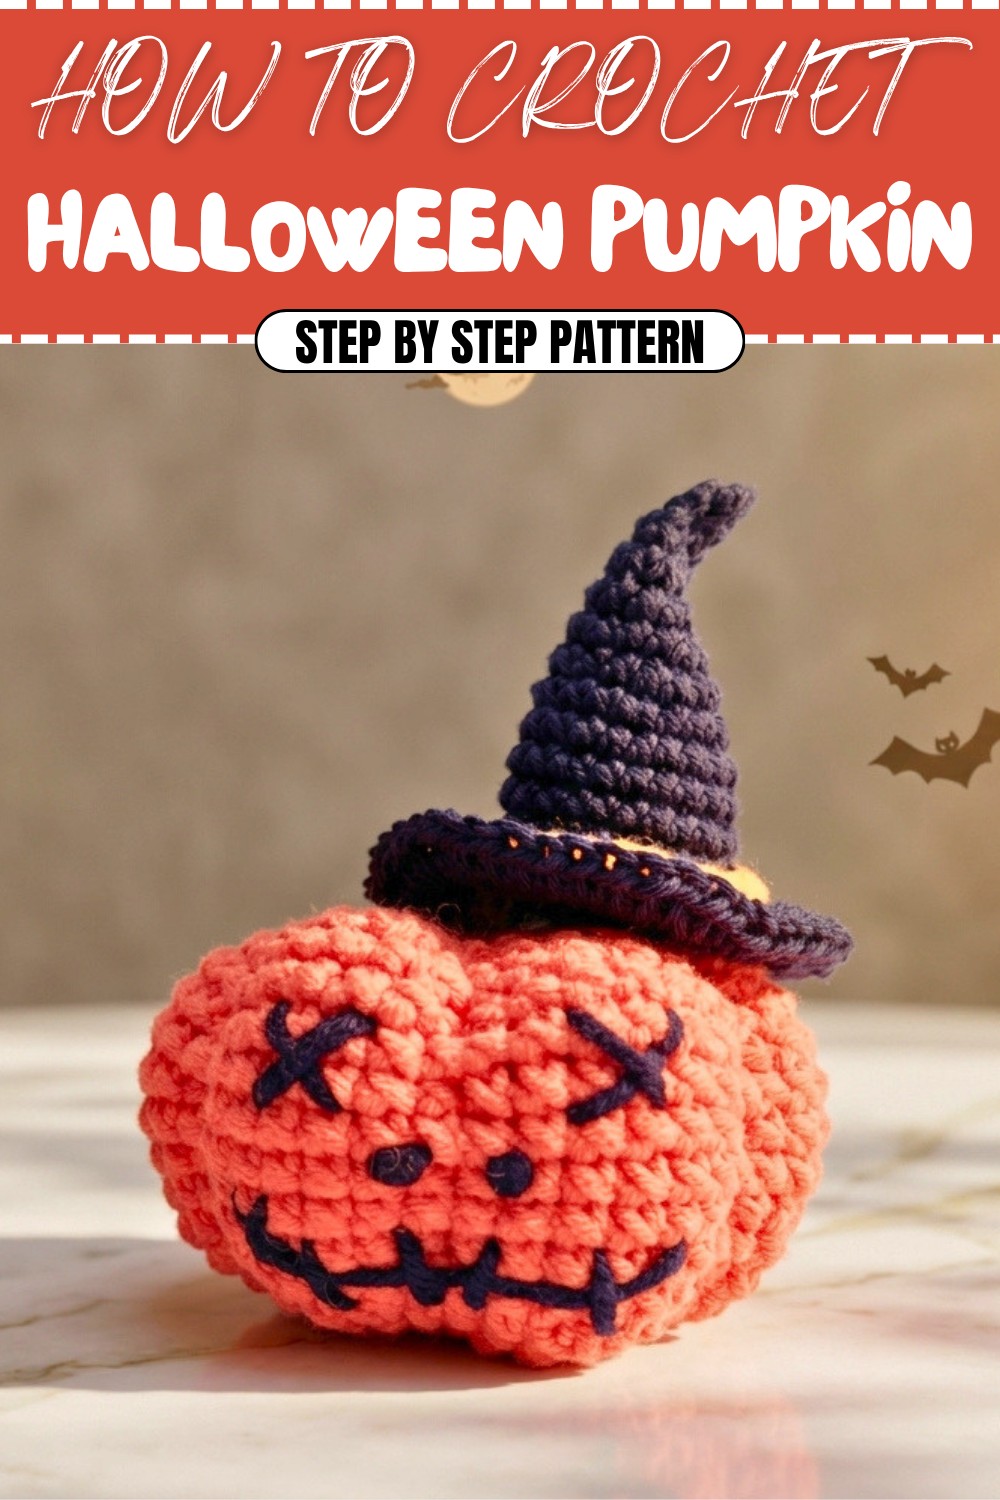
Crochet Halloween Pumpkin Tutorial: Step-by-Step Pattern
Welcome to this fun and easy crochet tutorial where we will create a Halloween pumpkin! This project is perfect for beginners and intermediate crocheters. In this pattern, you'll use simple stitches combined with creative shaping to bring this festive pumpkin to life.
Skill Level & Terminology
- Skill Level: Beginner
- Crochet Terminology: US
Materials & Tools
- Yarn: Orange yarn (body), brown yarn (stem) & black yarn (details). Choose worsted-weight yarn for best results.
- Crochet Hook: Size 4.0 mm (G/6).
- Stuffing: Polyester fiberfill for shaping the pumpkin.
- Needle: Tapestry needle for sewing and embroidery.
- Scissors: For cutting yarn ends.
Gauge
Gauge is not crucial for this project as it is decorative. However, for reference:
- Gauge: 5 single crochets (sc) x 5 rows = 1 inch.
Abbreviations List
- ch: Chain
- sc: Single Crochet
- st: Stitch
- inc: Increase (2 sc in one st)
- dec: Decrease (single crochet two stitches together)
- sl st: Slip Stitch
Special Stitch Instructions
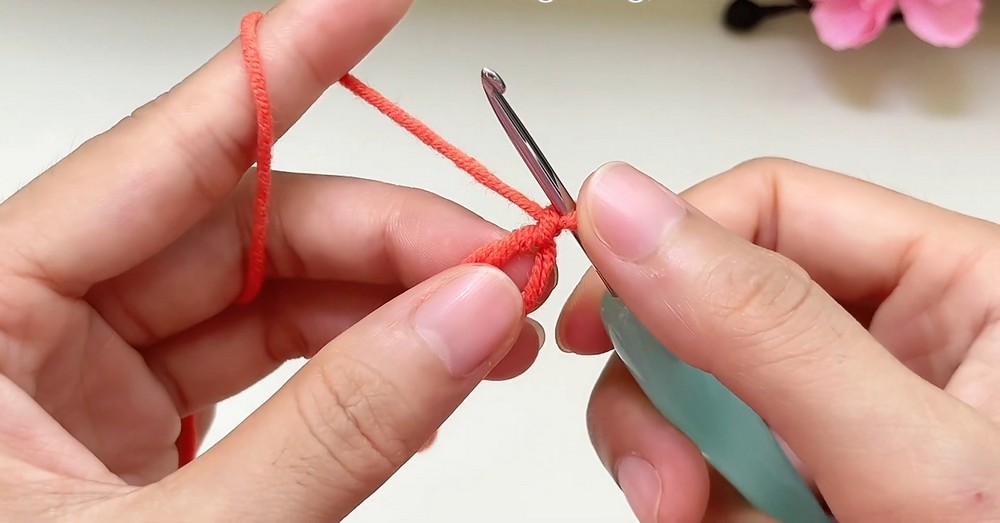
- Magic Ring: Wrap yarn around your fingers to create a loop. Pull up a loop through the center and work into this ring to start the pattern.
- Decrease (dec): Insert hook into the next stitch, yarn over, pull through (two loops on hook). Insert into the next stitch, yarn over, pull through. Yarn over again and pull through all three loops.
Finished Size
- Pumpkin Dimensions: Approximately 6 inches in diameter and 3 inches tall (excluding stem).
Crochet Pattern
Step 1: Starting the Base (Rows 1-7)
- Row 1:
- Create a magic ring.
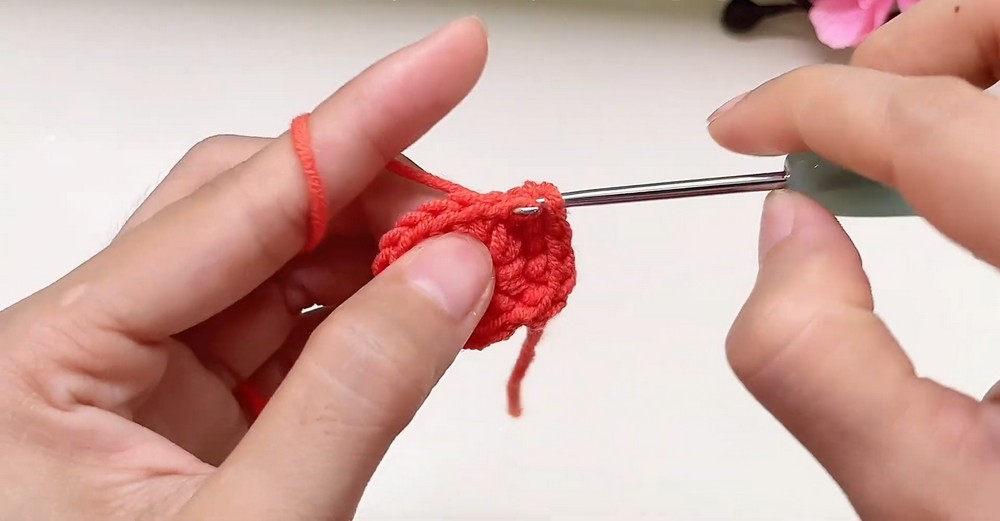
- Work 8 sc into the ring.
- Pull the yarn tightly to close the ring and sl st into the first stitch to join.
- Ch 1 to continue.
For those unfamiliar with patterns: Begin by creating a loop, then crochet 8 small stitches inside it. This forms the base of your pumpkin.
- Row 2:
- Ch 1.
- Make an increase in each stitch by working 2 sc into every st (total: 16 sc).
- Sl st into the 1st st to join.
Increase your stitches in this row to widen the base of the pumpkin.
- Row 3:
- Ch 1.
- Work 1 sc in the next st, followed by an inc (2 sc in the next st). Repeat this pattern (sc, inc) 8 times (total: 24 sc).
- Sl st to join.
Alternate between single crochets and increases to expand the pumpkin shape.
- Row 4:
- Ch 1.
- Work 1 sc in each of the next 2 sts, then make an inc (2 sc in the next st). Repeat this pattern (2 sc, inc) 8 times (total: 32 sc).
- Sl st to join.
- Row 5:
- Ch 1.
- Work 1 sc in each st around the row (total: 32 sc).
- Sl st to join.
This row simply maintains the size of the pumpkin.
- Row 6:
- Ch 1.
- Work 1 sc in each of the next 3 sts, then make an inc. Repeat this pattern (3 sc, inc) 8 times (total: 40 sc).
- Sl st to join.
- Row 7:
- Ch 1.
- Work 1 sc in every st (total: 40 sc).
- Sl st to join.
Step 2: Forming the Body (Rows 8-14)
- Rows 8-14:
- Ch 1.
- Work 1 sc in every st around (40 sc for each row).
- Sl st to join. Repeat for a total of seven rows.
This forms the taller portion of the pumpkin body.
Step 3: Shaping the Top (Rows 15-19)
- Row 15:
- Ch 1.
- Work 1 sc in the next 3 sts, followed by a dec. Repeat this pattern (3 sc, dec) 8 times (total: 32 sc).
- Sl st to join.
Start decreasing stitches to create the tapered top of the pumpkin.
- Row 16:
- Ch 1.
- Work 1 sc in every st (total: 32 sc).
- Sl st to join.
- Row 17:
- Ch 1.
- Work 1 sc in the next 2 sts, followed by a dec. Repeat this pattern (2 sc, dec) 8 times (total: 24 sc).
- Sl st to join.
- Row 18:
- Ch 1.
- Work 1 sc, followed by a dec. Repeat this pattern (sc, dec) 8 times (total: 16 sc).
- Sl st to join.
Continue shaping by reducing stitches further.
- Row 19:
- Ch 1.
- Work dec in every st around (total: 8 sc).
- Sl st to join.
Finish the pumpkin by closing the opening tightly.
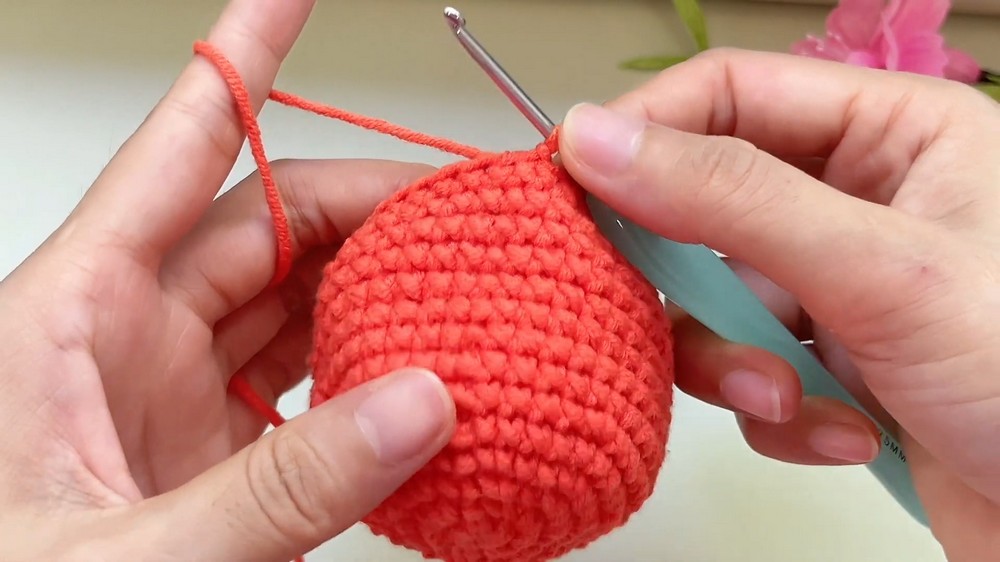
Step 4: Stuffing & Closing
- Stuff the pumpkin with fiberfill to the desired firmness.
- Cut a long tail (approximately 60 cm) and thread it through the remaining front loops. Pull tightly to close the top. Secure with a knot.
Once stuffed and closed, your pumpkin will take on its final rounded shape.
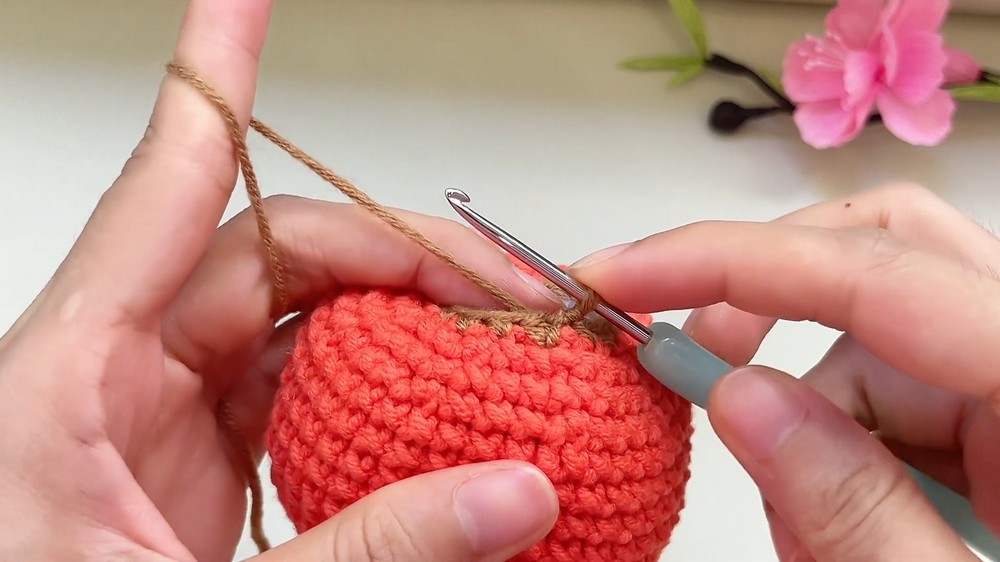
Step 5: Adding the Stem
- Switch to brown yarn.
- Insert hook at the top center.
- Ch 1.
- Work 8 chains to form the stem
- Slip stitch back along the chain to create thickness.
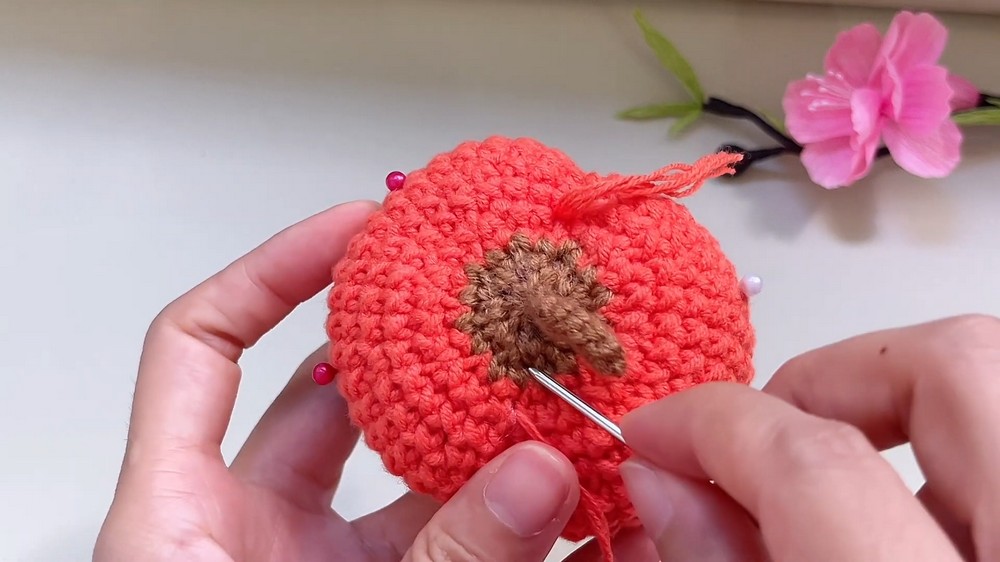
The stem adds a realistic detail to complete your pumpkin.
Step 6: Adding Details
- Use black yarn to embroider a triangle nose, two oval eyes, and a jack-o’-lantern style mouth.
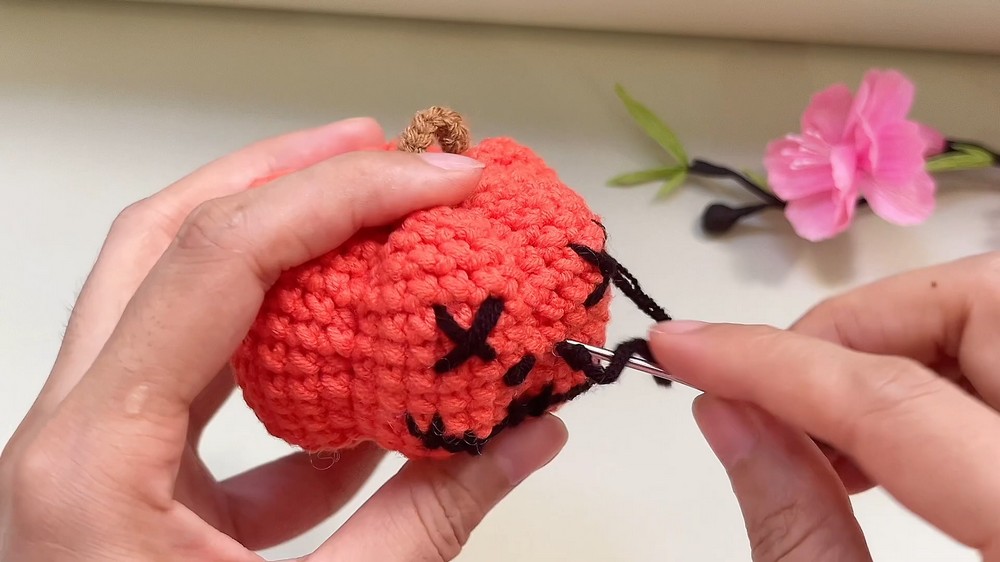
Feel free to customize the face to give your pumpkin personality!
Assembly & Finishing
- Optionally divide the pumpkin into sections using yarn and pins. Mark 6 equal parts and sew along the vertical lines to create a textured effect.
- Weave in all loose ends and trim excess yarn.
Pattern Overview
This pattern uses single crochet (sc), increase (inc), and decrease (dec) stitches to create a simple yet charming Halloween pumpkin. You start with the base, build upon it to shape the body, taper the top, and add final details like the stem and face.
Difficulties & Solutions
While this pattern is beginner-friendly, some challenges may arise. For instance:
- Magic Ring: If you're new to crochet, creating the magic ring can be tricky. Practice looping the yarn around your fingers and pulling up the first stitch. Alternatively, use the chain 4 method to form a ring instead.
- Counting Stitches: Maintaining an accurate stitch count is essential for shaping the pumpkin. Use a stitch marker to mark the start of each row, making it easy to keep track.
- Even Sections: Dividing the pumpkin into six equal parts might seem difficult. Use small pins to mark each section before sewing to ensure symmetry.
By staying patient and using tools like stitch markers and pins, these challenges can be easily overcome, resulting in a beautiful finished piece!