
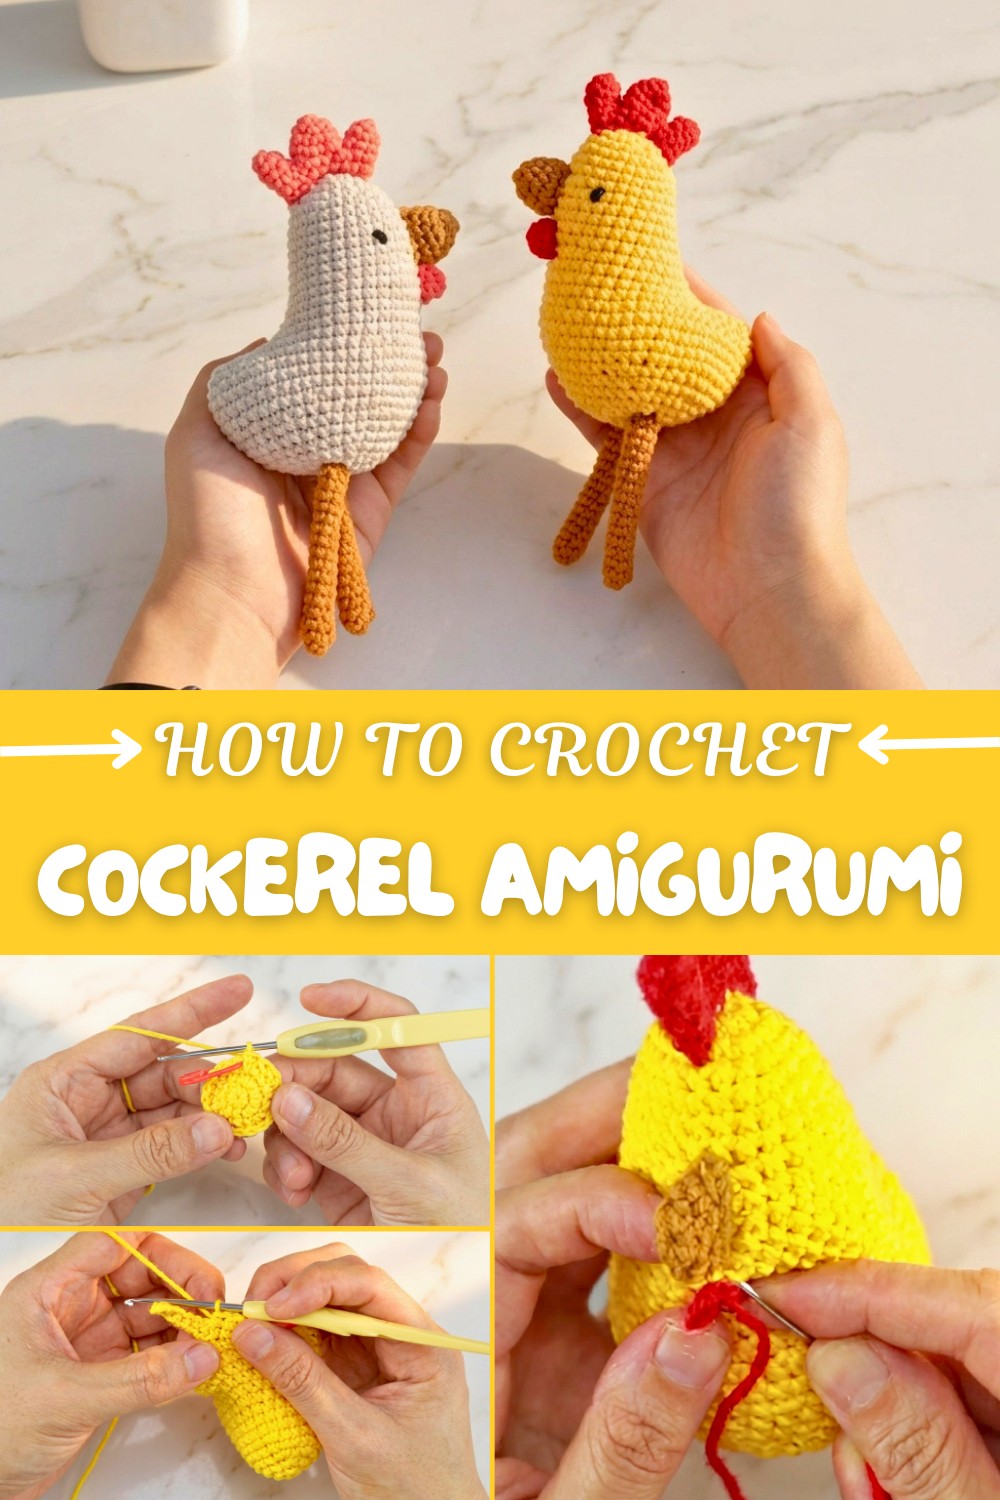
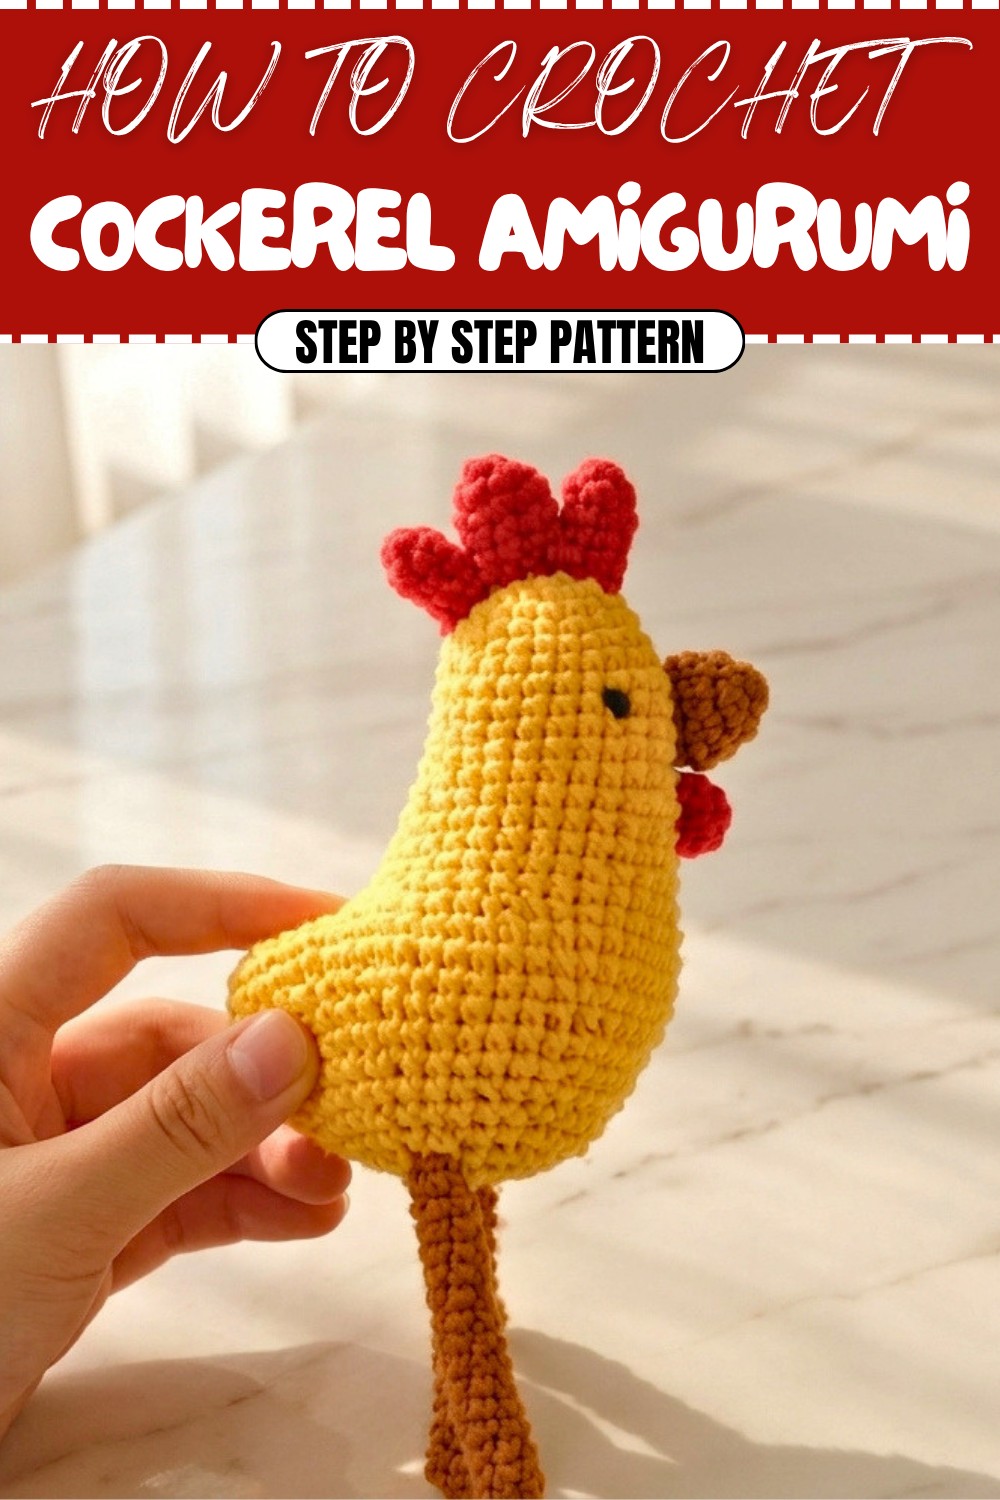
Crochet Cockerel Amigurumi Pattern for Bright Decor Sprinkles
Spruce up your workspace using a free crochet cockerel amigurumi pattern, offering daily cheer and delightful style.
When I first stumbled upon this charming little cockerel amigurumi pattern, I was immediately drawn to its vivid play of colors and adorable, whimsical design. There’s something so delightful about a handmade rooster that can add a touch of fun to any space—be it a nursery, kitchen decor, or even as a thoughtful gift to brighten someone’s day. The combination of vibrant yarn colors—like sunny yellows, fiery reds, and soft whites—makes this project not only versatile but also visually striking.
Crochet Cockerel Amigurumi Pattern for Heirloom Toy Creation
The beauty of this pattern lies in its simplicity. It uses basic crochet stitches, primarily single crochets, increases, and decreases, making it ideal for beginners. You'll also get to master the magic ring technique, which forms the base for so many amigurumi designs. These techniques can later be applied to create other cute crochet pieces like small animals, keychains, or decorative items. Its spiral-style construction ensures that you seamlessly crochet around without the hassle of joining rounds, giving it a clean and polished look.
What Else Can You Crochet With These Skills?
With the techniques from this pattern, you can branch out to crochet:
- Other barnyard animals like chickens, ducks, or pigs.
- Mini keychains or charms featuring animals or fun designs.
- Simple plush toys for kids using different designs and details.
- Holiday ornaments using the same pattern basics.
Why This Beginner Pattern is a Must:
- Creative freedom with colors and yarn choices.
- Perfect introduction to amigurumi without overwhelming complexity.
- The results are charming, practical, and fun to display or gift!
Crochet Pattern: Little Rooster
Create this adorable little rooster with this beginner-friendly crochet pattern! This rooster is perfect for those who are just starting out and want to learn the basics of crochet. The pattern includes simple stitches like chain stitches, single crochets, increases, and decreases, making it approachable and easy to follow.
Skill Level & Terminology
- Skill Level: Beginner
- Terminology: US terms used throughout.
Materials & Tools
- Yarn: Worsted weight yarn in desired rooster colors (e.g., white, red, yellow, black).
- Crochet Hook: Size 3.5mm (E)
- Fiberfill for stuffing
- Tapestry Needle for sewing and weaving in ends
- Stitch Marker
- Scissors
Gauge
Gauge is not critical for this pattern. Aim for tight, even stitches to prevent the stuffing from showing through.
Abbreviations List
- ch: Chain
- sc: Single Crochet
- inc: Increase (2 single crochets in the same stitch)
- dec: Decrease (single crochet two stitches together)
- st(s): Stitch(es)
- sl st: Slip Stitch
- MR: Magic Ring (or Magic Circle)
Special Stitch Instructions
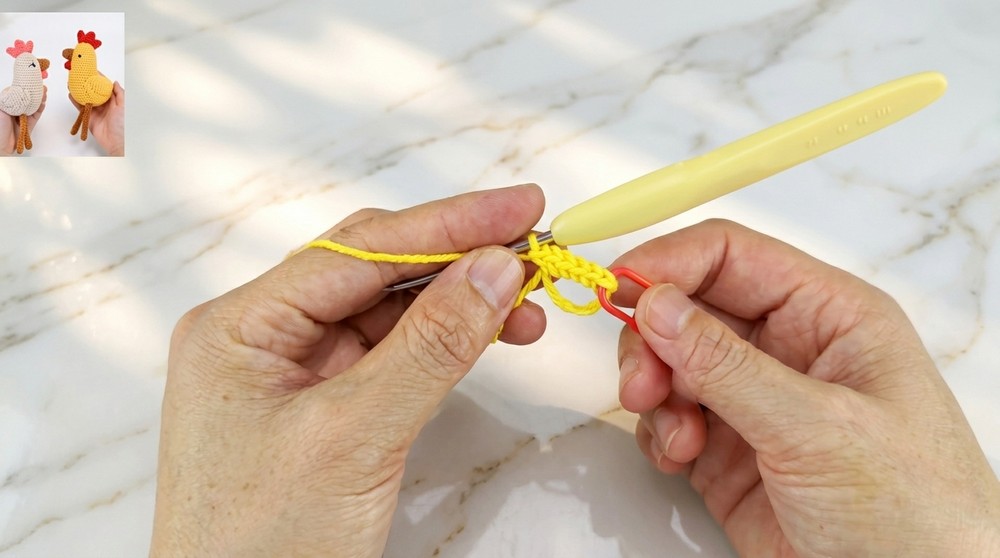
- Magic Ring (MR): Create a loop, insert hook, yarn over, pull a loop through, and work the required number of stitches into the circle. Pull the tail to tighten.
- Decrease (dec): Insert hook into the front loop of the first stitch, then into the front loop of the second stitch, yarn over, and pull through the first two loops, yarn over again, and pull through the last two loops.
Finished Size
Approximately 4-5 inches tall with the materials and hook size listed, but size may vary based on yarn thickness and individual tension.
What You’ll Learn:
By following this pattern, you’ll gain confidence in:
- Crocheting a simple amigurumi structure from head to body.
- Creating distinct details like the comb, wattle, and beak to give personality to your project.
- Incorporating small touches like embroidered eyes and securely sewing parts together for a professional finish.
The Pattern
Head and Body
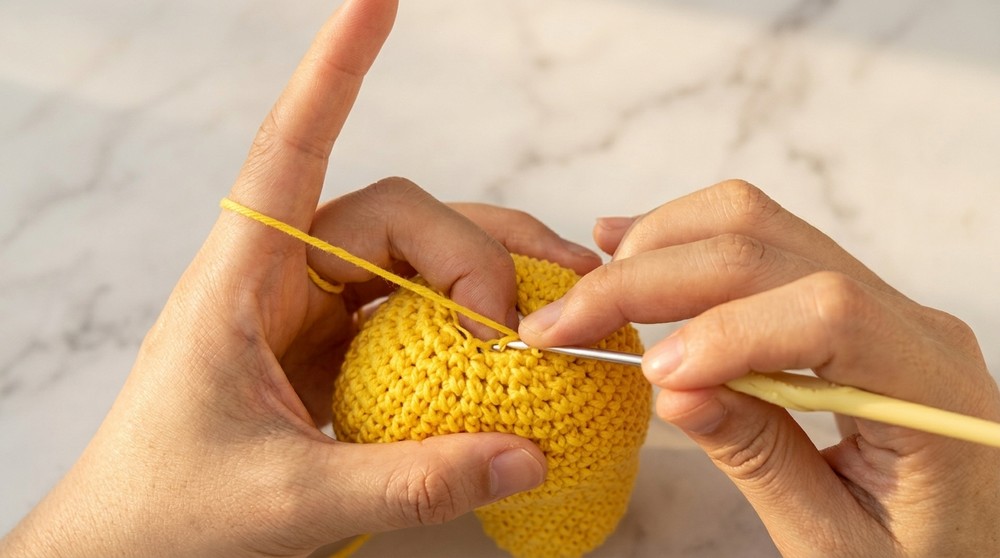
- Round 1: Begin with a magic ring (MR), and work 6 sc into the ring. Pull the tail tightly to close. (6 sts)
- Round 2: Work 6 inc (2 sc in each stitch). (12 sts)
- Round 3: (1 sc, 1 inc) repeat around. (18 sts)
- Round 4: Work 1 sc in each stitch around. (18 sts)
- Round 5: (2 sc, 1 inc) repeat around. (24 sts)
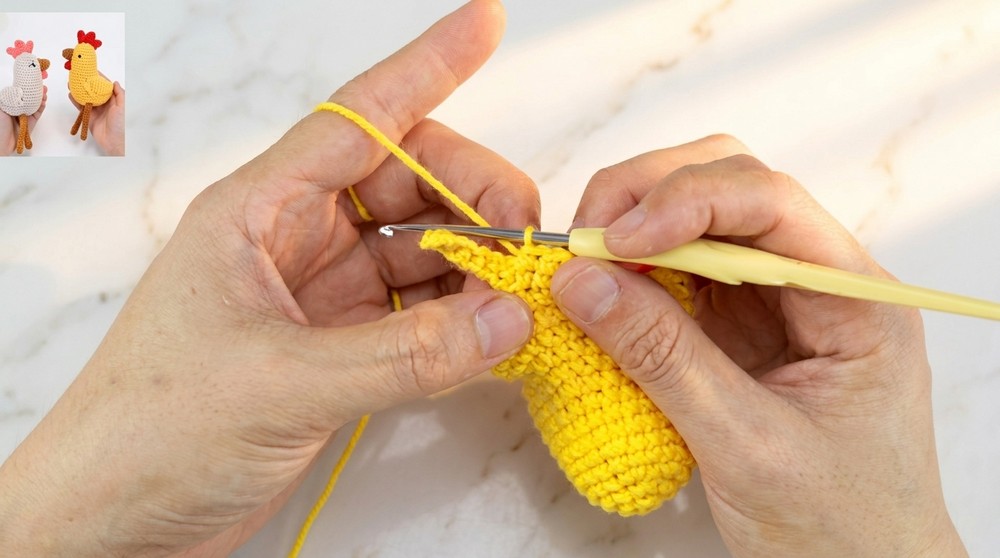
- Rounds 6-15: Work 1 sc in each stitch around. (24 sts for each round)
- Round 16: Work 4 sc, then 7 ch; starting from the second chain, work 6 sc back along the chain. Continue with 26 sc around the body. (36 sts)
- Round 17: Work 4 sc; pick up 6 sc along one side of the chain loop, work 6 sc along the other side of the chain. Finish by working 26 sc in the remaining stitches. (42 sts)
- Round 18: (6 sc, 1 inc) repeat around. (48 sts)
- Rounds 19-21: Work 1 sc in each stitch around. (48 sts for each round)
- Round 22: (6 sc, 1 dec) repeat around. (42 sts)
- Round 23-30: Follow the diagram to decrease gradually. Stuff the head and body before fully closing the bottom opening.
- Round 31: Work 6 dec evenly spaced. Leave a long tail, and use a tapestry needle to sew the final 6 stitches closed.

[ After completing the head and body, you’ll have the basic shape of your rooster. Make sure the stuffing is evenly distributed and tightly sewn.]
Legs
- Round 1: Begin with a magic ring, and work 6 sc into the ring. (6 sts)
- Rounds 2-16: Work 1 sc in each stitch around (6 sts per round).
- Repeat for the second leg.
[Completion Note: After the legs are crocheted, lightly stuff them, and set them aside for later attachment.]*
Beak
- Begin with a magic ring, and work 6 sc into the ring. (6 sts)
- Fasten off and leave a long tail for sewing.
[Note: The beak is a very small piece, so no stuffing is necessary. Set it aside for stitching later.]*
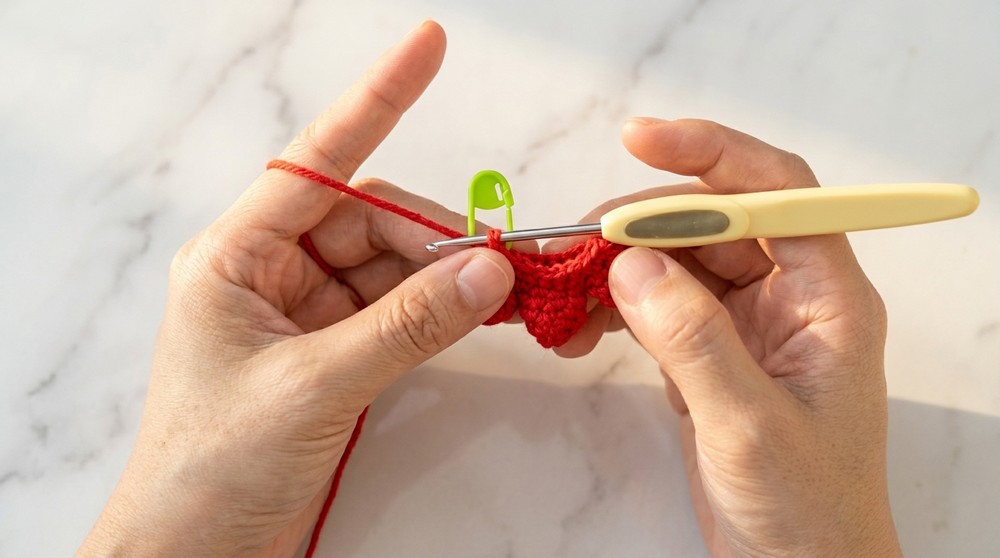
Comb
The comb is worked in three separate parts and joined as follows:
- Part 1 (Large Section):
- Round 1: Begin with a magic ring, and work 6 sc. (6 sts)
- Round 2: Work 6 inc (2 sc in each stitch). (12 sts)
- Rounds 3-4: Work 1 sc in each stitch around. (12 sts)
- Parts 2 & 3 (Small Sections):
- Same as above, but stop after Rounds 1-2. (12 sts)
- Leave long tails for sewing.
Joining the Comb Sections:
- Join Part 1, Part 2, and Part 3 with 3 sc between them, connecting into a single piece. Work 8 sc around Part 1, 6 sc around Part 2, and 6 sc around Part 3. (20 sts in total)
- Next Round: (8 sc, 1 dec) repeat twice. (18 sts)
- Fasten off, and leave a long tail for sewing onto the head.
[Completion Note: After sewing all three sections of the comb, you’ll have a multi-layered comb for the rooster's head. Sew it securely, as this is a focal part of the design.]*
Assembly & Finishing
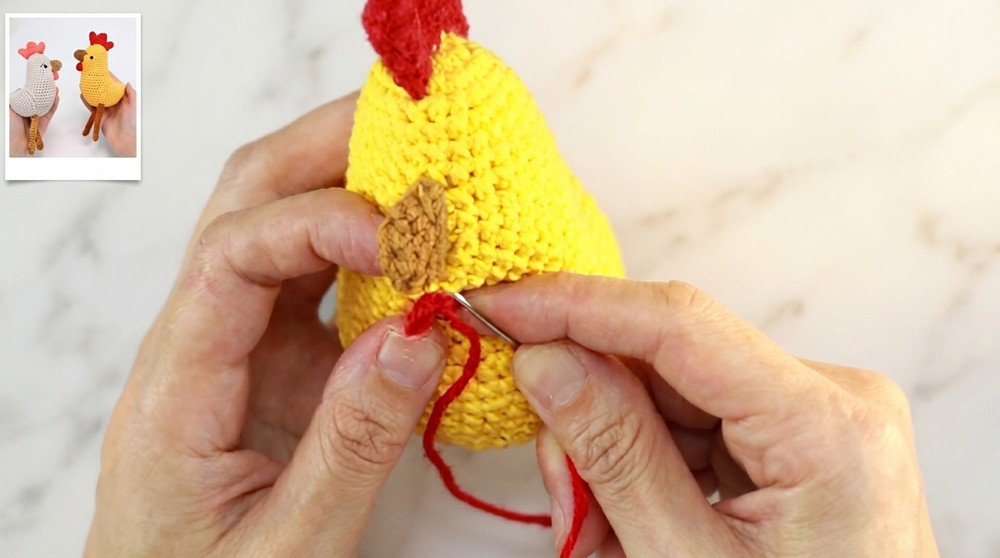
- Attach the Comb: Sew securely to the top of the head, ensuring it is centered and fixed in place.
- Attach the Beak and Wattle: Sew the beak below the comb, then position the wattle (made from the extra comb material) below the beak.
- Attach the Legs: Evenly space and sew the legs onto the base of the rooster’s body using a back-and-forth motion. Stuff lightly before closing the stitches.
- Embroider Eyes: Use black yarn and a tapestry needle to embroider small eyes on either side of the beak. A simple line of 2-3 stitches for each eye works best. Ensure they are symmetrical.
Pattern Notes
- This pattern is perfect for beginners, as it uses basic crochet stitches and easy increases/decreases.
- The spiral technique means rounds are worked continuously without joining. Place a marker to track the start of each round.
- The stuffed rooster can be used as a toy, decoration, or gift. Experiment with different colors to personalize your project!
This pattern uses basic stitches but delivers an adorable result. Starting with a Magic Ring, you’ll work in spiral rounds and use increases and decreases to shape the head and body. The comb, beak, wattle, and legs bring the rooster to life, with simple sewing techniques to assemble the parts.