
Cozy Free Crochet Baby Pixie Bonnet Pattern for Winter
Wrap happiness around your baby with this crochet pixie bonnet that is snug soft handmade with love and perfect for adding warmth and charm every day.
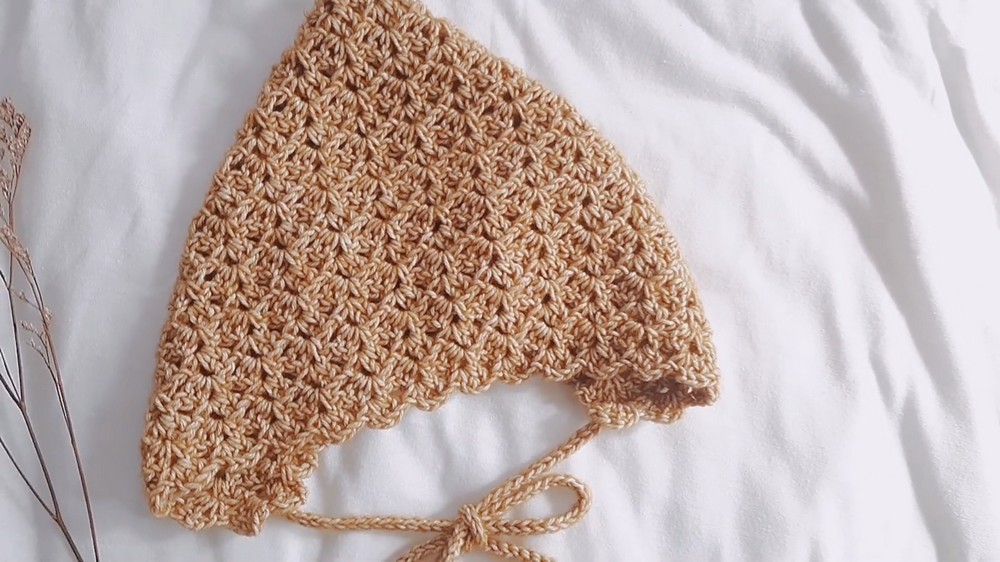
The pixie baby bonnet is a timeless and charming accessory that has captured the hearts of many crochet enthusiasts. This cozy and whimsical design is ideal for babies aged 6 to 12 months, providing both warmth and style for your little one. Its pointed, pixie like shape gives it a magical and vintage inspired appeal, making it perfect for everyday wear, photoshoots, or as a sentimental handmade gift.
On her YouTube channel, Joy Torralba offers a detailed step by step tutorial that guides viewers through the process of creating this adorable bonnet. Using the reverse blanket stitch, Joy adds a unique texture to the design, ensuring the bonnet is both soft on delicate baby skin and durable enough for regular use.
Free Crochet Baby Pixie Bonnet Pattern for Everyday Looks
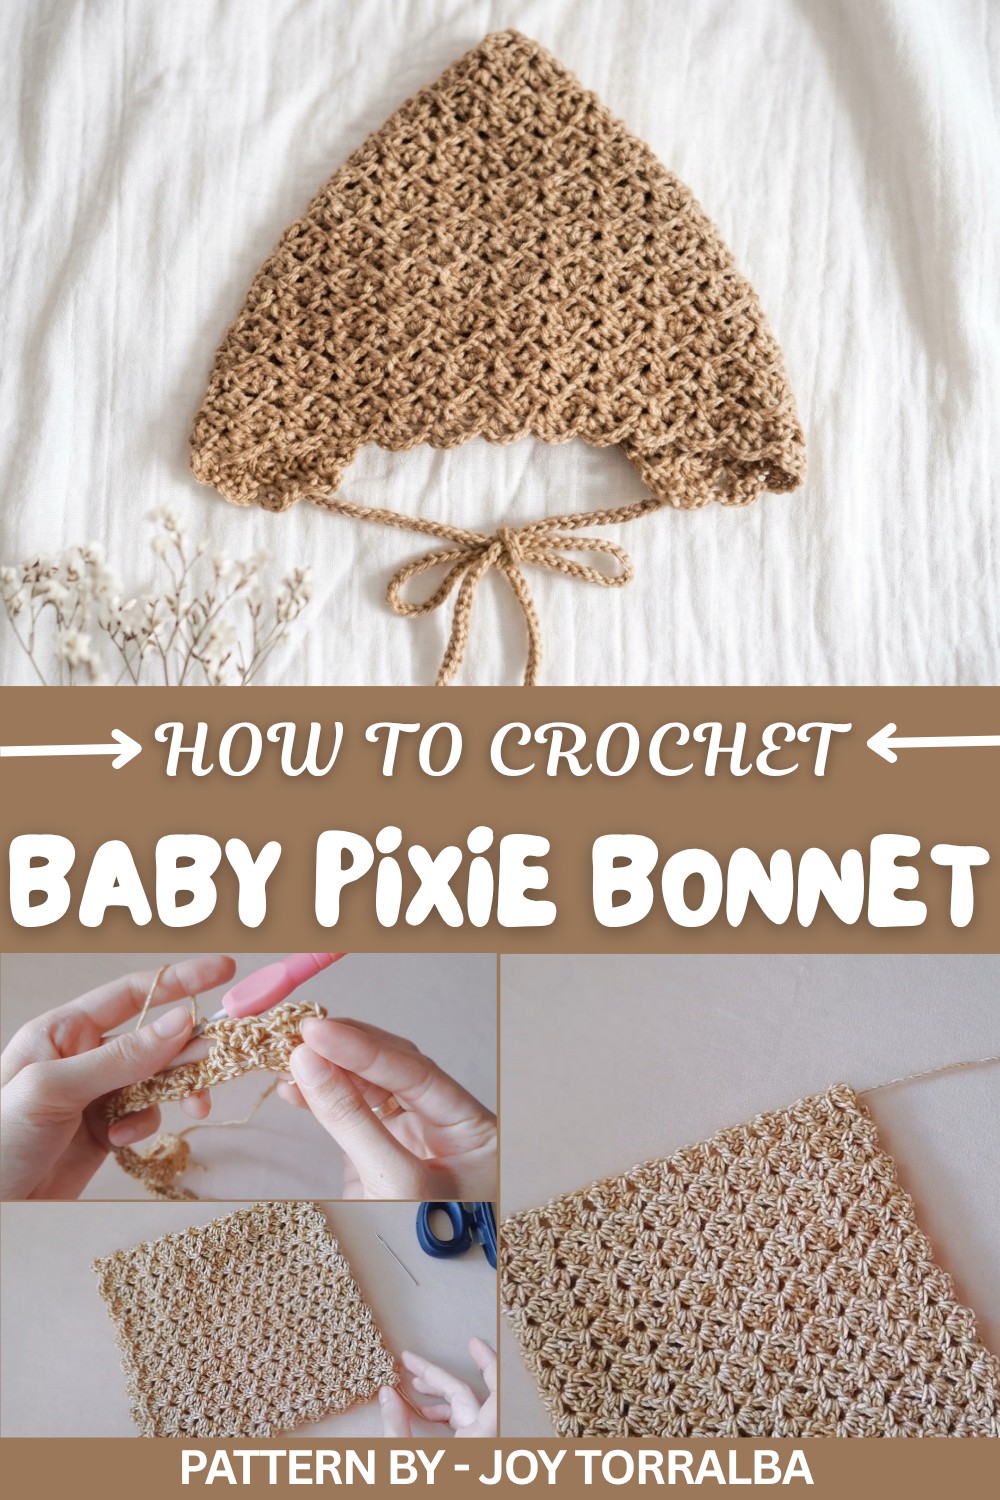
What sets this bonnet apart is its enchanting pixie design, which stands out from traditional baby hats. It hugs the baby’s head comfortably, while the neatly crocheted edges and optional ties provide both security and a polished finish. The 3.5 mm hook and soft, high quality yarn used in the pattern complement the bonnet’s structure, making it an irresistible addition to any baby’s wardrobe.
With its blend of beauty, functionality, and Joy Torralba’s expert guidance, the pixie baby bonnet is a project filled with love and creativity. Whether you’re crocheting for your child or as a thoughtful gift, this bonnet is sure to become a cherished handmade treasure.
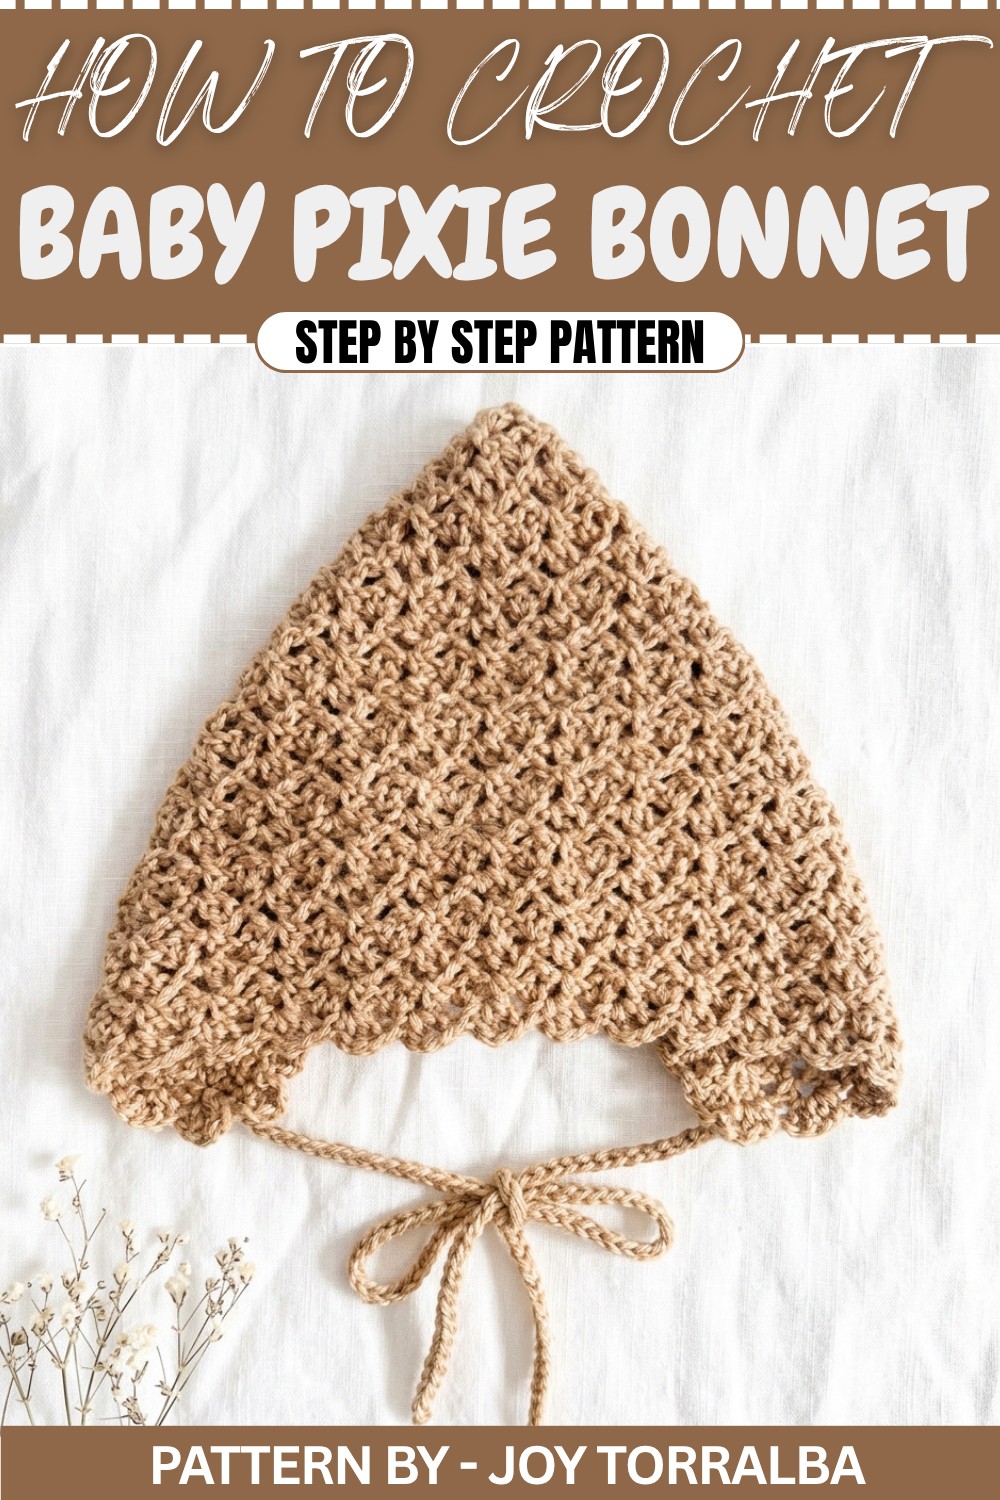
Crochet Pixie Bonnet Pattern (6–12 Months)
Make this cozy and adorable Pixie Bonnet for your little one. This project is crocheted with a beautiful reverse blanket stitch pattern that creates a unique texture. Perfect for a baby aged 6–12 months, the instructions below ensure it's easy for everyone to follow step by step.
Materials & Setup
- Yarn: 1 skein (50g) of sport weight yarn (any soft and durable yarn is suitable).
- Hook: 3.5 mm crochet hook.
- Foundation Chain: Create a starting chain measuring 14 inches.
- Tip: Ensure the chain count is a multiple of 4 for the stitch pattern to align correctly and the texture to form properly.
Measurements
- Head Circumference: 15–17 inches.
- Final Piece Dimensions: Length: 7 inches, Width: 6.5 inches.
Gauge
Exact gauge isn't specified, but the foundation chain must measure 14 inches. Adjust your hook size slightly if your chain measurement varies.
Crochet Instructions
Follow these steps to construct the pixie bonnet:
Foundation Row
- Chain a total length of 14 inches, ensuring the stitch count is a multiple of 4.
- This foundation chain will form the base of the piece and will eventually determine the width of the bonnet.
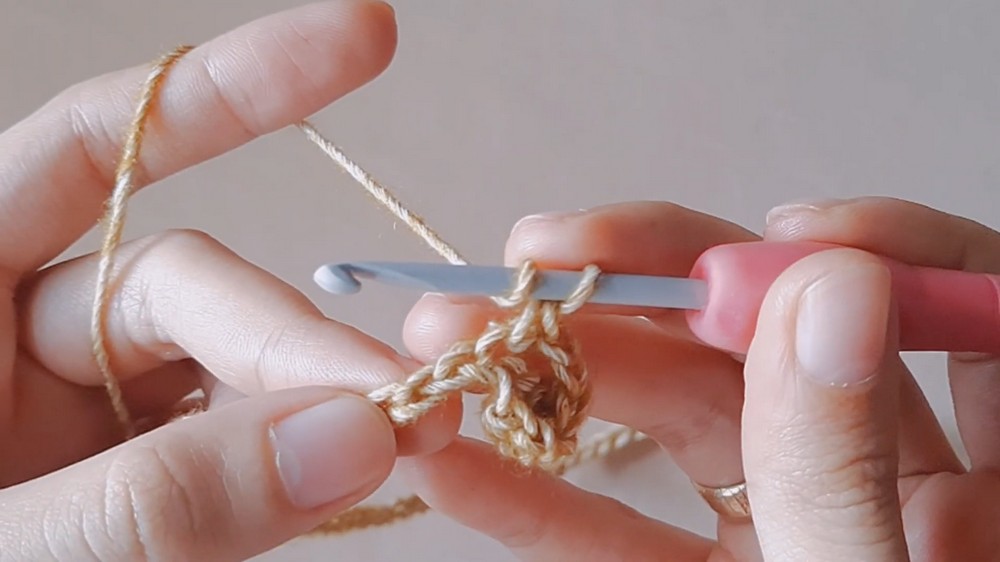
Row 1: Starting the Reverse Blanket Stitch
- Skip the first two chains from the hook.
- Work 2 double crochet (DC) into the third chain from the hook. This sets up the beginning of the textured stitch pattern.
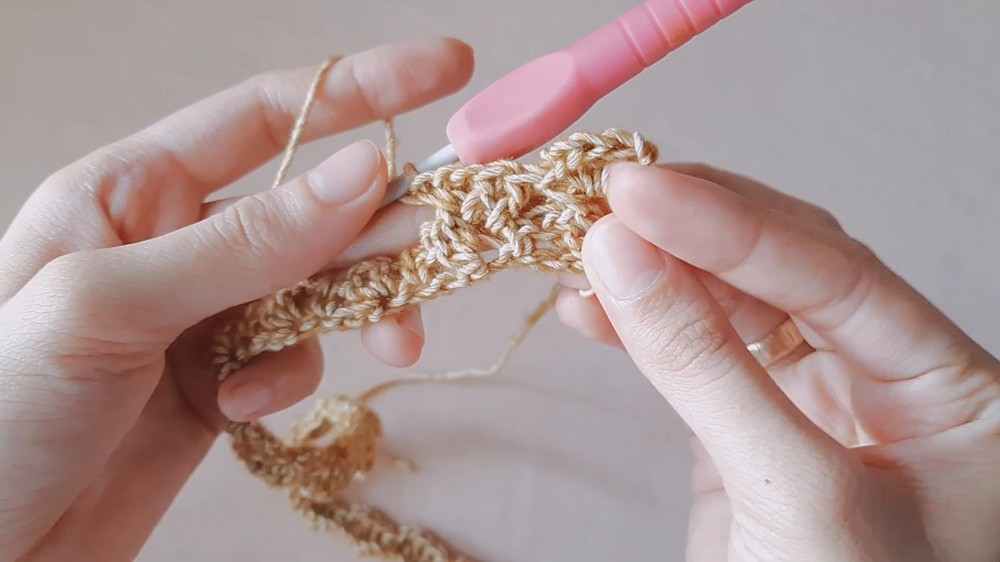
Reverse Blanket Stitch Pattern
- Continue working the reverse blanket stitch across the entire row:
- Work the specified sequence of double crochets or chain stitches (as per the reverse blanket stitch method).
- Be consistent with the stitch placement for the texture to stand out.
- At the end of the row, chain 3 and turn your work.
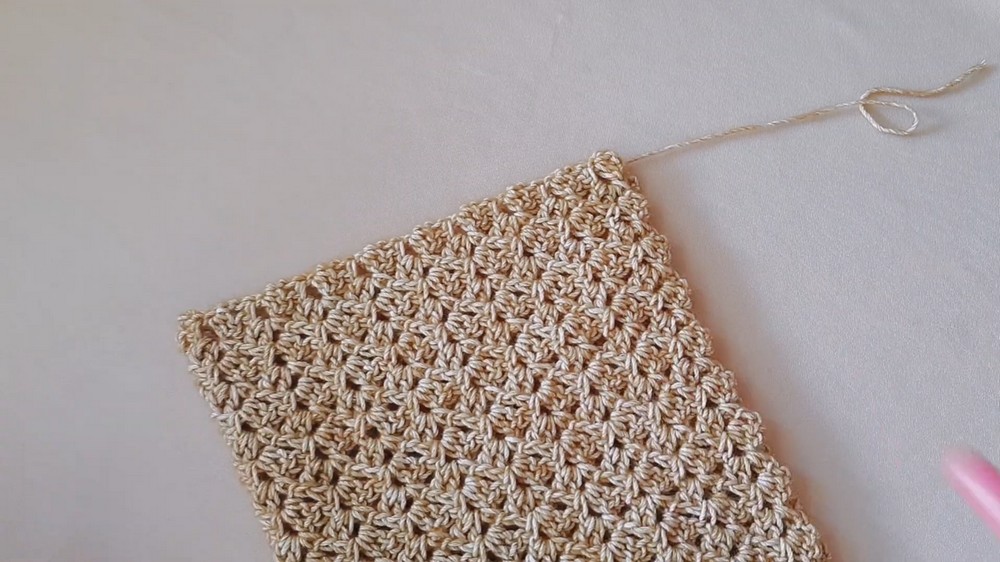
- Repeat the same stitch pattern for every subsequent row.
Continuing the Rows
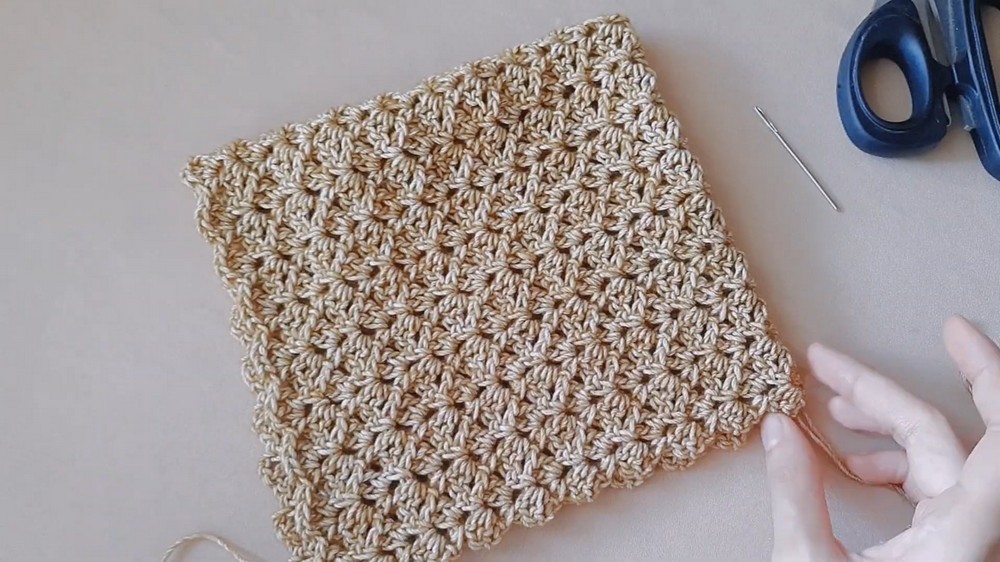
- Check the size: Continue crocheting the rows using the reverse blanket stitch until the piece measures:
- 7 inches in total length
- 6.5 inches in width
- The consistency of the stitch pattern is key to achieving the pixie bonnet’s texture and structure. Make sure each row aligns with the previous one.
Important Notes:
- Starting Chain and Stitch Alignment:
- It is critical that the starting chain be exactly 14 inches long and a multiple of 4 to ensure proper stitch alignment throughout.
- If you are using a different yarn or hook, maintain this measurement and stitch count.
- Adjustments for Yarn Choice:
- Should you choose a different yarn weight, increase or decrease your hook size as necessary. Still, aim for the 14 inch foundation measurement.
Assembling the Bonnet
After you’ve completed the main bonnet piece:
- Folding and Shaping:
- Fold the rectangle in half so the edges align evenly. The fold will naturally create the back point of the pixie bonnet.
- Sewing the Back Seam:
- Use a whip stitch or mattress stitch to make a seamless join along the folded edge (the back of the bonnet).
- Tying Strings (Optional):
- You can crochet ties by chaining around 30–40 chains at the two lower corners of the bonnet.
- These ties can help secure the bonnet under the baby’s chin.
Special Techniques
- Reverse Blanket Stitch: A textured stitch achieved by working tight double crochets across each row.
- Ties (Optional): Add ties using a slip knot and chain 40 stitches. Attach to corners of the bonnet where the neck opening begins.
Customization Ideas
- Adjust Colors: Use variegated cotton yarn, soft pastel baby friendly colors, or any personal preference.
- Add Embellishments: Stitch small flowers or adornments onto the bonnet edges.
- Sizing Adjustments: To increase size for older babies, add to the foundation chain and adjust the number of rows; keep proportions consistent.
Conclusion
This baby pixie bonnet is a delightful creation both for functionality and style. The pointed crown gives it a whimsical touch, while the reverse blanket stitch ensures durability and comfort. When finished, the bonnet exudes softness and elegance, fitting snugly on a baby’s head to keep them warm.
Important Final Remarks:
- Take time to block the bonnet if necessary. Gently shape it using a spray of water and allow it to dry flat to achieve neatness.
- Let your creativity shine with yarn choices and embellishments. This pattern is versatile and customizable, making it perfect for gifting or personal use.
By following this detailed guide, you’ll crochet a charming and treasured handmade accessory for your little one that’s sure to become a family keepsake.