
Budget-Friendly Crochet Summer Beach Hat Pattern for Beginners
Start the Free Crochet Summer Beach Hat Pattern to solve your sunhat needs while personalising your summer style with ease.
There’s something truly joyful about crocheting something wearable that combines style and function, especially for those sunny summer days at the beach. Using soft cotton yarn held double gives this crochet project a light and comfortable feel, perfect to keep you cool while looking chic. The pattern mainly uses the double crochet stitch, which is a fantastic basics stitch for beginners and experienced crocheters alike. This stitch creates lovely texture and height quickly, making your hat grow fast and look elegant. Learning double crochet also opens doors to many other projects such as scarves, blankets, and lightweight garments.
Learn to Stylish Crochet Summer Beach Hat Pattern for Fun
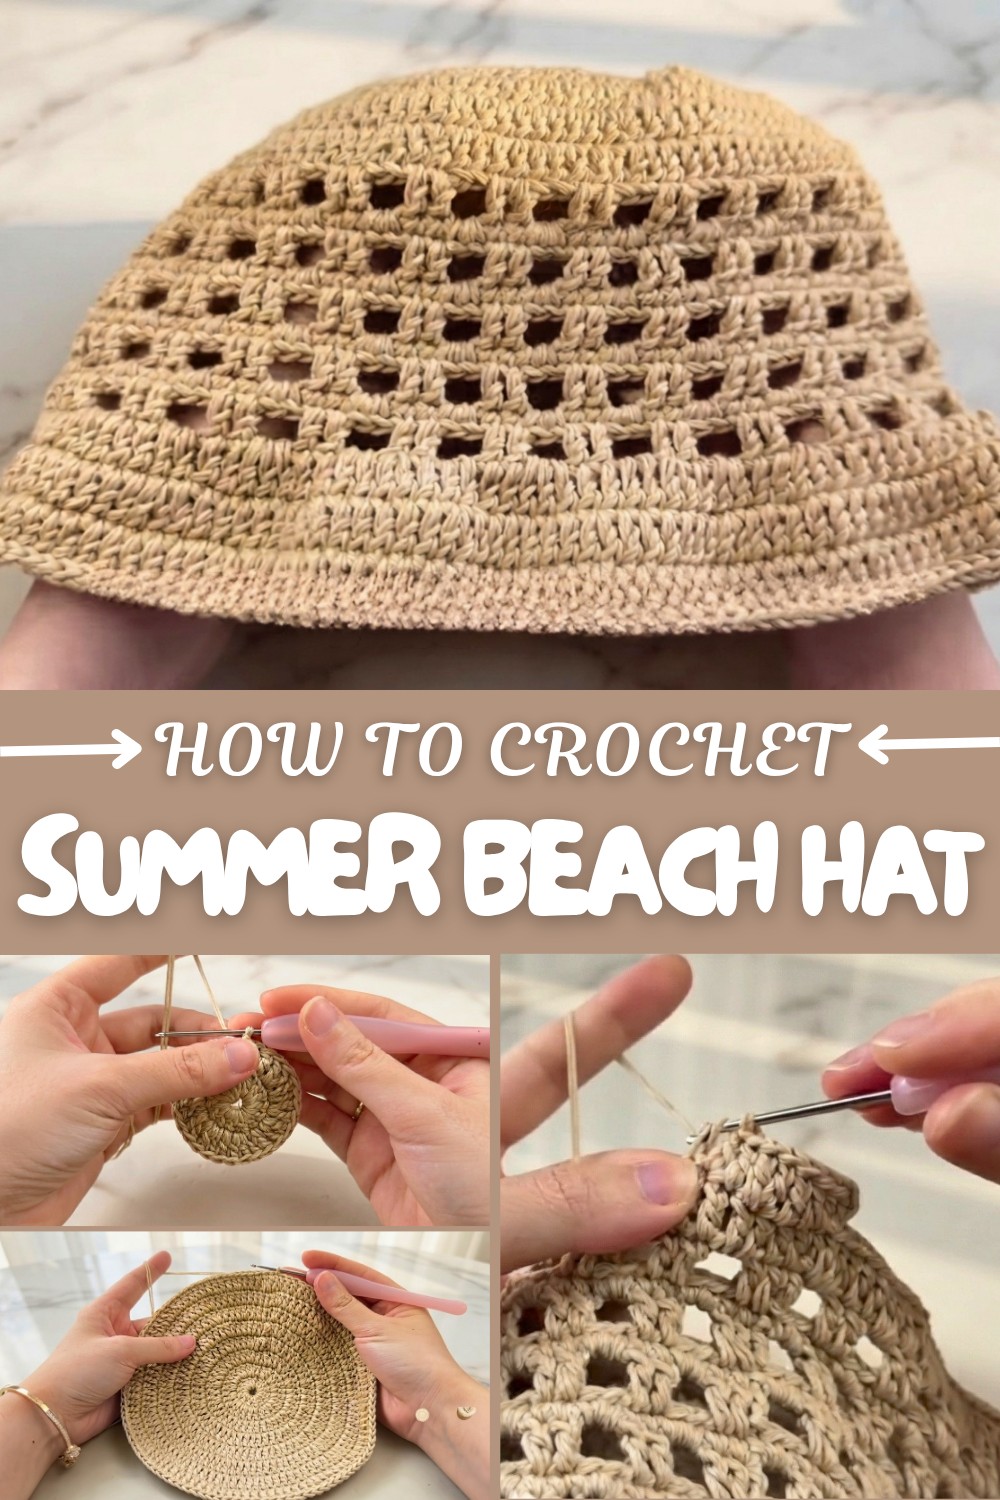
You begin by making a magic ring, then work in continuous rounds, gradually increasing stitches to form a nicely shaped crown and expanding the brim with a combination of double crochets and chains. The repeating rounds build your skills steadily and help create a charming, airy pattern on the brim, giving the hat a fresh, summery vibe that’s ideal for sunny adventures. Something wonderful about this project is how easy it is to follow and how quickly you can see your progress.
Beyond the hat itself, the stitches and techniques you practice here can be used to crochet lots of other lovely things. You could make lightweight shawls, beach bags, or pretty sun visors using similar patterns and stitches. This project is a great stepping stone, encouraging you to explore more creative ideas with yarn and hook, crocheting handmade accessories that brighten your days and those of your loved ones.
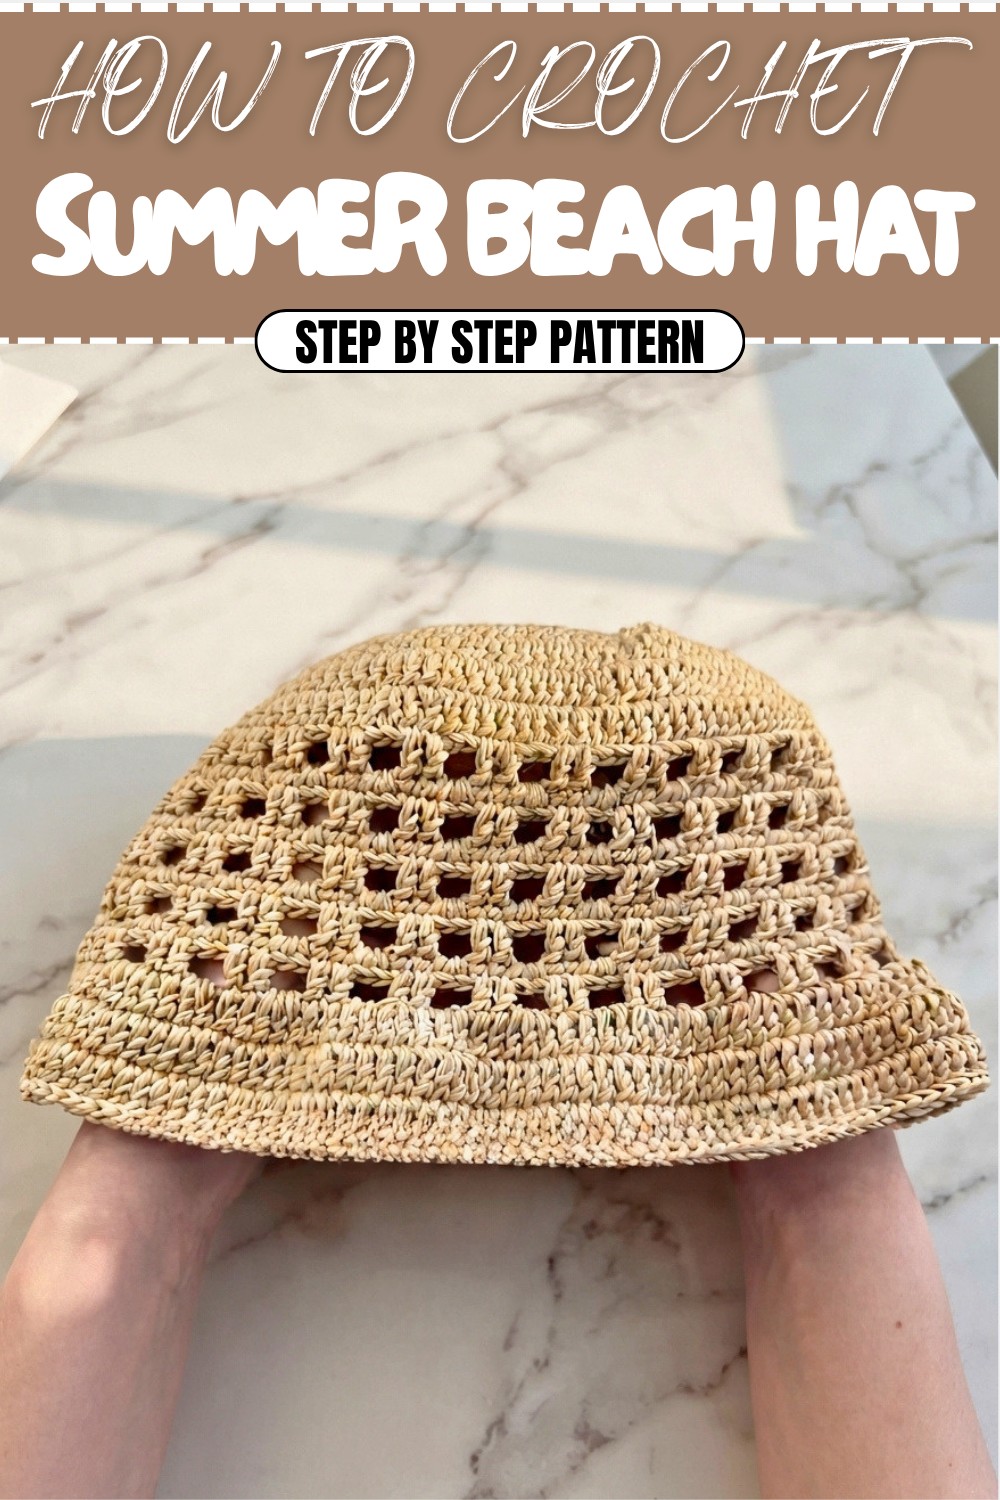
Beach Hat Crochet Pattern
Imagine yourself enjoying a sunny day at the beach while wearing a handmade crochet beach hat! This elegant accessory is perfect for summer vibes and is fun to create. In this pattern, we will guide you step-by-step on how to crochet a neat, stylish beach hat using double crochet stitches, increases, and decorative chain spaces. Whether you're a newbie or an advanced crocheter, you'll love how this beautiful hat comes together.
Skill Level & Terminology
Skill Level:
Beginner to Intermediate - Uses basic stitches like double crochet (dc) and single crochet (sc), with a slight decorative flair in later rounds.
Crochet Terminology:
This pattern uses US terminology for crochet stitches.
Materials & Tools
- Yarn:
– 1 mm cotton yarn (hold 2 strands together for sturdier texture). - Hook:
– Crochet hook size 3.5 mm (or adjust as needed for your gauge). - Other Tools:
– Tapestry needle (for weaving ends).
– Scissors.
Gauge
Gauge is not essential for this pattern, as the hat is shaped through increases. However, ensure your double crochets are consistent for even rounds.
Abbreviations List
Here’s a handy reference for stitches used:
- ch - chain
- sc - single crochet
- dc - double crochet
- sl st - slip stitch
- rep - repeat
- inc - increase (two stitches into the same stitch)
Special Stitch Instructions
Magic Ring:
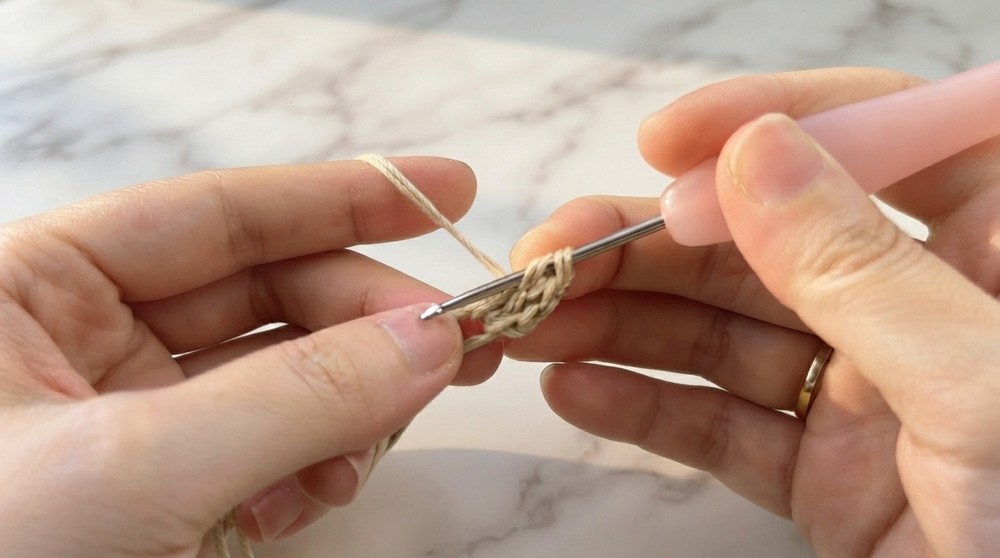
The magic ring method creates a tightly closed center for the hat. Wrap the yarn into a loop, insert your crochet hook into the center, pull up a loop, and secure with chains.
Increase:
To make an increase, work two stitches into the same space or stitch.
Chain Space (ch space):
Skip stitches to create a decorative gap by chaining and working in the next designated stitch.
Finished Size
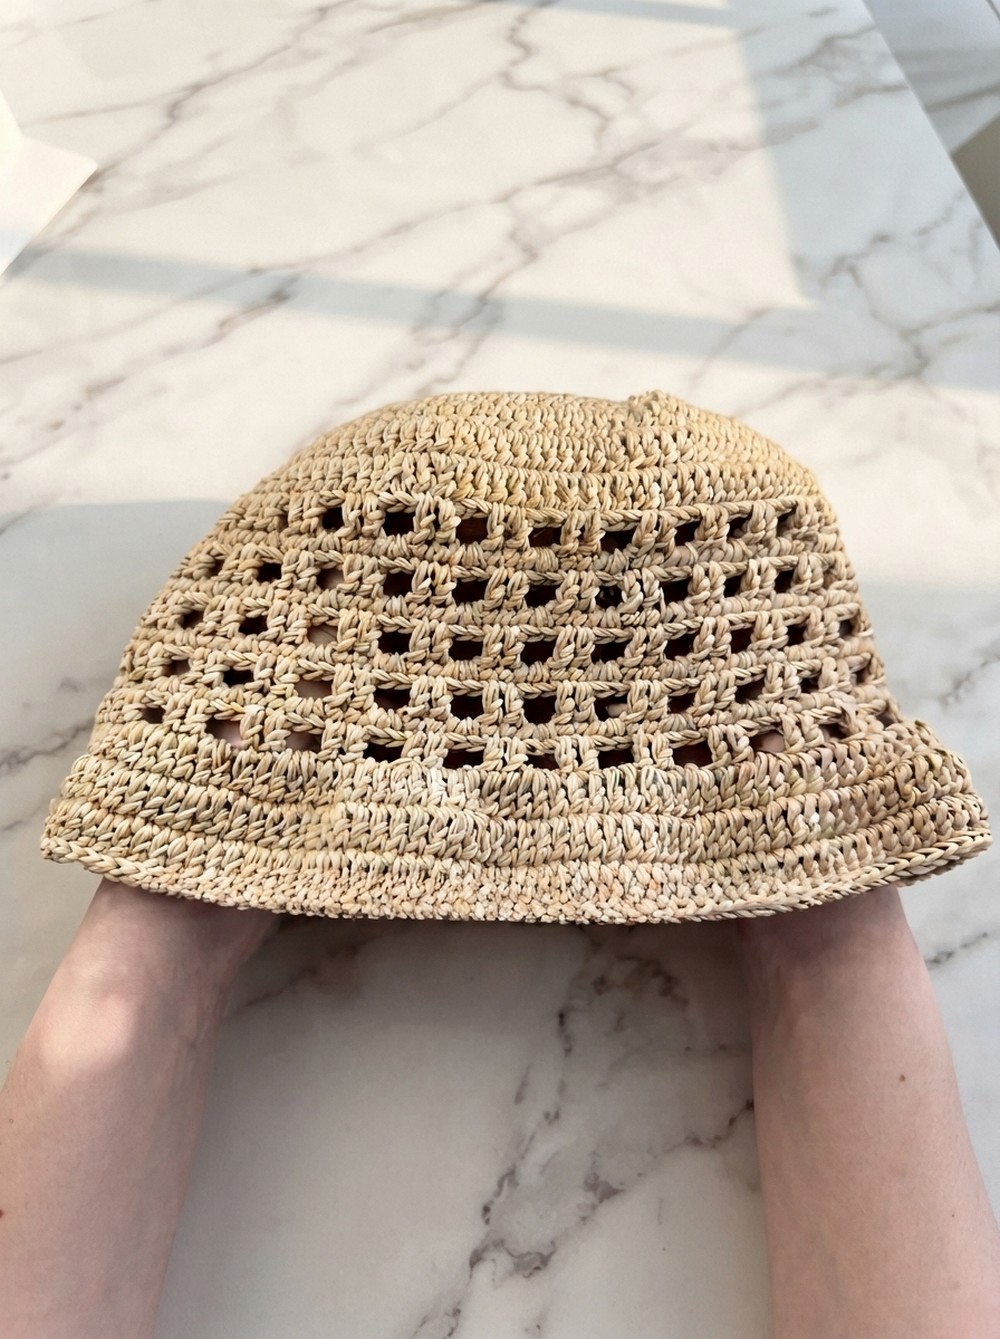
Approximately 22 inches in circumference and 4–5 inches in brim depth (adult size).
The Pattern Itself
Follow along to crochet your beach hat part by part:
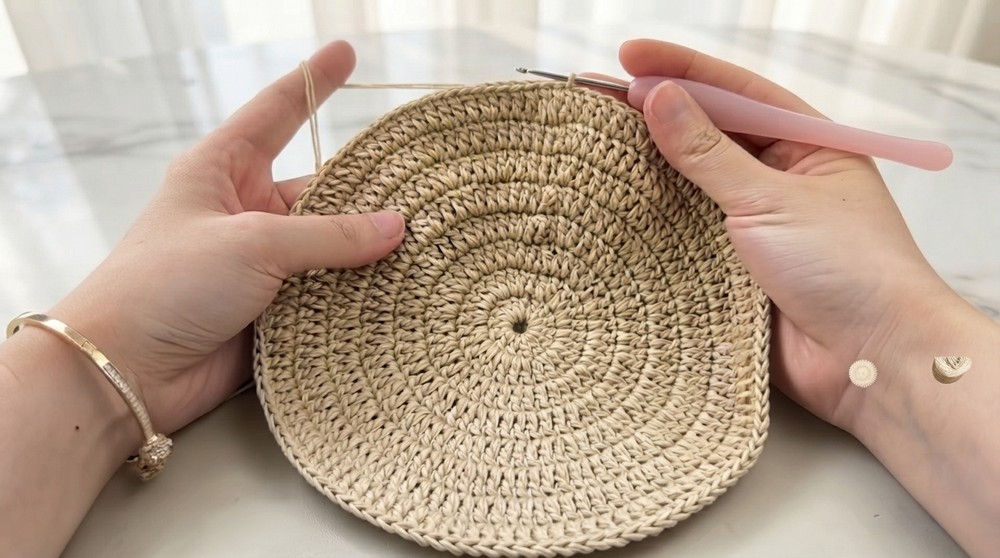
Part 1: Hat Crown (Rounds 1–8)
Instructions
- Round 1:
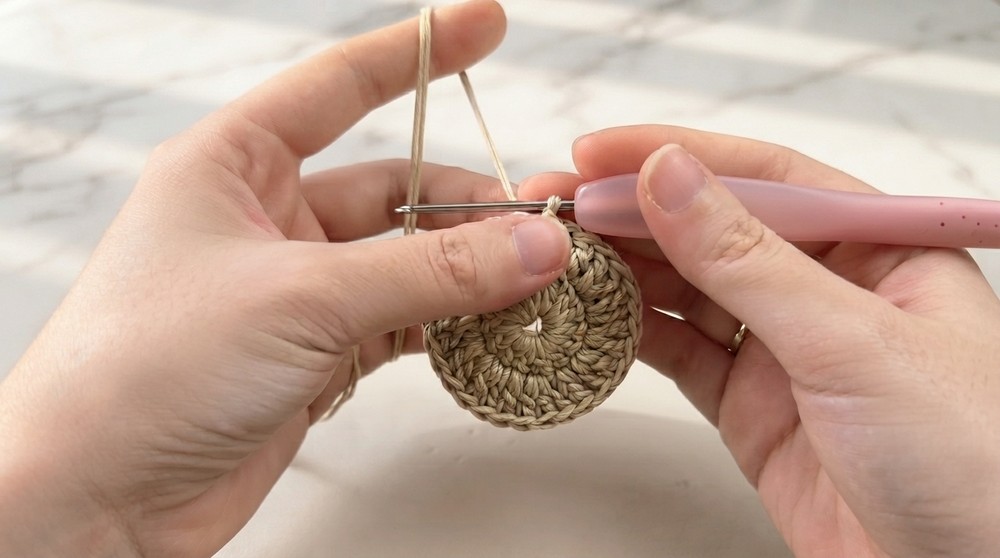
- Create a magic ring. Into the ring, crochet 14 dc.
- Tighten the ring and sl st into the first stitch to join. Ch 2.
- Round 2:
- Crochet 2 dc into each stitch around (28 dc total). Sl st into the first stitch, ch 2.
- Round 3:
- Crochet 1 dc into the first stitch, 2 dc into the next stitch (repeat 14x, totaling 42 dc). Sl st to join, ch 2.
- Round 4–7:
- Continue following the same increase pattern as above, adding more stitches gradually:
- Round 4: 1 dc, 1 dc, 2 dc (56 dc total).
- Round 5: 1 dc, 1 dc, 1 dc, 2 dc (70 dc total).
- Round 6: 1 dc, 1 dc, 1 dc, 1 dc, 2 dc (84 dc total).
- Round 7: 1 dc into 5 stitches, 2 dc into the next stitch, repeat.
- Continue following the same increase pattern as above, adding more stitches gradually:
Simplified Notes:
You’ve crocheted the crown of the hat! This part focuses on steady increases to form a flat circular base. Be mindful of the stitch counts for smooth shaping.
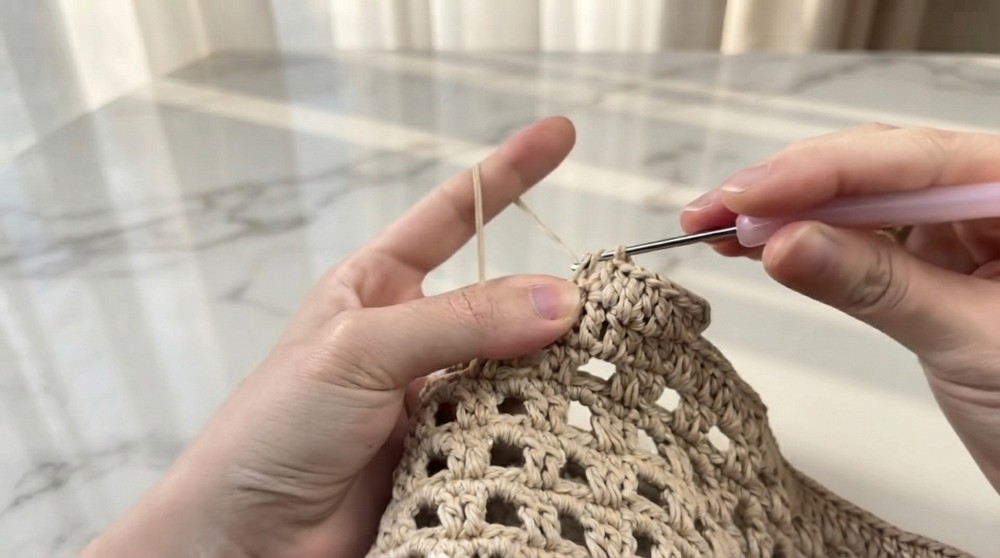
Part 2: Decorative Body (Round 8–17)
Instructions
- Round 8:
Begin ch 3, skip 2 stitches, then make 2 dc in the next stitch. Ch 2, skip 2 stitches, and repeat 21x total. Sl st at the end of the round. - Round 9:
Ch 1, crochet 2 sc into every dc and into every ch space. Repeat all the way around and sl st at the end of the round. - Rounds 8–9:
Repeat the alternating pattern for 4 more rounds to add height and decorative detail. - Round 18 (Brim Start):
Ch 2, crochet 5 dc in sequence, then 2 dc into the next space. Repeat this 14x to begin the brim.
Simplified Notes:
This section adds a lovely decorative touch to your hat with chain spaces and alternating rounds of single crochet. You'll start shaping the brim toward the end of this part.
Part 3: Brim Shaping & Finishing (Rounds 19–Last Round)
Instructions
- Round 19:
Crochet all dc around with no increases or decreases. - Round 20:
Start 3 dc, then 1 dc increase, followed by 3 dc. Repeat this all the way around. - Last Round:
Crochet sl st all around the edge to create a neat finish. Cut the yarn at the last stitch, weave it through the first stitch, and fasten off.
Simplified Notes:
In the brim section, the steady increase stitches create a subtle flare suitable for sun protection while maintaining structure. The slip stitch provides a neat, finished edge to the hat.
Assembly & Finishing
- After rounding off the brim, carefully weave in any loose ends with a tapestry needle.
- Optional: Add embellishments such as ribbon, flowers, or beads to personalize your hat.
What You’ll Learn From This Pattern
- Circular increases: You'll master creating a flat shape by using strategic stitch increases.
- Decorative chain spaces: Add visual interest to your creations by using chain spaces effectively.
- Brim shaping techniques: Create functional brims that are both stylish and practical.
Why You'll Love This Pattern
This beach hat pattern is simple yet elegant and is highly customizable. You can use different yarn colors or textures to suit your style. Plus, the project is quick enough to finish in an evening, making it a satisfying and rewarding craft. No matter your skill level, this hat infuses your wardrobe with handmade charm perfect for summer days by the beach.