
Adorable Free Crochet Cap Hair Tie Pattern for Summer
Crocheting has always been a way to turn simple strands of yarn into beautiful and functional accessories. The free crochet cap hair tie pattern offers a charming solution for anyone looking to add a handmade touch to their everyday style. Inspired by the desire to create quick, playful projects, this pattern is suitable for crocheters of all skill levels and provides a wonderful opportunity to use up leftover yarn while experimenting with colors and shapes.
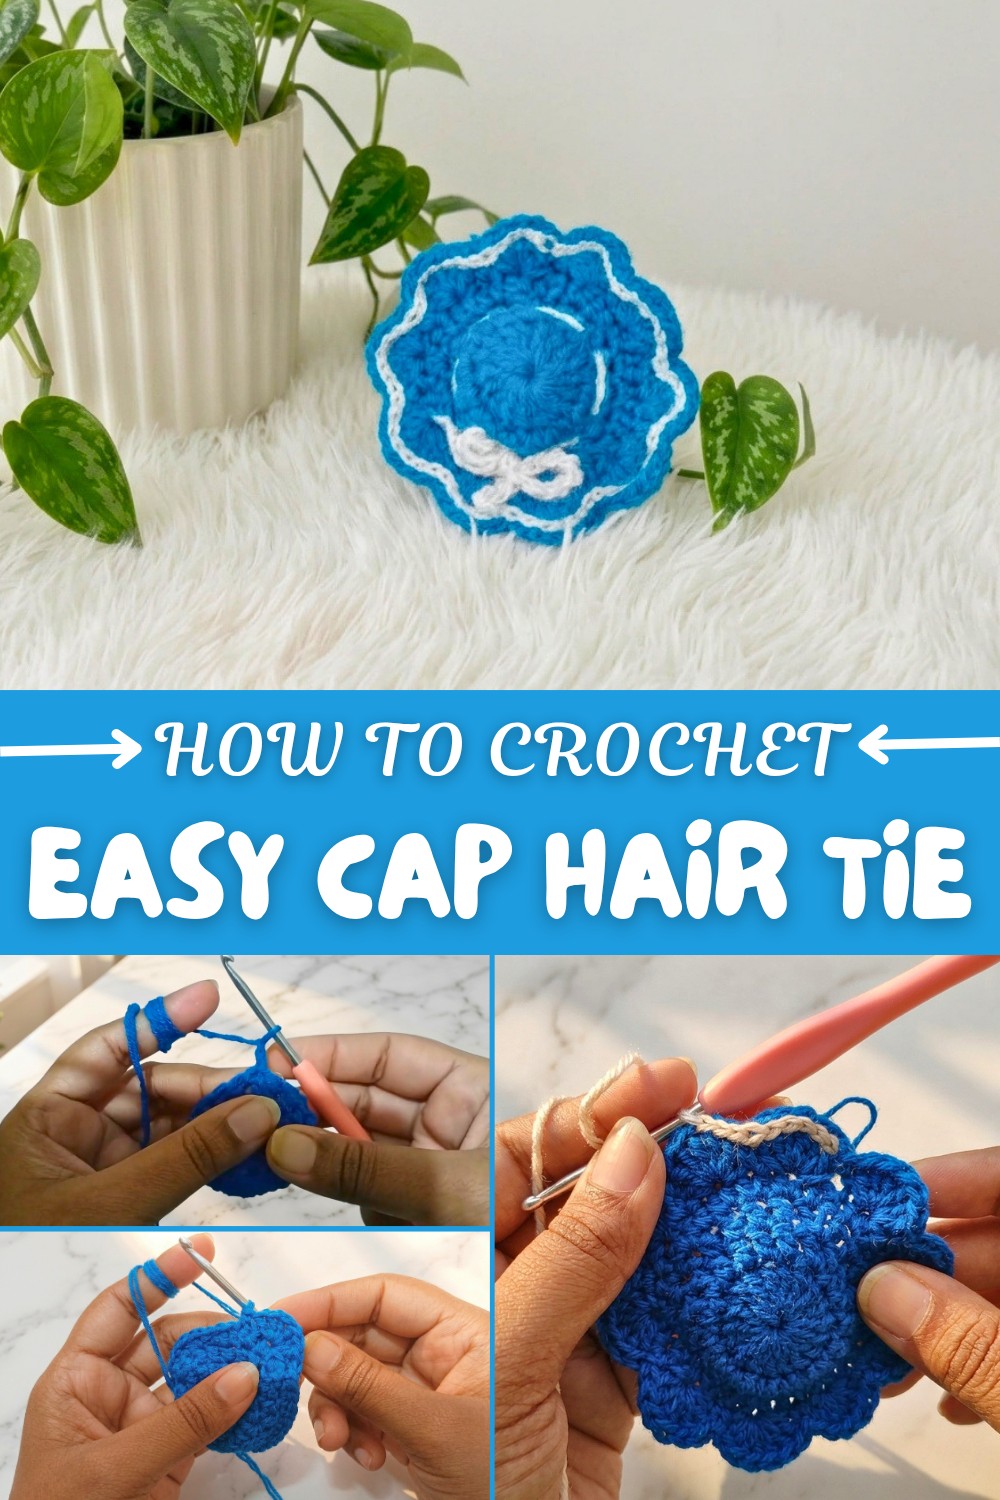
Easy Free Crochet Cap Hair Tie Pattern You’ll Love
One of the most delightful features of this pattern is its adorable cap shape, achieved with easy and repetitive stitches like single crochet or half double crochet. The project’s colorful possibilities are nearly endless choose cheerful combinations for a vibrant look, or classic tones for understated elegance. The cap is constructed in the round, making it simple to keep your work neat and symmetrical. With minor changes, such as adding extra rows, switching up stitches, or embellishing the cap, you can transform this pattern to create keychains, bag accessories, or festive decorations for special occasions.
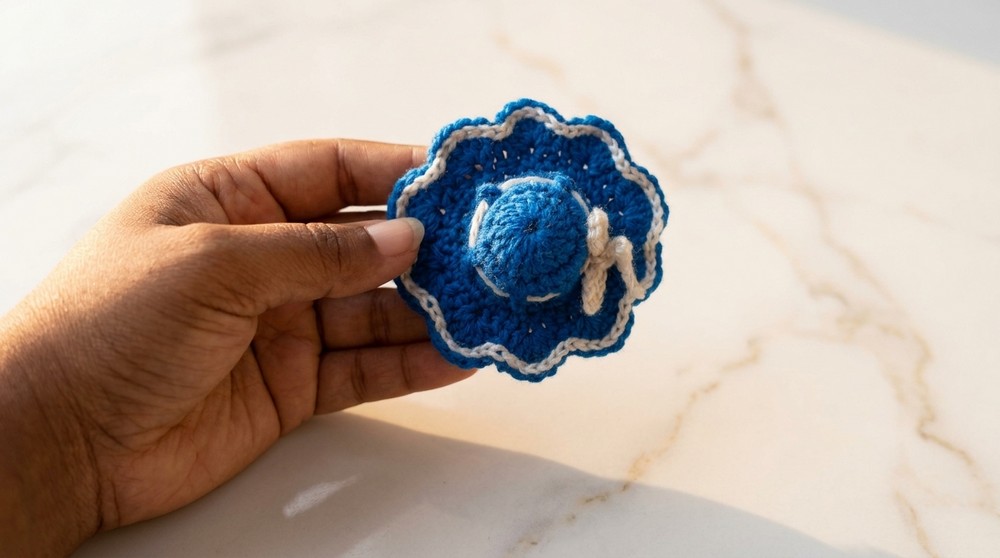
Key Steps You Must Not Forget:
- Begin with a secure foundation, like a magic ring, to keep the shape crisp
- Attach your hair elastic firmly from the start
- Count each round’s stitches to prevent uneven edges
- Tuck and weave in all yarn ends for durability and polished appearance
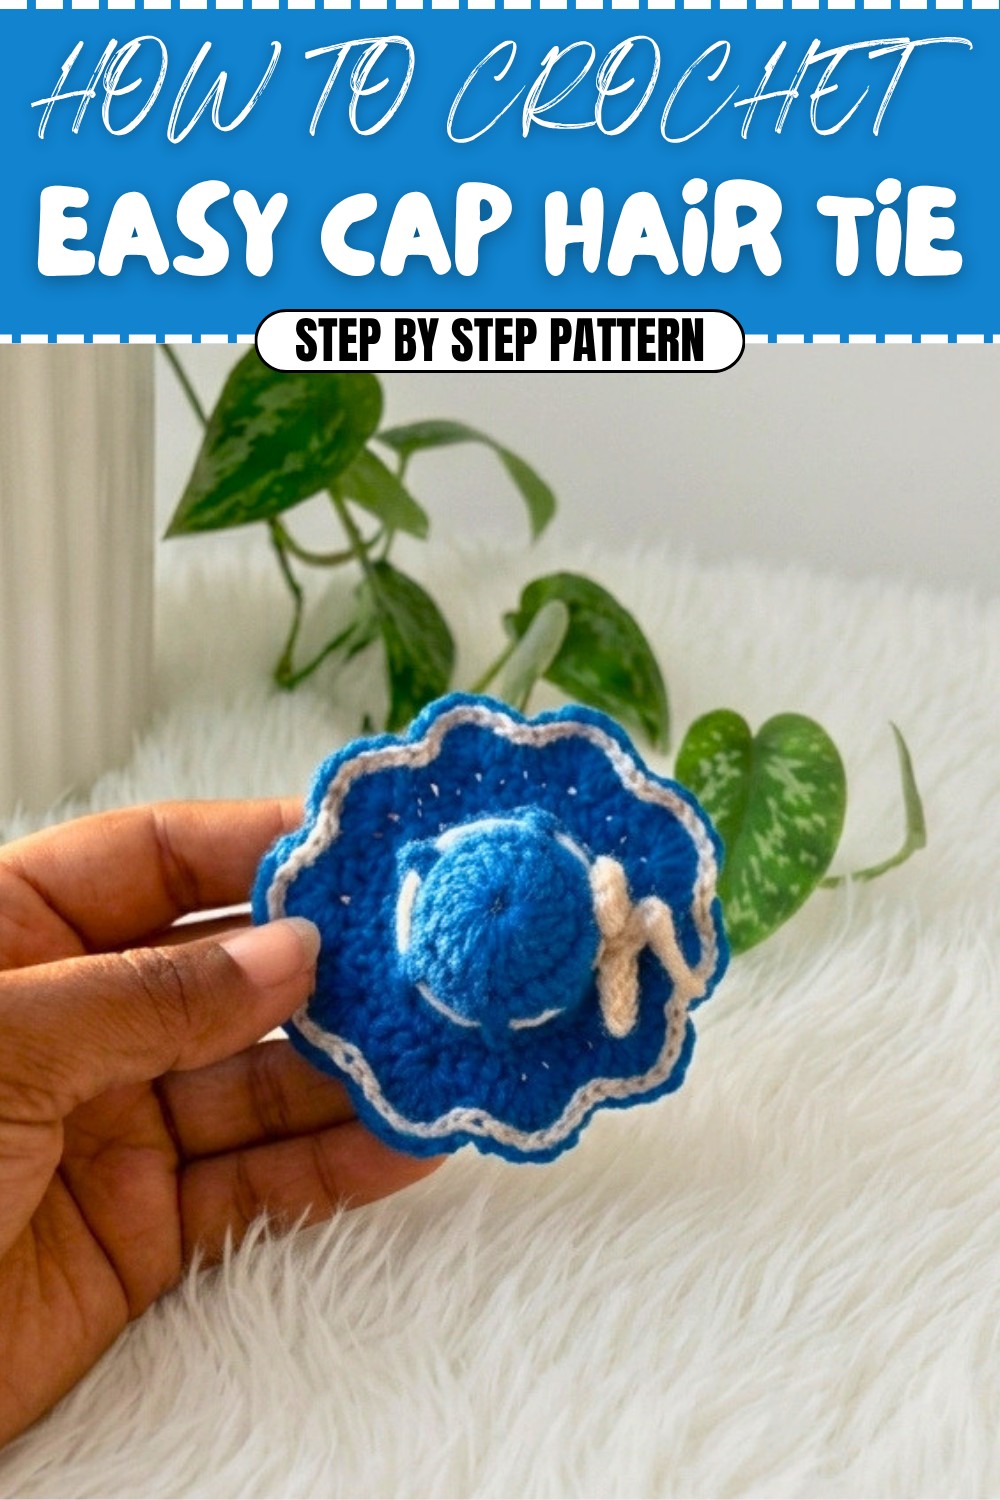
Common Challenges and Solutions:
Some may face issues like loose stitches or uneven shaping. To fix this, check your tension and ensure your stitch count is accurate. If the elastic moves or the cap feels floppy, using a slightly smaller hook or thicker yarn can help. Occasionally, your yarn may split—simply pull back and redo the stitch with a slower motion. Remember, correcting mistakes is a normal part of the crafting process and improves your skills.
Finishing and Size Guide:
The pattern is complete when the cap covers half the elastic and fits comfortably when stretched. Standard size for adults is between 5-7 rounds, while for children, you may use 3-5 rounds. Adjust the number of rounds for a custom fit.
Cute Baby Rubber Band Cover
Make your own adorable, colorful rubber band covers for little girls! This sweet cap-shaped design is perfect for matching outfits and looks lovely in any color. It's a quick, simple project that turns a plain hair tie into a special accessory.
Skill Level & Terminology
- Skill Level: Beginner
- Terminology: US crochet terms (with UK alternatives explained)
Materials & Tools
- Small amounts of two colors of cotton or acrylic yarn (MC for cap, CC for border)
- 2.5 mm to 3.5 mm crochet hook
- Scissors
- Yarn needle
- 1 plain hair elastic/rubber band
Gauge
Not critical for this small project.
Finished Size
- About 4–5 cm (1.5–2”) across (fits standard children’s hair rubber band).
Abbreviations
| Abbreviation | Meaning |
|---|---|
| ch | chain |
| sl st | slip stitch |
| sc | single crochet (UK dc) |
| hdc | half double crochet (UK htr) |
| dc | double crochet (UK tr) |
| st(s) | stitch(es) |
| sp(s) | space(s) |
| inc | increase (two stitches in one) |
Special Stitch Instructions
Half Double Crochet (hdc):
- Yarn over, insert hook in next st, yarn over, pull up loop (3 loops on hook), yarn over, pull through all 3 loops.
Double Crochet (dc):
- Yarn over, insert hook, yarn over, pull up loop (3 loops), yarn over, pull through 2 loops, yarn over, pull through last 2 loops.
Pattern Instructions
PART 1: Make the Cap
Round 1
- With Main Color (MC), ch 3, join with a sl st to form a ring.
- Ch 3 (counts as first dc), 16 dc into the ring. Join with a sl st to top of the ch-3. (17 dc)
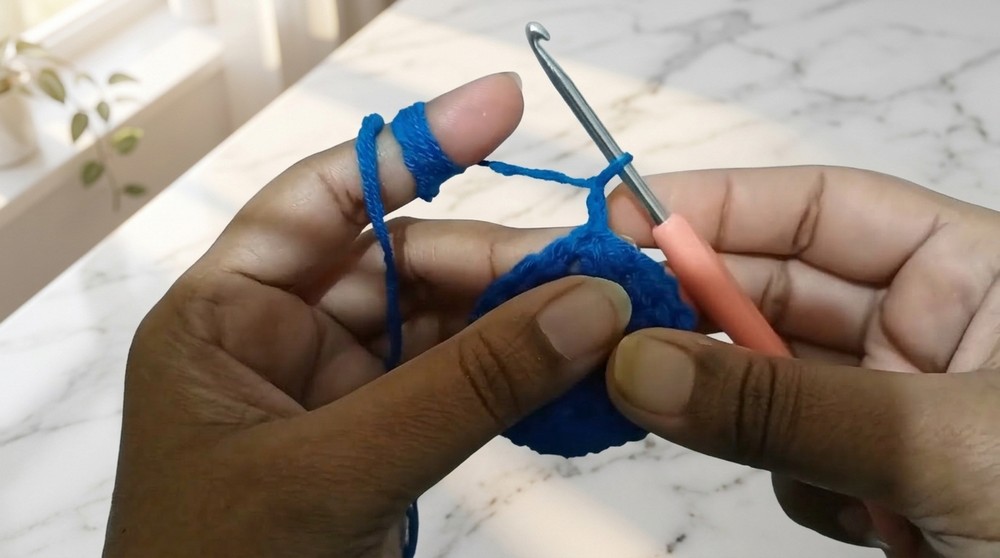
You are creating a small circle by making double crochets into a ring. This is the top of the cap. Beginners: Make sure to count to 17 at the end!
Round 2
- Ch 3 (counts as first dc), 1 dc in each dc around. (18 dc in total)
- Join with a sl st to top of ch-3.
Work 1 double crochet into each stitch from the previous round. The round will lie flat and become a little larger.
Round 3
- Ch 3 (counts as first dc), 1 dc in each dc around (18 dc).
- Join with a sl st to top of ch-3.
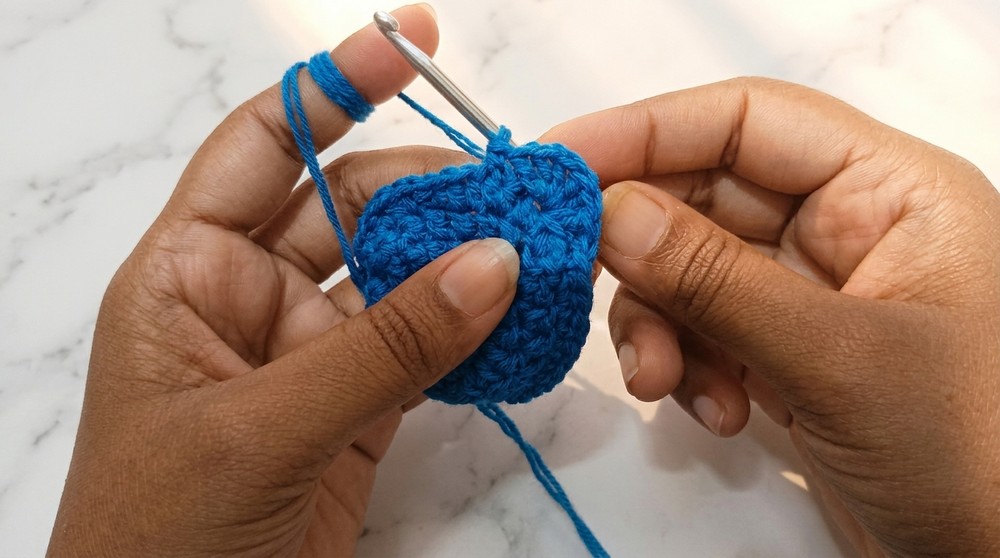
Now your circle grows into a small dome. Keep stitches even and count your stitches for neatness.
Round 4
- Ch 2, 2 hdc in each stitch around (36 hdc).
- Join with a sl st.
Put 2 half double crochet in each stitch—this makes the cap flare out for a nice covering effect.
PART 2: Shell Edging
Round 5
- Ch 1, skip next st, 6 dc in next st, skip next st, 1 sc in next st; repeat from * to * around entire edge.
- Join with a sl st to the start of the round.
This round creates lovely “fan” shapes (the ruffles) along the edge—6 dc in one stitch, then sc to anchor. Skip a stitch between for spacing.
PART 3: Contrast Color Border
Round 6
- Join Contrast Color (CC) at any stitch.
- Ch 1, sc in each st around (work on top of previous fans).
- Join with a sl st and fasten off.
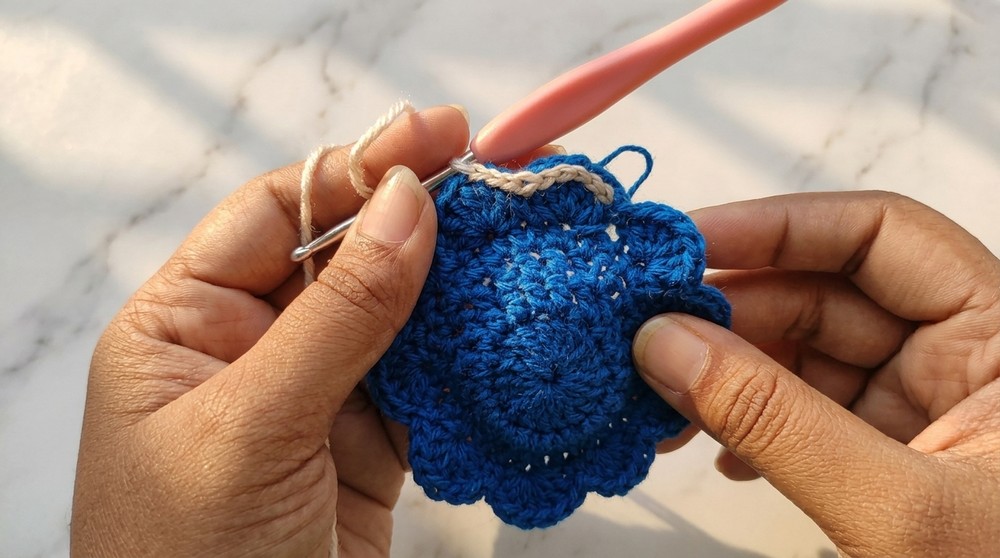
This last round gives you a neat, polished edge. Just single crochet in every stitch, using a new color for a bright, pretty finish.
PART 4: The Base for the Elastic
Center Medallion
Round 1:
- With MC, make a magic ring.
- 6 sc into ring. Do not join; continue in spiral.
Round 2:
- 2 sc in each sc around (12 sts).
This forms a small flat disk. This piece makes it easy to sew your work to the hairband, or you can crochet directly around the elastic as you work.
PART 5: Attaching to the Rubber Band
- Insert your rubber band/elastic into the small center circle.
- Fold the cap over it and sew evenly around, using a yarn needle and the yarn tail, catching both the rubber band base and the edge of the cap.
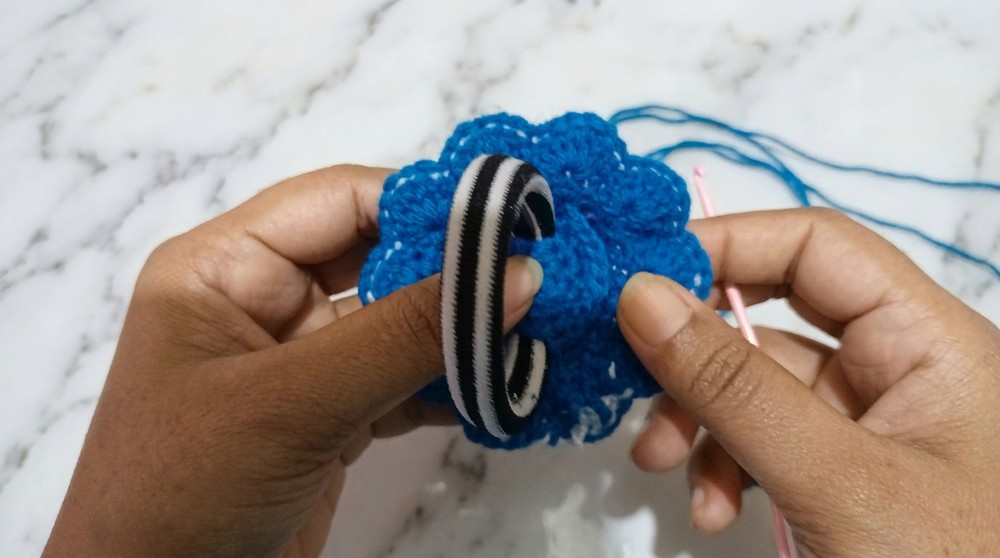
You are sewing the “hat” to the disk around the rubber band, creating a finished, covered hair tie. Take your time to sew all around for a strong hold.
FINISHING TOUCHES
- Weave in all loose ends with your yarn needle.
- Stretch cap gently to shape.
Your cap rubber band is ready! You can make more in any color, matching your child’s outfit or occasion.
BEGINNER EXPLANATION for each section
- Circle Cap: You make a flat disc by crocheting into a ring, then flare the edge for shape.
- Shell Edge & Border: Make little ruffles for decoration, then go around with another color to finish.
- Attach/Assemble: Make a small flat disk, put your regular rubber band through it, and stitch the main cap to it tightly—this way, your cover stays in place on the child’s hair band.
Congratulations!
Your sweet little rubber band cover is done. Even beginners can succeed by following these steps. Make more in favorite colors and decorate as you like.