
Super Cute Crochet Mini Witch Hat Pattern for Halloween Night
Dress up your favorite teddy bear or cute little kitten for October by making a tiny crochet witch hat that sits right on top of their head easily.
There’s something magical about tiny, handmade creations that bring charm to any occasion. Whether you’re looking for a fun Halloween decoration, an accessory for your dolls, or even quirky hairpins to complete a festive look, a mini crochet witch hat might just be the perfect project to try. It’s a pint sized bundle of creativity, and you can customize it in endless ways to reflect your personality.
Amigurumi Lovers: Crochet Mini Witch Hat in Minutes
What makes this little hat so special is how simple it is to create using basic crochet stitches like single crochet (sc) and fun techniques like the magic loop. Don’t worry, if you’re new to crochet, these stitches are super easy to learn. Plus, you’ll be working in spiral rounds, which adds to the whimsical, pointed shape of the hat. This technique is great practice for beginners and also opens up possibilities for creating other adorable projects like mini cones, whimsical cupcake toppers, or cute holiday ornaments.
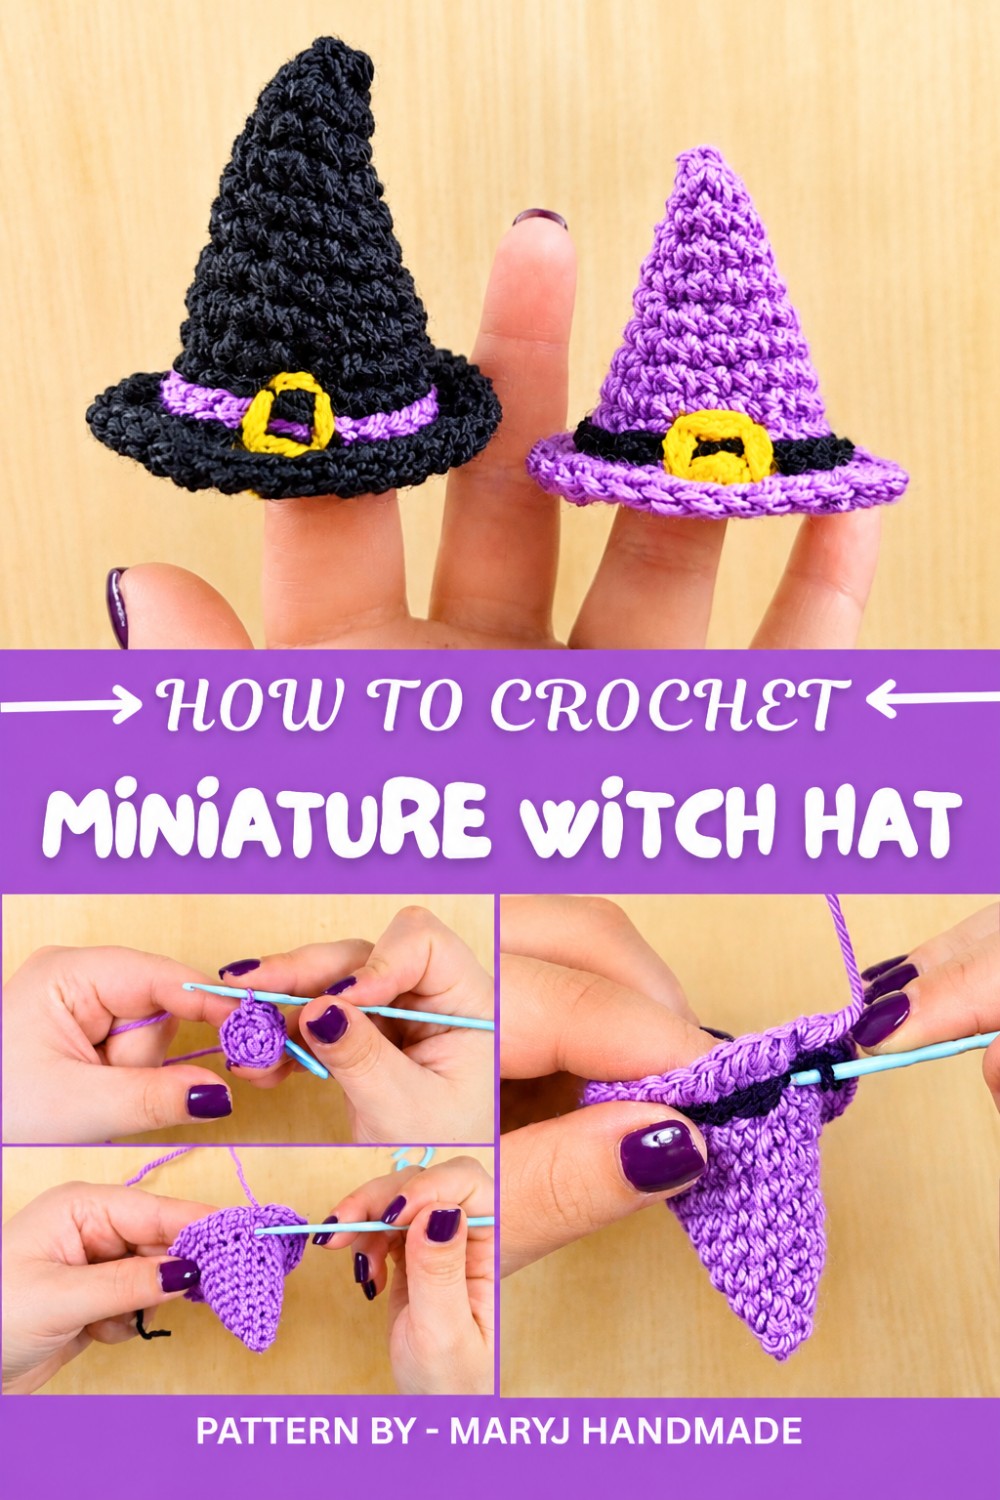
What’s really exciting about this project is how versatile it can be. Depending on the yarn you choose, you can make larger hats for playful décor or teeny tiny ones for delicate hairpins. A colorful strap and some simple embroidery will add the perfect finishing touch, giving your creation its unique flair. You can go for traditional Halloween colors, black, orange, and yellow, or mix things up with funky pastels or even sparkling metallics for a modern twist.
Featured By MaryJ Handmade
This beginner friendly project is quick, forgiving, and guaranteed to make you smile when you see your finished design. Grab your hook, yarn, and imagination, and let’s bring this little witch hat to life, it’ll be a spellbinding experience.
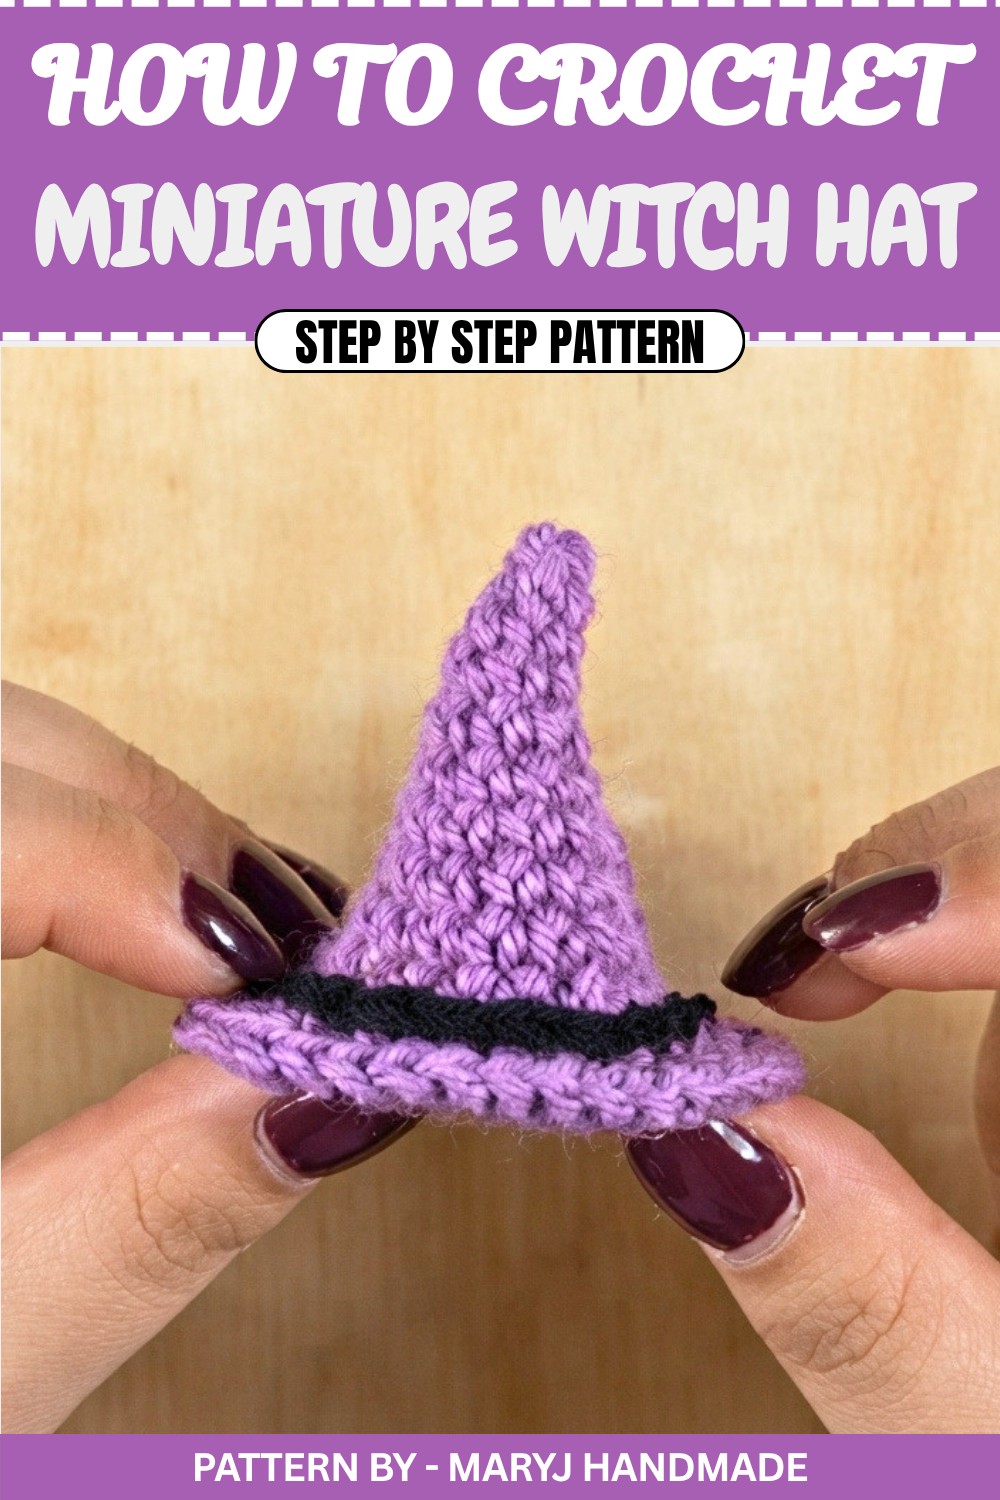
Crochet Mini Witch Hat Pattern
This hat is quick and fun to make, and I believe it’s absolutely adorable.
These tiny witch hats are versatile:
- Use them to decorate your home for Halloween.
- Add them to your amigurumi dolls for a quirky touch.
- Create hairpins by simply gluing them to a bobby pin.
The pattern is flexible, use any yarn or thread you like. Thicker yarn will result in a larger hat, while thinner thread will make a smaller one. For this tutorial, I’ll use worsted weight yarn and a 3 mm crochet hook.
Quick Overview of Pattern
- Project Type: Mini Witch Hat
- Uses: Halloween decor, doll accessories, hairpins
- Construction: Spiral rounds with color accents
- Special Feature: Customizable based on your yarn thickness
Notes
- This project is worked in the round using a spiral method. This means you won’t close each round with a slip stitch.
- Use a stitch marker to help identify the start of each round. This is particularly important when working in spirals.
- The hat size can be adjusted using different yarn thicknesses or hook sizes.
- Decoration is optional but adds a personalized touch to your mini witch hat!
Skill Level
Beginner to Intermediate
You should already know how to:
- Work in the round (magic loop method)
- Single crochet (sc)
- Make increases (2 single crochet in one stitch)
Materials
- Yarn: Worsted weight yarn in three colors (e.g., black for the main hat, and two contrasting colors for decoration).
- Hook: 3 mm crochet hook
- Tools:
- Stitch marker
- Scissors
- Yarn needle
Sizing
Finished hat sizes will vary depending on your yarn and hook choice. Using worsted weight yarn and a 3 mm hook will create a small mini hat, perfect for decoration or as a fun accessory.
Gauge
Exact gauge is not critical for this project. However, ensure your stitches are snug enough to hold the hat’s shape.
Stitch Abbreviations
- ch – Chain stitch
- sc – Single crochet
- inc – Increase (2 sc in the same stitch)
- sl st – Slip stitch
Special Stitches
Magic Loop
The magic loop method is used to begin working in the round. Form a loop, crochet into the loop as instructed, and then pull the tail to tighten the loop, closing any gap.
The Crochet Pattern
Chapter 2: Create the Witch Hat Base
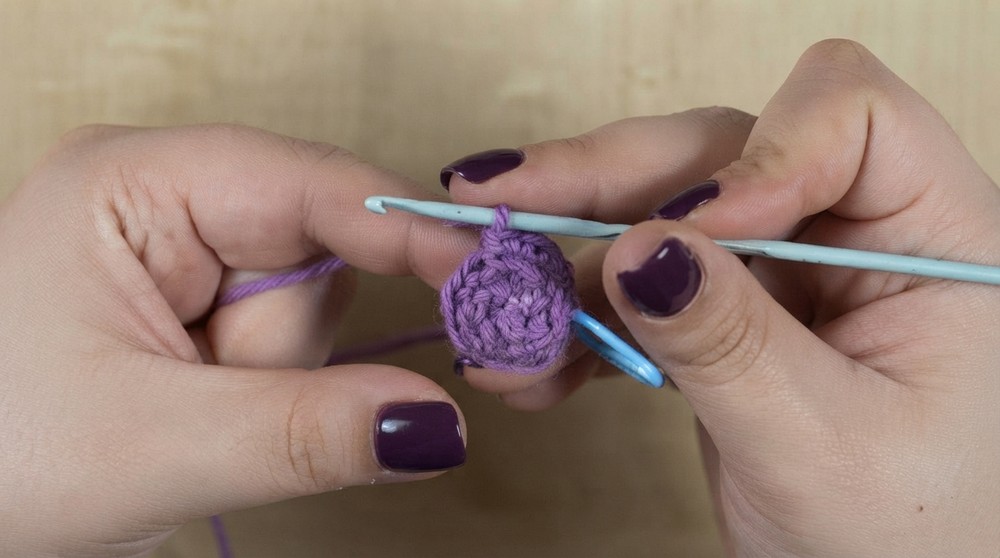
- Begin with a Magic Loop:
- Make a magic loop and work 4 single crochets (sc) into the loop.
- Close the Loop:
- Pull the tail to close the loop tightly. You now have 4 stitches in your first round.
- Round 2:
- Work 1 sc and 1 increase (inc), repeated twice.
- Place a stitch marker in the first stitch to track your rounds.
- After the round, you should have 6 stitches in total.
- Round 3:
- Work 1 sc and 1 inc, repeated three times.
- At the end of this round, you will have 9 stitches.
- Round 4:
- Work 2 sc and 1 inc, repeated three times.
- You should now have 12 stitches.
- Round 5:
- Work 1 sc in each stitch around.
- You’ll continue to have 12 stitches after this round.
- Round 6:
- Work 3 sc and 1 inc, repeated three times.
- At the end of this round, there should be 15 stitches.
- Round 7:
- Work 1 sc in each stitch.
- The total stitch count remains at 15 stitches.
- Round 8:
- Work 4 sc and 1 inc, repeated three times.
- By the end of this round, there will be 18 stitches.
- Rounds 9–10:
- Work 1 sc in each stitch for both rounds.
- Your total stitch count remains 18 stitches.
- Round 11:
- Work 1 sc and 1 inc, repeated nine times.
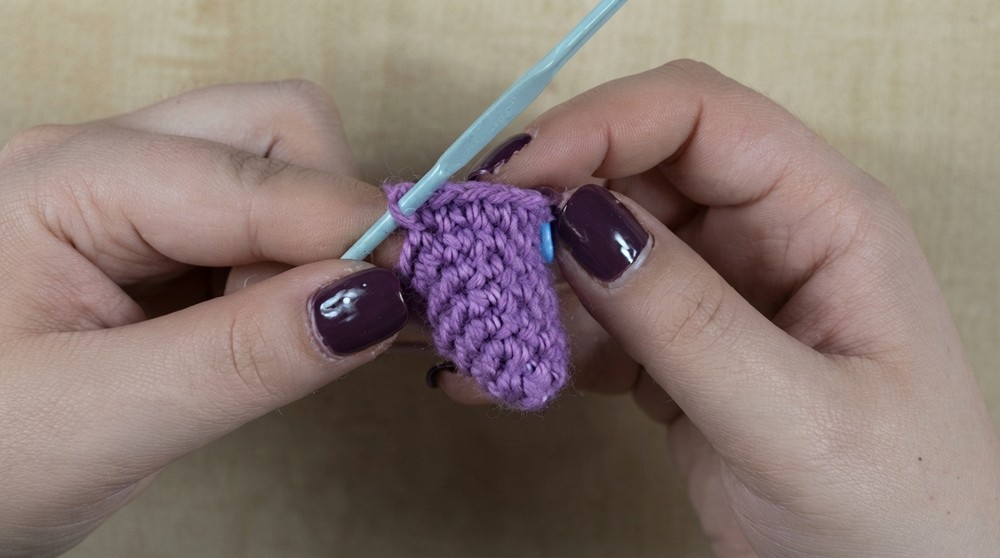
- For this round only, work into the front loop only (FLO) of each stitch.
- You should have 27 stitches at the end of this round.
- Round 12 (Final Round):
- Work 2 sc and 1 inc, repeated nine times. For this round, work into both loops as usual.
- You’ll end this round with 36 stitches.
- Finishing the Base:
- Slip stitch into the next stitch.
- Cut the yarn, fasten off, and weave in the tail.
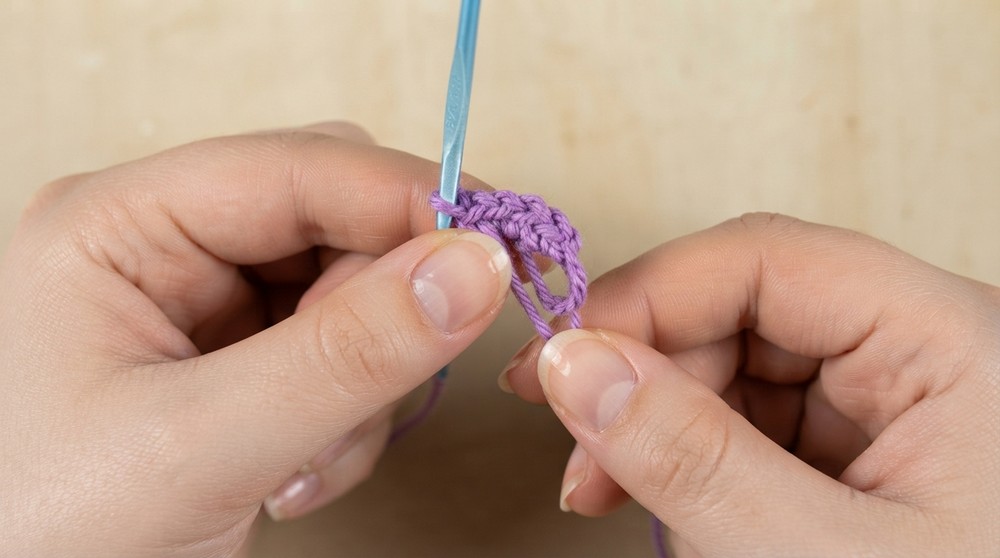
Chapter 3: Decorate the Mini Witch Hat
- Add a Strap Decoration:
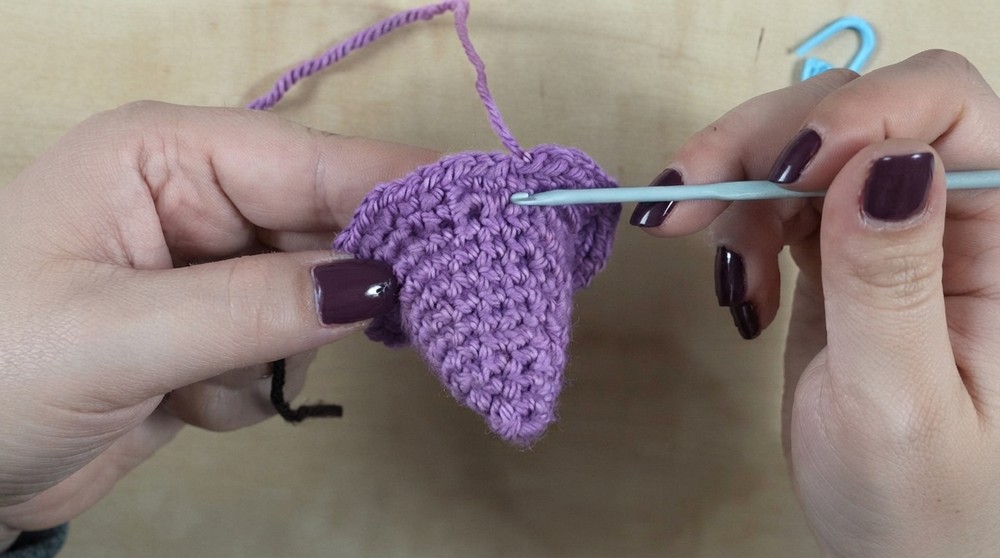
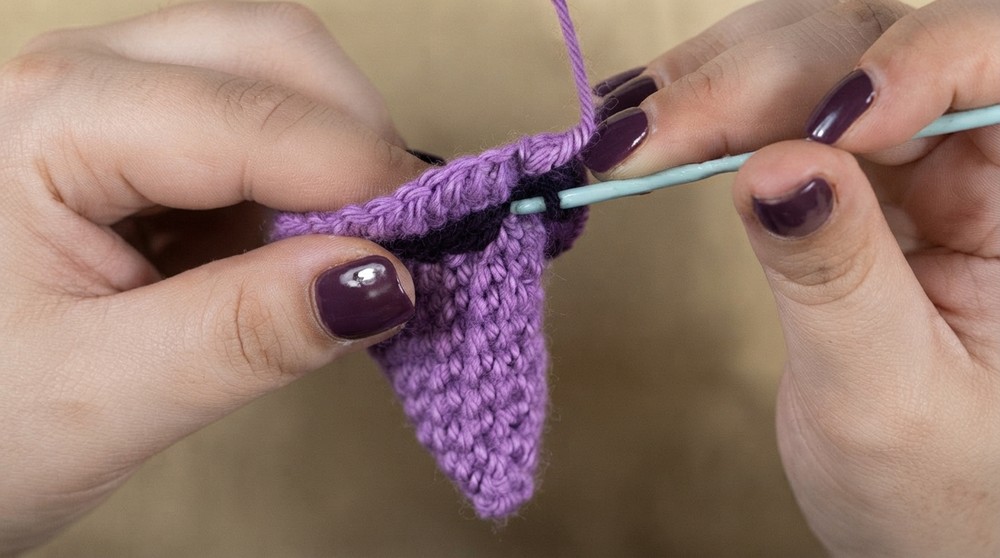
- With a contrasting yarn color, insert your hook into any stitch from the front loop only round (Round 11).
- Pull the yarn through and begin a slip stitch round:
- Insert your hook into the next stitch, pull the yarn through, and then pull it through the loop on your hook.
- Repeat this for every stitch around.
- Close the Strap:
- Once you complete the round, slip stitch into the first stitch to close the strap.
- Cut the yarn and pull through.
- Secure the Yarn Ends:
- From the back of your work, pull the loose ends into the hat. Tie a knot with the two tail ends at the back and cut the excess.
- Add Embellishments:
- Use a contrasting yarn to embroider small squares, stars, or any desired pattern on the strap.
- Optional Accessories:
- Add hairpins or magnets for a versatile accessory. Use glue if needed to attach these items securely.
Assembly & Finished Size
Once decoration is complete, your mini witch hat is ready. With the suggested yarn and hook, the hat should measure small enough to be used as a Halloween decoration, doll accessory, or wearable pin.
Conclusion and Ending Words
Congratulations, You’ve just completed your adorable mini witch hat. It’s perfect for Halloween decorations, gifting, or adding a whimsical touch to your creations.