
Free Crochet Braided Headband Pattern
Give your hair an instant stylish upgrade by stitching a chunky crochet braided headband that looks complex yet uses simple rows anyone can master.
Bad hair days have officially met their match. The Free Crochet Braided Headband Pattern is here to add a chic, cozy twist to your everyday look. This stylish accessory effortlessly combines warmth and elegance, making it a must have for all seasons. Whether you're heading out for a morning coffee run, prepping for a winter getaway, or just looking for a little flair to brighten your day, this headband is your go to solution for both comfort and fashion.
Pattern By MaryJ Handmade
Its snug yet comfortable fit keeps you cozy without sacrificing style, and its braided texture adds a touch of sophistication. This headband pairs perfectly with casual jeans and sweater combos, your favorite cozy coat, or even a glam outfit for cooler evenings. It’s just as at home on a brisk hike as it is at brunch with friends, talk about versatile.
You’ll Never Want to Take Off This Crochet Braided Headband
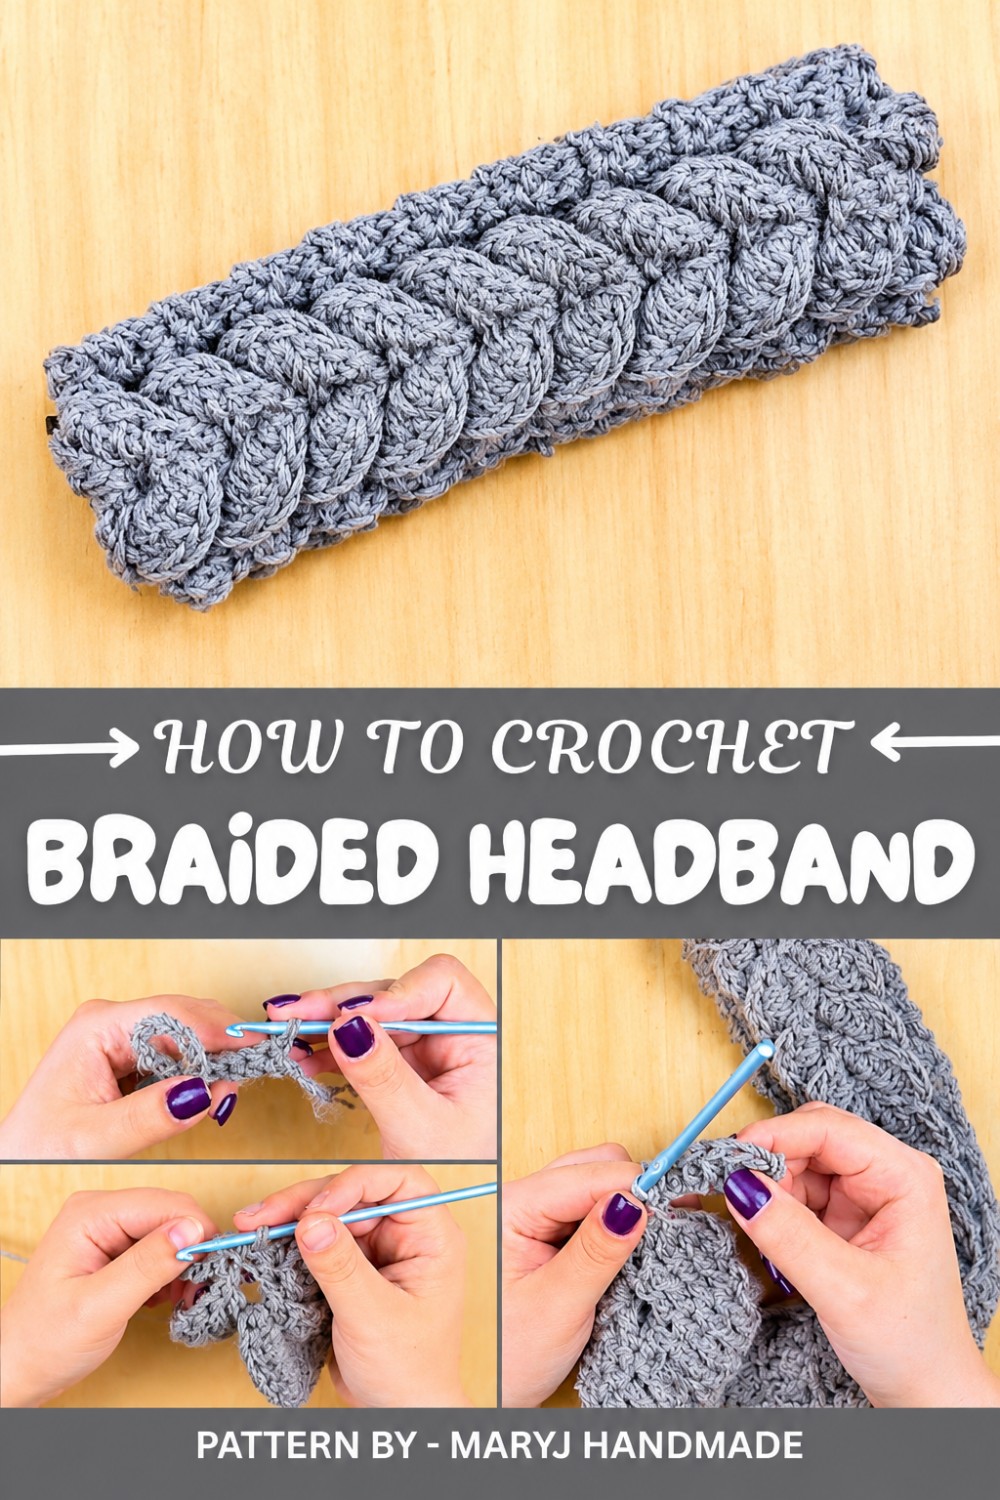
The real star here is the texture. With an intricate braided look that’s far easier to make than it seems, this headband offers an eye catching design that’s sure to get compliments. The softness of the yarn gives it a cozy appeal, while the braid adds a timeless, polished finish that works with every outfit.
Ready to add this beauty to your collection? The Free Crochet Braided Headband Pattern is waiting for you, grab your yarn and let the compliments roll in.
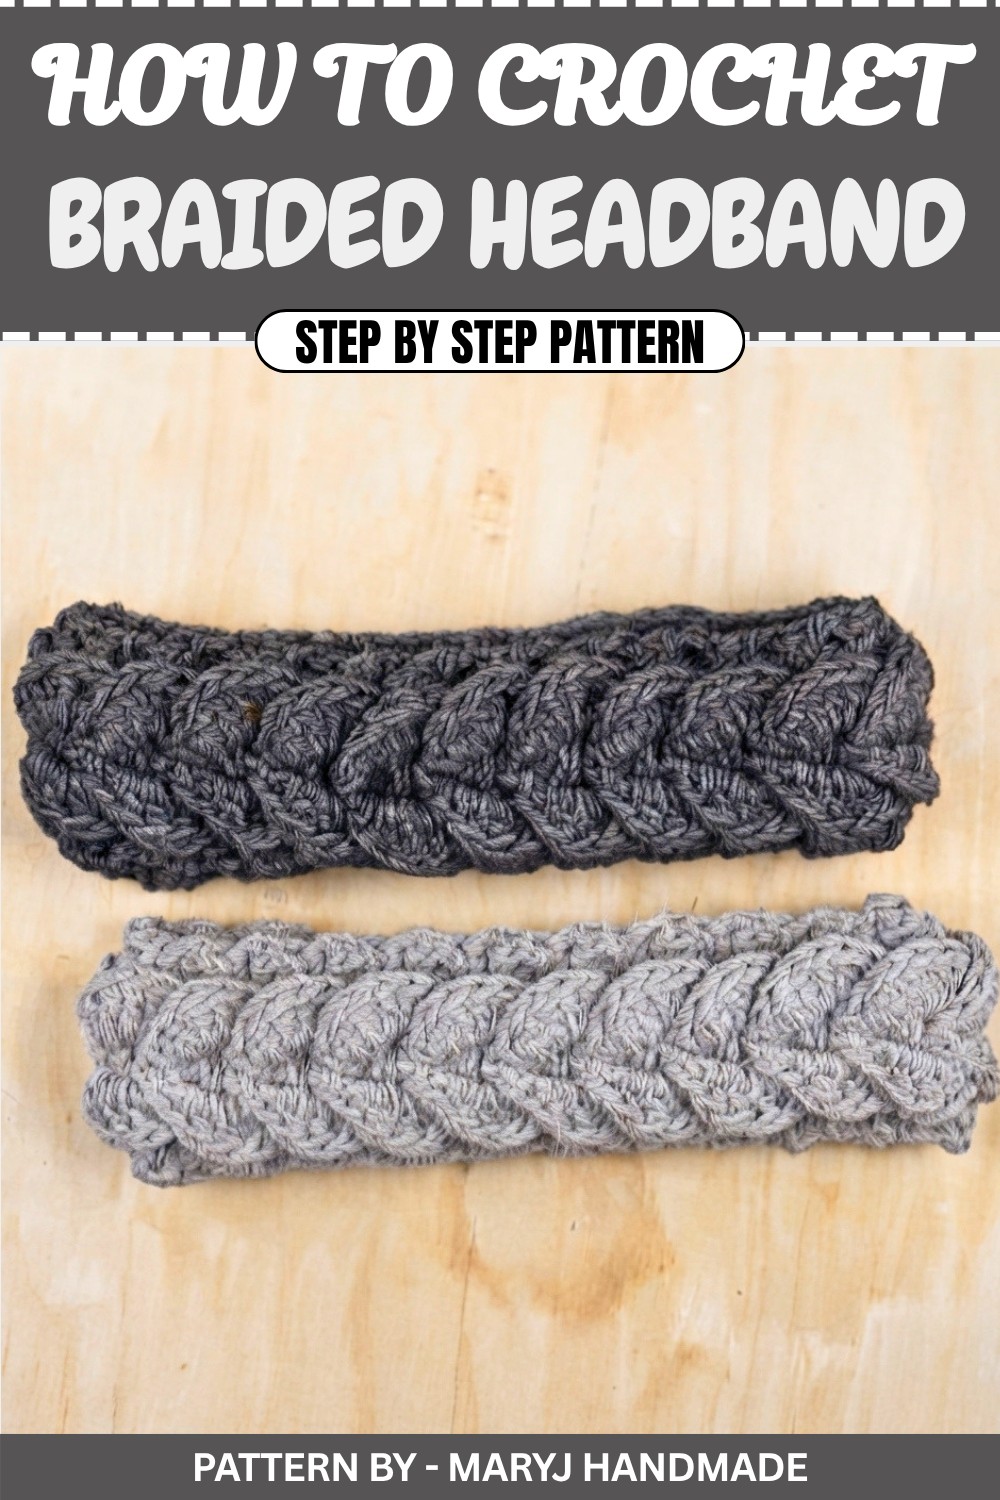
Braided Crochet Headband Pattern
I’m excited to share today’s tutorial on creating a beautiful braided crochet headband. This stitch is not only incredibly easy to make but also delivers stunning results. You can use this stitch for other projects, like bracelets or ear warmers, or get creative with its possibilities.
For this project, you can use any type of yarn; however, the thickness of your yarn will determine the size of your headband. I’ll work with two strands of thin yarn together and a 5 mm crochet hook to achieve the perfect width for my headband. Let me know what you think about the stitch and enjoy following along with this exciting project.
Quick Overview Of Pattern
- Project Type: Braided crochet headband worked in alternating rounds.
- Structure: A braid created through loops, single crochet (sc), double crochet (dc), and chaining.
- Uses: Headband, ear warmer, or general purpose handmade accessory.
- Customization: Adjust yarn thickness, hook size, and number of rounds to modify size and appearance.
Notes
- The unique braided look is created by working loops into previous rounds.
- Always alternate Round A and Round B stitches until the desired length is achieved.
- Use a stitch marker to maintain consistency with turning points.
- For precise results, weave and secure all yarn ends neatly during assembly.
Skill Level
Advanced Beginner
This pattern is suitable for crocheters familiar with:
- Chain (ch), single crochet (sc), double crochet (dc), and slip stitch (sl st).
- Alternating stitch patterns in rounds.
- Turning rows and working in rounds.
- Sewing parts together.
Materials
- Yarn: Two strands of thin yarn (or a thicker yarn of your choice).
- Hook: 5 mm crochet hook or size according to your desired width.
- Scissors
- Tapestry or yarn needle
Measurements / Sizing
- Finished Length: Approximately 48 cm / 20 loops (adjustable based on head circumference).
- Finished Width: Approximately 5–6 cm (depending on yarn thickness).
Gauge
Gauge is not critical for this project, but the stitches should result in a dense braid for durability.
Stitch Abbreviations
(Using Standard US Terminology)
- ch = chain
- sc = single crochet
- dc = double crochet
- sl st = slip stitch
Special Stitches
Creating a Loop
- Chain 10, then slip stitch into the first chain to create a loop.
Chapter 2: The Crochet Pattern
Step 1: Foundation Row
- Begin with a slip knot.
- Chain 9.
Step 2: First Round
- Skip the first chain from the hook and work 4 sc across the chain.
- Insert the hook into the second chain from your hook and make your first sc.
- Make three additional sc stitches: second, third, fourth sc.
- Chain 10 to create a loop.
- Finish the loop by working a sl st in the first chain you made.
- Resume working along the original chain, adding 4 sc to complete the first round.
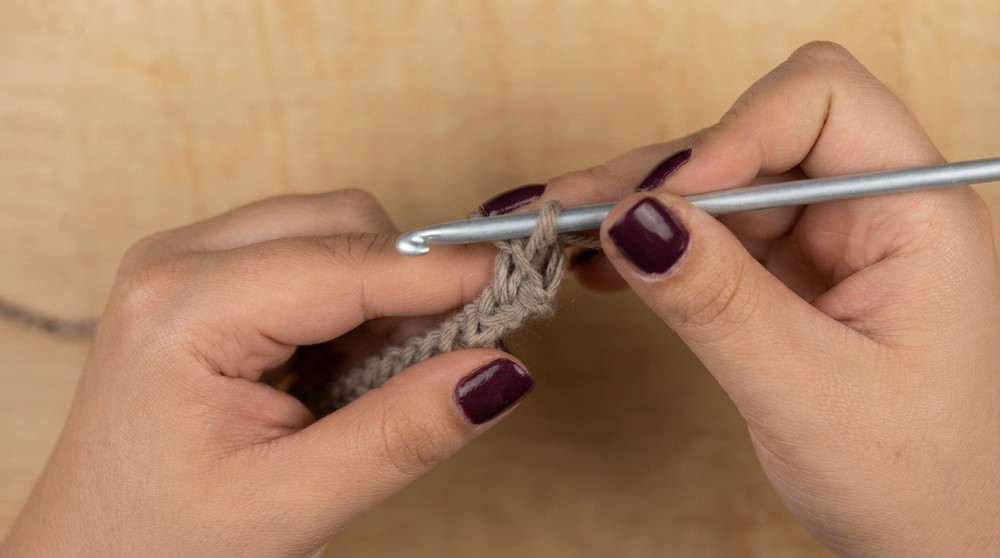
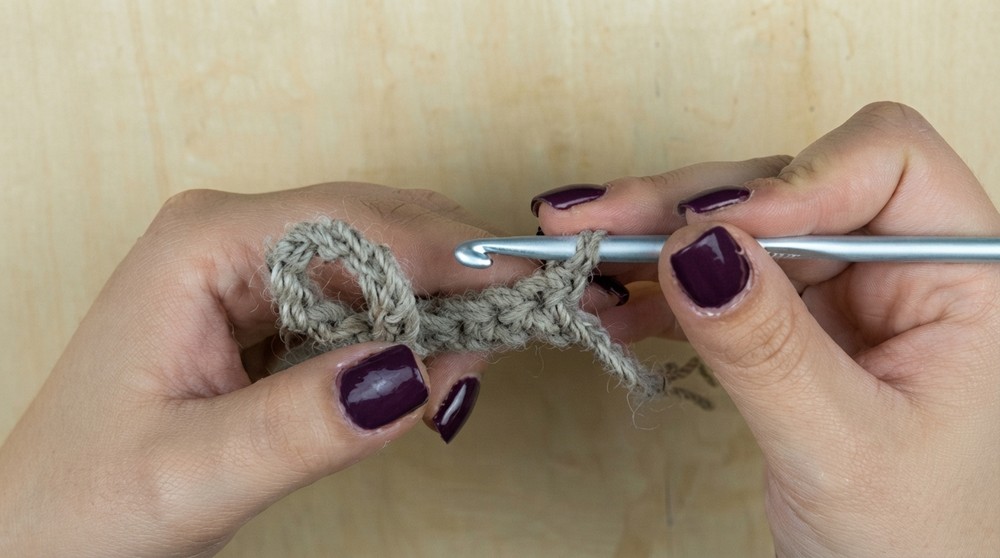
Now your piece consists of:
- 4 sc, a 10 chain loop, and 4 sc stitches.
Step 3: Second Round
- Chain 1 and turn your work.
- Work 1 sc in each stitch (4 sc total).
- Slip stitch into the loop (the 10 chained loop from the previous round).
- Continue working inside the loop:
- 1 sc
- 12 dc
- Finish working in the loop:
- 1 sc
- sl st
- Complete the round by working 1 sc in each of the remaining stitches (4 sc total).
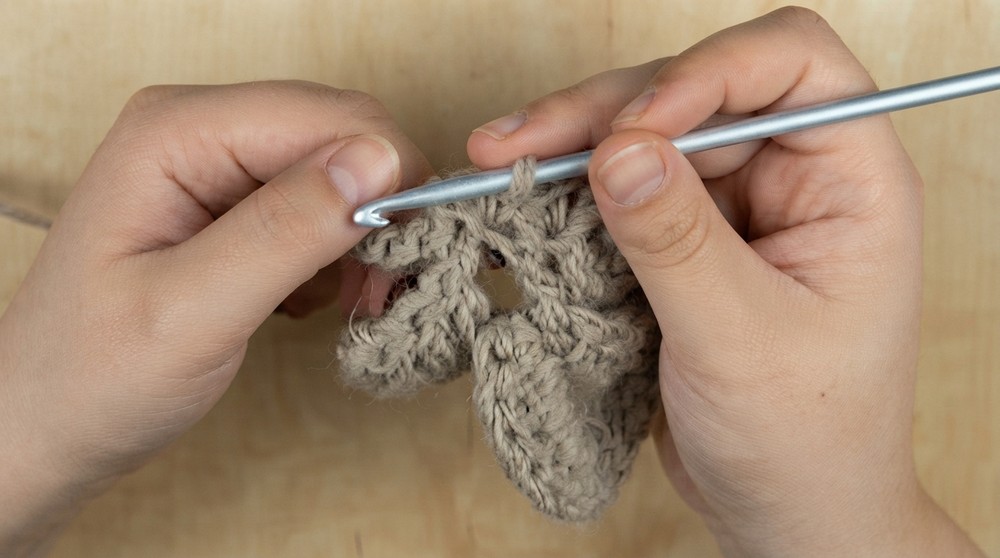
Step 4: Alternating Round A and Round B
To create the braid, continue alternating:
Round A:
- Chain 1 and turn your work.
- Work 4 dc across stitches.
- Chain 10 to create a loop. Slip stitch into the first chain made.
- Resume working dc stitches along the previous loops/stitches until the end of the round, remembering to push the previous loop to the back of your work for proper alignment.
Round B:
- Chain 1 and turn your work.
- Work 4 sc stitches.
- Slip stitch into the loop. Continue working into the loop:
- 1 sc
- 12 dc
- Finish with 1 sc and sl st into the loop.
- Complete the round by working 4 sc stitches across the remaining stitches.
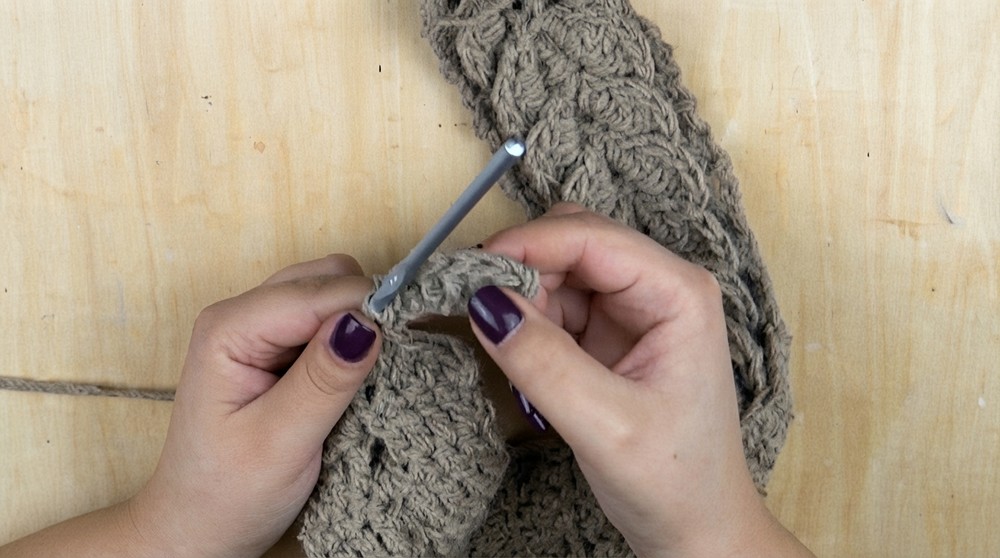
Step 5: Repeat Alternating Rounds
Repeat Round A and Round B until your piece measures 48 cm or reaches the desired length. You will have approximately 20 loops.
Chapter 3: Assembling the Braid
- Once your headband length is complete, take the braided loops and insert one loop into the other repeatedly:
- Insert the second loop into the first loop, then the third loop into the second, and so on.
- Continue looping until the end of the headband.
Chapter 4: Finishing the Braid
Step 6: Creating the Final Loop
- When you are ready to finish, chain 7: ch 7.
- Work:
- 2 dc into the fourth chain from the hook.
- 2 dc into the next chain.
- 1 dc and 1 sc into the last chain.
- Slip stitch into the first chain.
- Place the final open loop into the first loop you made at the start.
Step 7: Sewing Ends
- Cut the yarn, leaving a long tail.
- Sew the foundation chain and final braid loop together securely using a tapestry needle.
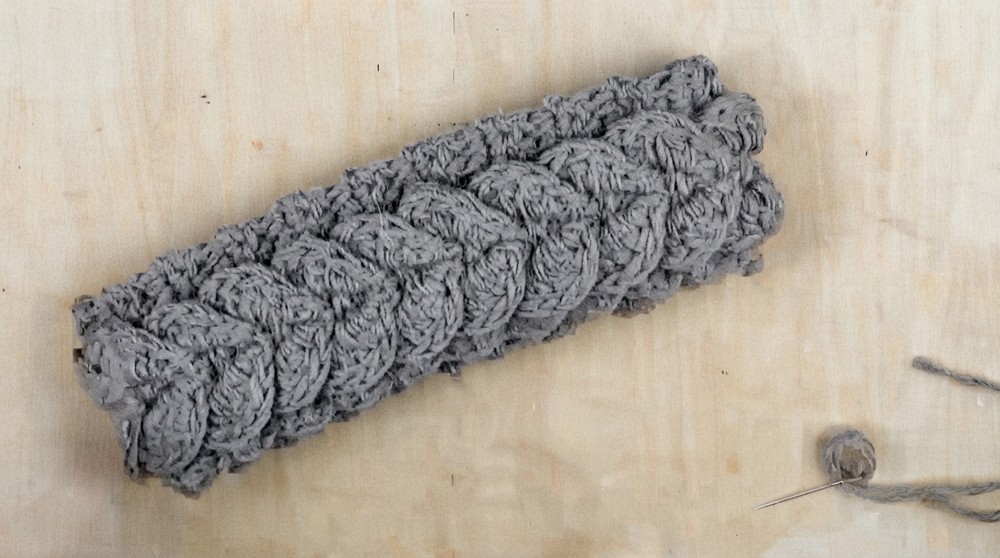
Assembly & Finished Size
- The finished headband measures approximately 48 cm in length and 5–6 cm in width.
- Ensure all loops are connected seamlessly, with a neat braid appearance.
Conclusion & Ending Words
Congratulations, You’ve successfully crocheted your stunning braided headband! This project is versatile, allowing you to experiment with different yarn colors and patterns. Whether used as a headband, ear warmer, or bracelet variation, this stitch is sure to impress.