
Crochet Tulip Headband Pattern That’s Pretty, Stylish, and Free
Try this Crochet Tulip Headband Pattern to make a soft colorful head wrap that surprises your best friend on her birthday with instant happy vibes.
Springtime vibes come alive with an accessory that’s as elegant as it is versatile. This beautiful tulip themed headband is a delightful way to add a touch of floral charm to your everyday look. From its soft petals to its intricate detail, the headband truly resembles a blossoming tulip field captured in yarn. Whether you’re heading to a garden party, planning a sweet photoshoot, or just adding a fun and fresh flair to your wardrobe, this headband pairs effortlessly with any occasion.
Free Crochet Tulip Headband Pattern You’ll Love to Wear
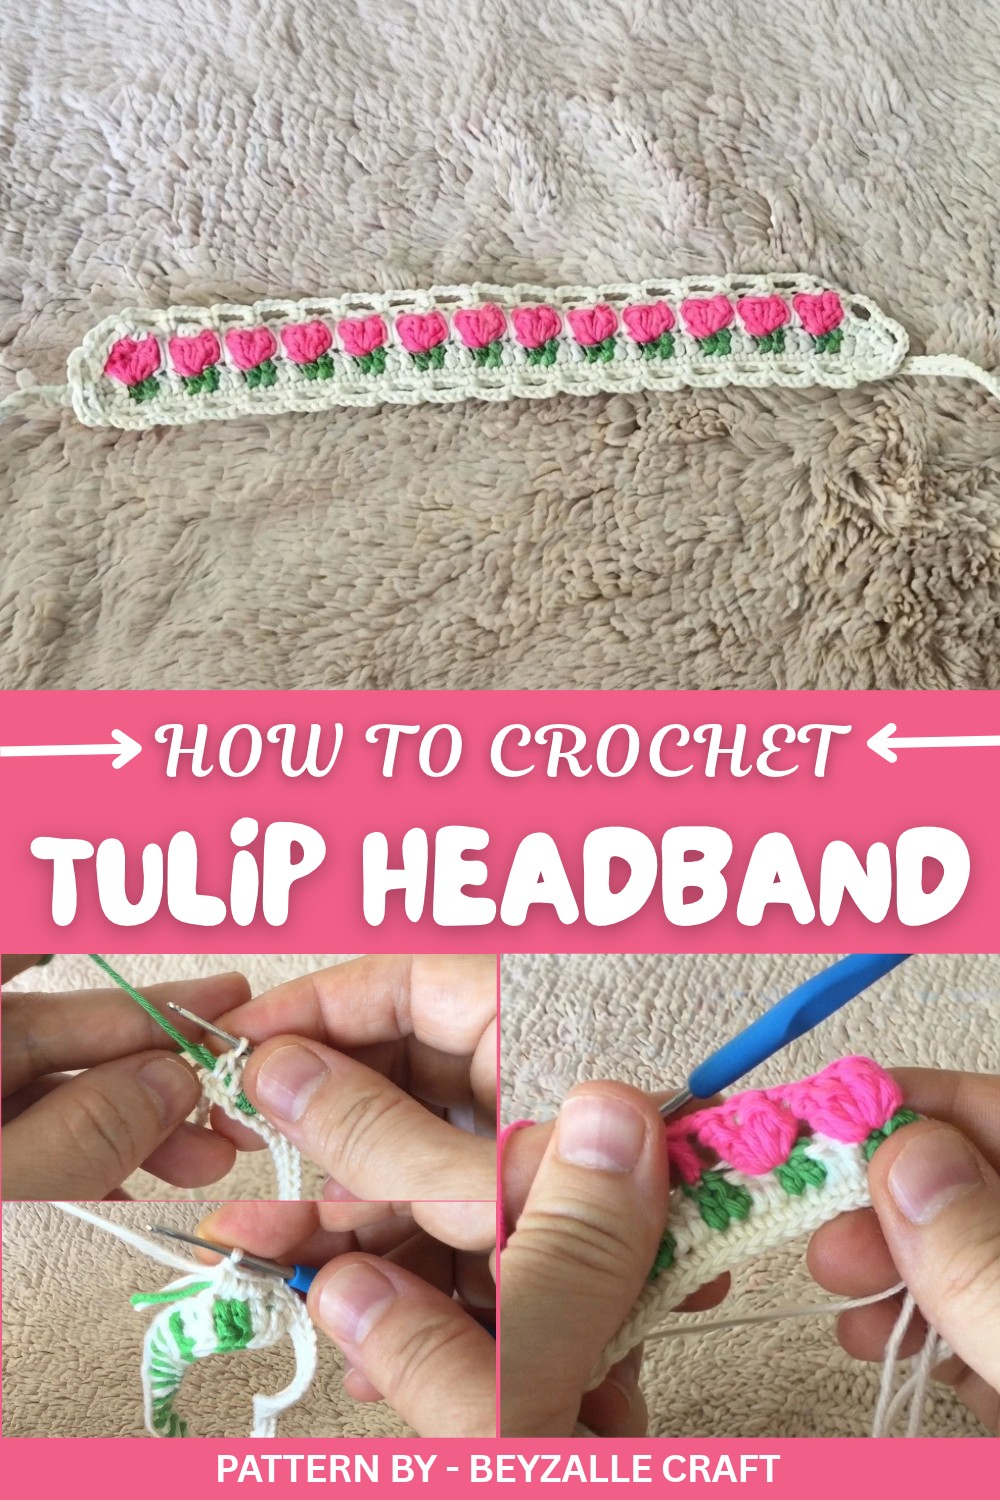
The magic behind this design is in its simplicity. Using basic crochet stitches like the chain stitch, double crochet, and half double crochet, the tulip pattern comes together beautifully. The vibrant petals are created in stunning color combinations, allowing you to customize each flower and truly make the headband your own. The leaves on the sides add that extra touch of nature inspired beauty, completing the look in a way that feels whimsical and fresh. Whether you’re a beginner or you’ve been crocheting for years, this headband is both relaxing and rewarding to make.
What truly stands out is the versatility of this design, it’s perfect for girls and women of all ages. While the headband itself is gorgeous, you can use the same tulip motif for other crochet projects. Think about these cute flowers on hats, scarves, or even as decorative accents on bags or home décor.
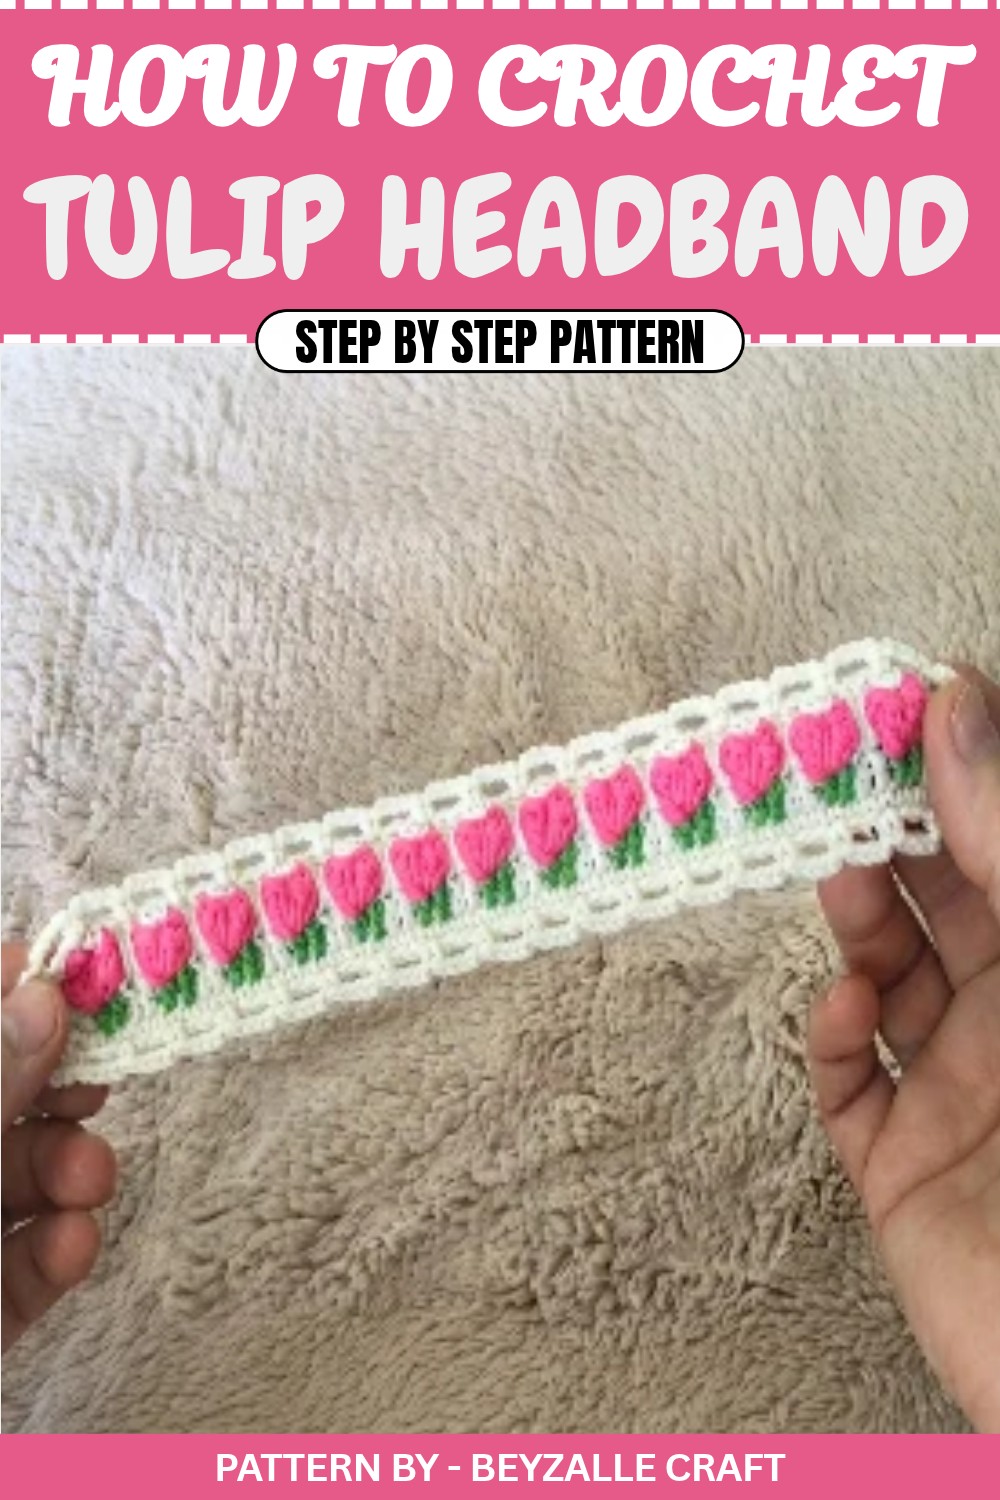
If you’re looking to make your own, Beyzalle CRAFT's YouTube video makes learning this pattern an absolute breeze. The step by step instructions are clear, beginner friendly, and filled with helpful tips to ensure your success. So, pick your favorite yarn colors, follow along with Beyzalle CRAFT, and get ready to crochet a tulip headband that’s sure to brighten any day.
Crochet Pattern: Delicate Tulip Headband
This pattern describes how to crochet a delicate flower themed headband, perfect for young children but adjustable for different sizes. Its playful and elegant design makes it a wonderful accessory for your little one or even as a styling piece for amigurumi dolls. In this tutorial, we’ll follow step by step instructions to create a beautiful, floral textured headband using soft cotton yarn. By the end, you’ll have a handmade, adorable band that’s both functional and decorative.
Quick Overview of the Pattern
- Project: Crochet Flower Headband
- Design: A floral themed headband with intricate textures and adjustable lengths.
- Purpose: Ideal for children but can also be scaled for adults or used as decorations.
- Key Features: Features small flowers as embellishments, adjustable band length, and a finishing lacy border.
Notes
- Use a yarn type that does not shed or pill, as the headband will be worn close to the skin.
- The pattern includes instructions for adjusting the size according to the child’s head circumference.
- Tension in the foundation chain is crucial to prevent the headband from being too tight or loose.
- You can experiment with colors for a unique look but ensure that the leaves are made with green yarn for contrast.
Skill Level
Beginner to Intermediate.
Materials
- Yarn: Soft cotton yarn in these colors:
- Pink (for the flowers).
- Green (for the leaf detail).
- Cream, white, or off-white (for the base of the band).
- Red or any additional highlight color for optional design variations.
- Crochet Hook: 1.75mm.
- Scissors.
- Yarn needle (for weaving in ends).
Measurements / Sizing
- The headband is designed for an average child’s head circumference but can be adjusted by increasing or decreasing the initial number of foundation chains.
- Recommended Chain Length:
- Ages 2 to 4: 90 chains.
- Ages 5 to 8: 100 to 110 chains.
- For newborns, reduce the chain count (around 65 to 75 chains).
Gauge
Gauge is not critical for this project but ensure that your starting chain is neither too tight nor too loose to prevent the band from being overly snug or floppy.
Stitch Abbreviations
- CH: Chain
- SC: Single Crochet
- SL ST: Slip Stitch
- DC: Double Crochet
- TR: Treble Crochet
Special Stitches
- Shell Stitch: Work multiple stitches (e.g., DC or TR) into the same stitch or space.
The Crochet Pattern
Step 1: Foundation Chain
- Start by creating a foundation chain of 90 chains (or adjust based on the head circumference).
- Make sure your chain is not too tight. For a nice, even band, work with slightly relaxed tension.
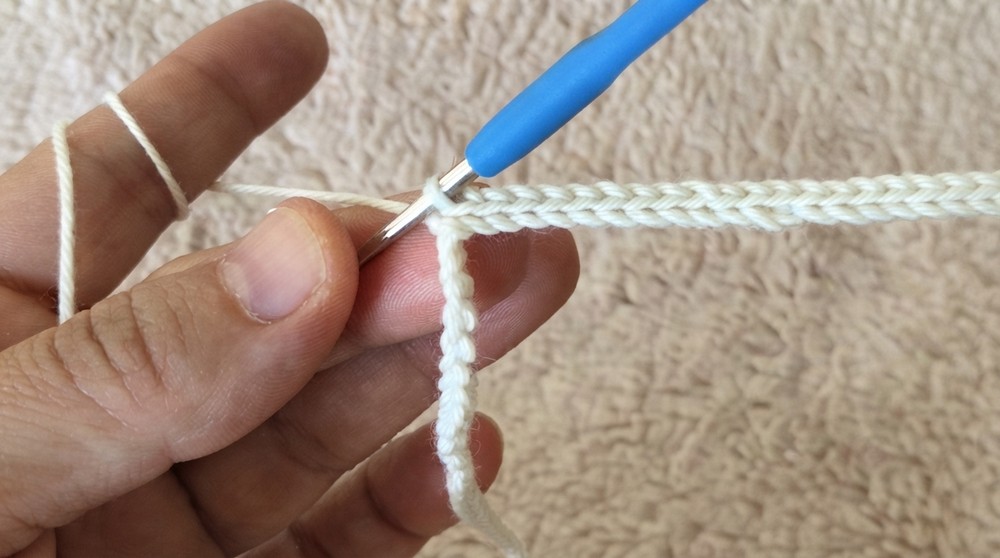
Step 2: Base for Flowers
- Work 38 SL STs into the chain, stopping to leave room for the flower section.
- Remember, the length of this segment can be adjusted if you want a longer or shorter tie section.
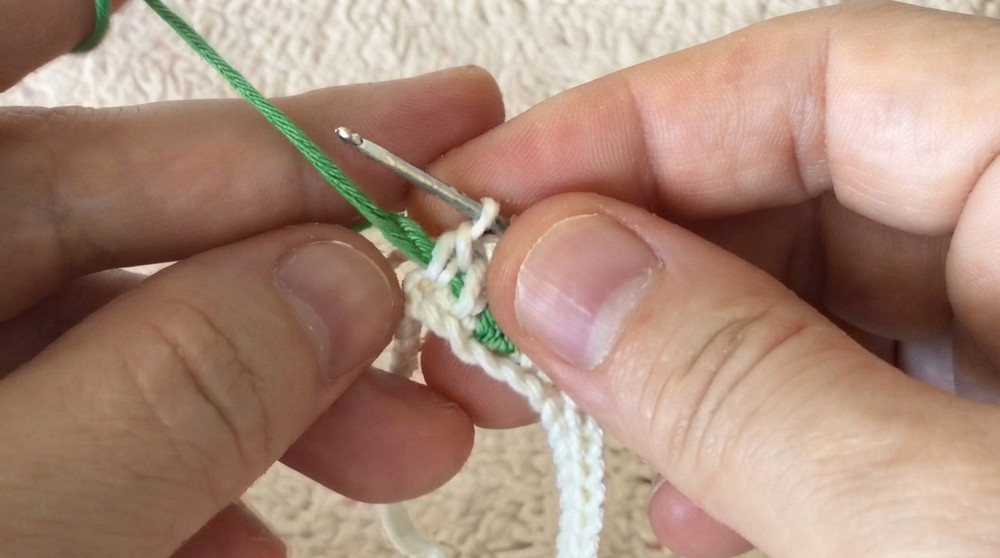
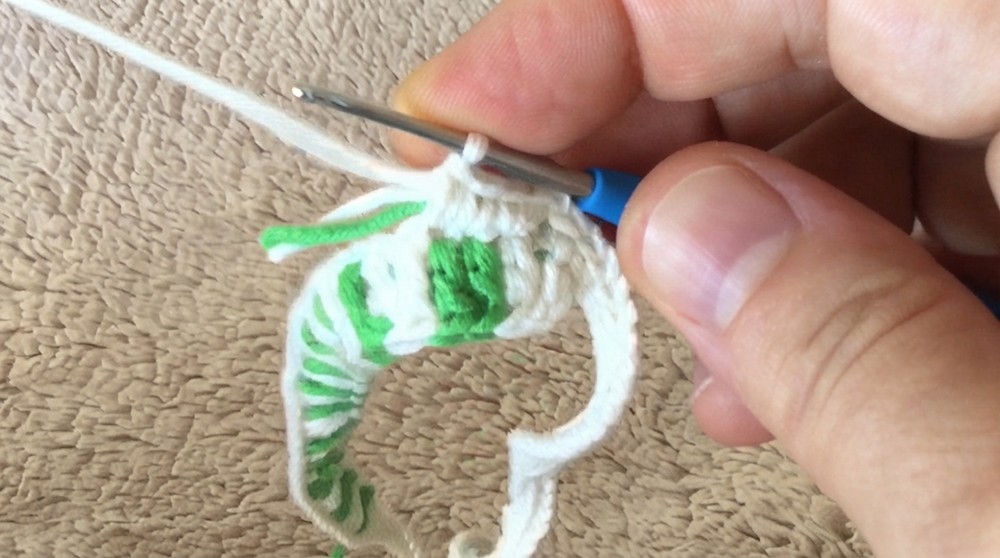
Step 3: Crochet the Green Leaves
- Attach the green yarn. CH 2 to start.
- Work 1 TR into each chain across the next section, but do not complete the last pull through of the stitch. At this point, pick up the cream yarn and pull it through to complete the stitch. You will alternate between green and cream throughout this step.
- Carry the unused yarn underneath your stitches, weaving it in as you go.
- Repeat until the section is covered with alternating green and cream TRs, ending with a cream stitch.
Step 4: Adding Flowers
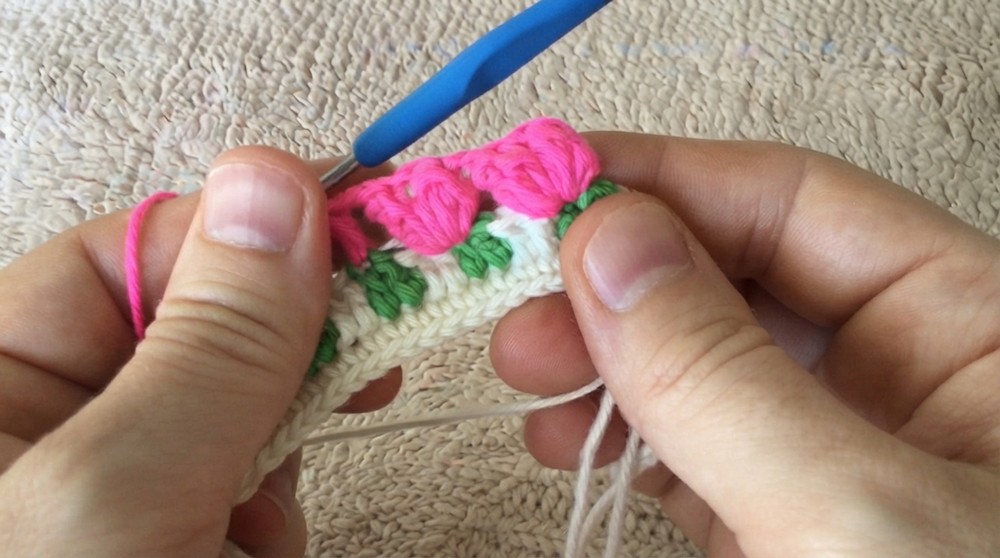
- Change to pink yarn to start the flower detail. Attach the pink yarn to the first TR of the green section.
- Work the following sequence for the petals:
- CH 2, then work 3 DC into the same stitch, and CH 2.
- Insert your hook into the initial stitch where the DCs were worked and SL ST.
- This completes one petal.
- Continue this process for the desired number of flowers, working the petal sequence around the TR stitches.
- Adjust the number of flowers to fit the desired look (for the video pattern, 13 flowers were made).
Step 5: Finishing the Second Tie Section
- Once the flowers are complete, resume working with the cream or base yarn.
- CH 38 chains (for the tie section opposite the starting tie).
- Now, work SL STs back into this chain, starting from the second chain from the hook.
- When you reach the base of the tie, attach your SL ST to secure it to the rest of the band.
Step 6: Adding the Border
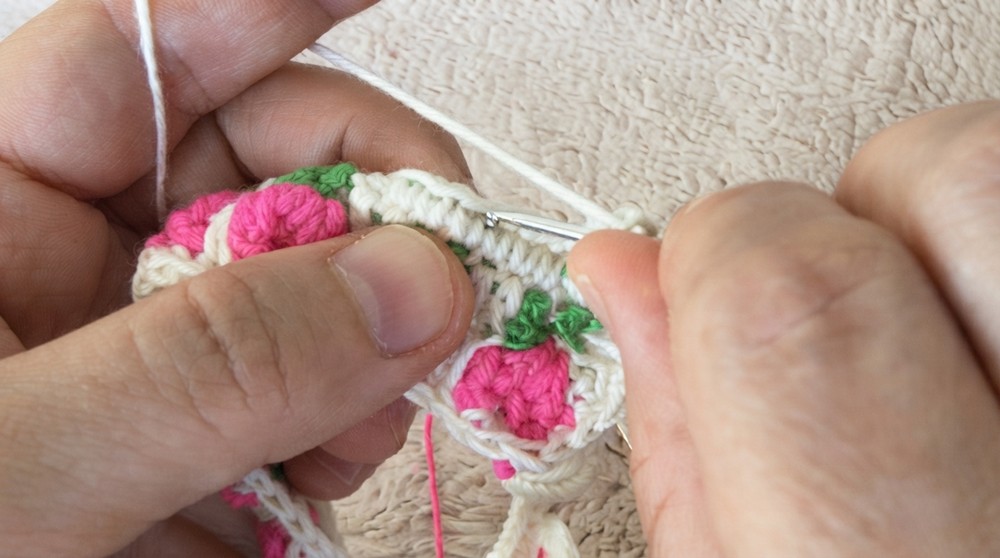
- With cream yarn, attach your hook to the base of the band. CH 1.
- Work 1 SC into each stitch along the edge of the band.
- At the ends (where the ties begin), CH 4, skip the next 2 stitches, and SL ST into the subsequent stitch. This will create a loop as part of the decorative edging.
- Continue this looped edging pattern around the edges of the headband to give it a neat and elegant look.
Assembly & Finished Size
- If making for a child, test the headband against their head to ensure a snug but comfortable fit before tying off and weaving in the ends.
- All yarn ends can be tucked and hidden securely using a yarn needle.
Finished Size: Adjustable based on the number of starting chains. For reference, 90 chains result in a band suitable for a 4 to 5 year old.
Conclusion and Ending Words
Congratulations, You’ve completed this delicate crochet flower headband. This versatile design is perfect for children, amigurumi dolls, or as a unique gift for loved ones. Feel free to play around with colors, flower arrangements, or lengths to make it uniquely yours.