
Your Next Favorite Crochet Amigurumi Doll Pattern Awaits
Bring a cute little doll to life by stitching an adorable crochet amigurumi doll that makes a wonderful and cuddly companion for your fun bedroom desk.
Tiny handmade dolls have a special kind of charm. They feel warm, personal, and full of character, especially when each stitch is placed with care. In this style of crochet, you build a small figure part by part – head, body, arms, legs, hat, and even little ears, and then join everything together to create a soft, rounded doll that looks almost alive. The result is a cute toy with a gentle shape, perfect for children’s play, room décor, or heartfelt gifts.
This Amigurumi Doll Pattern Will Bring Joy to Your Day
A Crochet Amigurumi Doll Pattern usually starts with a magic ring and simple single crochet stitches, then grows with increases and shrinks with invisible decreases to form smooth spheres and cylinders. This working style gives the doll its neat, balanced look: a round head, plump body, slim arms and legs, and a hat that fits just right. The most attractive part of this design is the overall silhouette, a soft, slightly chubby shape that makes the doll look sweet and huggable without being too big.
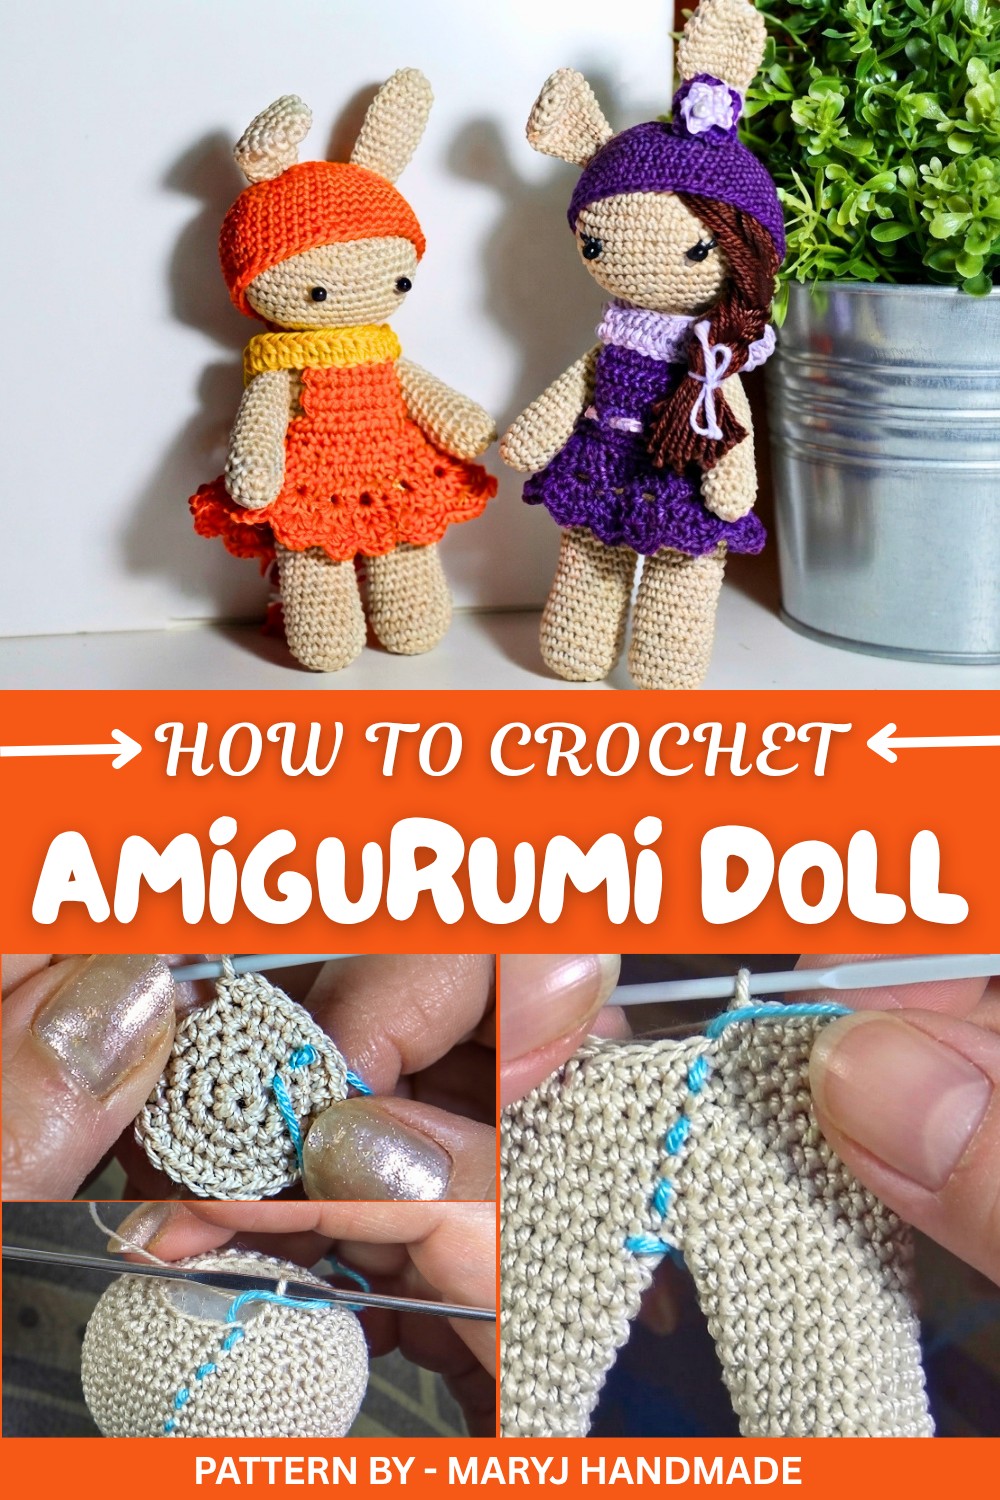
MaryJ Handmade, the channel behind this pattern, explains each step in a clear and friendly way. She shows how the head is shaped with careful increases, how the legs join into one piece for the body, and how the ears and hat are adjusted to fit depending on yarn thickness and tension. Her approach is very practical: she talks about testing the hat so it hugs the head nicely, and about placing pins before sewing parts together to check the final look.
This Crochet Amigurumi Doll Pattern is not just a set of instructions; it is a gentle guide to making a small companion that reflects your colors, style, and imagination.
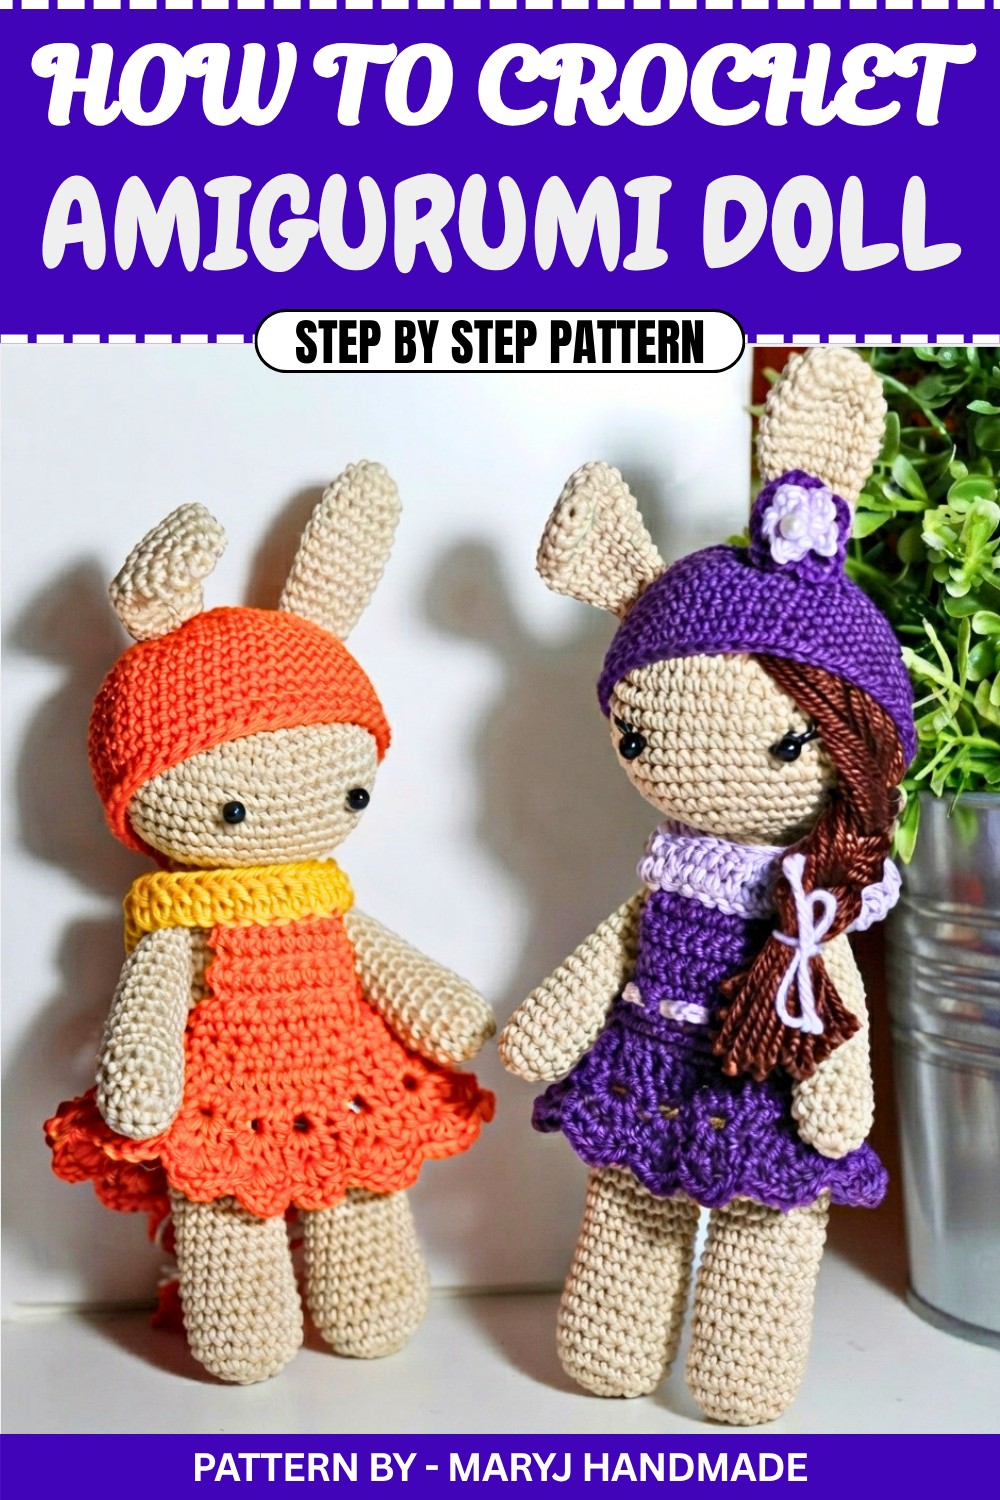
Amigurumi Doll with Bunny Ears Crochet Pattern
This pattern provides clear, step by step instructions for crocheting a cute amigurumi doll with bunny ears, a hat, and basic features. Using cotton yarn (no. 5) and a 2mm crochet hook ensures tight stitches for a polished look.
Skill Level
Intermediate – This pattern involves working in rounds, using basic stitches (single crochet, increases, and decreases), magic rings, and invisible decreases.
Materials
- Yarn: Cotton yarn (#5) in your choice of colors for the head/body, hat, and ears.
- Crochet hook: 2mm.
- Polyfill stuffing.
- Stitch markers to track rounds.
- Scissors for trimming yarn.
- Yarn needle for assembly and weaving in ends.
Gauge
Achieve tight, consistent stitches to avoid gaps when stuffing. For reference: after completing R6 of the head, the diameter should measure approximately 6 cm (2.5 inches).
Stitch Abbreviations
- sc = single crochet
- inc = increase (2 sc in the same stitch)
- dec = decrease (use invisible decreases for smooth shaping)
- MR = magic ring
Pattern Instructions
1. Head
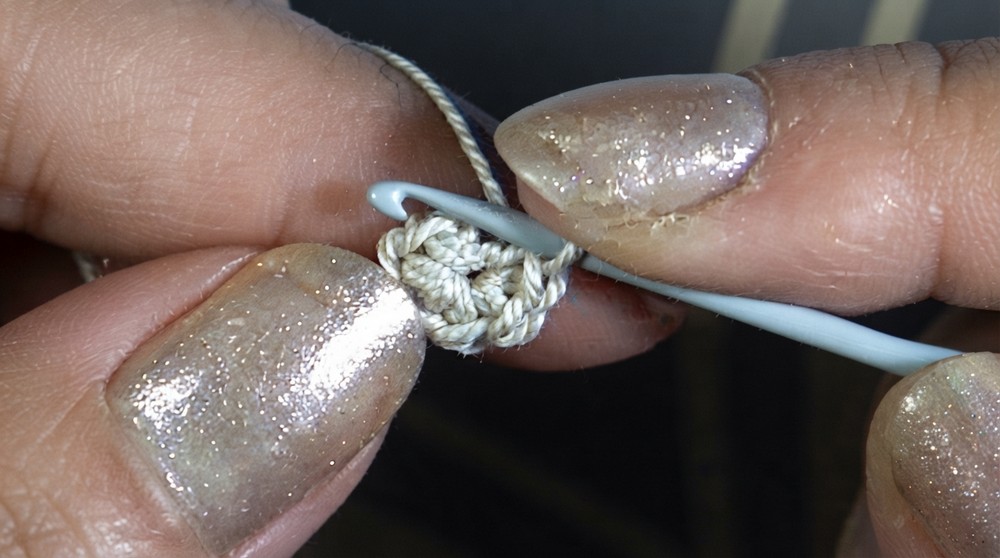
- R1: 6 sc in MR (6).
- R2: 6 inc (2 sc in each stitch) (12).
- R3: (1 sc, 1 inc) x 6 (18).
- R4: (2 sc, 1 inc) x 6 (24).
- R5: (3 sc, 1 inc) x 6 (30).
- R6: (4 sc, 1 inc) x 6 (36).
- R7: (5 sc, 1 inc) x 6 (42).
- R8: (6 sc, 1 inc) x 6 (48).
- R9 to 14: 48 sc (6 rounds).
- R15: (6 sc, 1 dec) x 6 (42).
- R16: (5 sc, 1 dec) x 6 (36).
- R17: (4 sc, 1 dec) x 6 (30).
- R18: (3 sc, 1 dec) x 6 (24).
- R19: (2 sc, 1 dec) x 6 (18).
- R20: (1 sc, 1 dec) x 6 (12).
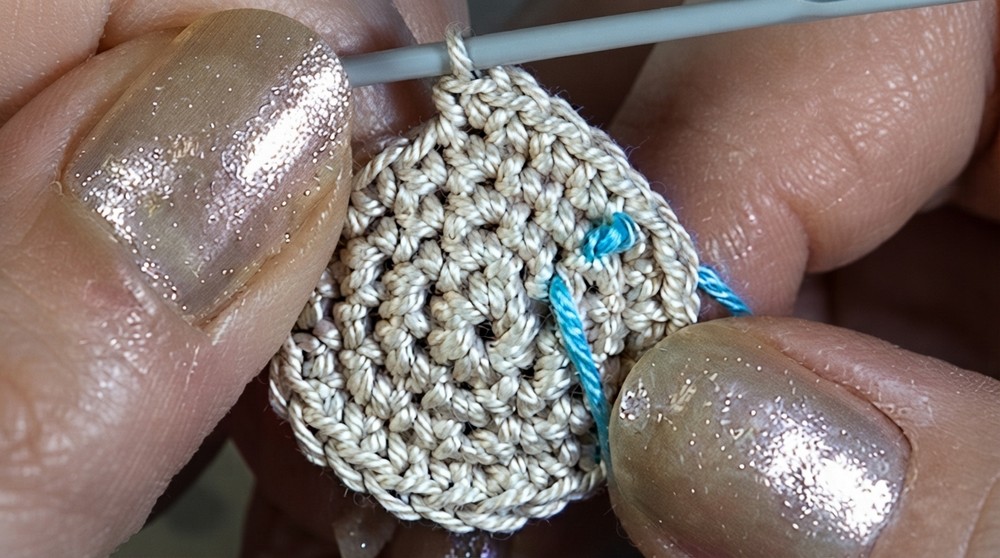
Finish the head by closing the last 12 stitches with invisible decreases.
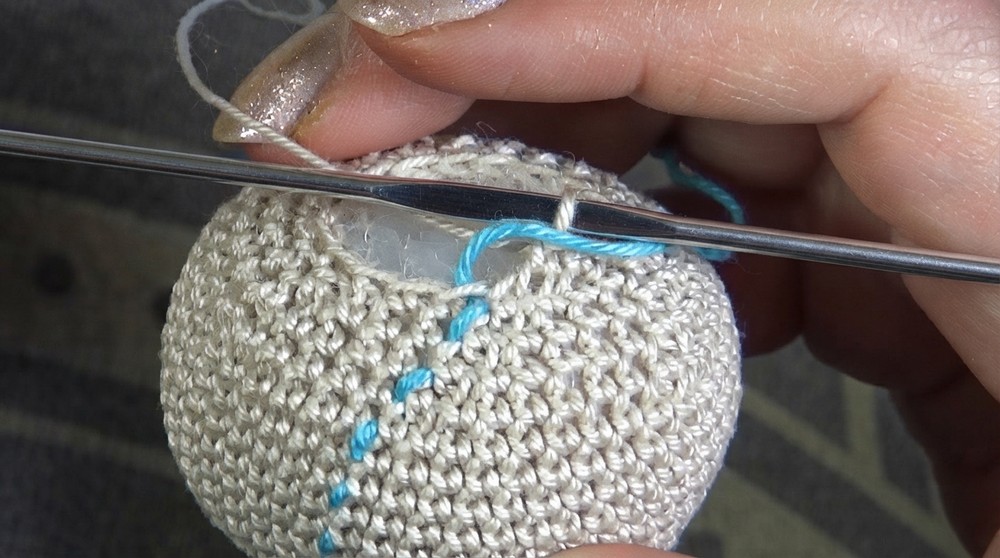
Use a yarn needle to sew the opening shut, ensuring no gaps are visible. Stuff the head firmly as you work.
2. Legs and Body
Legs (Make 2)
- Follow R1 to R3 of the head for the base of the leg:
- R1: 6 sc in MR (6).
- R2: 6 inc (12).
- R3: (1 sc, 1 inc) x 6 (18).
- R4 to 20: Work 18 sc per round for 17 rounds.
Body
- Join Both Legs: Hold the two legs side by side. Join them together at the top to create a 36 stitch round.
- Work 2 additional rounds: 36 sc per round.
- R3: (4 sc, 1 dec) x 6 (30).
- R4 to 5: 30 sc (2 rounds).
- R6: (3 sc, 1 dec) x 6 (24).
- R7 to 13: 24 sc (7 rounds).
- R14: (2 sc, 1 dec) x 6 (18).
- R15: 18 sc.
- R16: (1 sc, 1 dec) x 6 (12).
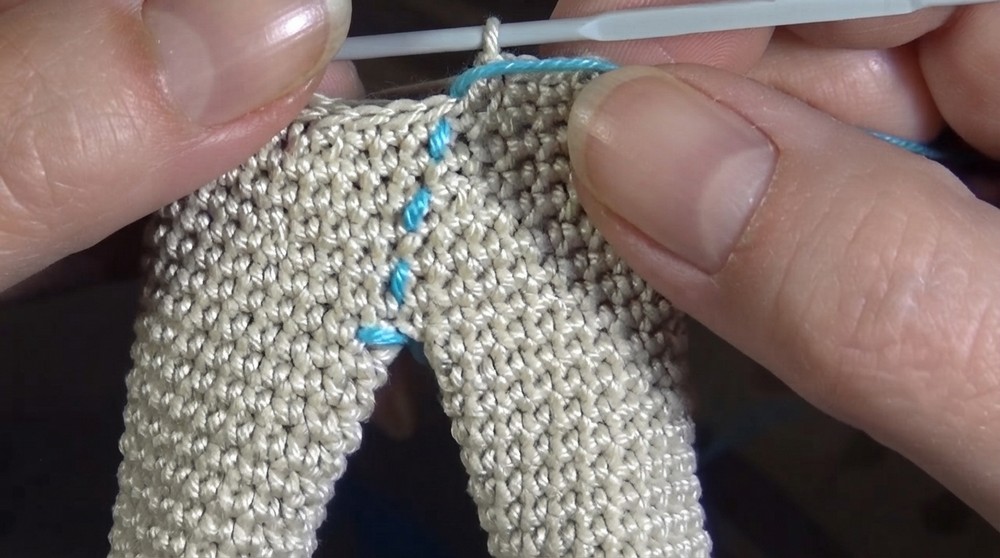
Finish the body by sewing the opening shut. Stuff the doll’s body as you decrease the rounds.
3. Arms (Make 2)
- R1: 6 sc in MR (6).
- R2: 6 inc (12).
- R3 to 18: Work 12 sc per round for 16 rounds.
Stuff the arms lightly to allow flexibility.
4. Ears (Make 2)
- R1: 6 sc in MR (6).
- R2: 6 inc (12).
- R3 to 4: Work 12 sc (2 rounds).
- R5: (2 sc, 1 inc) x 4 (16).
- R6 to 8: Work 16 sc (3 rounds).
- R9: (2 sc, 1 dec) x 4 (12).
- R10 to 12: Work 12 sc (3 rounds).
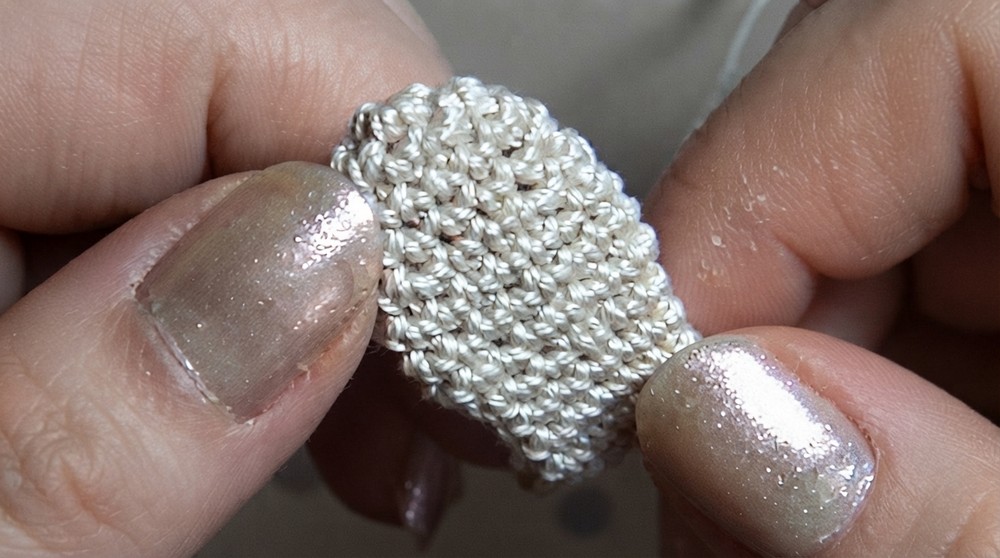
The ears can be minimally stuffed or left flat, depending on the desired look.
5. Hat
- Follow the head pattern up to R8: 48 sc.
- R9 to 16: Work 48 sc for 8 rounds.
Tip: Adjust the tension or use a few invisible decreases in the final round if the hat feels loose. Test the fit on the head as you crochet.
Assembly Instructions
- Pin parts before sewing: Use straight pins to secure the position of the head, arms, ears, and legs before sewing them in place.
- Sew the head to the body: Align the bottom of the head with the top of the body and sew them together securely.
- Attach the ears to the head: Sew both ears symmetrically on either side between R4 and R6 of the head.
- Sew the arms to the body: Attach the arms slightly below the neck area for proper proportion.
- Position the hat on the head: Once satisfied with the placement, sew the hat to the top of the head or leave it removable.
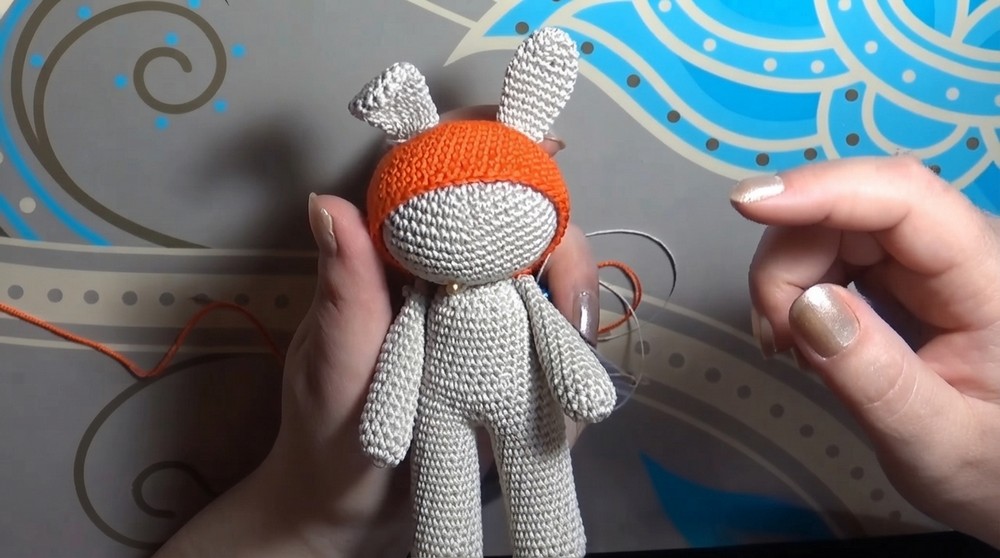
Finished Size
The completed doll measures approximately 10–12 inches (25–30 cm) in height depending on the yarn, tension, and hook size used.
Conclusion
Congratulations on completing your adorable amigurumi doll with bunny ears and a hat. This versatile pattern allows for customization with different colors and finishing touches, like adding hair or facial embroidery.