
How to Stylish Crochet Head Bandana Pattern for Every Outfit
Refresh your everyday look with the Free Crochet Head Bandana Pattern and enjoy easy style for any season or occasion.
There’s nothing quite like making your own stylish accessories, especially when they’re both pretty and practical. This crochet head bandana is a perfect project for anyone looking to add a touch of handmade charm to their wardrobe. Using double crochet stitches, this pattern creates a delicate but sturdy fabric, making the bandana comfortable to wear and easy to style. The stitch pattern also produces a slight openwork effect, which allows the pattern to breathe—great for warmer days or layering with other accessories.
Free Crochet Head Bandana Pattern for Chic and Simple Accessories
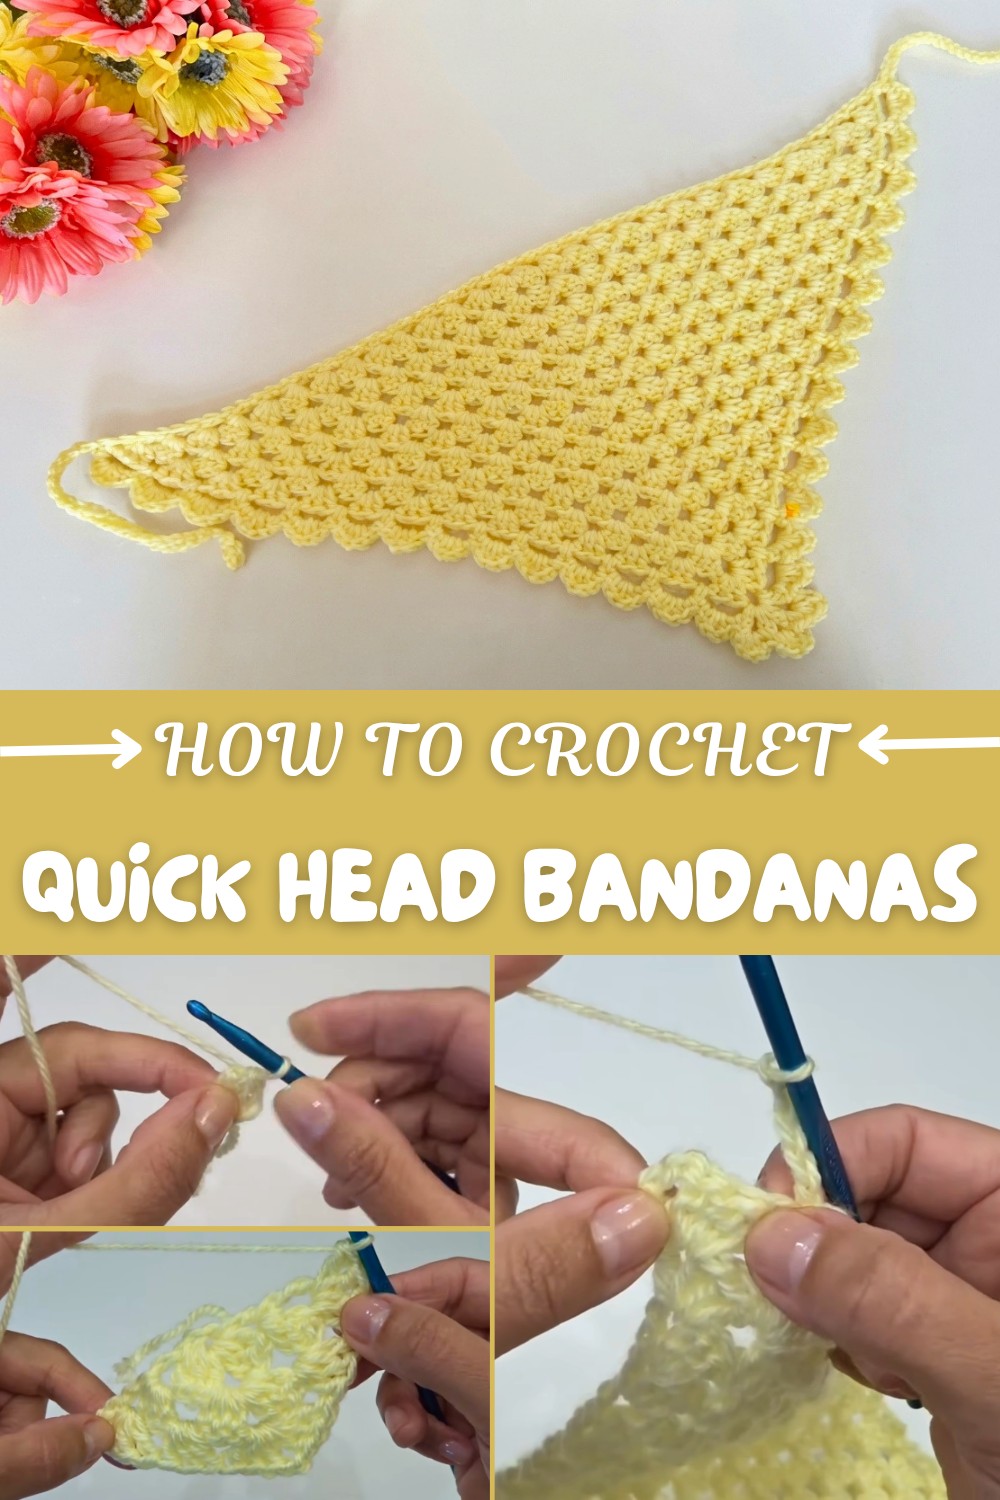
The project starts with a simple slip knot and a small chain ring, making it beginner-friendly right from the first step. Working in rows with chains and double crochets helps you build confidence with basic crochet skills while gradually shaping the piece. The bandana’s size is adjustable by adding more rows, so you can make it just right for yourself or as a thoughtful handmade gift. The finishing touches, like the decorative chain-5 loops around the edges, add a charming detail without complicating the process.
This versatile pattern opens the door to many other creative crochet projects. The same double crochet and chain stitches can be used to make scarves, lightweight shawls, or even decorative trims on blankets and clothing. By varying yarn types and colors, you can customize each item’s look and feel, making your handmade collection unique and special. Whether you’re a beginner or looking to practice your stitches in a pretty project, this pattern is a wonderful way to explore crochet’s possibilities while creating something useful and lovely.
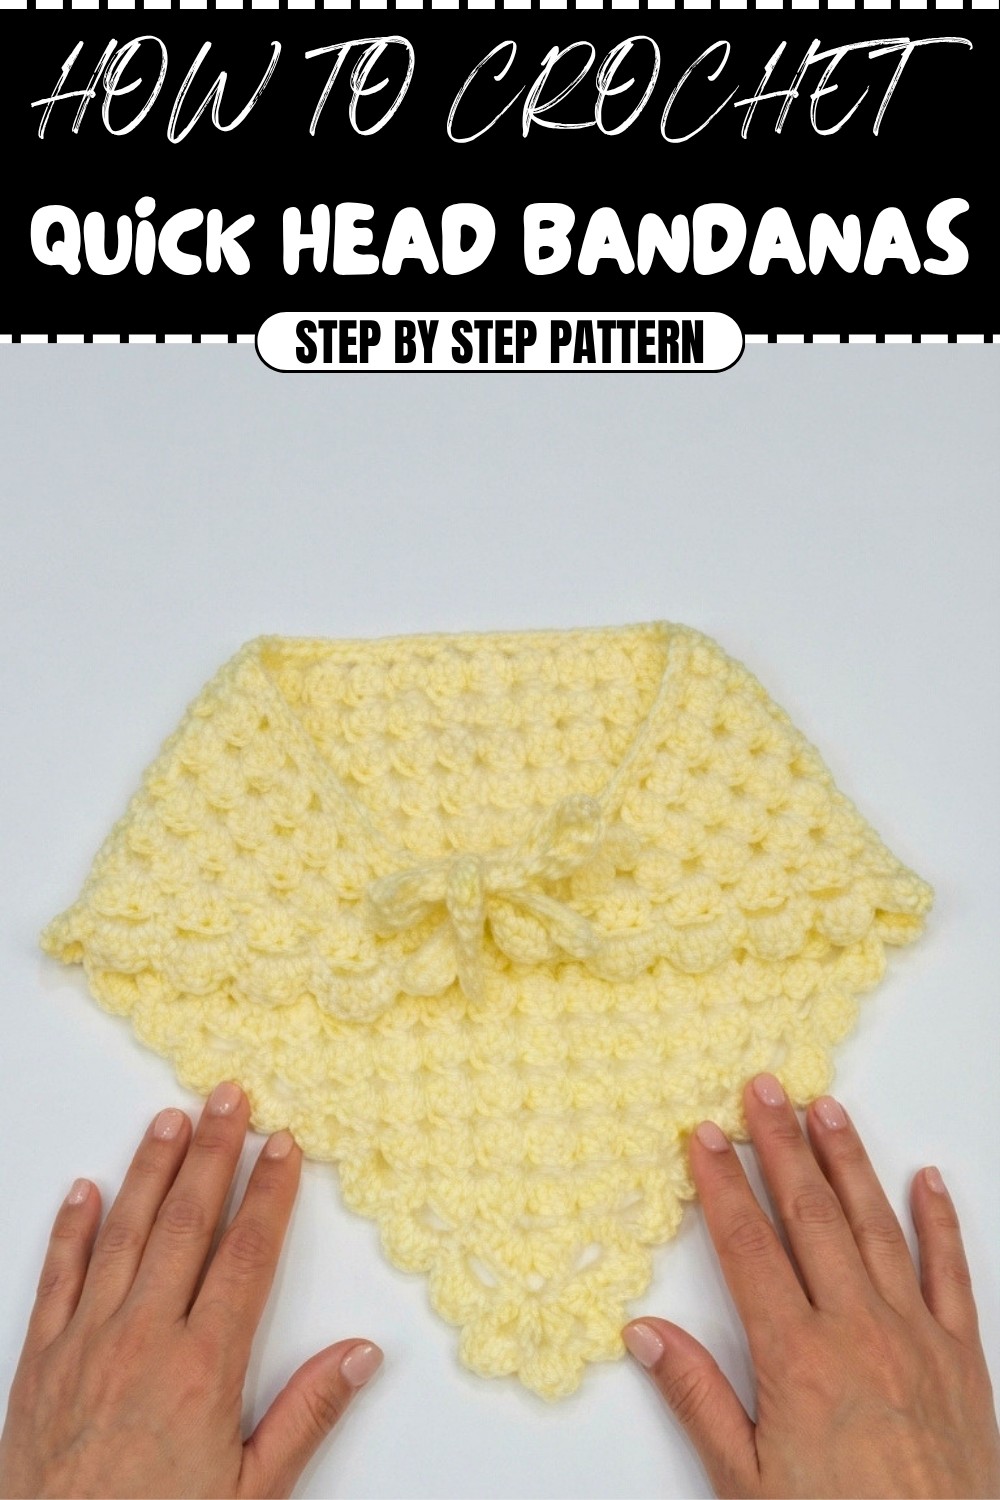
Crochet Head Bandana Pattern
This head bandana pattern is perfect for beginners and produces a lightweight, airy, and useful accessory. Measuring approximately 11 inches, this head scarf can be tailored in size by adding rows for a larger fit. Using simple stitches like chains, double crochets, and slip stitches, you’ll master techniques for creating triangles and finishing touches with elegant edging and practical ties. This project is beginner-friendly, quick to work up, and will leave you with the skills needed to approach more complex patterns.
Skill Level & Terminology
Skill Level: Beginner
Terminology: US Crochet Terms
Materials & Tools
- Yarn: Number 3 lightweight yarn (cotton yarn recommended for a summer feel).
- Hook: 5 mm crochet hook.
- Other Supplies:
- Scissors.
- Tapestry needle (for weaving in ends).
Gauge
Gauge is not critical for this pattern, but ensure your stitches are not too tight or too loose to maintain a neat triangular shape.
Abbreviations List
- ch: Chain.
- sl st: Slip Stitch.
- dc: Double Crochet.
- sc: Single Crochet.
- hdc: Half Double Crochet.
- st(s): Stitch(es).
Special Stitch Instructions
Slip Knot
Create a slip knot to secure the yarn and begin chaining:
- Loop the yarn around your fingers.
- Pull the yarn through the loop to tighten.
Chain Space Edging
Adding chain spaces in the edging creates a delicate, airy effect that enhances the overall look. Use sets of 5 chains and anchor them with slip stitches for a scallop-like texture.
Finished Size
After completing the pattern as written, the bandana measures:
- Width (across the top edge): 11 inches.
- Height (from top center to the tip): Approx. 10 inches.
What You'll Learn
- Building a Triangle: Start from a small ring and gradually increase stitches for a structured triangular design.
- Edging Techniques: Add decorative edges with chain spaces and scalloped detailing.
- Creating Ties: Crochet cords for functionality and adjustment.
- Finishing Touches: Perfect your skills in weaving in yarn tails for a professional look.
This pattern gives you valuable practice with increasing, decorative edges, and assembly details—all while creating a practical accessory you can proudly wear or gift.
The Pattern
Triangle Base (Main Section)
Row 1:
- Start with a slip knot.
- Ch 4, then sl st into the first chain to form a ring.
- Ch 3 (counts as the first dc).
- Work 3 dc into the ring.
- Ch 2, then work 4 dc into the ring.
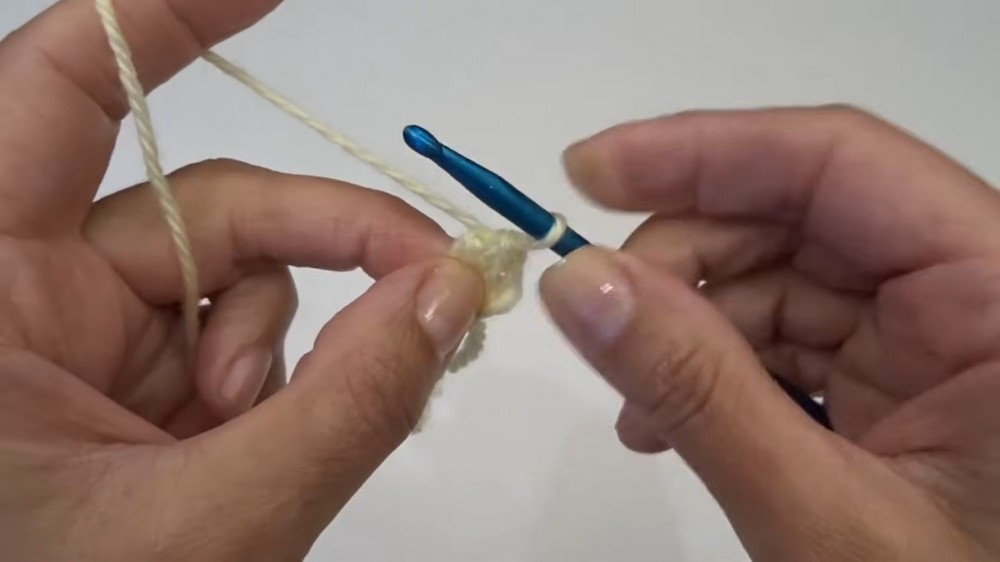
At the end of Row 1: You will have 8 dc and 1 chain 2 space in the center.
This row forms the base of the triangle, creating the ring and foundation for increasing rows.
Row 2:
- Ch 3 (counts as the first dc).
- Turn your work, and in the space between the first two dcs, work 3 dc.
- Skip the next three dcs and go to the chain 2 space.
- Work 3 dc, ch 2, 3 dc (into the chain 2 space).
- Skip the next dc group. In the space between the final chain 3 and the next dc, work 4 dc.
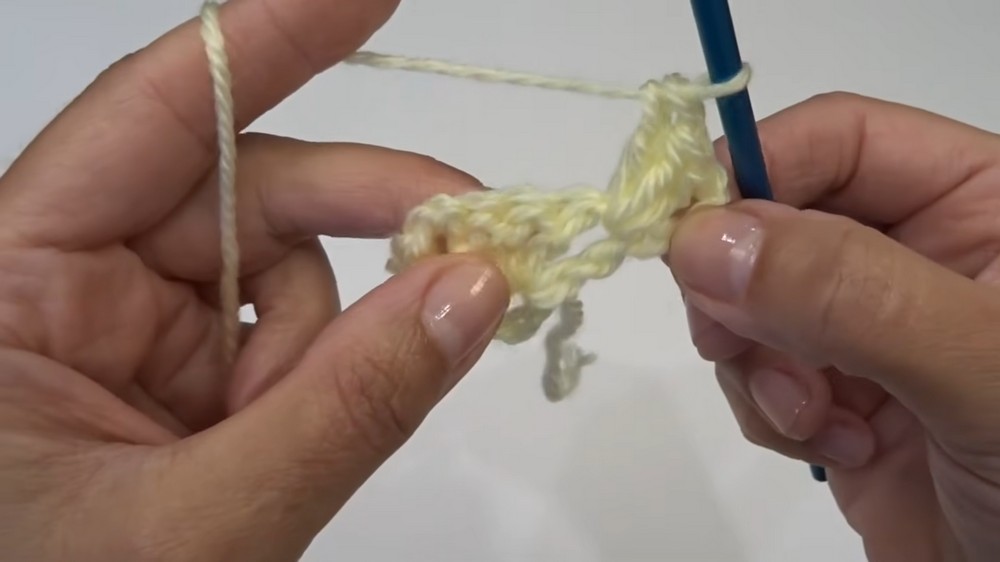
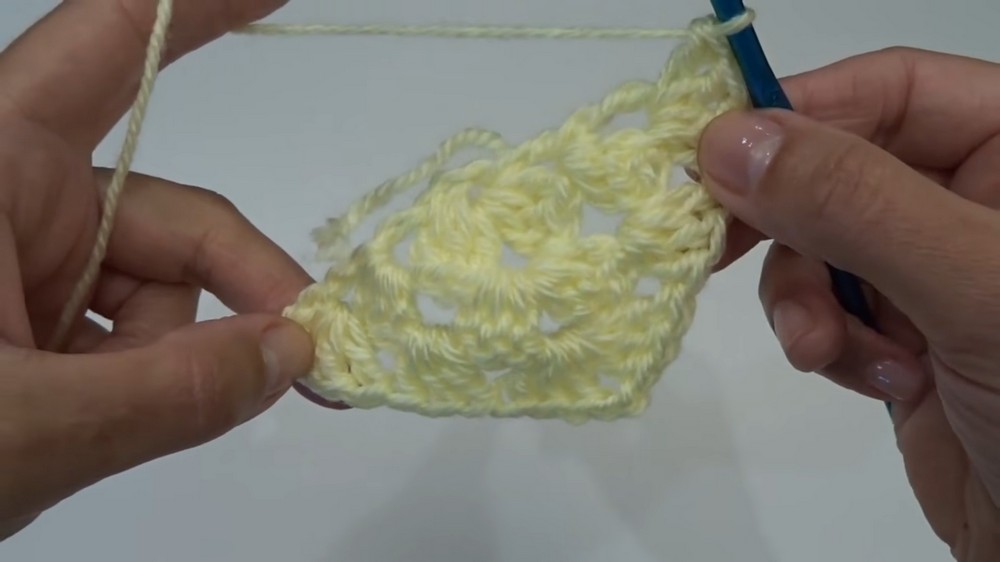
At the end of Row 2: You should have 14 dc and 1 chain 2 space in the center.
This row begins the consistent pattern of increasing stitches in every row.
Row 3:
- Ch 3, turn your work. In the space between the first two dcs, work 3 dc.
- Work 3 dc into each space between the groups of dcs.
- Into the chain 2 space, work 3 dc, ch 2, 3 dc again.
- Repeat until the end, working 4 dc in the last space (between the chain 3 and the nearest dc).
At the end of Row 3: You will have more evenly spaced stitch groups.
Keep an eye on where the chain 2 space is, as this is crucial for shaping the triangle.
Rows 4–14:
- Repeat the pattern established in Row 3 for each subsequent row.
- Begin each row by ch 3, turn your work, and work into the spaces between the stitches from the previous row.
- Each row will increase evenly and maintain the triangular shape.
At the end of Row 14: Your triangle should measure approximately 10–11 inches.
You can stop here for a medium-sized bandana or continue adding additional rows for a larger size.
Edging (Row 1):
Adding Chain Spaces:
- Ch 5, then turn your work.
- Skip the first group of 4 dc and locate the next empty space. Sl st into this space.
- Repeat: Ch 5, locate the next empty space, and sl st into it.
- Continue until you reach the chain 2 space at the center.
- Into the chain 2 space, ch 5, sl st, ch 5, sl st (repeat for 2–3 scallop sections).
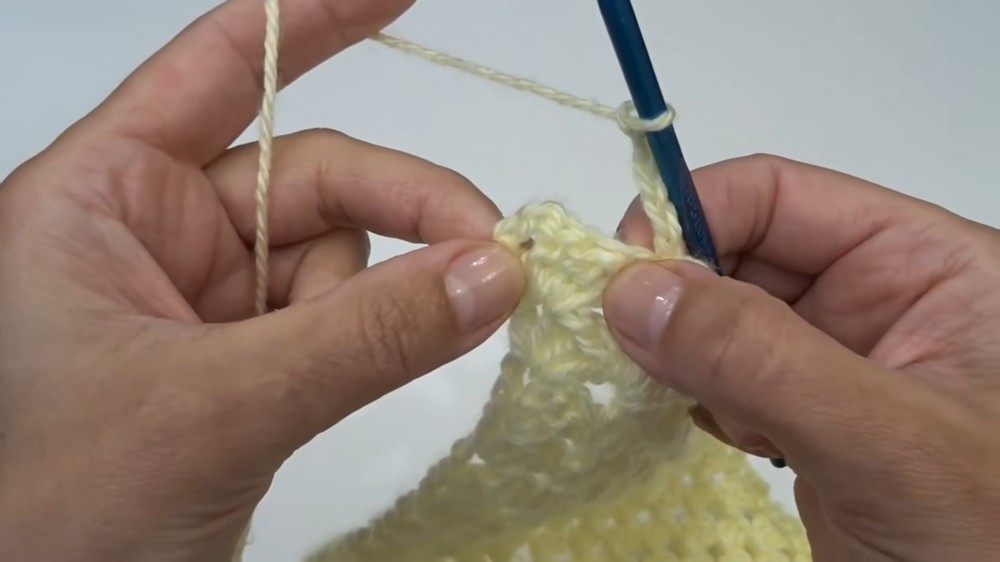
At the end of Row 1: Your triangle will have decorative chain spaces along one edge.
This simple scalloped edging adds visual interest and complements the triangular shape.
Edging (Row 2):
Filling Edges:
- Into each chain space from Row 1:
- Work 1 sc, 1 hdc, 2 dc, 1 hdc, 1 sc (repeat for every chain space).
- Continue across, ensuring the stitches fit neatly into each scallop.
At the end of Row 2: Your bandana will have a structured and detailed edge.
This step creates the finished look, with elegant scalloped edges.
Adding Ties:
Chain Straps:
- Ch 26 at either end of the triangle.
- Into the second chain from the hook, work 1 sc.
- Continue working 1 sc into each chain along the strap (totaling 25 sc).
- Attach the strap with 1 sc into the bandana edge.
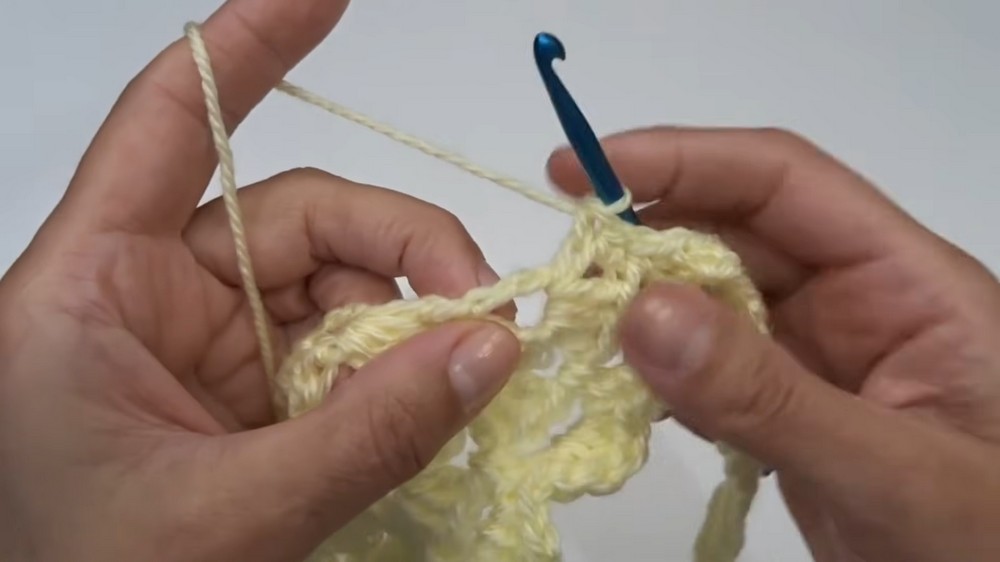
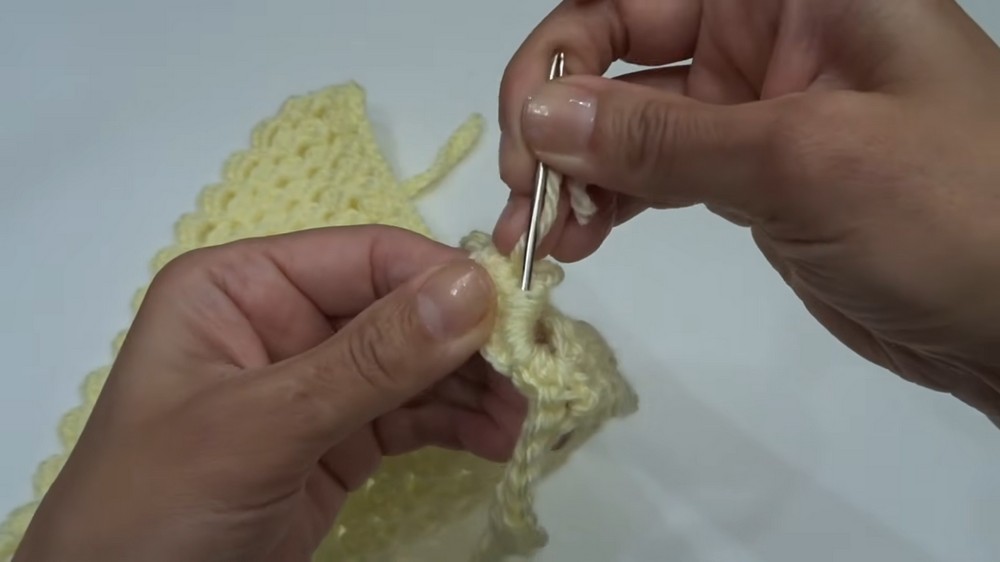
Repeat for both sides to create adjustable ties.
Weaving in the Yarn Tails
- Use a tapestry needle to weave in any loose yarn tails.
- Hide tails securely by sewing them neatly through nearby stitches, then trim excess.
Properly weaving in yarn tails ensures the piece looks tidy and lasts longer.
Why You'll Love This Pattern
This Head Bandana pattern is simple yet versatile, teaching foundational crochet skills while allowing customization for size, color, and edge design. Each step is repetitive and meditative, perfect for both beginners and experienced crocheters looking for a quick project. Best of all, you end with a stylish handmade accessory that’s practical, lightweight, and perfect for any occasion!