
Cheerful Free Crochet Turtle Pattern That’s Totally Free to Try
Hook your way into happiness with this delightful crochet turtle pattern that’s completely free and sure to brighten your day with endless smiles.
Inspiration From Anerom
When I first started working on this crochet turtle pattern, I wanted to design something whimsical and easy for anyone to enjoy. This beginner friendly project creates a sweet turtle with a rounded shell and charming little legs, making it a perfect toy or decorative piece for homes, offices, or even as part of a nursery Decor. The design strikes a beautiful balance with simple stitches that build up a nicely textured, dome shaped shell and a smooth, plump body that’s both appealing and fun to make.
Free Amigurumi Turtle Pattern for Crochet Enthusiasts
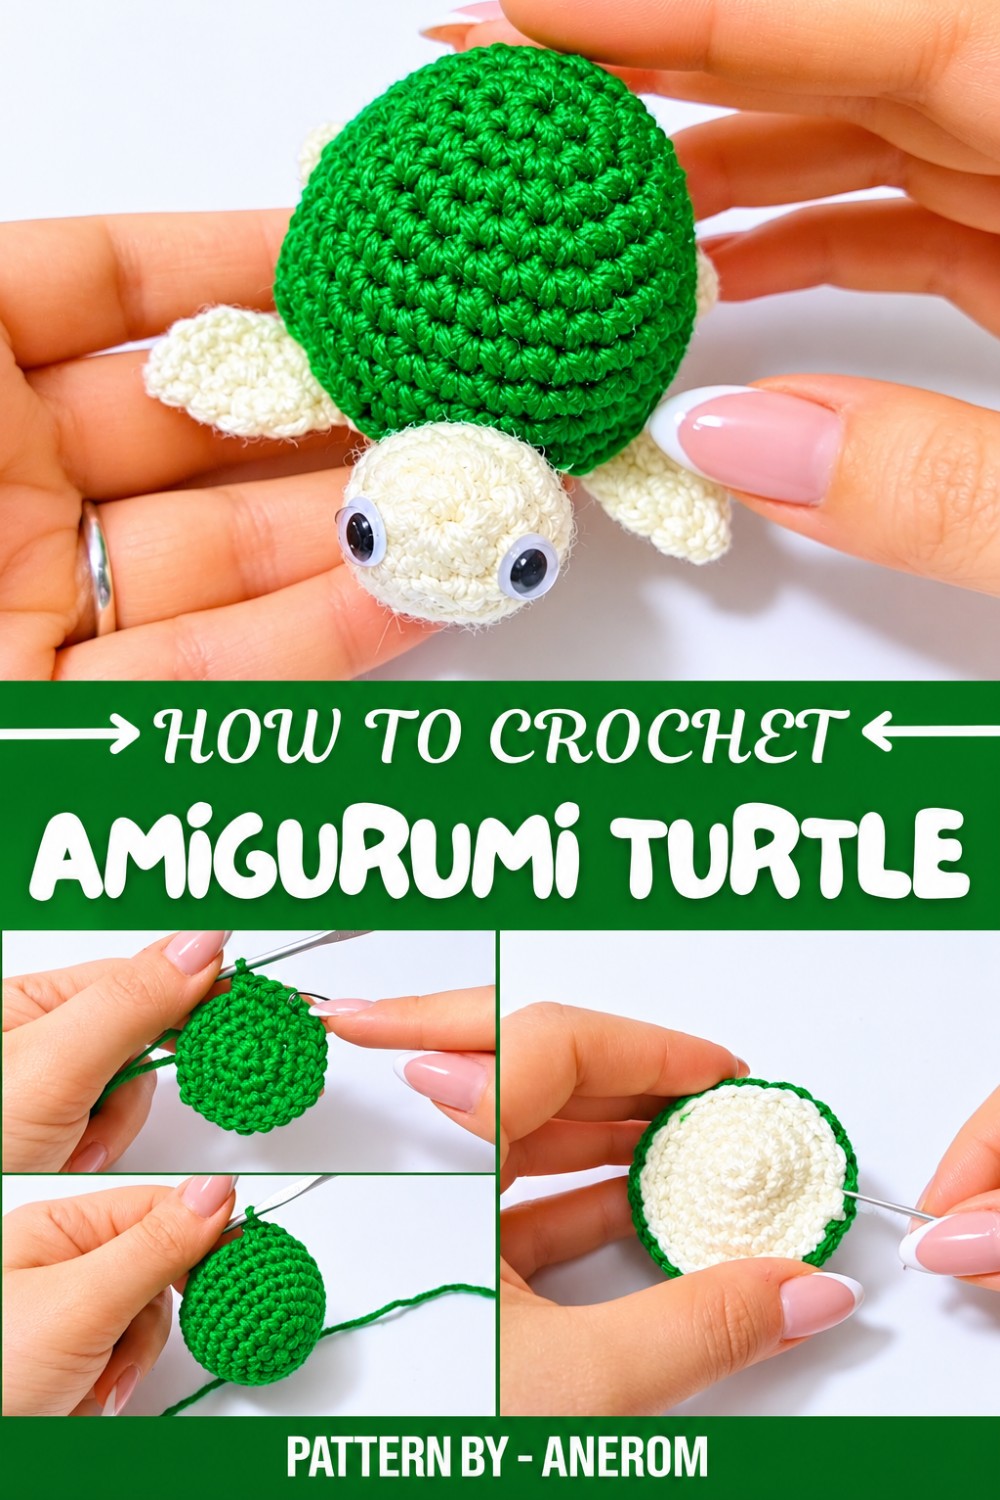
This project is great for kids, beginners, or anyone who loves fast, manageable crochets with personality. The turtle can be customized in many ways, choose vibrant colors for a playful look or earthy tones for a classic appearance. You can even decorate the shell with embroidery or add beads for some sparkle. The finished turtle varies in size depending on your yarn and hook choices, but sticking to medium weight acrylic yarn gives it a balanced, durable form with a soft and cozy texture.
The construction is straightforward and broken into just a few parts: the shell (top and bottom), legs, and head, which you later attach to create the full turtle. For easier assembly, I recommend using a hot glue gun, though sewing the pieces together works equally well for added durability. A bit of stuffing helps give it shape, and the use of googly eyes adds a fun finishing touch.
This pattern was inspired by childhood memories of watching tiny turtles at ponds slow moving yet full of life. This little creation makes for a thoughtful gift for kids or turtle enthusiasts, and it’s perfect for adding a touch of whimsy to your space. Be playful with colors, textures, and decorations, because every turtle has its own personality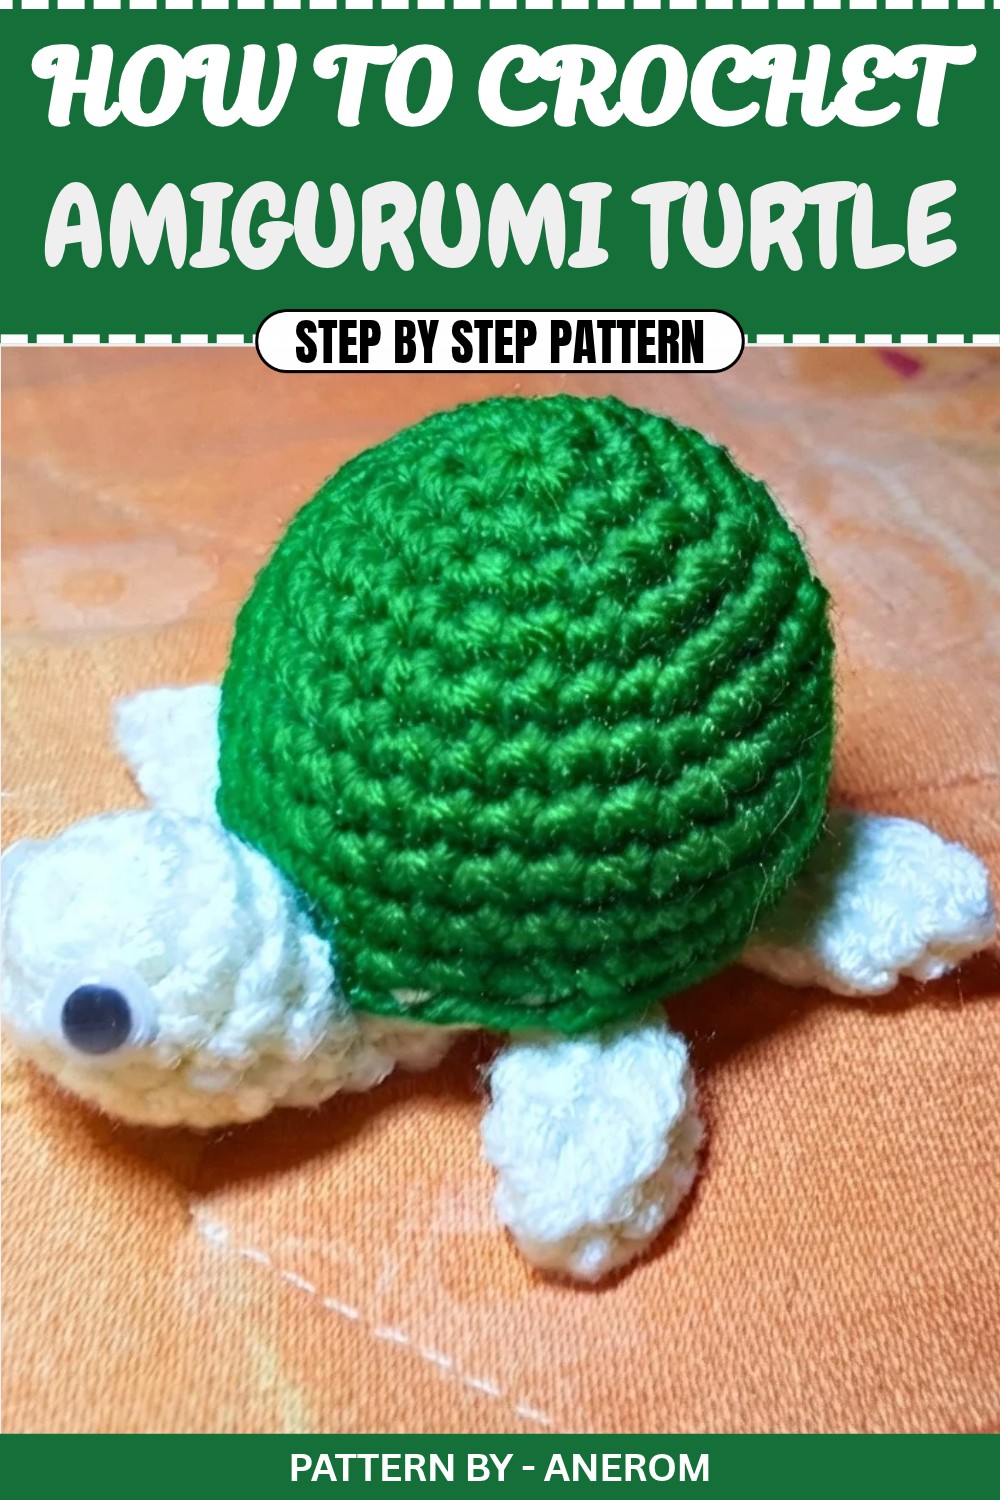
Crochet Turtle Pattern
Quick Overview Of Pattern
- Small crochet turtle amigurumi with a rounded shell
- Upper shell in green and bottom shell in cream
- Head and legs in cream with attached googly eyes
- All parts are worked in continuous rounds using single crochet
- Upper and lower shells are sewn together
- Final assembly uses hot glue for a quick finish
Notes
- All parts are crocheted in continuous rounds using single crochet increases and decreases.
- Use a stitch marker to mark the first stitch of each round for easier tracking.
- The tutorial demonstrates hot glue assembly, but if desired, you can leave long yarn tails on each piece to sew them together.
- Avoid overstuffing the pieces—aim for a firm but slightly squishy texture for both the shells and the head.
- The legs are shaped from small crocheted circles and folded to form the rounded leg look.
Skill Level
- Skill Level: Advanced Beginner
- Required Techniques:
- Magic ring
- Single crochet (sc)
- Single crochet increases (2 sc in one stitch)
- Single crochet decreases (2 sc together)
- Working in continuous rounds
Materials
- Acrylic yarn or similar:
- Green: for the upper shell
- Cream: for the lower shell, head, and legs
- Crochet hook: 3 mm
- Yarn needle
- Fiberglass stuffing/polyfill
- Stitch marker (or safety pin, or scrap yarn)
- Hot glue gun (optional for assembly)
- Googly eyes x2
- Scissors
Measurements / Sizing
- With standard acrylic yarn and a 3 mm crochet hook, the finished turtle measures approximately:
- Length: around 8–10 cm
- Height of shell: around 4–5 cm
Size may vary depending on yarn weight and your crochet tension.
Gauge
Gauge is not critical for this project, but as a guideline:
- Sample Gauge: 30 stitches crocheted in spirals (continuous rounds) create a disc of approximately 6–7 cm diameter using a 3 mm crochet hook.
The stitches should be compact for amigurumi to prevent the stuffing from showing through.
Stitch Abbreviations
(US terms)
- ch = chain
- sc = single crochet
- sc inc = single crochet increase (2 single crochets in the same stitch)
- sc dec = single crochet decrease (2 single crochets worked together)
- sl st = slip stitch
- mr = magic ring
Special Stitches
Magic Ring (mr)
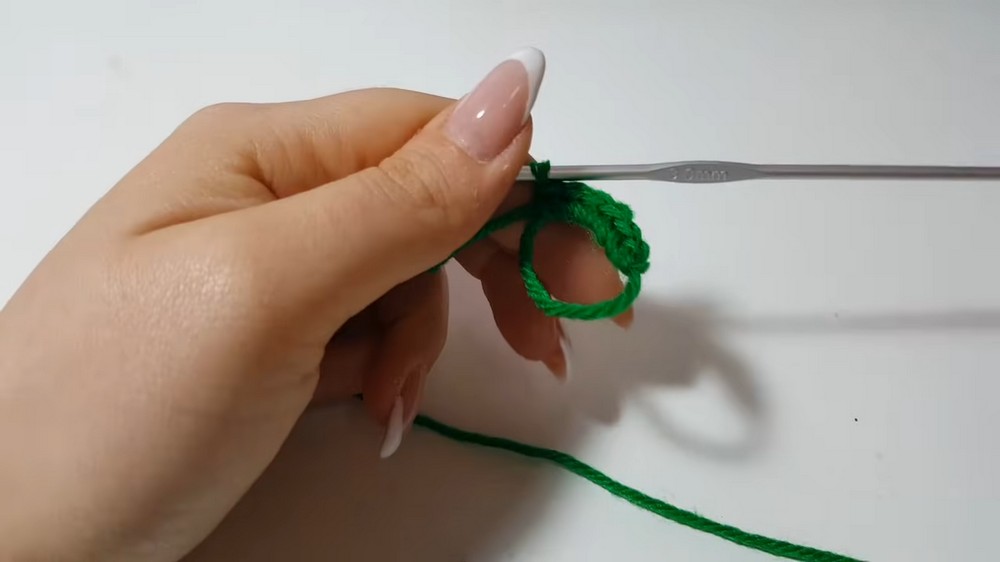
Form a loop with the yarn, insert your hook into the loop, pull up a loop of yarn, and chain 1 (optional as a security chain). Crochet the number of stitches required inside the ring, then pull the yarn tail to close the loop tightly.
Single Crochet Decrease (sc dec)
Insert your hook into the next stitch, pull up a loop (2 loops on hook). Insert your hook into the next stitch, pull up another loop (3 loops on hook). Yarn over and pull through all three loops on the hook to complete the decrease.
The Crochet Pattern
1. Upper Shell (Green)
Using the green yarn, start working in continuous rounds.
Round 1:
- Begin with a magic ring.
- Crochet 6 sc into the ring.
- Pull the yarn tail tight to close the ring.
- Total: 6 sc.
Round 2:
- Crochet 2 sc into each stitch (sc inc) around.
- Total: 12 sc.
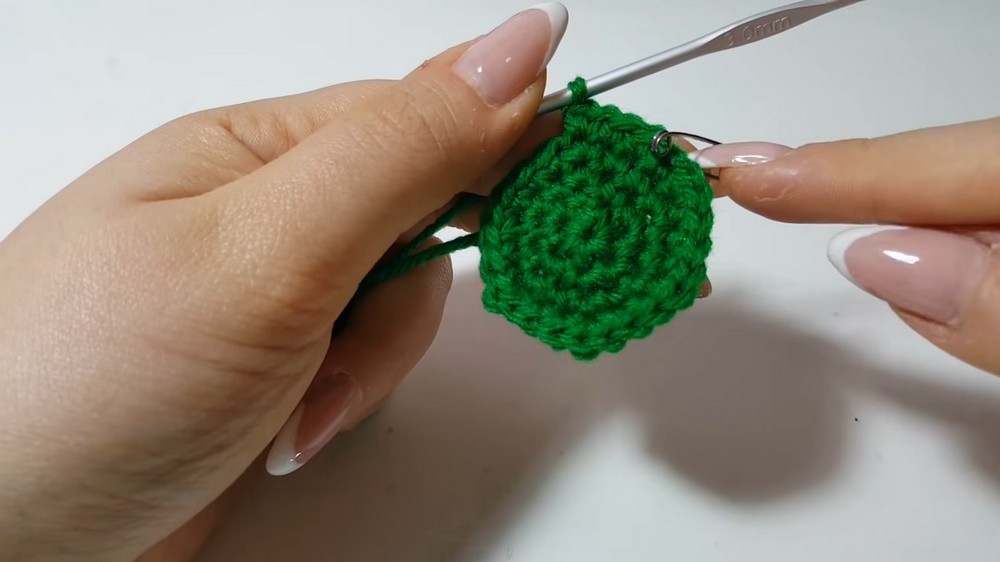
Round 3:
- Crochet 1 sc in the first stitch, and place a stitch marker there.
- Crochet 1 sc inc in the next stitch.
- Repeat this sequence (1 sc, 1 sc inc) around.
- Total: 18 sc.
Round 4:
- Crochet 1 sc in the first stitch, mark it.
- Crochet 1 sc in the second stitch, and then 1 sc inc in the next stitch.
- Repeat this sequence (2 sc, 1 sc inc) around.
- Total: 24 sc.
Round 5:
- Crochet 1 sc in the first stitch, mark it.
- Crochet 2 sc over the next stitches, followed by 1 sc inc.
- Repeat this sequence (3 sc, 1 sc inc) around.
- Total: 30 sc.
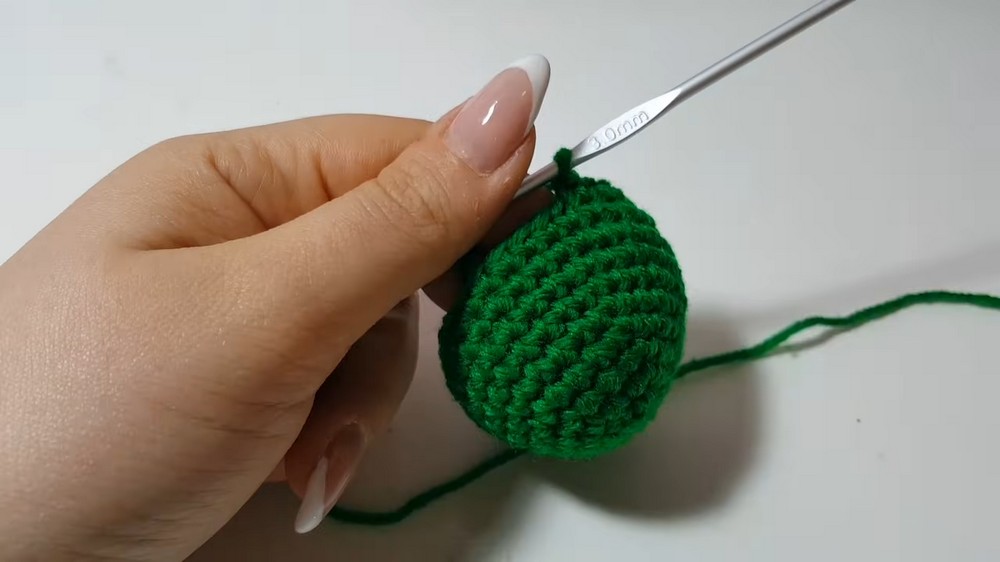
Rounds 6–10:
- Work 5 rounds of sc (no increases). For each round:
- Crochet 1 sc in the first stitch and mark it. Then crochet 1 sc in each stitch around.
- Each round has 30 sc.
At the end of round 10, work 1 sl st into the next stitch, pull up the yarn, and cut it. Use a yarn needle to weave in and hide any leftover tail inside the shell.
2. Lower Shell (Cream)
Using the cream yarn, repeat similar steps.
Round 1:
- Start with a magic ring.
- Crochet 6 sc into the ring.
Round 2 to Round 5: Follow the exact same steps as the upper shell, stopping before the continuous rounds.
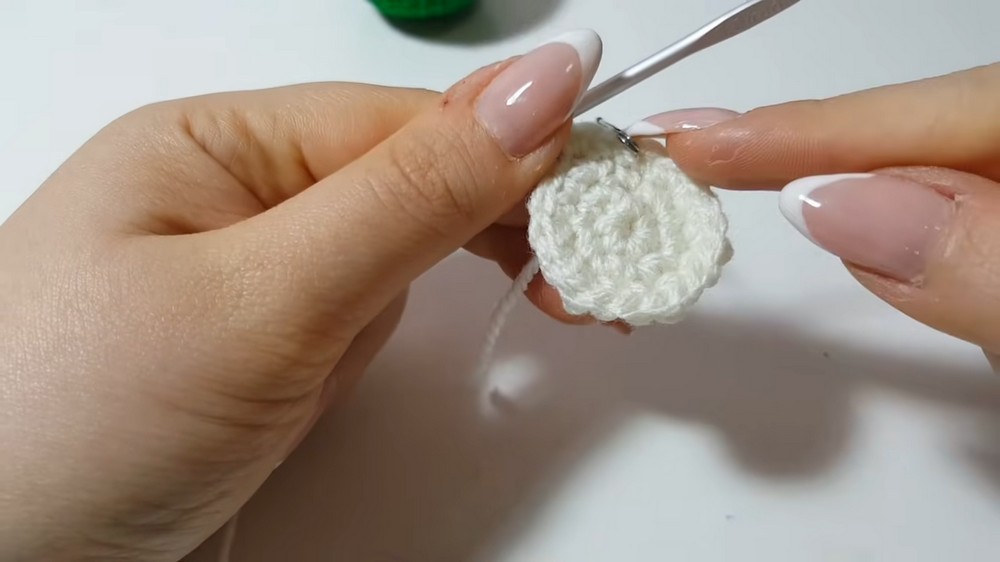
Keep the tail longer after finishing the last round to facilitate sewing the lower shell to the upper shell later.
3. Head (Cream)
Round 1:
- Begin with a magic ring and crochet 6 sc inside.
Round 2:
- Crochet 6 sc inc, doubling each stitch.
- Total: 12 sc.
Round 3–5:
- Work 3 rounds of sc, maintaining 12 sc per round. This creates a small rounded shape.
Add some stuffing into the head at this stage.
Round 6:
- Work 6 sc dec to close the top of the head slightly.
Round 7:
- Crochet 12 sc around the base of the head for the neck.
Fasten off and leave a long tail if sewing the head to the shell. Cut it short and weave it in if using glue.
4. Legs (Cream Make 4)
For each leg:
Round 1:
- Start with a magic ring and crochet 5 sc inside.
Round 2:
- Crochet 5 sc inc, doubling each stitch.
- Total: 10 sc.
Round 3:
- Crochet 1 sc in the first stitch, and then 1 sc inc in the next stitch.
- Repeat this sequence (1 sc, 1 sc inc) around.
- Total: 15 sc.
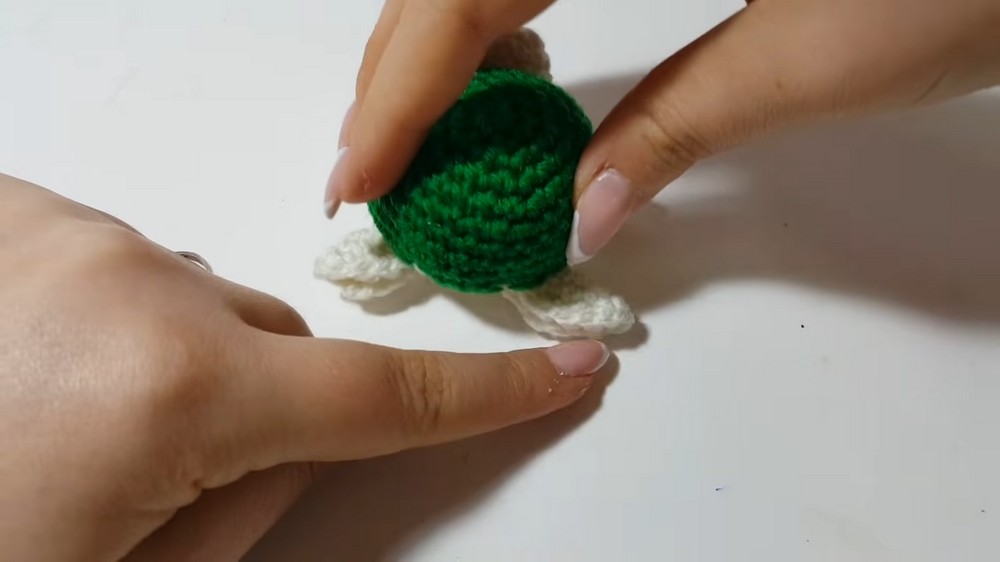
Fasten off and cut the yarn tail. Fold the leg in half and squeeze the edges (apply hot glue if desired).
Assembly & Finished Size
Assemble the Turtle
- Stuff the Upper Shell:
Add some stuffing inside the green shell to make it slightly rounded and puffed. - Join the Shells:
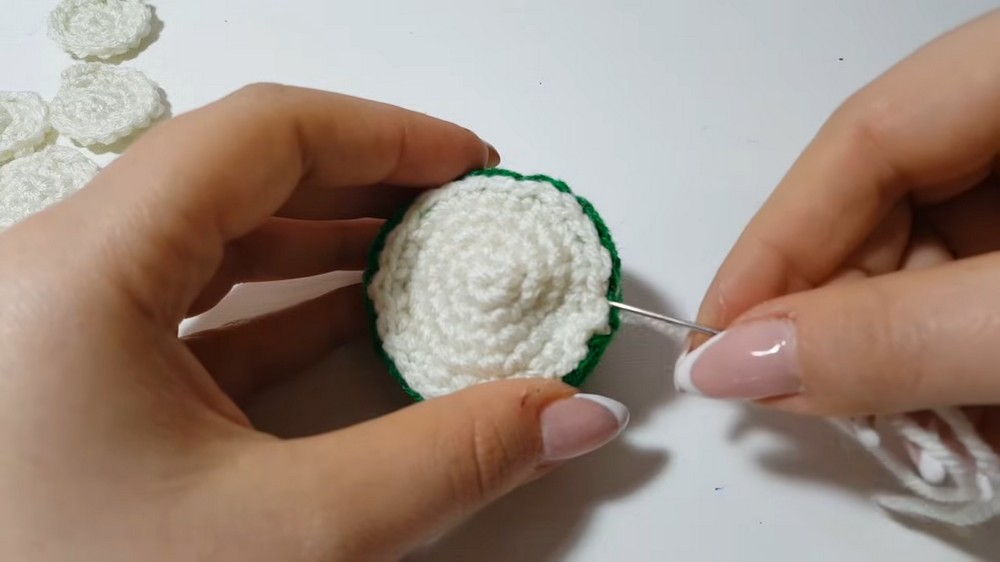
Place the cream lower shell under the green upper shell, aligning the edges. Sew them together using the long yarn tail, going in and out of the stitches around both shells evenly. Alternatively, use hot glue to attach them. - Attach the Head:
Position the head at the front of the shell. Sew it securely to the shell using the yarn tail, or use hot glue to attach it for a faster finish. - Attach the Legs:
Fold each leg and glue or sew them to the sides of the shell—two legs in the front near the head, and two legs at the back. - Add Eyes:
Use hot glue to attach two googly eyes to the front of the head.
Final Words
Your adorable crochet turtle is now complete! This project is a fun and easy way to practice amigurumi skills while creating a cute design perfect for gifts or decorations. Customize the colors to make unique turtles for everyone! Enjoy your crochet time.