
Free Crochet Christmas Tree Amigurumi Pattern that sits on desks
Find out how to create your very own Christmas tree amigurumi by following this simple and free crochet pattern, perfect for cozy handmade holiday decorations.
The holiday season feels even more magical when you add handmade decorations to your home. This crochet Christmas tree is not just beautiful but also simple to make, making it a delightful project for crocheters of all skill levels. Whether you want to brighten up your living room, create a charming table centerpiece, or gift something truly personal, this tree is the perfect choice. Its classic cone shape, soft texture, and customizable details mean you can make it as traditional or as unique as you like.
Decorate tiered trays with Christmas Tree Amigurumi Pattern
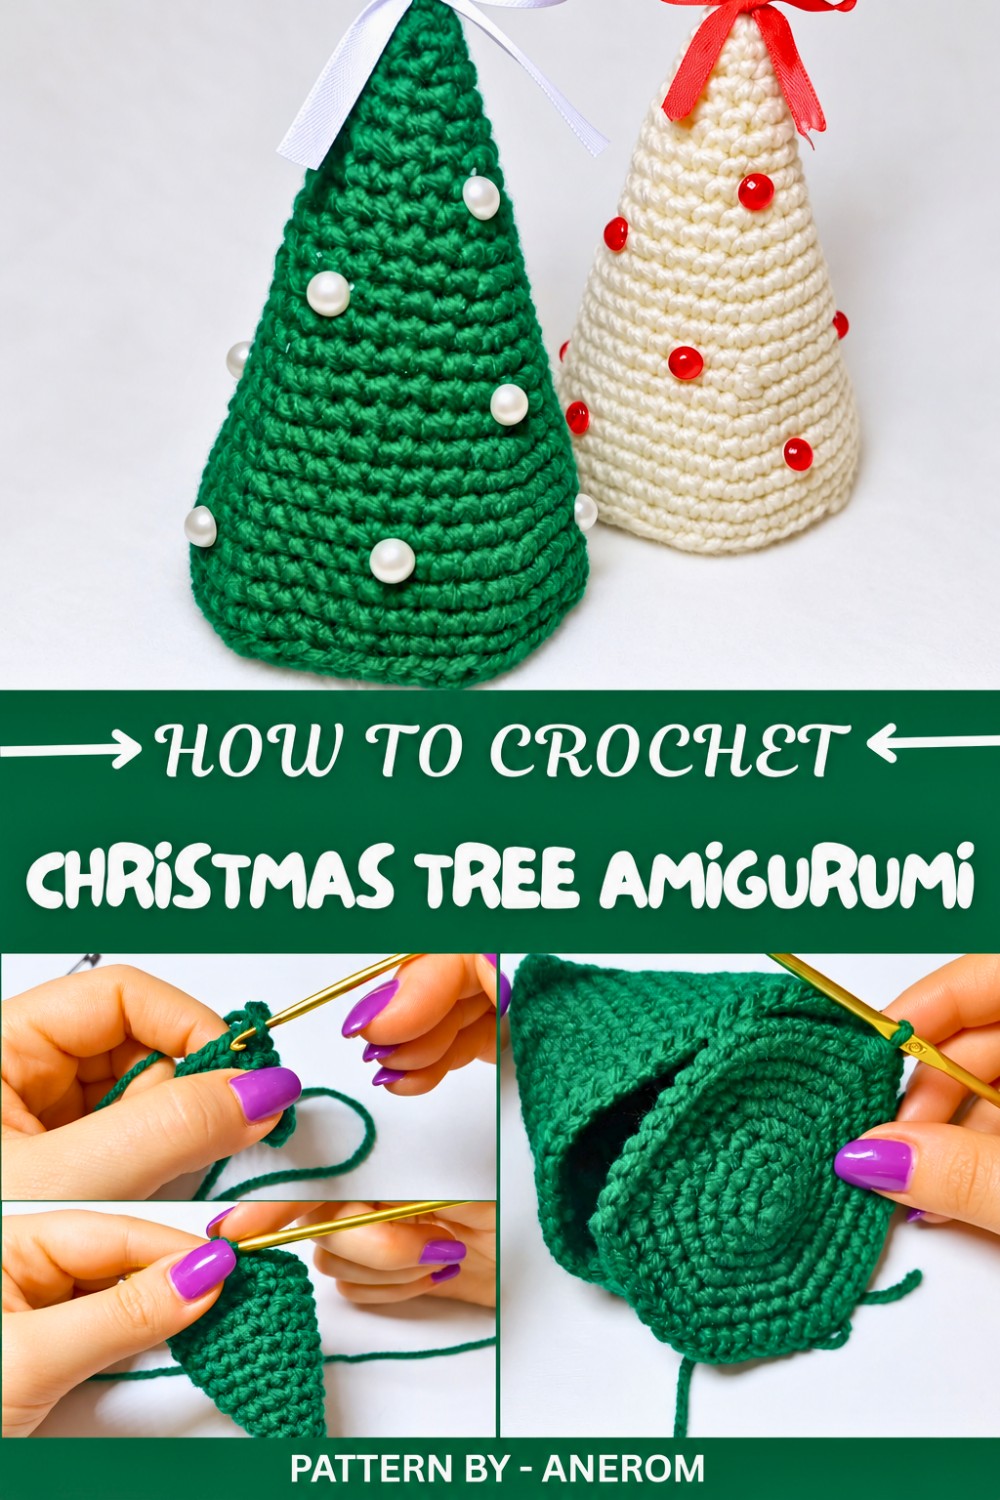
On her channel Anerom, the designer shares a fantastic step by step tutorial for the Free Crochet Christmas Tree Amigurumi Pattern that’s easy to follow and filled with creative tips. Using straightforward techniques like the magic ring and basic single crochet stitches, even beginners can confidently crochet this festive piece. You’ll also learn how to seamlessly structure the tree and properly stuff it for a smooth, polished look.
You can decorate it with beads, sequins, tiny stars, or even mini pompoms to match your holiday color scheme. Choosing different yarns, like a sparkly or velvet one, can give your tree an entirely new vibe. And if you’d like different sizes for a Christmas tree set, you can easily customize the pattern by adjusting the height.
This cozy little tree is perfect for gifting, holiday decorating, or just spreading festive cheer around your home. Thanks to Anerom’s clear guidance, you’ll enjoy the process and have a beautiful keepsake to treasure or share. Let your imagination guide you and see what kind of tree you can create this season.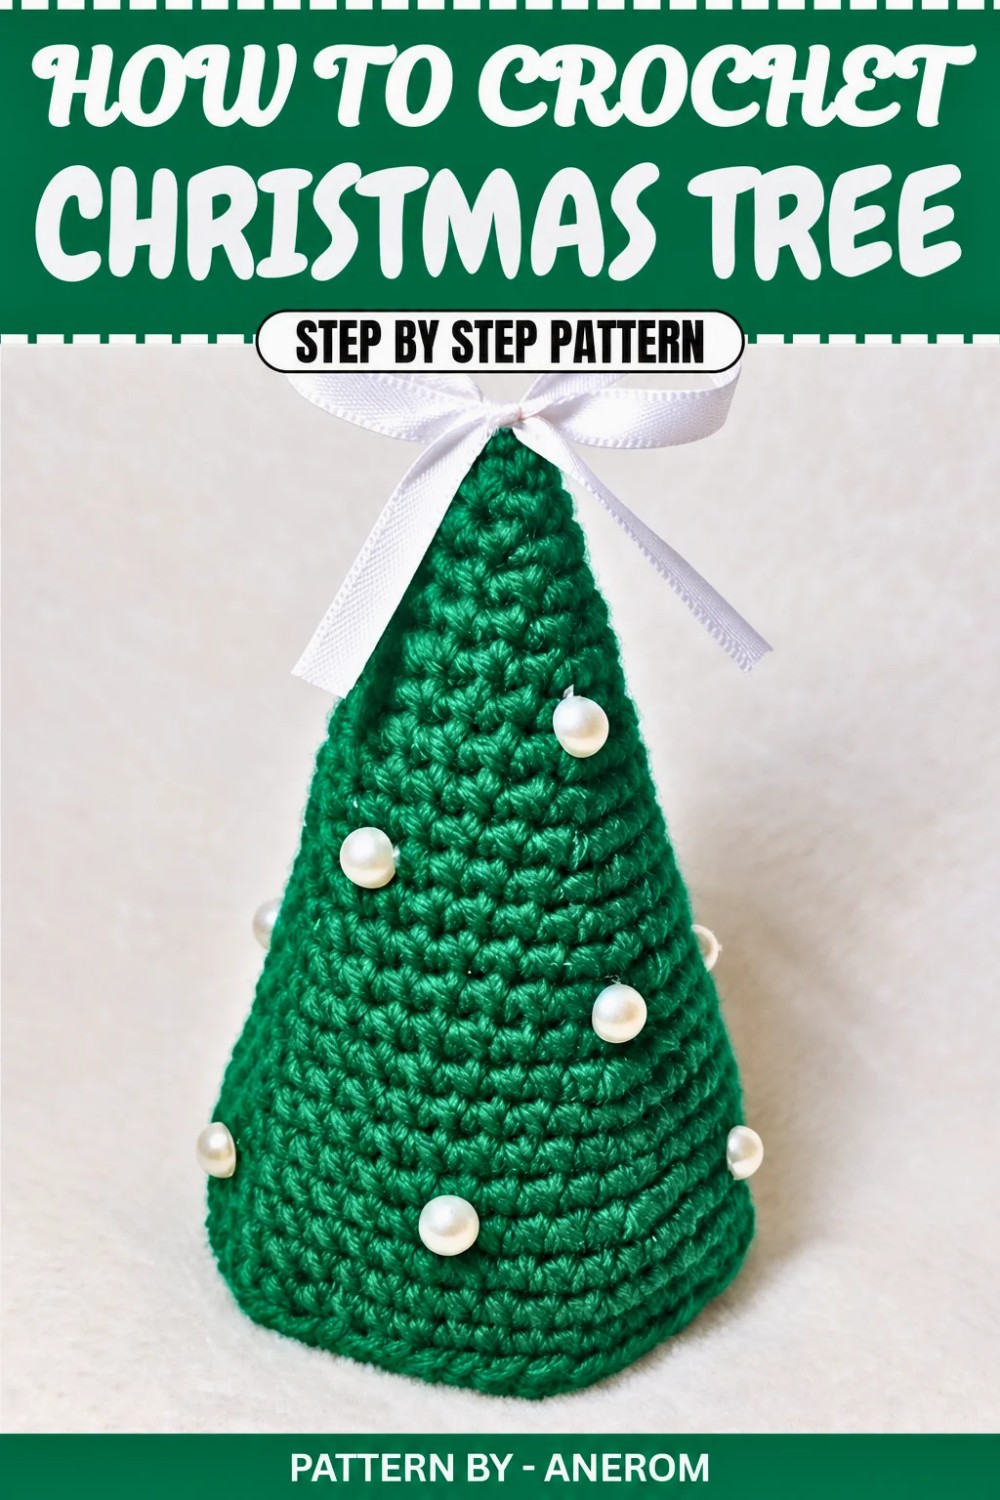
Amigurumi Crochet Christmas Tree Pattern
Quick Overview of Pattern
- Start with the foundation using a magic ring and single crochets.
- Work rounds with increasing stitches to shape the tree.
- Alternate rounds with increases and rounds of normal single crochet to create proportional layers.
- Add a circular base with stuffing to complete the tree.
- Decorate the tree with ribbons, pearls, or other embellishments.
Notes
- You can make the trees smaller or larger by adjusting the number of rounds and increases.
- The tree becomes more prominent as you continue to alternate between increase rounds and regular rounds.
- Optional Tip: Use a stitch marker to keep track of the first stitch in each round. This is especially helpful for amigurumi projects that continuously spiral.
Skill Level
Confident Beginner – Familiarity with basic crochet stitches such as single crochet, increases, magic ring, and slip stitches is required.
Materials
- Yarn: Green yarn for the tree (any weight, but DK or worsted works well); beige or matching yarn for the base.
- Hook: 3 mm crochet hook (or size appropriate for the chosen yarn).
- Stuffing: Polyester stuffing for the plush tree.
- Decorations: Ribbons, small pearls/beads, etc.
- Tools: Yarn needle, stitch marker, scissors, and hot glue gun.
Measurements / Sizing
The size of the tree is customizable based on the number of rounds completed. The provided pattern produces a tree approximately 12 to 15 cm tall, depending on stuffing and yarn tension.
Gauge
Gauge is not essential for this project.
Stitch Abbreviations
- mr: Magic Ring
- sc: Single Crochet
- sl st: Slip Stitch
- inc: Increase (work two single crochets in the same stitch).
Special Stitches
- Magic Ring (mr): A common method to start a round in amigurumi, ensuring a tight, gap-free center.
The Crochet Pattern
Crochet Tree Body
Round 1:
- Create a magic ring (mr).
- Work 4 sc into the ring. Pull the yarn tail to tighten the ring.
Round 2:
- Work 1 sc in the first stitch, followed by an increase (inc) in the next stitch.
- Repeat: 1 sc, inc around the ring (total 6 stitches).
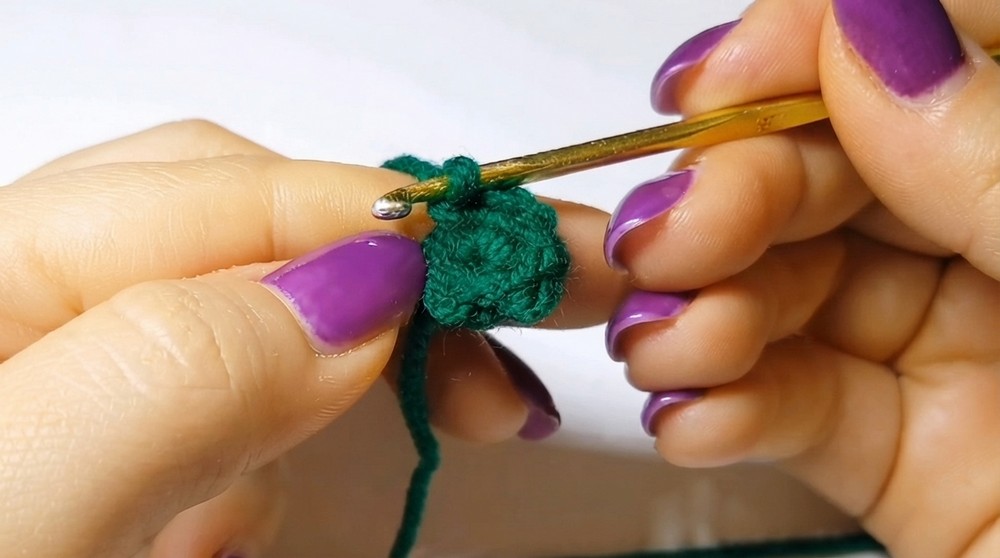
Round 3:
- Work 2 sc followed by 1 inc. Repeat: 2 sc, inc around the ring (total 8 stitches).
Round 4:
- Work 1 sc into each stitch around the ring (8 stitches).
Round 5:
- Alternate 1 sc and 1 inc, i.e., 1 sc, inc for the entire round (12 stitches).
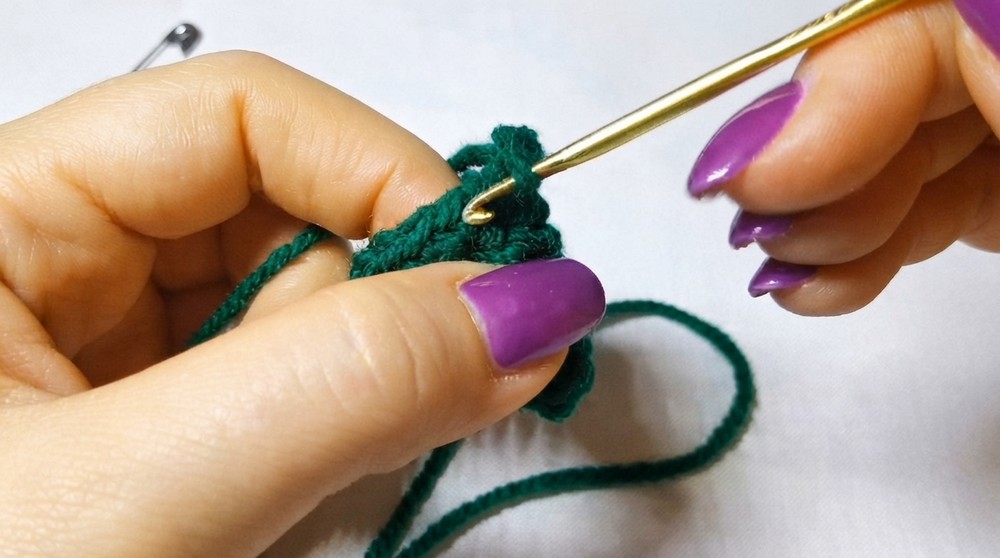
Round 6:
- Work 1 sc in each stitch around the ring (12 stitches).
Round 7:
- Alternate 2 sc and 1 inc, i.e., 2 sc, inc for the entire round (16 stitches).
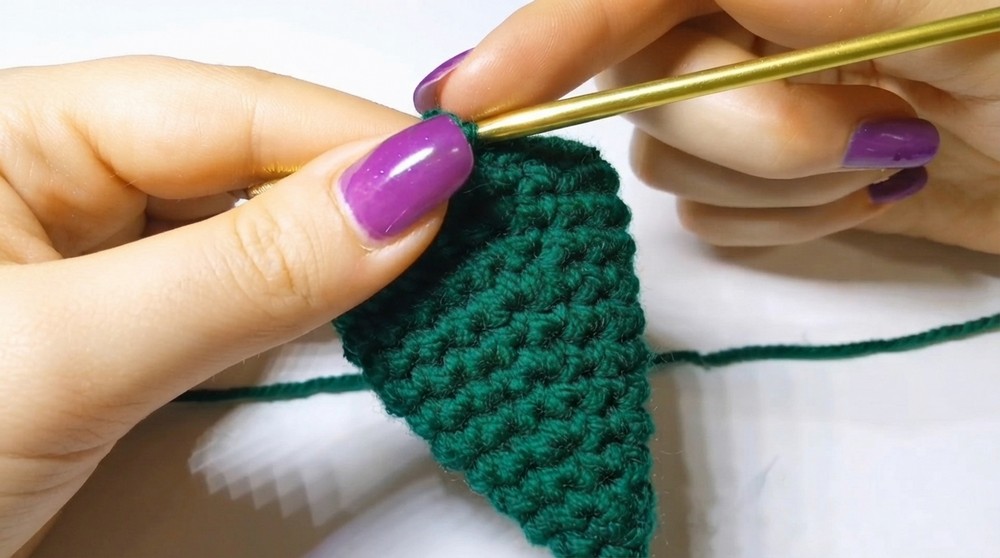
Round 8:
- Work 1 sc in each stitch around the ring (16 stitches).
Round 9:
- Alternate 3 sc and 1 inc, i.e., 3 sc, inc for the entire round (20 stitches).
Round 10:
- Work 1 sc in each stitch around the ring (20 stitches).
Round 11:
- Alternate 4 sc and 1 inc, i.e., 4 sc, inc for the entire round (24 stitches).
Round 12:
- Work 1 sc in each stitch around the ring (24 stitches).
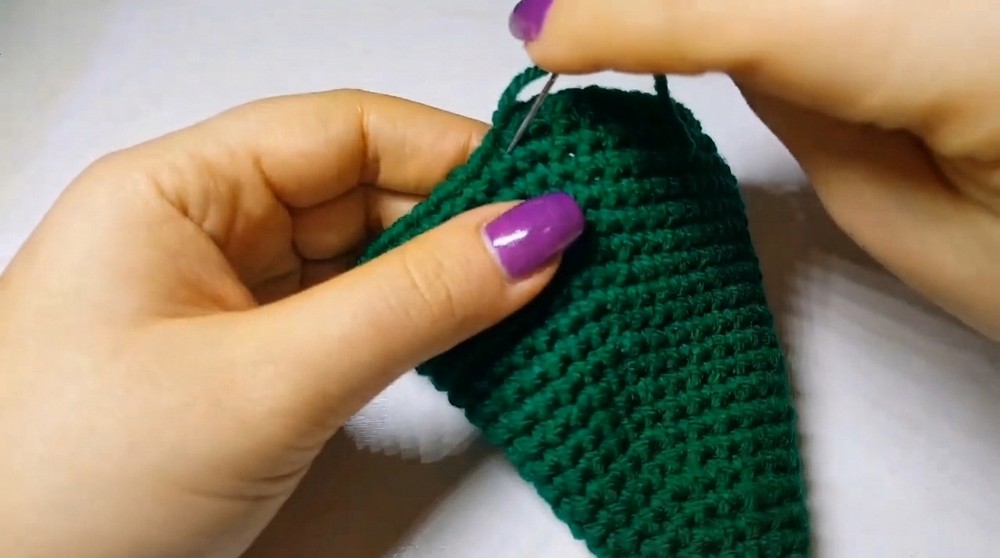
Repeat the pattern structure: One round of increase followed by one round of normal sc until the desired height of the tree is achieved. For this tutorial, the tree stops at 10 sc and 1 inc round, followed by a round of 40 sc. Feel free to continue adding rounds for larger trees.
Base and Assembly
Base:
- Create a magic ring (mr) and work 6 sc into the ring.
- In each round, continuously increase in a structured pattern.
Round increases:
- Round 2: Work 1 inc in each stitch (12 stitches).
- Round 3: Alternate 1 sc, 1 inc around (18 stitches).
- Round 4: Alternate 2 sc, 1 inc around (24 stitches).
- Round 5: Alternate 3 sc, 1 inc around (30 stitches).
- Round 6: Alternate 4 sc, 1 inc around (36 stitches).
- Continue increasing in this pattern until the base is wide enough to fit snugly against the bottom of the tree.
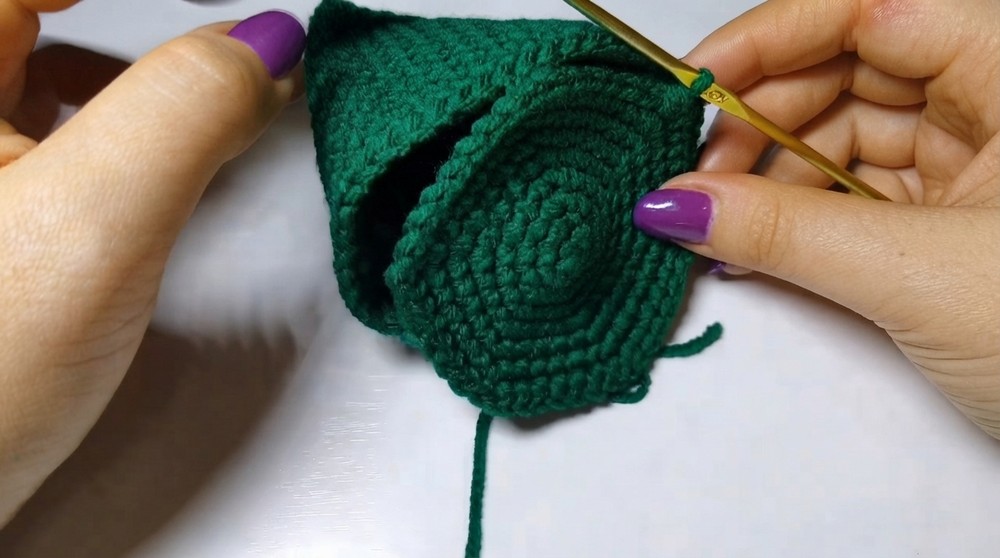
Stuff and Attach:
- Use polyester stuffing to fill the tree firmly, shaping it as you go.
- Attach the base to the bottom of the tree using long yarn tails from the base.
- Use a yarn needle to sew the base securely to the tree.
- Insert small amounts of stuffing as needed before completely closing.
Decorations
- Decorate the tree with ribbons, beads, and pearls using a hot glue gun for a festive effect.
- Add a bow to the top of the tree, and attach beads evenly across the tree surface to mimic ornaments.
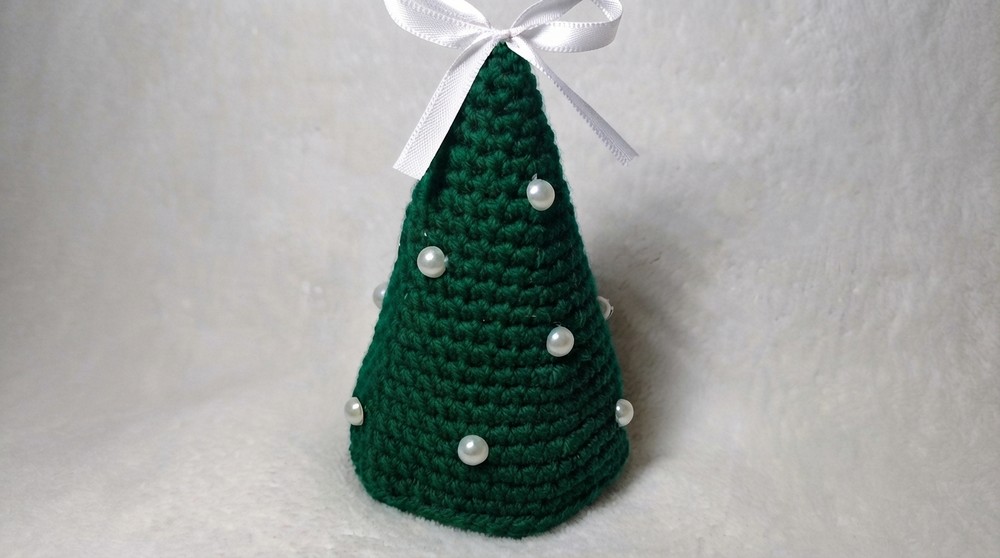
Assembly & Finished Size
Once sewn and decorated, your festive amigurumi Christmas tree will stand approximately 12-15 cm tall. Larger or smaller sizes can be achieved by adding or reducing rounds.
Conclusion and Ending Words
Congratulations, You’ve completed your adorable amigurumi Christmas tree. Whether used as a table decoration or gifted to a loved one, this handmade piece adds a personal touch to any holiday setup. Remember, you can experiment with colors, decorations, and sizes to fit your theme.