
Free Crochet Chick Pillow Pattern for Bright Spring Décor
Make a playful chick pillow with this free crochet pattern that’s perfect for beginners and adds a colorful and cheerful touch to your décor.
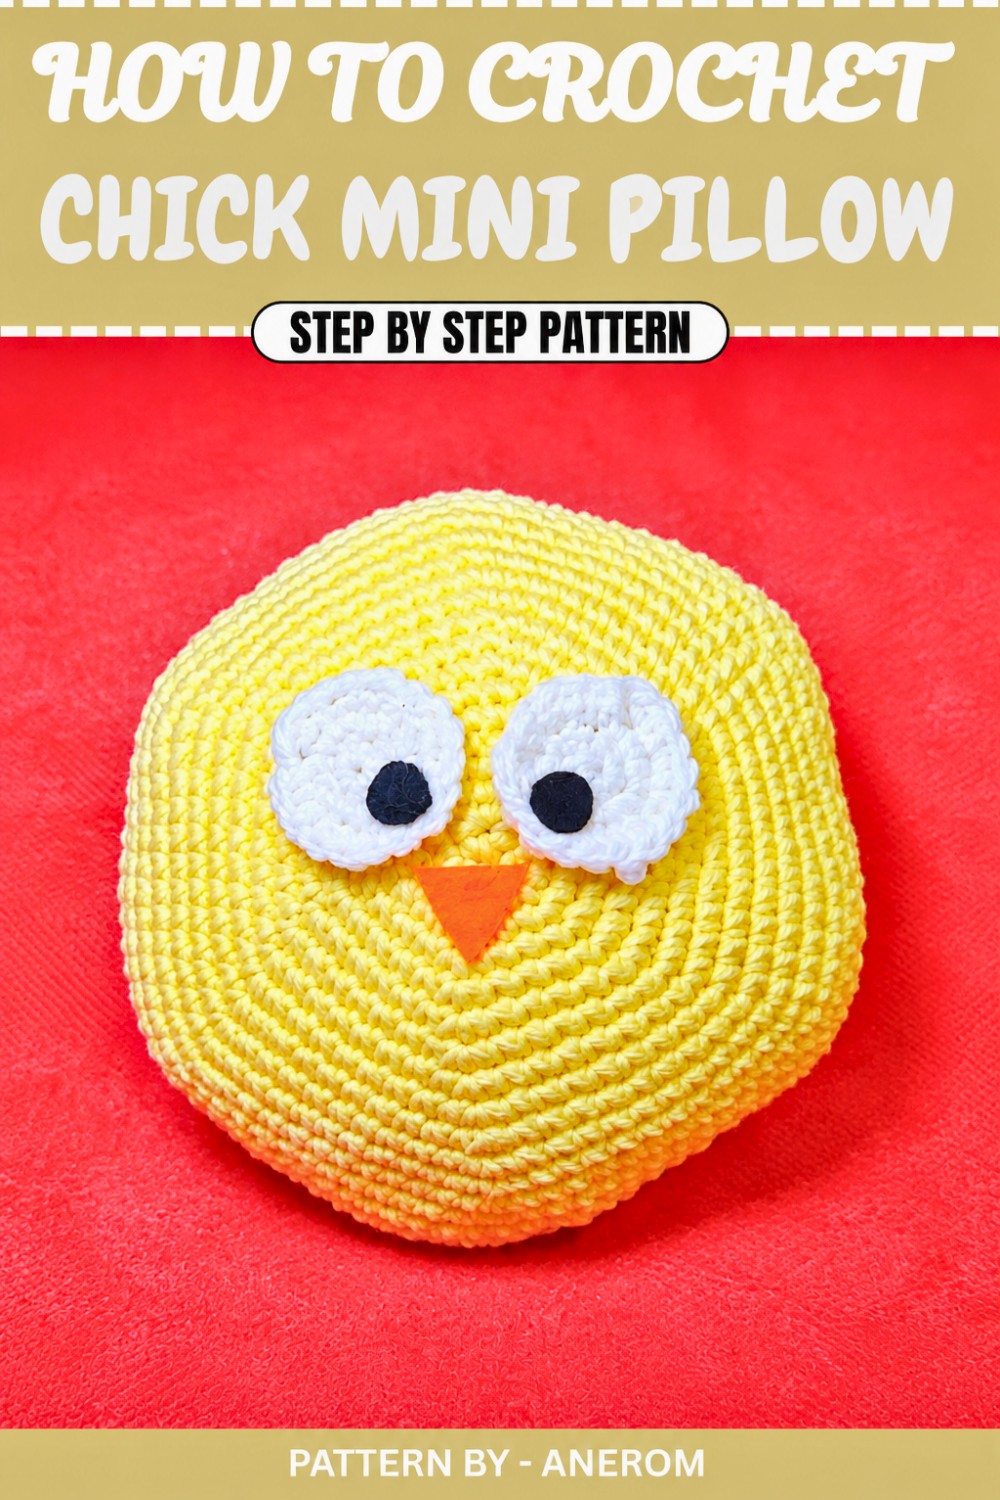
Crochet projects are a delightful way to create cute and functional items, and this adorable tiny chick pillow is no exception. Its round shape, soft texture, and charming details make it a wonderful decoration for a kid’s room, a thoughtful gift, or even an Easter centerpiece. The design is simple yet imaginative, with a cheerful yellow body, big white eyes, black pupils, and a tiny orange beak that gives it an irresistible, playful appearance.
Free Mini Chick Pillow Pattern for Whimsical Gift
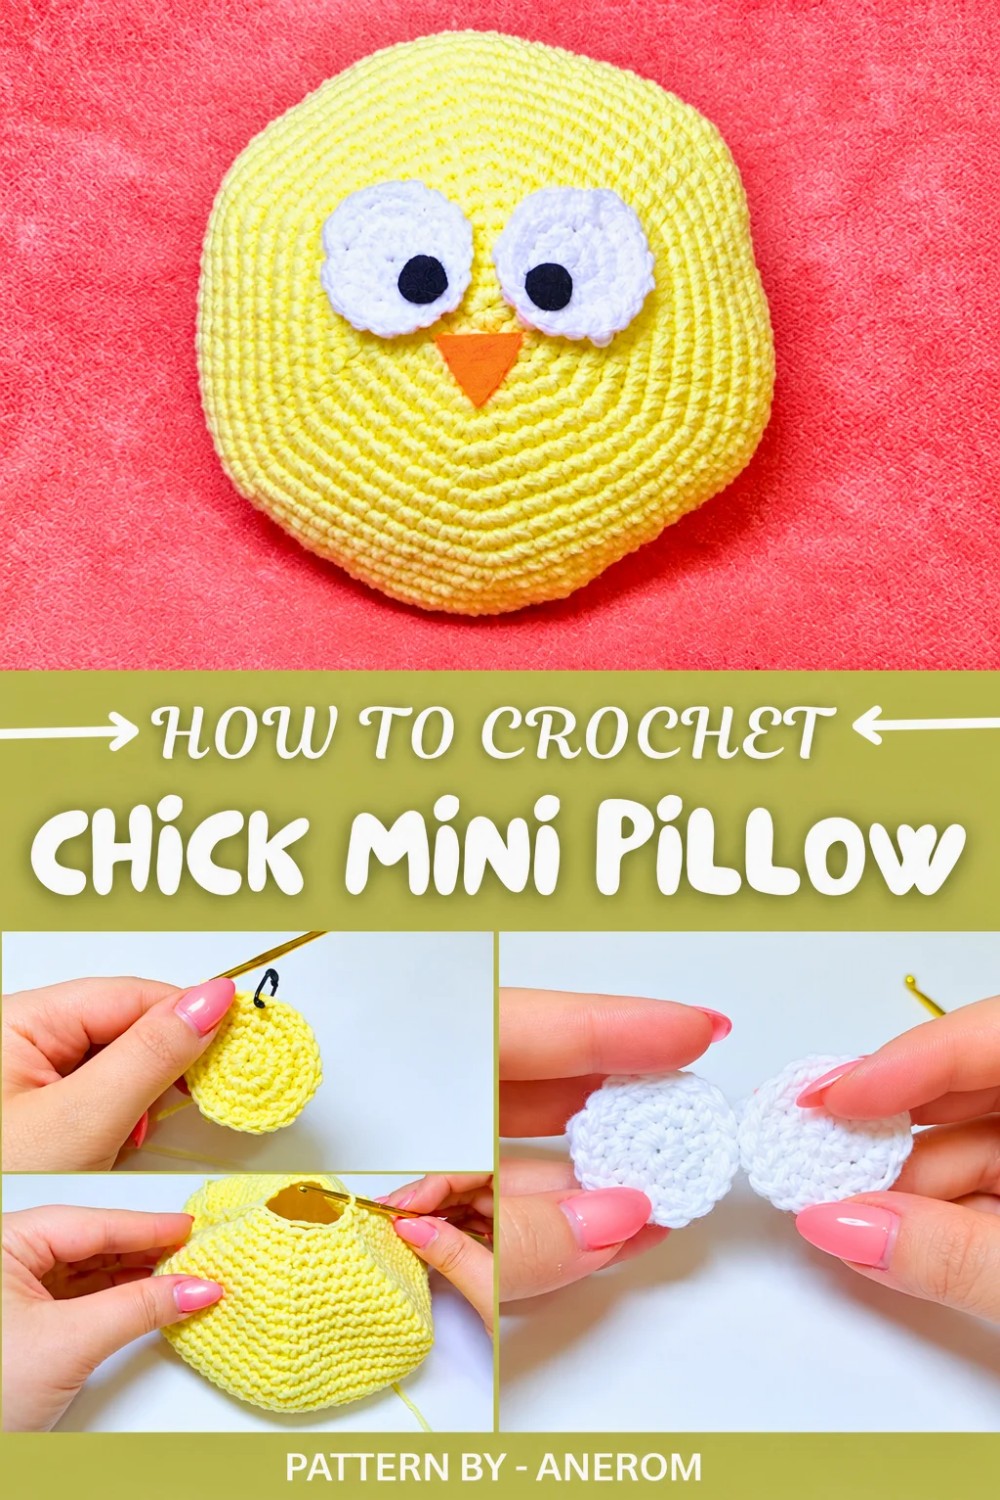
This chick pillow is worked entirely in single crochet stitches, featuring gradual increases to form a soft, round shape and decreases to close the cushion after it’s stuffed. It requires only minimal materials, yellow yarn, a little bit of white yarn for the eyes, felt for the beak and pupils, and some stuffing to give it its adorable plumpness. The finished piece is compact yet full of personality, making it a wonderful decorative addition to any space.
Inspiration From Anerom
The channel Anerom is known for creating crochet tutorials that are clear, creative, and beginner friendly. In this tutorial, she breaks down each step of the process, from forming the magic ring at the start to shaping and assembling the chick’s facial features. Her teaching style makes even detailed designs easy to follow, allowing crocheters of all levels to bring this cute design to life with confidence and joy.
Crochet Pattern: Mini Chick Pillow
In this tutorial, I will show you how to crochet this adorable mini chick pillow, a super quick and easy project that anyone can enjoy. This idea has been in my mind for a while, and I’m so excited to share it with you. I hope you find it enjoyable and fun to create. Let’s dive right into the tutorial and get started on this delightful project.
Quick Overview Of Pattern
- Project Type: Mini Chick Pillow
- Uses: Home décor, a playful addition to kids’ rooms, or a fun gift
- Customization: Personalize with different features or colors
Notes
- Work in continuous rounds unless otherwise noted. Use a stitch marker or yarn scrap to mark the beginning of each round.
- Make sure to stuff the pillow firmly to keep its shape.
Skill Level:
Beginner – Basic crochet stitches and techniques such as single crochet, increase, invisible decrease, and working in rounds are required.
Materials
- Yarn:
- Yellow acrylic yarn (Weight 3 or DK) for the body
- White acrylic yarn for the eyes
- Crochet Hook: 3.0 mm
- Stuffing: Polyfill for filling the pillow
- Felt:
- Small piece of black felt for pupils
- Small piece of orange felt for the beak
- Needle: Yarn needle for sewing and finishing
- Stitch Marker: To track rounds
- Scissors
- Glue: For attaching felt pieces
Measurements / Sizing
This mini chick pillow is approximately 12 cm (5 inches) in diameter when finished, depending on your yarn and tension.
Gauge
Gauge is not critical for this project, but aim to crochet tightly so the stuffing doesn’t show through.
Stitch Abbreviations
- ch: Chain
- sc: Single crochet
- inc: Increase (two single crochets in the same stitch)
- dec: Decrease (single crochet two stitches together)
- st(s): Stitch(es)
- sl st: Slip stitch
Special Stitches
Magic Ring (MR):
- Create a loop with the yarn and hold it with your fingers.
- Insert the hook into the loop, yarn over, and pull through.
- Work stitches into the loop as instructed. Pull the tail to close the ring tightly.
Invisible Decrease (Inv Dec):
- Insert hook into the front loop of the first stitch.
- Without yarning over, insert the hook into the front loop of the second stitch.
- Yarn over and pull through the first two loops.
- Yarn over again and pull through the final two loops.
The Crochet Pattern
Step 1: Start the Pillow Base
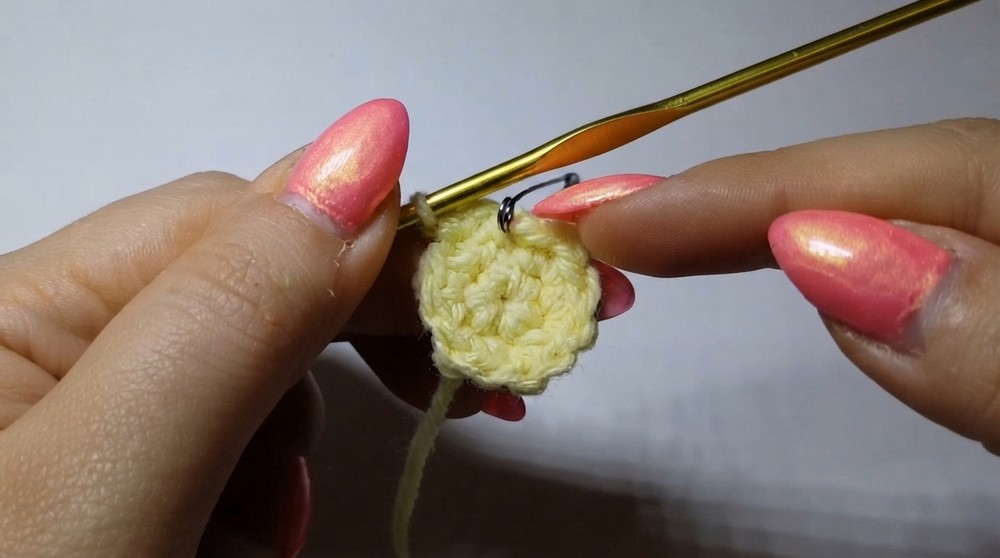
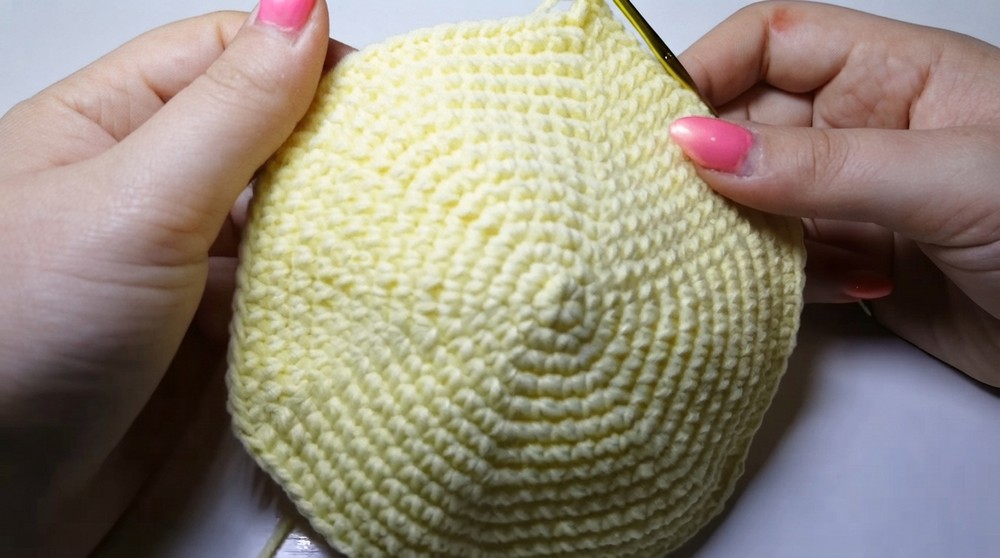
- Begin with a magic ring using yellow yarn (Weight 3). Crochet 6 sc into the ring and pull the tail tightly to close. [6 sts]
- Round 1: Work 1 inc (2 sc into each st) in all 6 sts around. [12 sts]
- Round 2: Alternate 1 sc, 1 inc around. [18 sts]
- Round 3: Alternate 2 sc, 1 inc around. [24 sts]
- Round 4: Alternate 3 sc, 1 inc around. [30 sts]
- Round 5: Alternate 4 sc, 1 inc around. [36 sts]
- Continue increasing progressively for each round as follows:
- Round 6: 5 sc, 1 inc [42 sts]
- Round 7: 6 sc, 1 inc [48 sts]
- Round 8: 7 sc, 1 inc [54 sts]
- Round 9: 8 sc, 1 inc [60 sts]
- Continue this pattern until you reach 12 sc, 1 inc [72 sts].
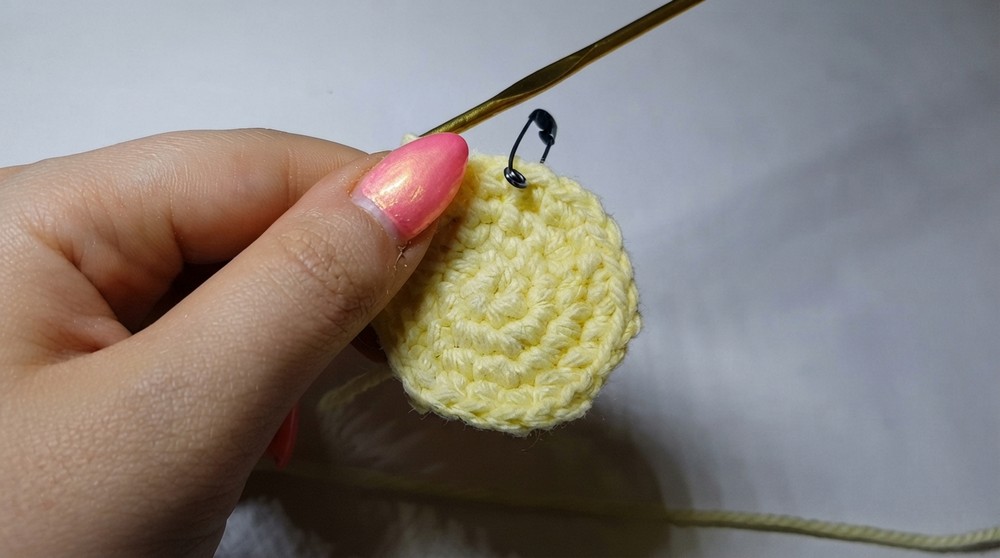
Step 2: Build the Pillow
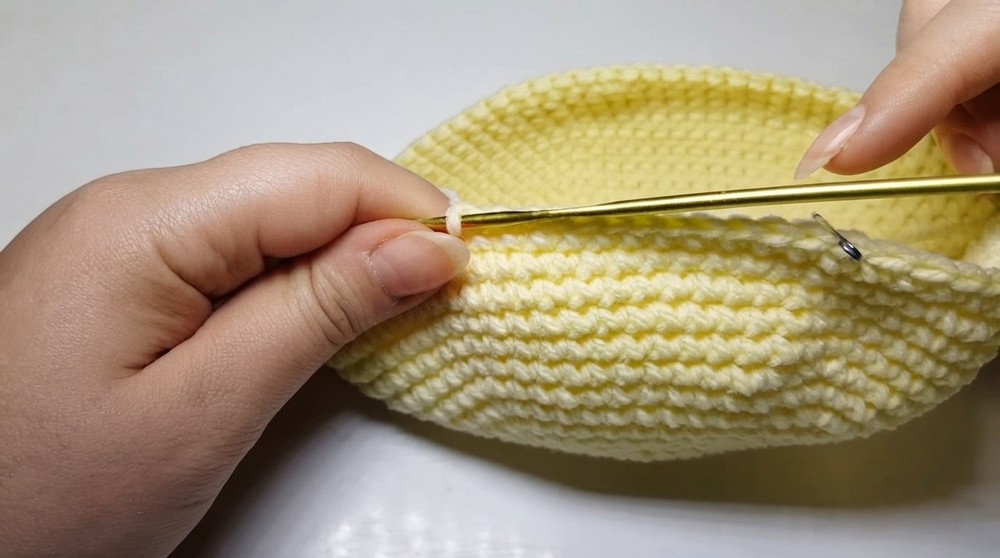
- Rounds 10–14: Work 1 sc into every stitch for 5 rounds. [72 sts per round]
Step 3: Begin Decreasing
- Start decreasing progressively in the same way as the increases, but reduce stitches instead.
- Round 15: 12 sc, 1 dec [66 sts]
- Round 16: 11 sc, 1 dec [60 sts]
- Round 17: 10 sc, 1 dec [54 sts]
- Continue reducing progressively by 1 sc per decrease in each round, finishing with 3 sc, 1 dec.
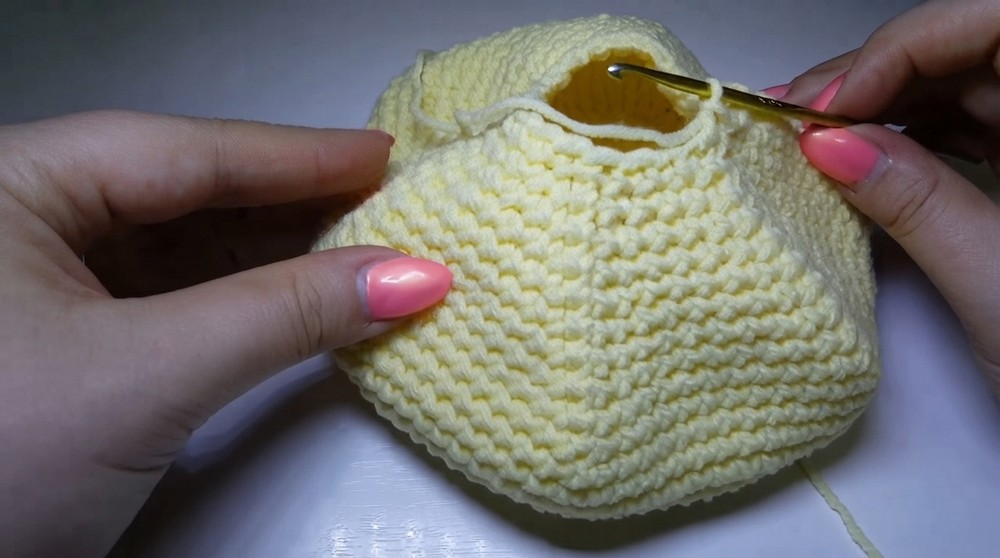
- Stuff: Before continuing to close the pillow, firmly stuff the body with polyfill. Push the stuffing into all corners to make the pillow even and fluffy.
- Continue decreasing until you reach 6 dec in the final round. Pull the tail tight and close off the opening.
Step 4: Make the Eyes
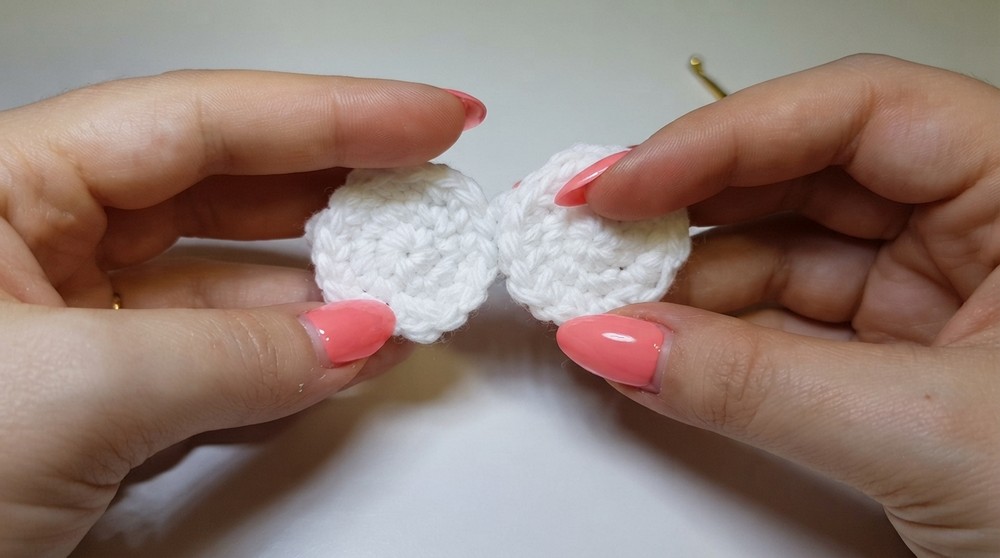
- Using white acrylic yarn, begin with a magic ring and crochet 6 sc into the ring. Pull to close. [6 sts]
- Round 1: Work 1 inc (2 sc in each st) in all 6 sts around. [12 sts]
- Round 2: Alternate 1 sc, 1 inc. [18 sts]
- Fasten off with a sl st in the first st and leave a long yarn tail for assembly. Repeat the process to make two identical eyes.
- Finish the Pupils: Cut out two small circles from black felt for the pupils and glue them onto the white crocheted eyes.
Step 5: Make the Beak
- Cut out a small orange felt triangle to form the chick’s beak.
Assembly & Finished Size
- Attach the Eyes: Using the leftover yarn tails, sew the crocheted eyes onto the pillow. Position them evenly spaced in the center of one side of the pillow.
- Attach the Beak: Use glue to attach the orange felt triangle below the eyes, centering it between them to create the chick’s beak.
- Final Touches: Shape the pillow and ensure the stuffing is evenly distributed throughout.
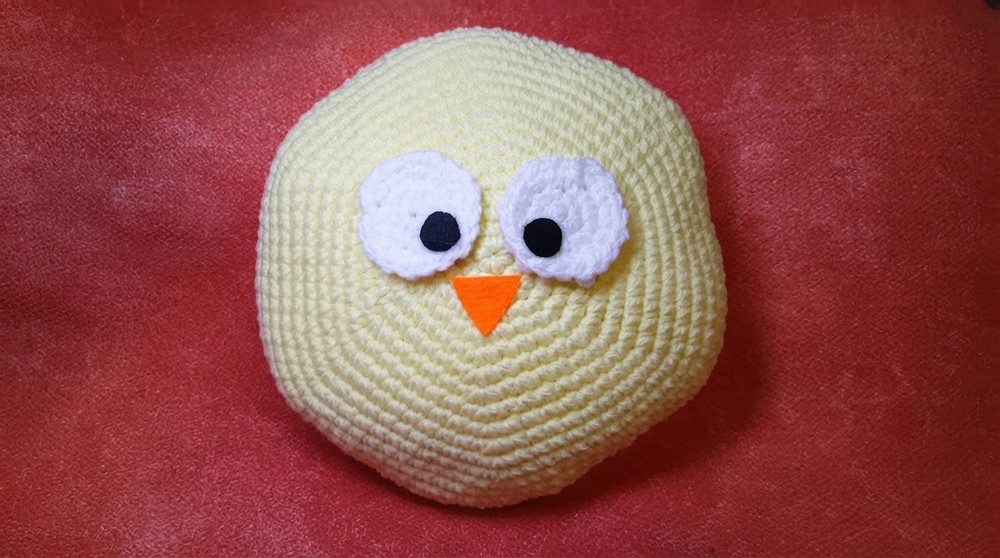
The finished mini chick pillow measures approximately 12 cm (5 inches) in diameter.
Conclusion and Final Words
Congratulations! You’ve completed your adorable mini chick pillow masterpiece. Quick to make and charming in appearance, this pillow is ideal for kids’ rooms, home décor, or as a handmade gift. I hope you enjoyed this easy to follow tutorial and found the process relaxing and fun.