
Gorgeous Free Crochet Star Pattern You’ll Fall in Love With
Start your next fun project today with this free crochet pattern that teaches you how to create a beautiful star for all kinds of creative uses.
When it comes to creating something both simple and stunning, crocheting a decorative star is truly magical. A crochet star brings a touch of elegance and creativity to your projects, and it’s surprisingly easy to make. Whether it’s to decorate your Christmas tree, add as an embellishment to a gift, or hang around your home, this little star has so many uses. Its shape, featuring perfectly pointed tips, looks intricate but is surprisingly beginner friendly.
Amaze Everyone with This Adorable Free Crochet Star Pattern
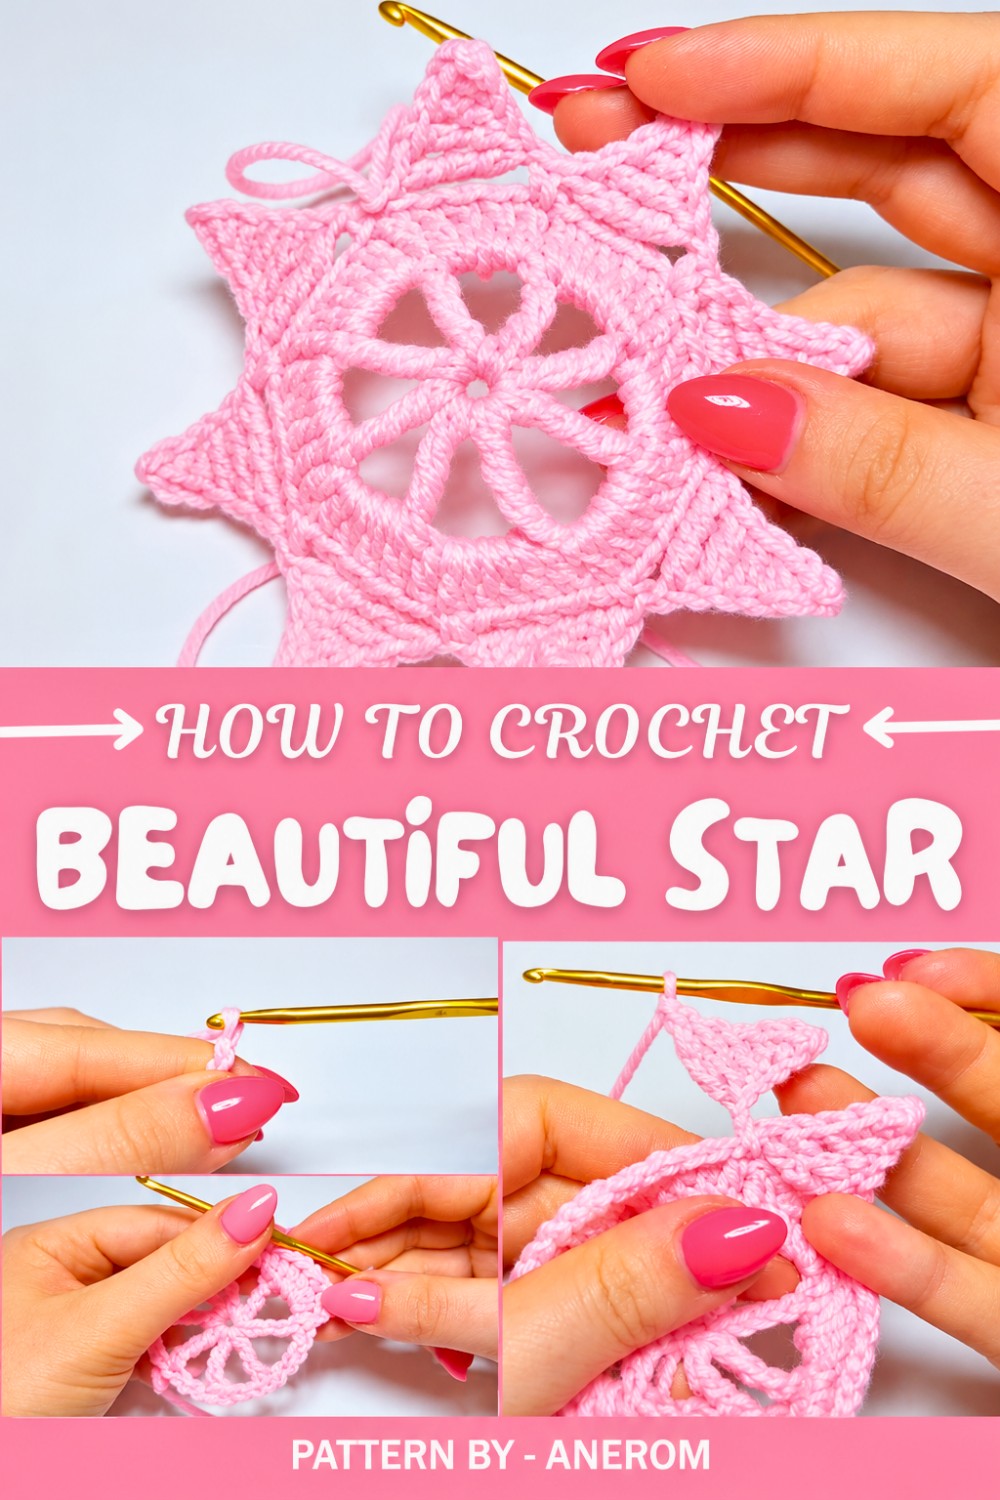
The process of making this crochet star combines some fun techniques like the magic ring and triple treble stitches, giving it a unique and textured appearance. The magic ring allows you to start with a seamless center, which is perfect for creating the base of the star. Then, by working delicate triple treble stitches and forming points with carefully placed chains and stitches, you’ll see a beautiful star emerging right before your eyes. The star can be left soft for a more natural look or starched to give it a firm, structured shape, making it easy to hang or use in a variety of ways.
You’ll pick up so many skills with this pattern, from mastering foundational crochet techniques to learning how to create intricate shapes and structures. The triple treble stitch used for the pointed tips is a great foundational skill for other projects, such as ornate doilies, snowflakes, or other lacy designs.
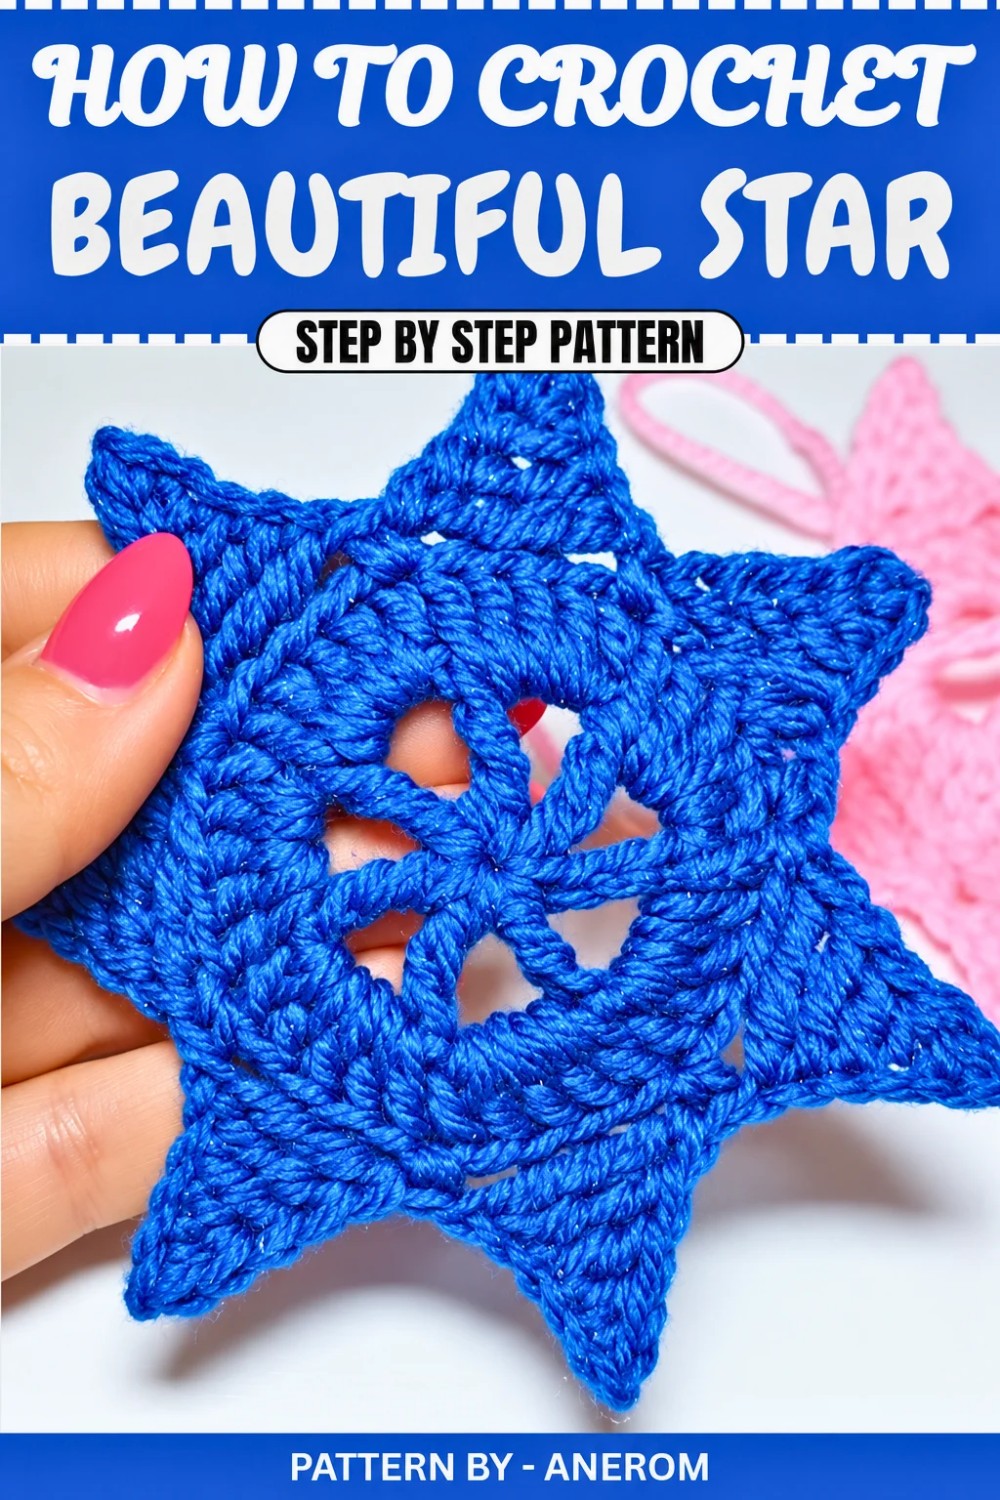
Anerom's channel is the perfect companion for this and many other crochet projects. Her tutorials are clear, easy to follow, and filled with helpful tips that even a beginner can understand. With this free pattern and the guidance of Anerom, you’ll enjoy the process of creating your very own crochet star while unlocking your inner creativity.
Crochet Pattern: Decorative Star
This tutorial will walk you through the step by step process of creating a beautiful crochet decorative star. Featuring a combination of simple stitches, this gorgeous star can be customized with your choice of colors and stiffened for use as ornaments, decorations, or festive accents.
Quick Overview of Pattern
- Project Type: Decorative Star
- Simple Techniques: Magic ring, chain stitches, triple treble crochet (or triple crochet), slip stitches, single crochet, and double crochet.
- Customizable: Great for experimenting with colors and yarn types.
Notes
- The star can be made in any color you like; the video example uses pink yarn.
- Stiffening the finished star is optional but enhances its decorative appeal, especially for ornaments.
- Work through this pattern step by step as described to achieve the best results.
Skill Level
Beginner to Intermediate – The project uses simple stitches, but some techniques, like the magic ring and triple treble crochet, may be new to beginners.
Materials
- Yarn: Any No. 3 weight yarn in the color of your choice
- Hook: 3 mm crochet hook
- Other Tools: Scissors, clear crafting glue or transparent nail polish for stiffening
Measurements / Sizing
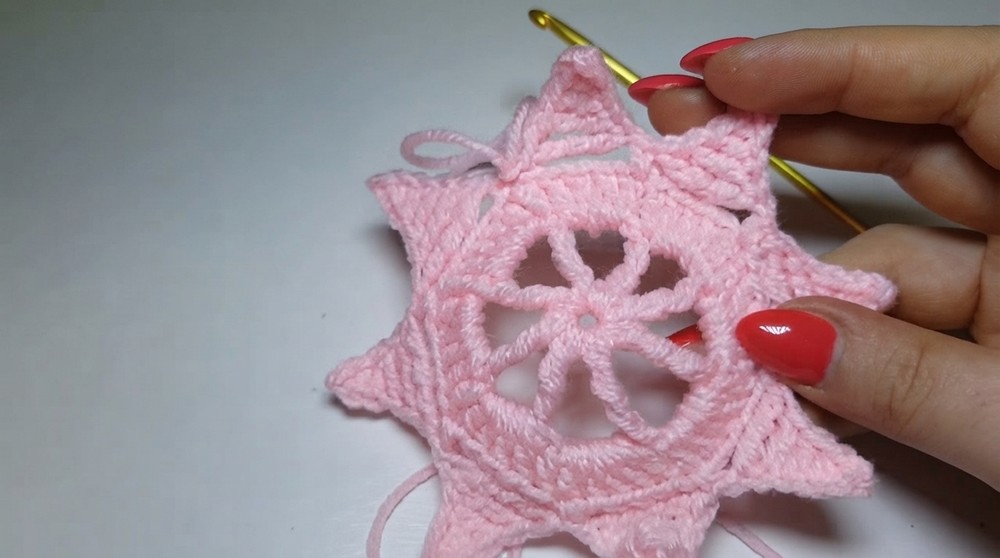
- The size of the star depends on the size of the yarn and hook used. For the example in the transcription, the finished star is approximately 10 cm (4 inches) across.
Gauge
Not critical for this project, as the final size can vary based on personal preference and material choices.
Stitch Abbreviations
- ch: chain
- sl st: slip stitch
- sc: single crochet
- hdc: half double crochet
- dc: double crochet
- tr: treble crochet
- ttr: triple treble crochet
- st(s): stitch(es)
Special Stitches
- Triple Treble Crochet (ttr): Wrap yarn around the hook three times, insert the hook into the specified stitch, yarn over, and pull a loop through. Yarn over and draw through two loops four times until only one loop remains on the hook.
The Crochet Pattern (Step by Step)
Round 1 – Create the Magic Ring
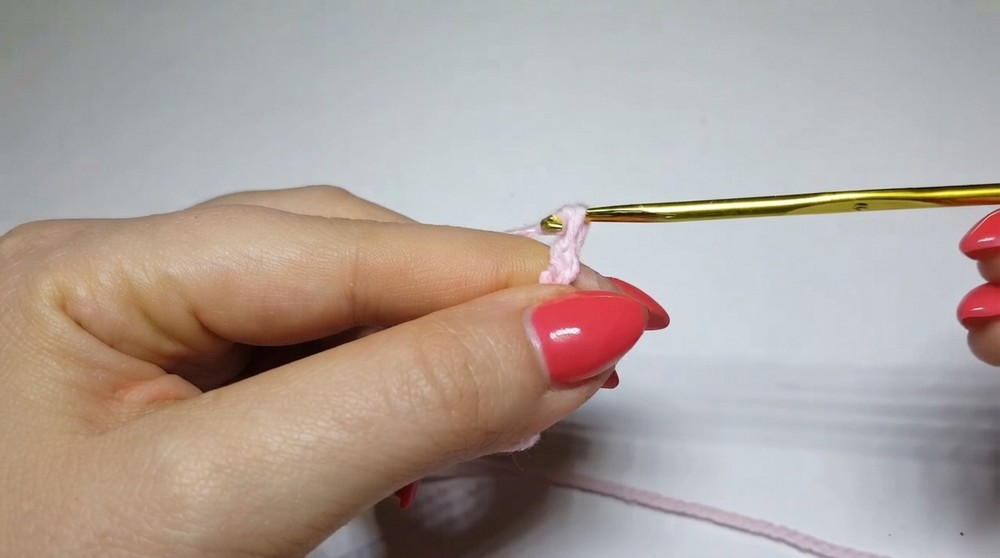
- Create a Magic Ring: Form a magic ring by crossing the yarn and looping it around your fingers.
- Chains: Work 6 chain stitches (ch6) into the magic ring.
Round 2 – Form the Base Stitches
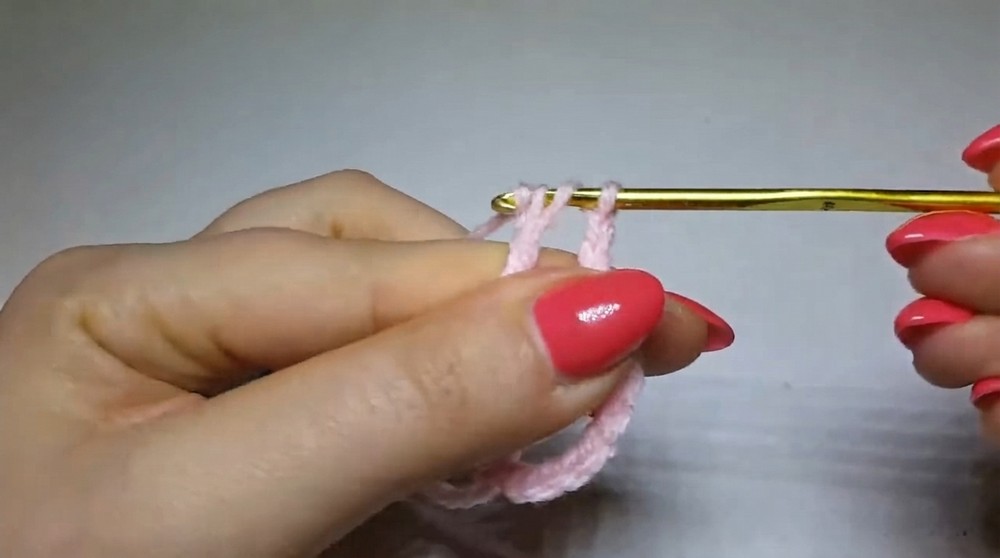
- Triple Treble Crochet (ttr): Yarn over the hook three times; insert into the magic ring. Yarn over, draw the loop through, then yarn over and pull through two loops at a time (4 times total). This creates a triple treble crochet stitch. Adjust stitch tightness if needed.
- Repeat: After the first ttr, work 3 chains (ch3). Repeat the process of a ttr followed by ch3 until there are 7 total triple treble crochets in the magic ring (including the initial ch6, which counts as one ttr).
- Close the Round: Close the round by pulling the loose end of the magic ring tight.
- Slip Stitch: To finish the round, make a sl st into the top of the 4th chain of the original ch6.
Round 3 – Adding Double Crochets
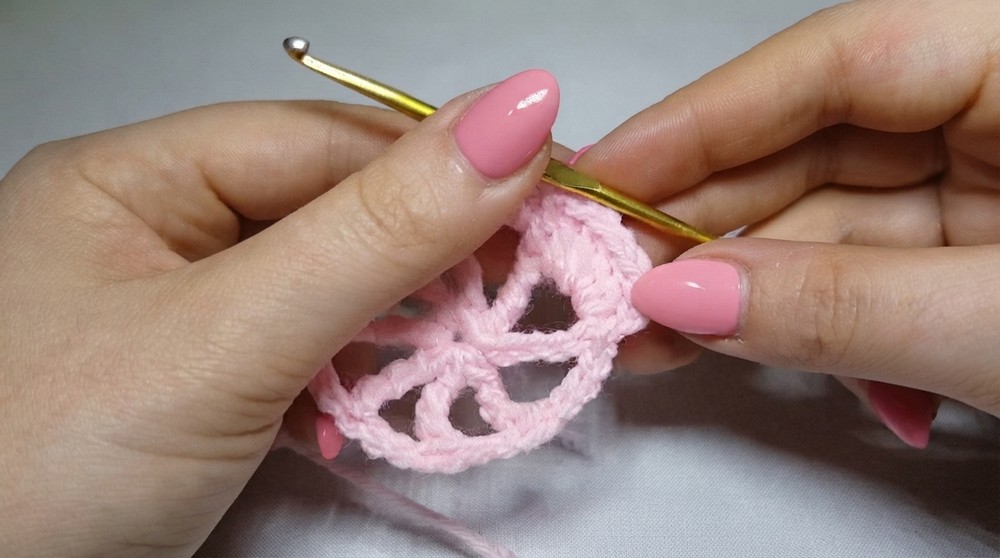
- Start with Chains: Chain 3 (ch3), this will count as the first double crochet of this round.
- Work in Chain Spaces: In each 3 chain space from the previous round, work 4 double crochet stitches (dc).
- Work on Triple Treble Posts: At the top of each triple treble crochet (ttr) from the previous round, work 1 double crochet (dc).
- Repeat: Continue this pattern – 4 dc in the ch spaces, 1 dc at the top of each ttr, and repeat around the circle.
- Close the Round: Slip stitch into the top of the starting chain to close the round.
Round 4 – Shaping the Star Points
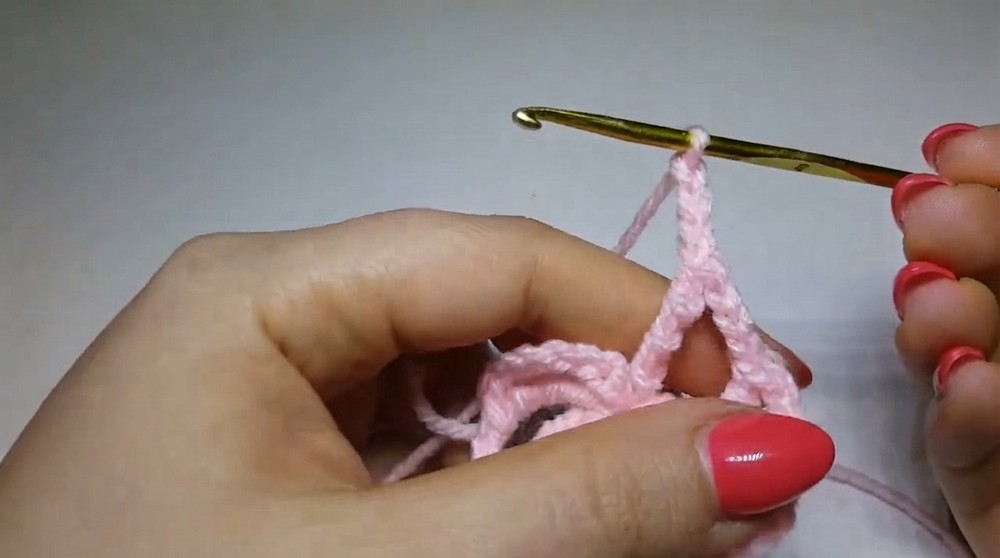
- Attach to Next Stitch: Move to the next stitch with a slip stitch. Work a single crochet (sc) into this stitch to anchor.
- Create the Point: Begin with 6 chain stitches (ch6).
- In the 1st chain, make 1 single crochet (sc).
- In the 2nd chain, work 1 half double crochet (hdc) (yarn over, insert hook, yarn over, and pull through all loops).
- In the 3rd chain, make 1 double crochet (dc).
- In the 4th chain, make 1 treble crochet (tr).
- In the 5th and final chain, work 1 triple treble crochet (ttr).
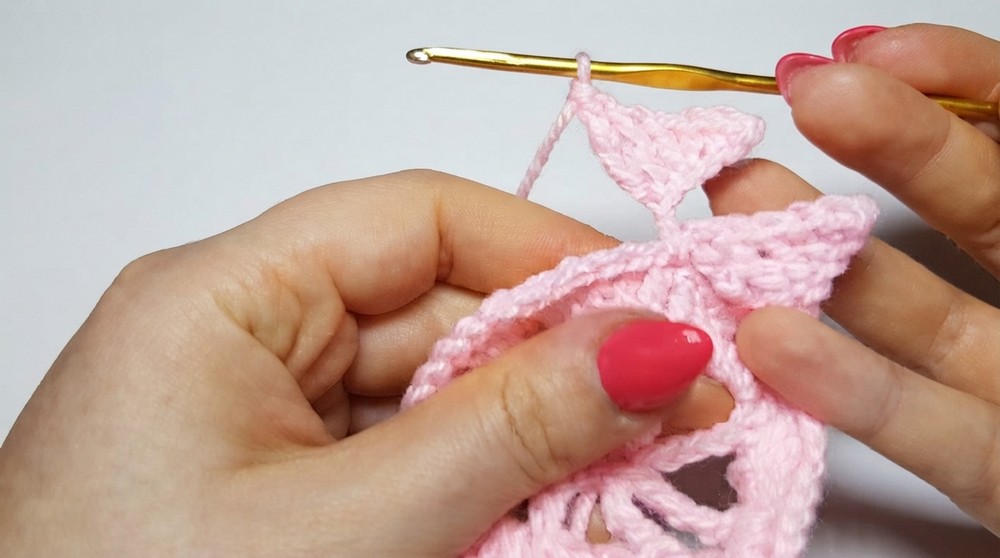
- Anchor the Point: Skip the next 4 stitches on the base round and slip stitch into the 5th stitch. This anchors the point to the star.
- Repeat for More Points: Repeat the process of forming a starpoint (ch6 → sc → hdc → dc → tr → ttr) in every 5th stitch of the base round until there are a total of 8 points on your star.
Assembly & Finished Size
- Once all 8 points are completed, use a slip stitch to join the end of the last point with the base of the first point.
- Cut the yarn, leaving a small tail. Pull tightly to secure the stitches, and use your yarn needle to weave in the loose ends on the back of the star.
- If you would like to stiffen the star, place the finished star on a flat surface. Use a clear crafting glue or transparent nail polish to coat both sides of the star. Let it dry overnight. Repeat the process if necessary for added stiffness.
Conclusion and Final Thoughts
Congratulations! You've created a beautiful crochet decorative star using a simple and fun pattern. Whether you use it as an ornament, gift topper, or décor, your handmade star is sure to impress. Don’t forget to experiment with colors and yarns for unique variations, and feel free to enhance the stiffness or add embellishments.